Wire Wrapped Crystal Earring Designs
May 31, 2026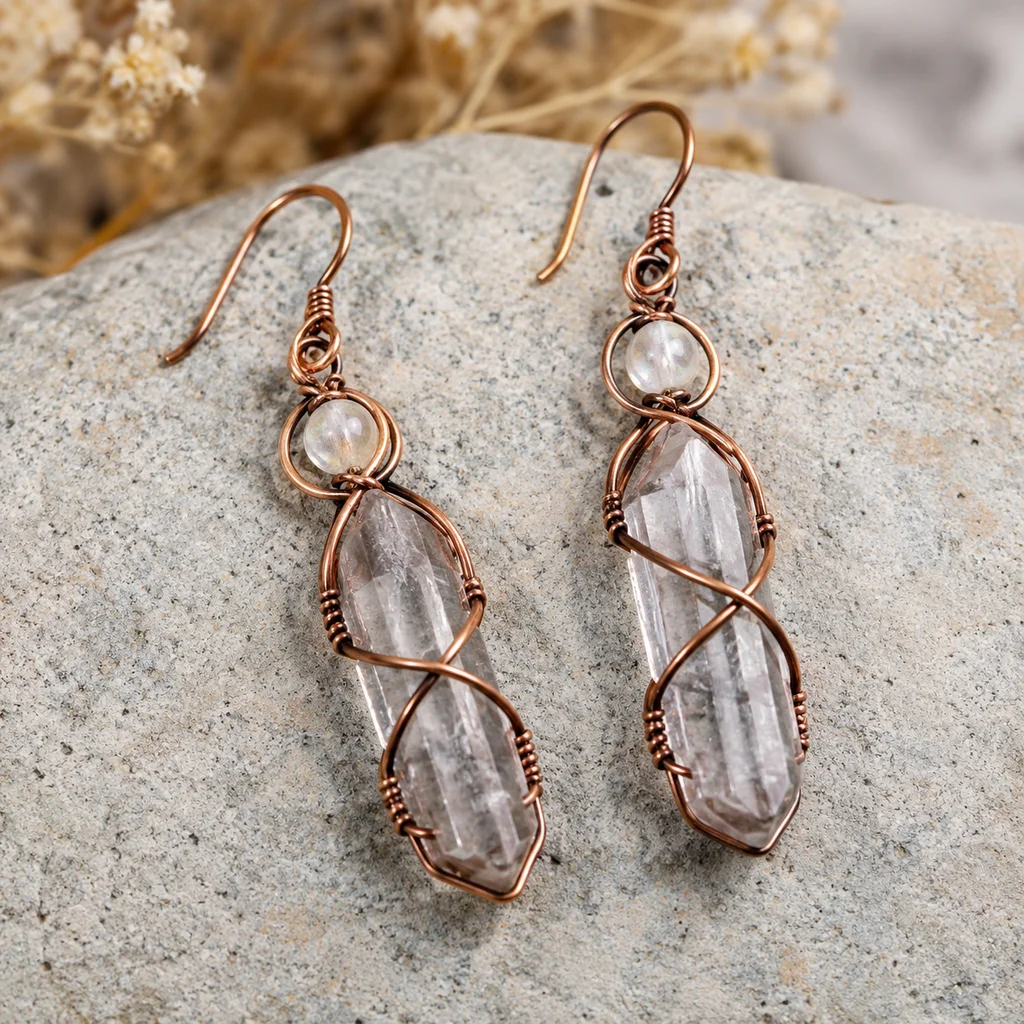
Why Crystal Earrings Are a Great First Project
Earrings use less wire than pendants, require smaller stones, and take a fraction of the time to complete. A basic pair of wire-wrapped drop earrings can be finished in under 20 minutes once you know the technique. That fast turnaround makes them perfect for building confidence and developing muscle memory before moving on to larger, more complex projects.
They're also practical—you can actually wear what you make. There's something satisfying about finishing a piece and immediately putting it on rather than waiting until you've accumulated enough projects for a full necklace set.
Materials and Tools You Need
Basic Toolkit
- Round-nose pliers — For making loops and curves
- Chain-nose pliers — For gripping, bending, and flattening wire
- Flush wire cutters — For clean, sharp cuts
- Nylon-jaw pliers — For straightening wire and smoothing bends
Wire
- 20-gauge (0.8mm) — For ear wires and structural frames
- 22-gauge (0.6mm) — For wrapped loops and medium-duty work
- 24-gauge (0.5mm) — For fine wrapping and decorative elements
Half-hard round wire works best for ear wires because it's stiff enough to hold its hook shape. Dead-soft wire is fine for decorative wrapping. Copper is ideal for learning; sterling silver for finished pieces.
Ear Wire Options
- French hooks (fish hooks) — The most common style. Easy to make from scratch or buy pre-made
- LeVER back hooks — Secure closure, good for valuable stones. Usually purchased pre-made
- Stud posts — Sit flat against the earlobe. Best with small stones (under 10mm)
- Hoop style — A continuous loop that threads through the ear. More complex to make
Pre-made ear wires in sterling silver cost $3-8 per pair. Making your own from 20-gauge wire costs under $0.50 per pair and takes about 2 minutes once you've practiced. For production (making multiple pairs to sell), making your own is dramatically more cost-effective.
Crystals and Stones
For earrings, smaller is better. Stones in the 6-12mm range are ideal:
- Tumbled stones — 8-10mm rounds or chips. Inexpensive ($2-5 per 10-pack) and available in dozens of varieties
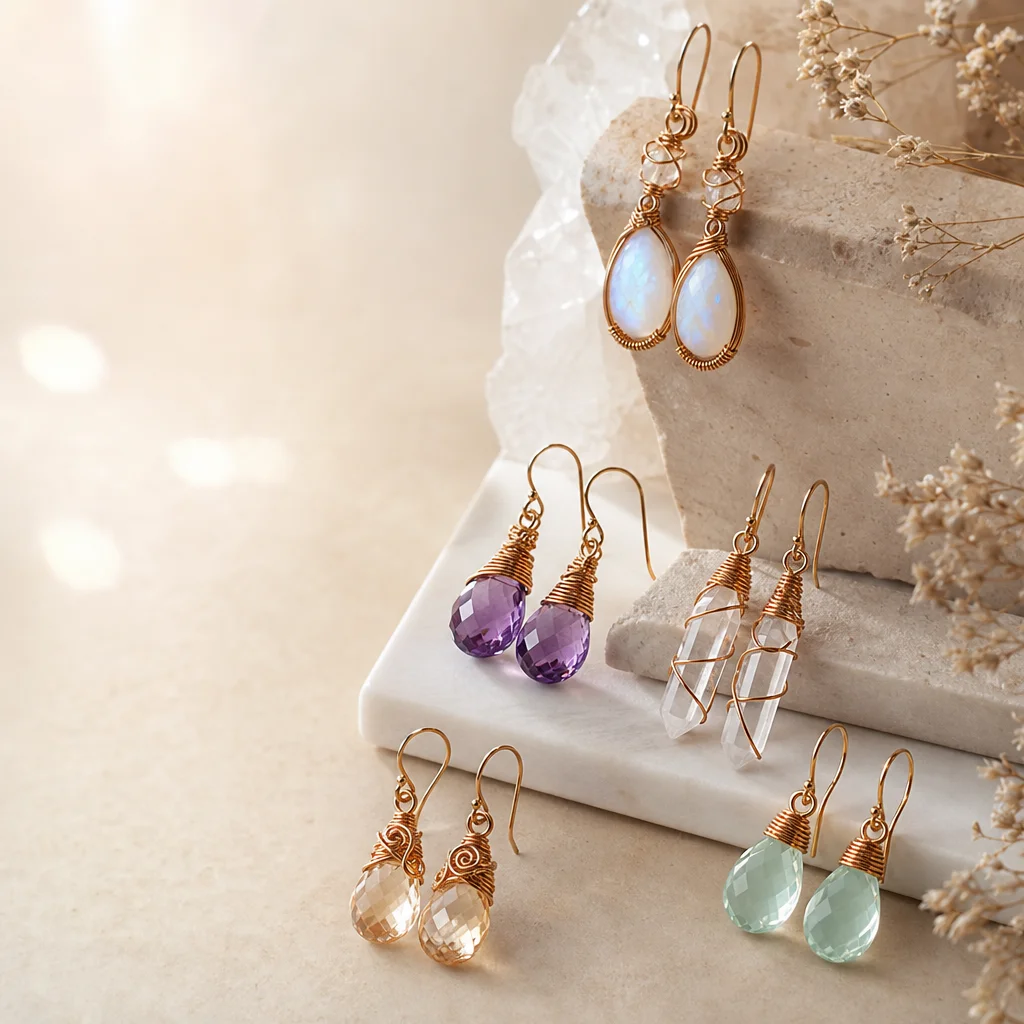
- Briolettes — Teardrop-shaped stones with a drill hole at the top. The drilled hole simplifies wire wrapping enormously
- Chip beads — Irregular small fragments threaded on wire. Good for cascading designs
- Small cabochons — 10-15mm flat-backed stones that can be wire-framed like mini pendants
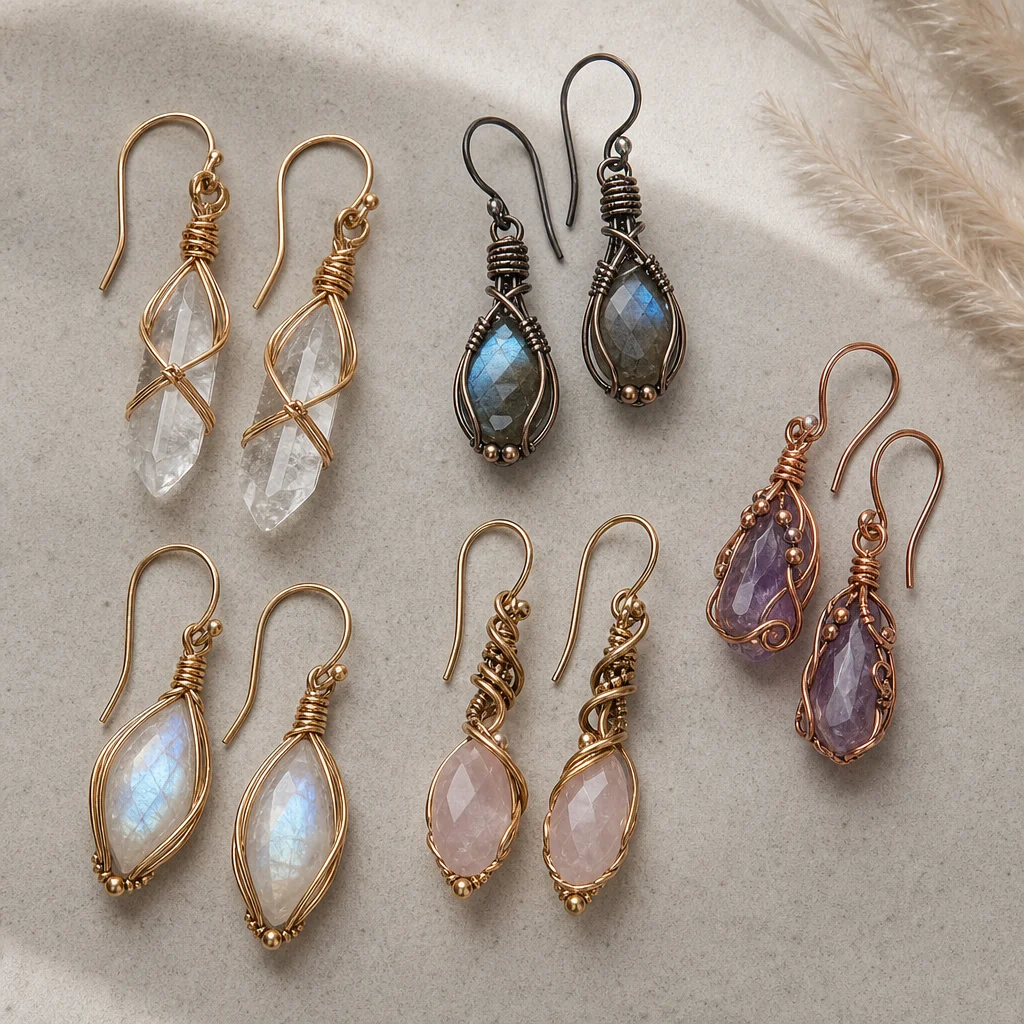
Best beginner stone choices: amethyst (hard, affordable, purple is popular), rose quartz (soft pink, pairs with everything), black tourmaline (neutral, goes with any outfit), clear quartz (clear, versatile, affordable).
Design 1: Simple Wire-Wrapped Drops
The simplest design possible—just a stone wrapped in wire hanging from an ear wire. It sounds basic, but with clean execution and the right stone, these look elegant and sell well at craft markets.
What You Need Per Pair
- 2 tumbled stones (8-12mm)
- 8 inches of 22-gauge wire (4 inches per earring)
- 2 ear wires (pre-made or homemade)
Step-by-Step
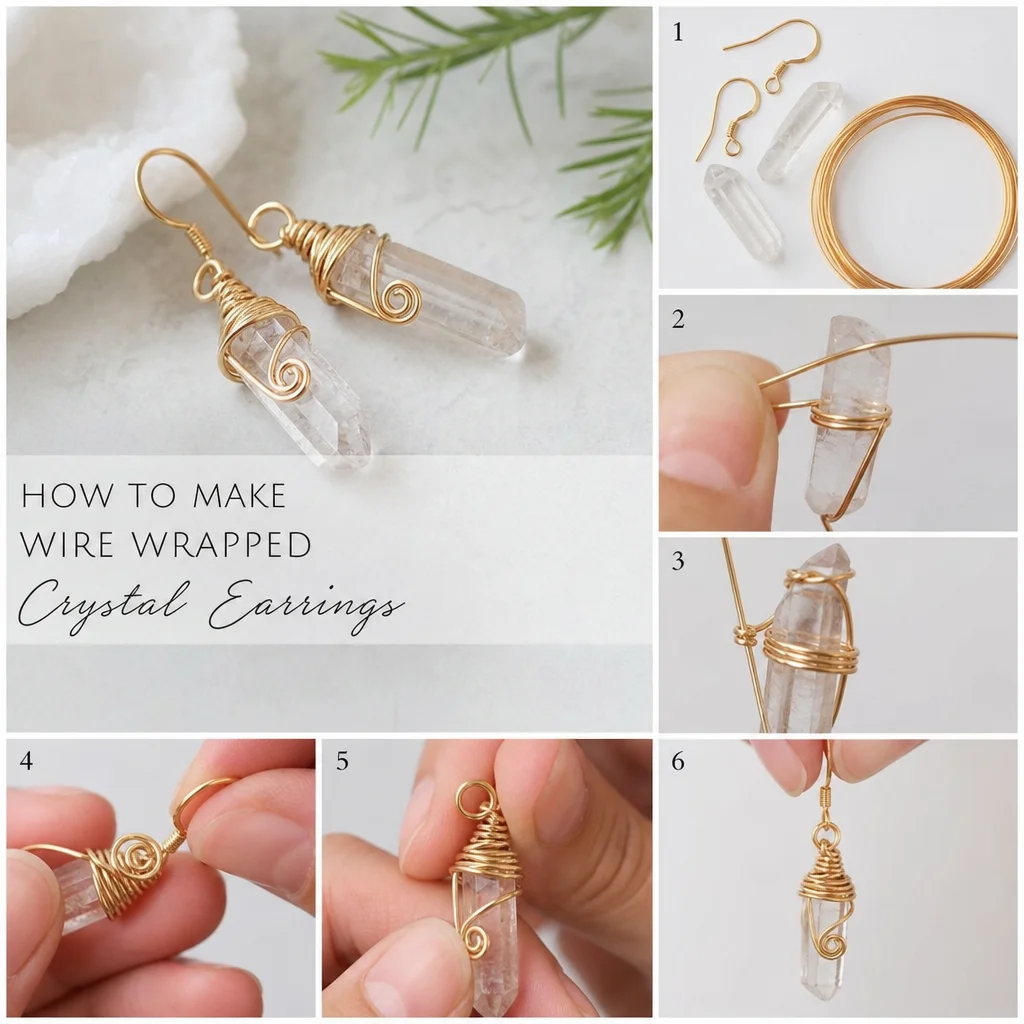
Step 1: Cut 4 inches of 22-gauge wire for one earring. Grip the wire about 1 inch from one end with your round-nose pliers. Make a small loop. This loop will connect to the ear wire, so make sure it's large enough to hook onto the ear wire easily.
Step 2: Thread the stone onto the wire through the loop (if using a briolette with a drill hole) or position the stone between the two wire arms (if using a tumbled stone with no hole).
Step 3: For no-hole tumbled stones: Hold the stone against the wire so the loop is above the stone and the two wire arms extend below it. Bend both arms upward along the sides of the stone, crossing them over each other above the stone. Wrap one arm around the other 3-4 times to create a secure cage. Clip the excess wire and tuck the end flat.
Step 4: For briolettes: Simply wrap the wire tail around the stem 3-4 times below the loop, creating a neat wrapped connection. Clip the excess and tuck the end.
Step 5: Open the loop at the top (twist it sideways, don't pull it open, which distorts the shape) and thread it onto the ear wire. Close the loop securely.
Step 6: Repeat for the second earring. Hold both earrings side by side and check symmetry—the loops should be the same size, the wraps the same number, and the stones should hang at the same angle.
Time: About 10-15 minutes per pair once you've practiced.
Design 2: Wrapped Loop Hoop Earrings
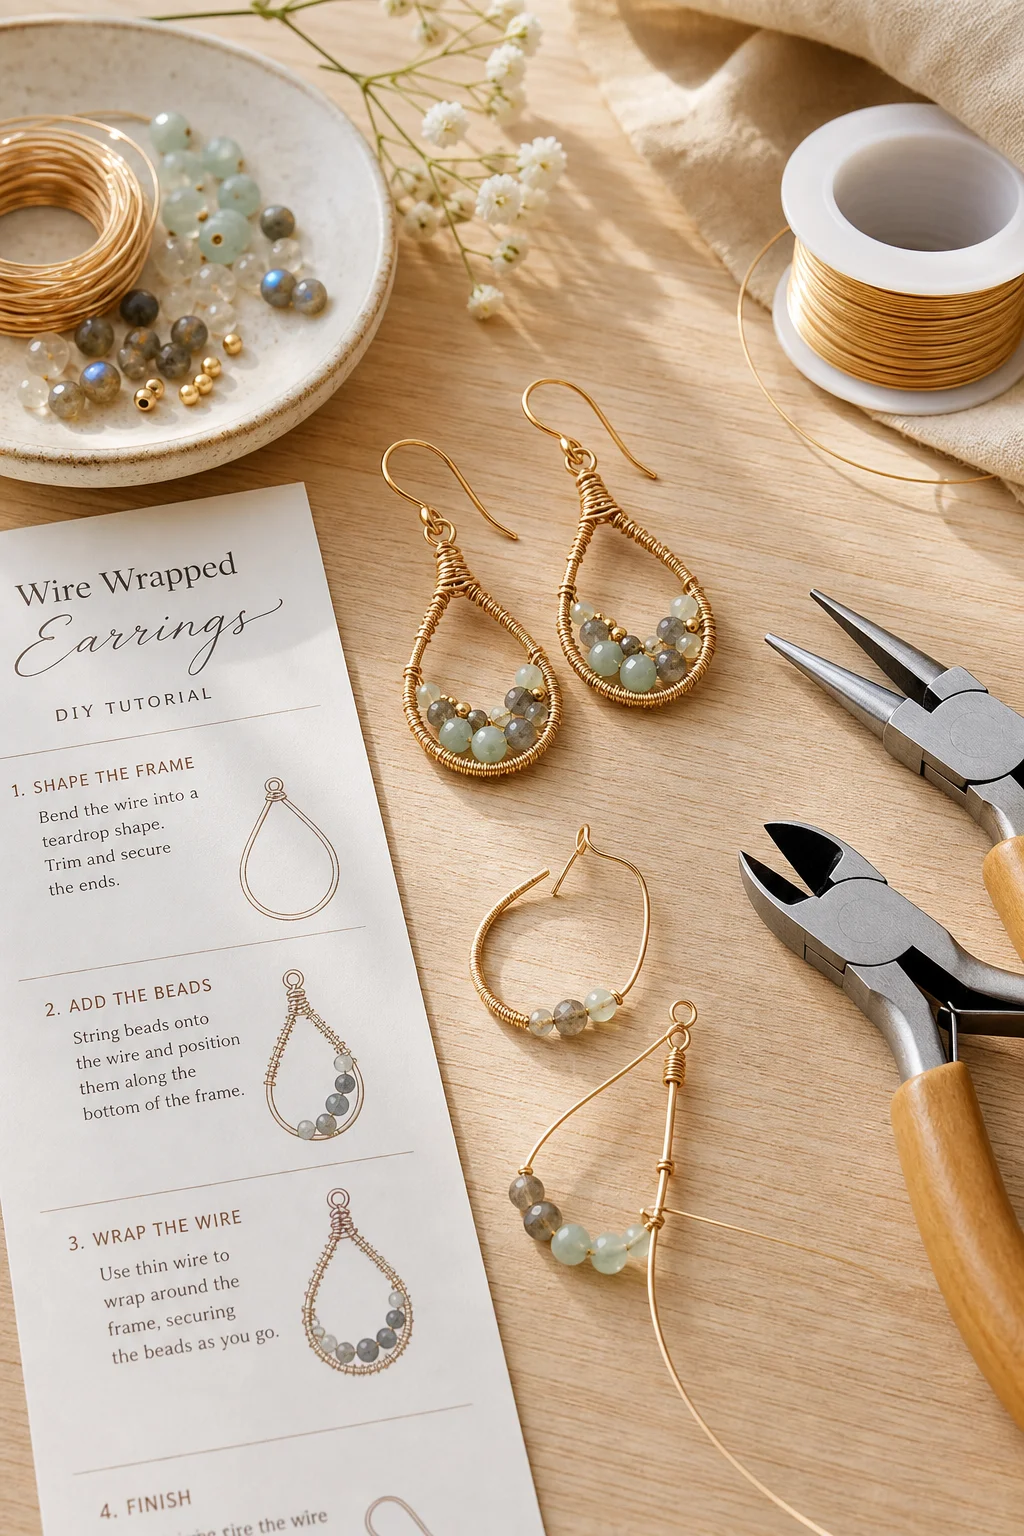
This design creates a small wire-wrapped hoop with a crystal suspended in the center. It's more complex than the simple drop but still manageable for beginners, and the hoop frame adds a professional touch.
What You Need Per Pair
- 2 small stones (6-8mm briolettes or tumbled rounds)
- 14 inches of 20-gauge wire (7 inches per earring)
- 12 inches of 24-gauge wire (6 inches per earring)
- 2 ear wires
Step-by-Step
Step 1: Cut 7 inches of 20-gauge wire for one earring. Using the thickest part of your round-nose pliers jaws, form the wire into a circle about 20mm in diameter. Don't close the circle completely—leave a gap of about 2-3mm.
Step 2: Using your flat-nose pliers, bend the wire ends so they face the same direction, both pointing inward or both pointing downward. These ends will be where you connect the ear wire and wrap the stone.
Step 3: Position your stone in the center of the hoop. Using 3 inches of 24-gauge wire, wrap the stone securely to the hoop at its center point. For a briolette, thread the wire through the hole and wrap both sides around the hoop frame. For a tumbled stone, create a small cage using the same technique as Design 1, then bind it to the hoop.
Step 4: At the top of the hoop (the gap), use the remaining 24-gauge wire to wrap the two hoop ends together, closing the gap and creating a neat wrapped connection. This joint should be at the 12 o'clock position where the ear wire attaches.
Step 5: Make a small wrapped loop at one of the hoop ends for the ear wire connection. Clip excess wire and tuck ends.
Step 6: Repeat for the second earring. Check that both hoops are the same diameter and the stones sit at the same position (dead center).
Time: About 20-25 minutes per pair.
Design 3: Cascading Chandelier Earrings
This is the most elaborate of the three designs—three or more stones dangling in tiers from a frame. Chandelier earrings look dramatic and are impressive to wear, but the technique is fundamentally the same wrapped-loop skill used in the simpler designs, just repeated.
What You Need Per Pair
- 6 small stones (6-8mm each)—3 per earring in complementary colors
- 20 inches of 20-gauge wire (10 inches per earring) for the frame
- 20 inches of 22-gauge wire (10 inches per earring) for dangles
- 2 ear wires
Step-by-Step
Step 1 — Make the frame: Cut 10 inches of 20-gauge wire. Form the top portion into a modified U-shape—imagine a horseshoe with the open end facing down. The overall height should be about 35-45mm. The closed end (top) will connect to the ear wire; the open end (bottom) will hold the dangling stones.
Step 2 — Create attachment points: At the bottom of the U-frame, create three small loops or wrapped attachment points. The center one hangs lowest; the two side ones are slightly higher. Bend small downward hooks in the wire at each point, or add small wrapped rings.
Step 3 — Wire wrap the dangles: Cut three pieces of 22-gauge wire, each about 3 inches. Wrap one stone onto each using the simple drop technique from Design 1. The center dangle should hang about 15-20mm below the frame; the side dangles about 10-15mm below.
Step 4 — Connect dangles to frame: Open each dangle's top loop, attach it to its corresponding frame point, and close securely.
Step 5 — Finish the top: At the top of the U-frame, create a wrapped loop for the ear wire connection. Wrap any loose wire ends and tuck everything flat.
Step 6 — Balance check: Hold the finished earring at the ear wire point and let it hang freely. All three dangles should hang straight and symmetrically. If one side is heavier, it will pull the frame to one side. Adjust by trimming a heavier stone or switching to a lighter one.
Time: About 30-40 minutes per pair.
Weight Management: The Earring Comfort Factor
Heavy earrings cause earlobe pain, stretching, and eventually tearing. Crystal wire-wrapped earrings can get heavy fast, especially chandelier designs with multiple stones and lots of wire.
Target weight guidelines:
- Everyday wear: under 7 grams per earring (about the weight of two US quarters)
- Occasional wear (evenings, events): up to 10 grams
- Heavy/statement pieces: up to 15 grams, but warn the wearer not to wear them for extended periods
How to keep earrings light:
- Use small stones (6-8mm instead of 12-15mm for drops)
- Use thinner wire where possible (24-gauge for wrapping instead of 20-gauge)
- Copper wire is slightly lighter than sterling silver per volume
- Avoid dense stones like hematite (specific gravity 5.3) for earrings—quartz-family stones (specific gravity 2.65) are half the weight
- Limit chandelier designs to 3 stones per earring, not 5+
Weigh your finished earrings on a digital jewelry scale (available for $10-15 on Amazon). It's the only way to know for sure if they're within a comfortable range.
Making Your Own Ear Wires
It's a simple skill that saves significant money over time. Here's how:
Step 1: Cut 3 inches of 20-gauge half-hard wire. Use round-nose pliers to form a small loop at one end (the loop that will hold the earring body).
Step 2: Hold the loop in flat-nose pliers. Bend the wire upward in a gentle curve, then back downward past the loop to create the fishhook shape. The overall length should be about 20-25mm.
Step 3: Use chain-nose pliers to bend the very end of the wire slightly outward (the tail that goes through the ear). This small outward bend prevents the earring from slipping out of the ear.
Step 4: File the tip smooth—this wire end will pass through your ear piercing, so any sharp edges will cause discomfort. A nail file, emery board, or cup burr tool works for this.
Step 5: Lightly hammer the curve of the hook with a nylon or rawhide mallet to work-harden it. This helps the hook hold its shape and prevents it from bending open during wear. Don't use a metal hammer directly on the wire—it will leave marks.
Step 6: Polish with a jewelry cloth to smooth any handling marks.
Matching Earring Pairs: Consistency Tips
The hardest part of making earrings isn't the technique—it's making two that look identical. Here are the tricks:
- Count your wraps. If you wrap 4 times on one earring, wrap exactly 4 on the other. Even one extra wrap creates a visible asymmetry.
- Measure loop sizes. Use the same mark on your round-nose pliers jaws for both earrings' loops. This ensures matching diameters.
- Match stone sizes. Tumbled stones are never perfectly uniform. Pick two that are as close in size and shape as possible from the same batch.
- Work on both simultaneously. Do step 1 on earring A, then immediately do step 1 on earring B. Alternating between the two throughout the process maintains consistency better than completing one and then starting the other.
- Hold them up together. After each step, hold both earrings side by side at eye level. It's easier to spot asymmetry while building than to discover it when both are finished.
Frequently Asked Questions
What stones should beginners avoid for earrings?
Avoid very soft stones (Mohs under 4) like malachite, fluorite, calcite, and selenite—they scratch too easily in earrings that bump against hair and clothing. Also avoid very heavy stones like hematite and galena—they make earrings uncomfortable. Stick with quartz-family stones (amethyst, citrine, rose quartz, clear quartz, smoky quartz) and feldspar (moonstone, labradorite) for durability.
Can I sell wire wrapped crystal earrings?
Absolutely. Simple drop earrings in sterling silver with genuine crystals sell for $18-35 per pair at craft fairs and online. Chandelier designs command $30-60. The key to selling is clean finishing—no visible wire ends, symmetrical pairs, and polished metal. Photography matters too; take photos on a plain white background in natural light.
How do I keep earrings from tarnishing?
Store in anti-tarnish bags with silica gel packets. For copper earrings, apply a thin coat of clear sealant before wearing. Sterling silver can be maintained with regular polishing. For customers who buy your work, include a small anti-tarnish bag and care instructions with the purchase.
Keep Learning Wire Wrapping
Ready to expand your wire wrapping skills beyond earrings? These guides will take your craft further:
- How to Start Making Handmade Wire Wrapped Jewelry — a complete beginner overview of tools, materials, and techniques
- How to Wire Wrap a Crystal Pendant — step-by-step pendant tutorial to complement your earring skills
- How to Wear Statement Earrings Right — style guide for the pieces you just learned to make
- Wire Wrapping Stones for Beginners — focusing on wrapping irregular tumbled stones and rough crystals
Frequently Asked Questions
What wire gauge is best for making DIY earring hooks?
For crafting ear wires in our SagStone designs, 20-gauge wire is the golden standard. It is thick enough to hold its shape securely and durable enough for daily wear, yet thin enough to comfortably slip through the piercing without causing irritation. You can also use 21-gauge wire if you prefer a slightly daintier look for your handcrafted jewelry pieces!
How do you make wire-wrapped crystal earrings comfortable to wear?
Comfort is crucial for SagStone artisans! To keep handcrafted wire-wrapped crystal earrings lightweight, choose smaller raw stones or tumbled chips rather than large, heavy nuggets. Additionally, using finer gauges like 26-gauge wire for the intricate wrapping prevents unnecessary bulk. Always distribute the crystal's weight evenly across the earring base to prevent it from pulling painfully on the earlobe.
Comments