How to Start Making Handmade Wire Wrapped Jewelry: A Beginner's Complete Guide
Wire wrapped jewelry is one of the most accessible forms of handmade jewelry making. With just a few basic tools and some wire, you can create stunning pieces that look professional — no soldering, no torches, and no expensive equipment required.
Whether you're looking for a new creative hobby or want to start selling your own handmade pieces, this guide will walk you through everything you need to know to get started.
What You'll Need: Essential Tools and Materials
Before you make your first loop, you'll need to gather some basic supplies. The good news is that wire wrapping has a low barrier to entry — most beginners can get started for under 0.
Tools
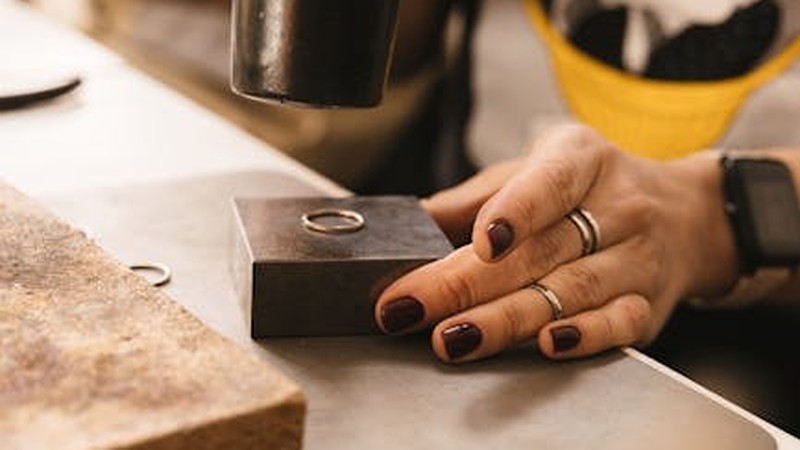
- Round-nose pliers — These are your most important tool. They create loops and curves in the wire. Invest in a decent pair with comfortable grips.
- Chain-nose pliers — Flat on the inside, these are used for gripping wire, opening jump rings, and flattening crimps.
- Wire cutters (flush cutters) — For clean cuts. Cheap cutters leave rough edges that snag on everything.
- Nylon-jaw pliers — Optional but helpful for straightening bent wire without marking it.
- Ruler or measuring tape — For consistent wire lengths.
- Permanent marker — For marking bend points on your round-nose pliers (more on this below).
Materials
- Copper wire (18-22 gauge) — Start with copper. It's affordable, easy to work with, and looks beautiful with a patina. 20-gauge is the most versatile for beginners.
- Beads or stones — Any beads with holes large enough for your wire will work. Crystal chips, gemstone beads, and glass beads are all great choices.
- Jump rings — For connecting pieces together.
- Ear wires or chain — If you're making earrings or necklaces.
Fundamental Techniques Every Beginner Should Master
1. Making a Basic Loop
This is the foundation of almost all wire wrapping. Here's how:
- Cut a piece of wire about 2-3 inches long.
- Grip the end with your round-nose pliers, close to the tip for a small loop.
- Wrap the wire around one jaw of the pliers to form a circle.
- The short tail should cross the long wire, creating a stem.
2. Making a Wrapped Loop
A wrapped loop is stronger and more secure than a basic loop. It's the technique you'll use most often:
- Thread a bead onto your wire.
- Make a 90-degree bend just above the bead, leaving about 1/4 inch of wire.
- Grip the bend with round-nose pliers.
- Wrap the short tail around the stem 2-3 times.
- Trim the excess tail with flush cutters.
- Use chain-nose pliers to press the cut end flat against the wraps.
3. Making a Simple Wire Bail
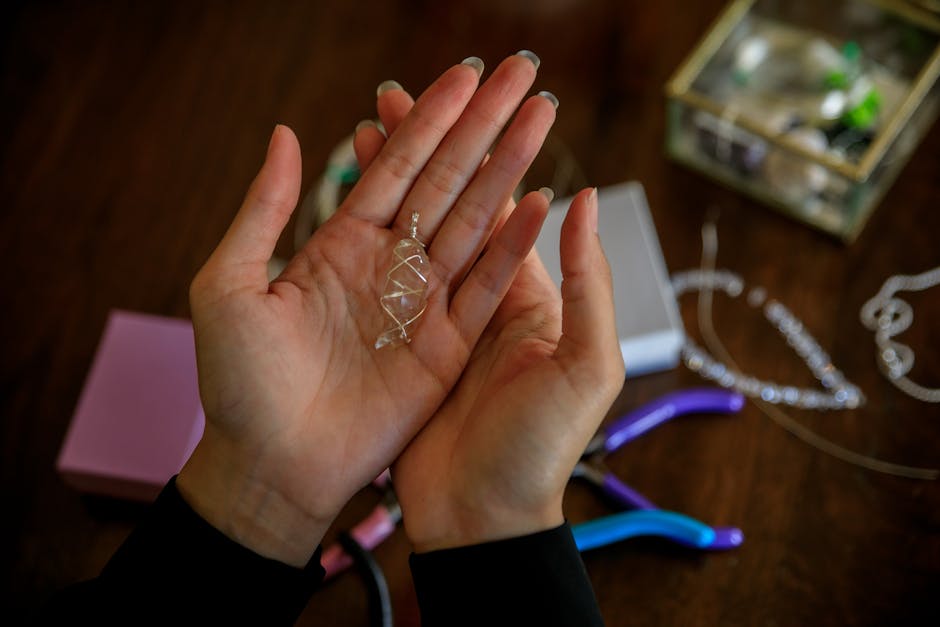
A bail is the loop at the top of a pendant that connects it to a chain. A simple wire bail looks clean and professional:
- Cut about 3 inches of 20-gauge wire.
- Make a wrapped loop at one end.
- Hold the loop against the top of your stone or bead.
- Bend the wire down and around the stone, then back up to meet the loop.
- Wrap the working end around the stem of the original loop 2-3 times.
- Trim and flatten the end.
Your First Project: Simple Wire Wrapped Pendant
Now let's put those skills together into a finished piece. This project takes about 15-20 minutes and requires minimal materials.
What You Need
- 1 large focal bead or crystal (20-30mm)
- 2 feet of 20-gauge copper wire
- 1 leather cord or chain
- Round-nose, chain-nose, and flush cutters
Steps
- Thread the bead onto the wire, centering it.
- Create the bail — Bend both wire ends upward on either side of the bead. Cross them at the top.
- Wrap the top — Use one wire to wrap around both strands 3-4 times, forming a neat wrapped section at the top.
- Create a loop — Use the remaining wire to make a wrapped loop at the top for hanging.
- Add decorative wraps (optional) — Wrap the remaining wire tail around the base of the bead 2-3 times on each side for a finished look.
- Trim all ends and press them flat with chain-nose pliers.
- String onto a cord or chain and your pendant is complete.
Common Beginner Mistakes (And How to Avoid Them)
Using the wrong wire gauge. Too thin (24+ gauge) and your wire bends too easily and won't hold shape. Too thick (16 gauge or below) and it's hard to manipulate. Start with 20-gauge for most projects.
Not making consistent loops. Use a permanent marker to draw a line on your round-nose pliers jaw at the point where you want your loop size. This ensures every loop is the same size.
Leaving sharp wire ends. Always use flush cutters (not regular wire cutters) and press the cut end flat. A sharp wire end will snag on clothes and skin.
Overworking the wire. Wire becomes brittle when bent back and forth too many times. If a piece isn't working out, cut a new piece of wire rather than trying to reshape a work-hardened section.
Skipping practice. Make 10 basic loops before attempting a project. Make 10 wrapped loops. Muscle memory matters in wire wrapping, and the repetition builds confidence and consistency.
Where to Go From Here
Once you're comfortable with basic loops, wrapped loops, and simple bails, the world of wire wrapping opens up dramatically. You can explore woven wire bracelets, tree of life pendants, crystal cages, and intricate ring designs.
The best way to improve is to make something every day, even if it's just a single wrapped loop bead link. Over the course of a month, you'll notice a dramatic improvement in your consistency, speed, and design confidence.
Happy wrapping!
Comments