How to Wire Wrap a Crystal Pendant: A Step-by-Step Tutorial That Actually Works
How to Wire Wrap a Crystal Pendant: A Step-by-Step Tutorial That Actually Works
The first time I tried wire wrapping (and why I almost gave up)
I remember my first attempt at wire wrapping a crystal. I bought a cheap amethyst point from a craft store, grabbed some random copper wire, and thought, how hard could this be? The answer: very hard. I ended up with a tangled mess of wire, a slightly scratched crystal, and bruised fingers. I threw the whole thing in a drawer and did not try again for almost a year.
What changed was stumbling into a small wire wrapping workshop at a gem show. The instructor showed me three things I had been doing completely wrong: I was using wire that was too thick, I had no plan for my wraps, and I was forcing the wire instead of guiding it. Within an hour, I made something that actually looked like jewelry. It was not perfect, but it was wearable.
That experience taught me something important about learning how to wire wrap a crystal pendant. The technique is not complicated, but the gap between a frustrating mess and a decent result is surprisingly small. You just need the right materials, a basic understanding of how wire behaves, and a few practiced movements. This wire wrapping tutorial is what I wish someone had handed me on day one.
[IMG: A side-by-side comparison showing a messy first attempt at wire wrapping next to a clean, professional wire wrapped crystal pendant]
Tools and materials you actually need
The biggest mistake beginners make is buying too much stuff or the wrong stuff. You do not need a professional jeweler's bench. Here is what I recommend, and I am keeping it minimal on purpose.
Wire
Start with dead-soft round copper wire in two gauges: 20-gauge for the structural frame and 26-gauge for wrapping and decorative coils. Copper is affordable, easy to work with, and looks great with a simple patina. Learn on copper first. It is far more forgiving than sterling silver or gold-filled wire.
Buy bare copper wire, not the coated craft stuff. The coating adds bulk and hides the natural color. I usually get mine in 10-foot spools, enough for several pendants.
Crystal or stone
For your first project, pick a crystal with a natural point or an interesting irregular shape. Amethyst points, quartz clusters, and raw citrine all work well. Tumbled stones are actually slightly harder to wrap because they have fewer natural anchor points for the wire to grip.
Something between 1 and 2.5 inches long is ideal. Anything smaller is fiddly, anything larger needs thicker wire and more experience. Look for a stone with at least one flat side or natural ridge where the wire can create a stable base.
Essential tools
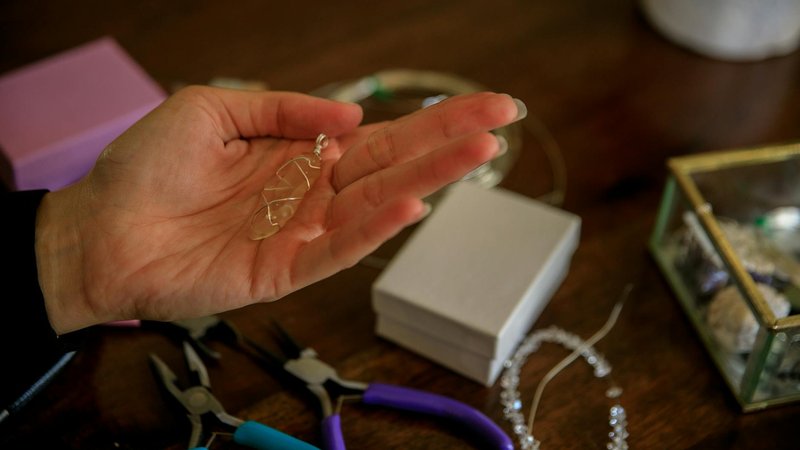
You need three tools. Round-nose pliers for loops and curves. Chain-nose pliers (flat inside) for gripping wire and tucking in sharp ends. And flush cutters that cut flat on one side, which matters more than you would think for clean finishes.
A nylon-jaw plier is helpful for straightening bent wire without leaving marks, but not strictly necessary. If you are only buying three tools, skip it and just work carefully with your chain-nose pliers.
[IMG: A flat-lay photo showing round-nose pliers, chain-nose pliers, flush cutters, copper wire spools in two gauges, and a raw amethyst crystal point]
Step-by-step wire wrapping tutorial
This covers a basic wrapped-loop pendant, the foundation for almost every wire wrapped crystal necklace design.
Step 1: Plan your wrap before you touch the wire
Hold your crystal and look at it from every angle. Decide which side is the front, where the bail goes (the loop for your chain), and which natural features you can use as anchor points. You need at least two spots where the wire can wrap without slipping. These are usually ridges, narrower sections, or slight indentations.
Decide on bail placement now. It should be at the top, centered, and about 5mm to 7mm wide to fit most chains.
Step 2: Cut and prepare your frame wire
Cut a piece of 20-gauge wire about 10 to 12 inches long. Straighten it by running it through nylon-jaw pliers or pulling it taut. Find the center and make a small loop with your round-nose pliers. This is the start of your bail. Bend both sides down at about 90 degrees, creating a U-shape.
Gently curve the arms so they follow the contour of your crystal. Hold the crystal against the frame and adjust until the wire sits snugly. Take your time here. A well-fitting frame makes everything else easier.
Step 3: Create the first anchor wrap
Cut about 18 to 24 inches of 26-gauge wire. Starting near the bottom of the crystal, wrap the thin wire around both the crystal and the frame 3 to 4 times. Pull each wrap snug but not tight enough to bite into the stone. Each wrap should sit right next to the previous one, like spring coils. Rotate the piece as you wrap rather than trying to wrap around a stationary crystal.
Step 4: Build up to the second anchor point
Continue wrapping upward, spiraling in neat even coils. Every 6 to 8 wraps, pause and check alignment. When you reach your second anchor point, wrap 3 to 4 times to lock it down. If your crystal is tall or oddly shaped, add a third anchor in the middle. The goal is stability — the crystal should not slide or rotate when you are done.
Step 5: Form and close the bail
Bring both frame wire arms up to the top. Cross them over the existing bail loop to create a wrapped bail. Use your wrapping wire to coil around the crossed arms 4 to 5 times. Trim the wrapping wire and use chain-nose pliers to press the cut end flat. This step separates a finished-looking piece from an obviously handmade one.
Trim the frame wire tails, leaving enough to tuck inside the bail coils. Fold them inward and press flat. The bail loop should be clean and smooth all the way around.
Step 6: Add decorative elements
A small rosette at the base of the bail adds character. Make a tiny loop, coil the wire around itself 2 to 3 times for a flat spiral, press it against the pendant, and wrap the stem through existing coils to secure it. You can also thread small seed beads or contrasting stone chips onto the wrapping wire before coiling for extra color.
Step 7: Final shaping and hardening
Hold the pendant up and check it from all angles. Adjust any wire that looks off. If the bail feels too soft, lightly tap it with a nylon mallet on a steel block to work-harden the wire without changing its shape.
For a finished look, darken the copper with a vinegar-and-salt patina or commercial Liver of Sulfur, then polish highlights with fine steel wool. This makes the wire details pop.
[IMG: A six-photo sequence showing each major step of wire wrapping a crystal pendant, from planning to the finished polished piece]
Common mistakes (and how to fix them)
The crystal slides around inside the wire
Your anchor wraps are too loose or too few. Add another wrap at a third point, or tighten existing ones. If the wire is already work-hardened, add a new piece of wrapping wire rather than trying to force stiff wire tighter.
The wrapping wire looks uneven
This comes from inconsistent tension. Rotate the piece as you wrap, keeping the same angle and pressure. Make sure your wire is straight before starting. Kinked wire produces kinked wraps. If a section looks bad, unwrap and redo it. The wire handles being reworked a couple of times.
Wire ends scratch skin or snag fabric
Every cut end needs to be tucked into a coil or filed smooth. Flush cutters help since they cut one side flat, but you still need to press that flat side against adjacent wire with chain-nose pliers. If you cannot tuck an end, use a jewelry file.
The bail is too small for the chain
Test the bail with your chain before closing it. I always make bails slightly larger than needed because shrinking one is easy but enlarging a closed bail is nearly impossible.
Advanced tips for wire wrapped crystal necklaces
Different wire gauges and tempers
Dead-soft wire shapes easily but stays soft. Half-hard wire holds its shape better. I use half-hard 20-gauge for frames and dead-soft 26-gauge for wrapping. For larger stones over 2 inches, step up to 18-gauge frame wire. For delicate tumbled stones, 22-gauge frame and 28-gauge wrapping give you finer control.
Working with tricky crystal shapes
Raw points are beginner-friendly because their shape gives clear anchor points. Tumbled stones are harder because the smooth surface offers nothing to grip — you need to create a wire cage that holds the stone by tension. For irregular crystals, a free-form wrap where the wire follows the contours organically produces unique, striking results.
Mixing metals for contrast
A thin sterling silver or brass wire woven through copper coils creates contrast that makes a piece look more complex than it is. Even a single silver accent wrap or a small silver bead on the bail makes a noticeable difference. Lightly hammering the frame wire with a chasing hammer before wrapping adds organic texture too.
Maintaining copper jewelry
Copper darkens over time. Store pieces in airtight bags with anti-tarnish strips to slow oxidation. A polishing cloth restores brightness in seconds. If you want to preserve a patina, two light coats of clear acrylic sealer lock in the color without making the piece look coated.
[IMG: Four finished pendants showing different styles: a basic wrapped amethyst point, a free-form wrap on irregular quartz, a mixed copper-and-silver design, and a hammered-texture piece with patina]
Start making your own wire wrapped crystal pendants
Wire wrapping has a steep learning curve for the first few pieces, then it flattens out fast. Your first pendant might take an hour and look rough. Your fifth will probably take twenty minutes and look good enough to wear. By your twentieth, you will have your own style.
The materials are cheap enough that mistakes cost almost nothing. A foot of copper wire and a practice crystal set you back less than two dollars. The tools last for years. And the result is something you made with your hands, which is a pretty satisfying feeling.
Grab some copper wire, pick a crystal that catches your eye, and give it a try. Your first one does not need to be perfect. It just needs to be finished.
Comments