Statement Earrings: How to Wear Bold Earrings Without Overwhelming Your Face

How to fix a broken necklace clasp without going to a jeweler
Meta description: A broken necklace clasp does not mean the necklace is ruined. Most common clasps can be replaced at home with a pair of needle-nose pliers, a jump ring, and about five minutes.
Which clasp type you are dealing with
Before you can fix anything, you need to identify the clasp. There are four types that account for the vast majority of necklaces on the market.
Lobster clasps are the most common. They have a small lever that you pull back to open a spring-loaded gate, and they close with a satisfying click. They are generally reliable but the internal spring can wear out or the lever can snap off. If the lever no longer springs back when you release it, the mechanism is done and you need a replacement.
Spring ring clasps are smaller and work on a similar principle. You pull back a tiny tab on a circular ring to open it. These are less durable than lobster clasps because the spring mechanism is smaller and the tab is easy to bend. They are common on lighter chains and finer jewelry. I have had more spring ring failures than lobster clasp failures, and I suspect most people have too.
Toggle clasps are completely different. They consist of a bar on one end and a circular ring on the other. You flip the bar through the ring to close the necklace. There are no springs or moving parts, which makes them mechanically simple and unlikely to break. The failure mode is usually the bar slipping through the ring when the necklace is too loose, or the ring stretching open over time.
Magnetic clasps use small magnets to hold the two ends together. They are popular with people who have limited hand dexterity because they are easy to fasten. The downside is that the magnetic connection is not as secure as a mechanical clasp, and the magnets can weaken over time. If your magnetic clasp keeps opening on its own, the magnets have lost strength and the clasp needs replacement.
The basic tools you need
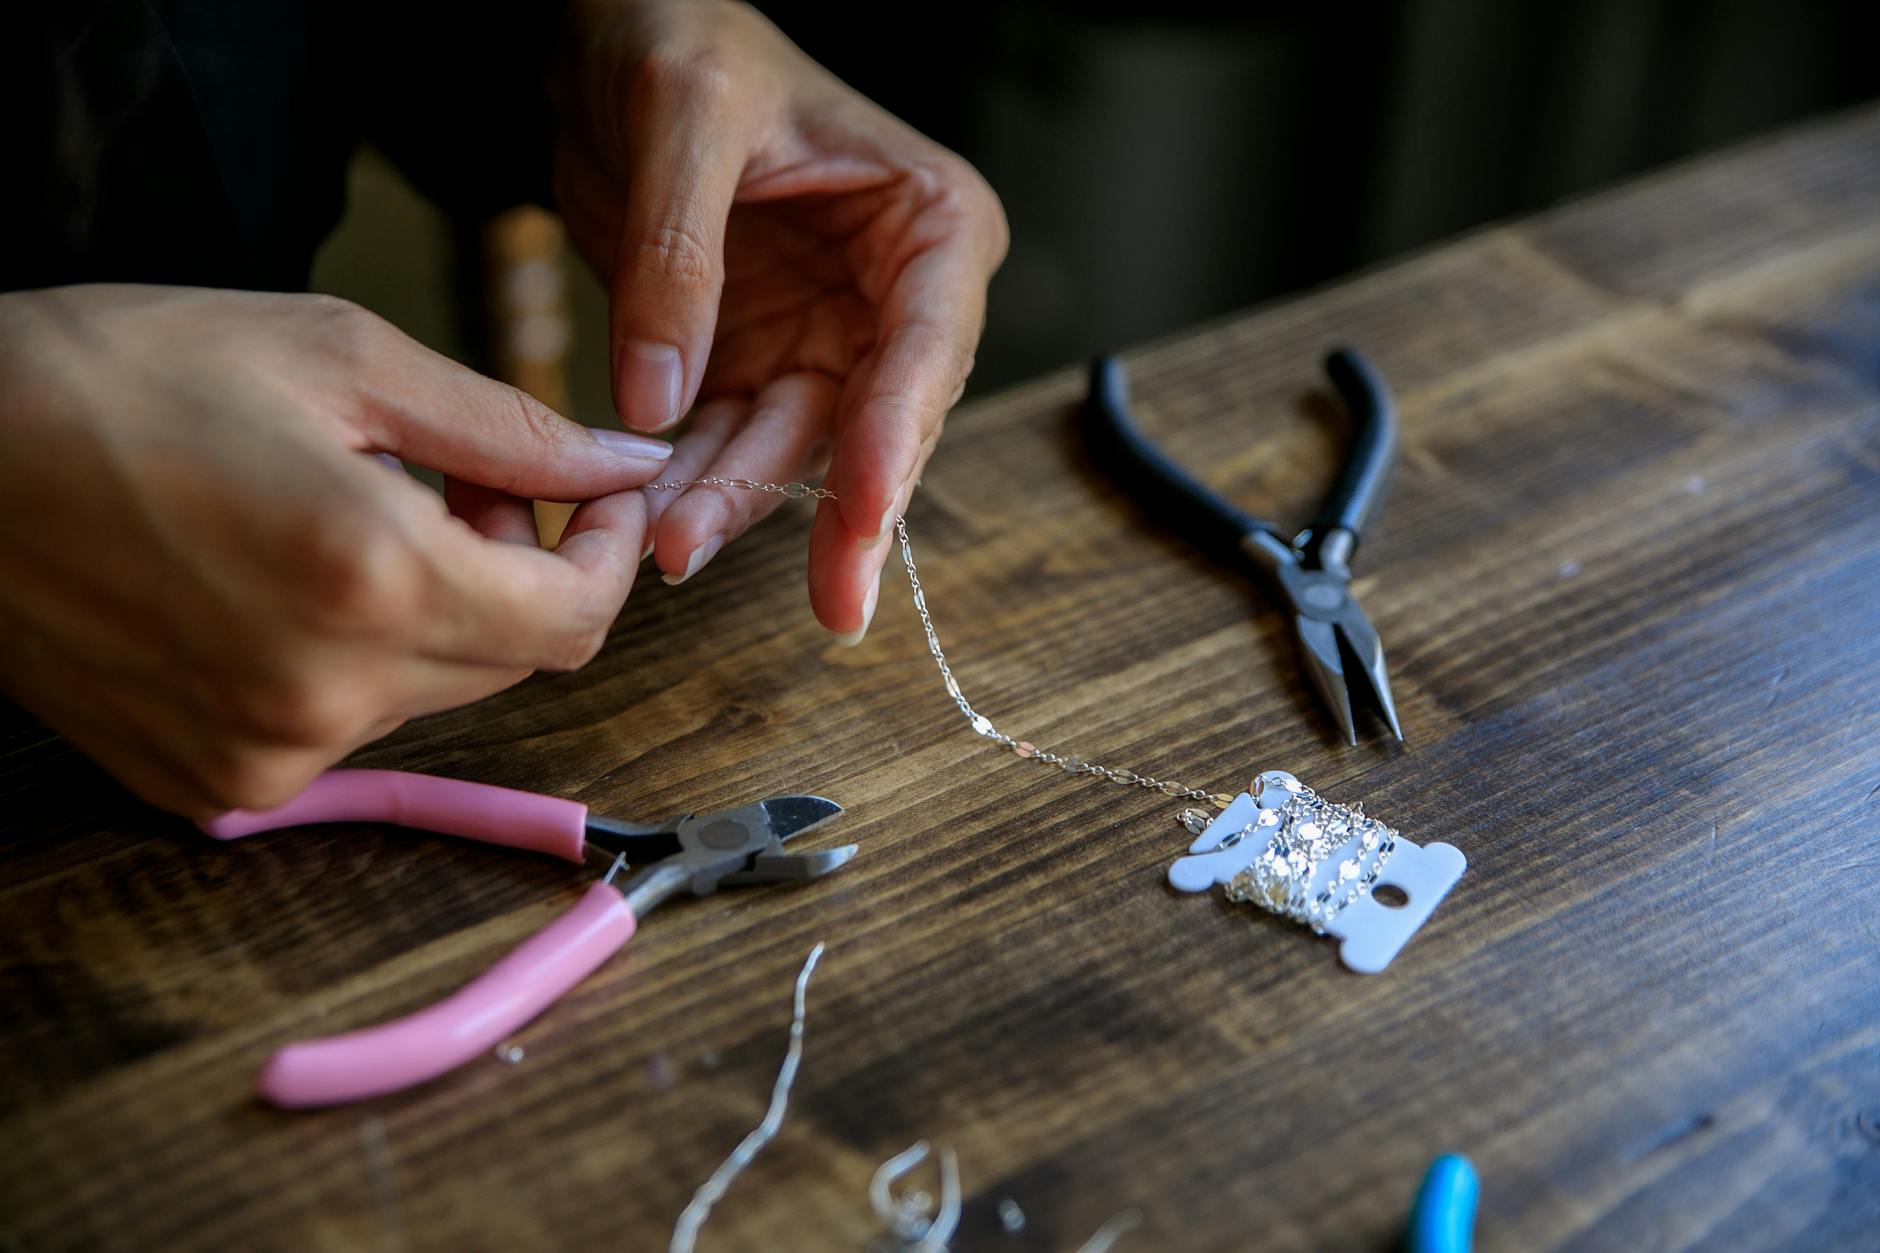
You do not need a jeweler's bench to handle a clasp replacement. A few basic tools will cover most situations.
Needle-nose pliers are the primary tool. You need two pairs for the cleanest results, one to hold the jump ring steady and one to open and close it. If you only have one pair, you can manage, but it is awkward. Chain-nose pliers, which have a flat inner surface, are better than round-nose pliers for this kind of work because they grip the wire more securely without marking it.
Jump rings are the small metal circles that connect the clasp to the chain. You will almost certainly need to use jump rings to attach a new clasp. Buy a small pack in the same metal as your necklace. If your necklace is sterling silver, use silver jump rings. If it is gold-filled or gold-plated, match accordingly. Mixing metals looks odd and can cause galvanic corrosion over time.
A small tray or bowl is worth mentioning because jump rings and tiny clasp parts have an almost supernatural ability to disappear the moment they leave your fingers. Work over a tray, a shallow box, or even a folded towel. I learned this the hard way after spending twenty minutes searching the floor for a single gold jump ring that cost less than a dollar.
Optional but helpful: a magnifying glass or jeweler's loupe for seeing small spring ring mechanisms, and a pair of flush cutters for trimming any excess wire if you are making your own jump rings from scratch.
How to replace a lobster or spring ring clasp
The process for replacing a lobster clasp and a spring ring clasp is essentially the same. I will walk through it step by step.
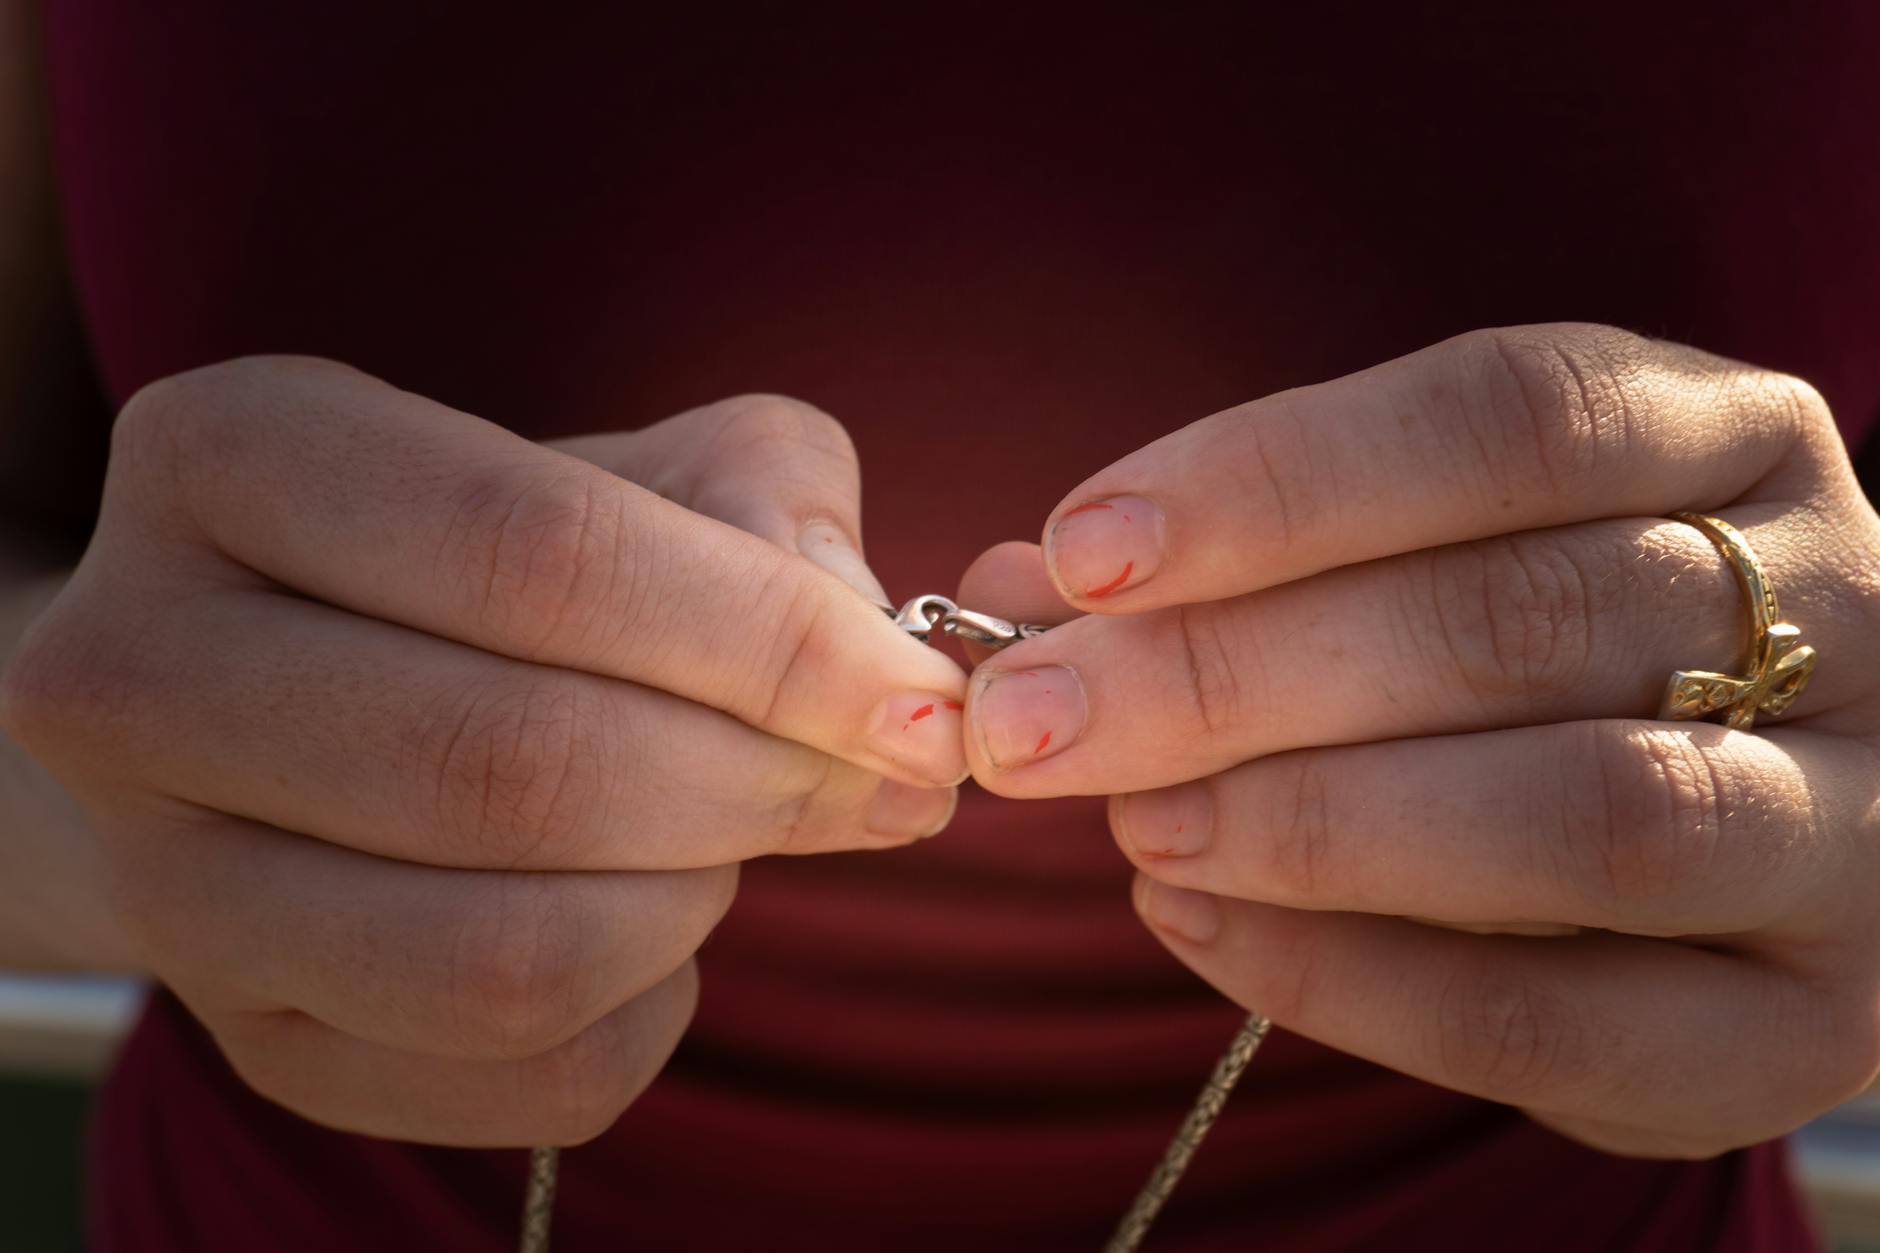
First, examine how the broken clasp is attached to the chain. In most cases, it is connected by a jump ring. Look at the jump ring and find the seam where the two ends meet. You need to open this jump ring to remove the old clasp and attach the new one.
Use one pair of pliers to grip the jump ring on one side of the seam and the other pair to grip the other side. Twist the ends apart by moving one side toward you and the other away from you. The key motion is a twist, not a pull. If you pull the jump ring open by stretching it, you weaken the metal and it will not close properly. Open it just enough to slip the old clasp off.
Slide the broken clasp off the jump ring and set it aside. Thread the new clasp onto the jump ring. Close the jump ring by twisting the ends back together in the opposite direction. The two ends should meet flush, with no gap. If there is a gap, the connection will be weak and the necklace could fall off during wear.
Test the new clasp by opening and closing it a few times. Then give the jump ring connection a gentle tug to make sure it is secure. If everything holds, you are done.
If the jump ring itself is damaged, stretched, or too thin, replace it along with the clasp. A fresh jump ring and a fresh clasp together will give you the most reliable result. This entire process takes about five minutes once you have done it a couple of times.
How to fix a toggle clasp
Toggle clasps fail less often than spring-loaded ones, but they do have a specific problem: the ring can stretch open over time, allowing the bar to slip through too easily. If your toggle necklace keeps falling off, the ring has probably deformed.
The fix depends on how badly the ring is stretched. If it is slightly oval instead of round, you can reshape it with pliers. Grip the ring gently and squeeze it back into a circular shape. Be careful not to over-correct and squeeze it into an oval in the other direction. Check the fit by threading the bar through the ring. It should require a small amount of pressure to pass through.
If the ring is cracked or the bar is bent, replacement is the better option. Toggle clasps are easy to attach with jump rings using the same process described above. The bar goes on one end of the necklace and the ring on the other.
One thing to watch for with toggle clasps: the bar needs to be significantly longer than the diameter of the ring opening. If the bar is only slightly longer than the gap, the necklace will be prone to falling off. When buying a replacement toggle clasp, check this proportion. A bar that is roughly one and a half times the diameter of the ring opening is a safe ratio.
[IMG: a toggle clasp being tested by threading the bar through the ring, showing proper fit]
When to stop DIY and find a professional
Most clasp replacements are straightforward, but there are situations where a jeweler is the better choice.
If your necklace has a very fine chain, below about 0.5mm in thickness, working with pliers carries a real risk of crushing or kinking the chain links. Fine chains are unforgiving. One slip with the pliers can create a weak point that will break later. A jeweler with the right tools can solder a new clasp directly onto the chain, which is a stronger connection than a jump ring.
If the necklace is expensive or has sentimental value, the risk-reward calculation shifts. A five-dollar DIY repair on a fifty-dollar necklace makes sense. On a five-hundred-dollar necklace, the potential cost of making the problem worse outweighs the savings from not visiting a jeweler.
Pearl necklaces and beaded necklaces on silk thread require special handling. The clasp is usually knotted onto the thread rather than attached with a jump ring. Replacing the clasp means restringing at least part of the necklace, which is tedious and easy to mess up if you have not done it before. Most jewelry shops will restring a pearl necklace for twenty to forty dollars, which is worth it to avoid losing beads.
If the chain itself is broken near the clasp, a simple clasp swap will not solve the problem. You need to either solder the chain (which requires a jeweler) or shorten it by removing the damaged links and reattaching the clasp to the new end.
[IMG: a jeweler's bench showing a fine gold chain being soldered under magnification, illustrating work best left to professionals]
A few maintenance tips that prevent problems
Most clasp failures are preventable. A little maintenance goes a long way.
Avoid sleeping in your necklaces. The chain gets twisted and pulled during sleep, and the clasp takes more stress than it would during normal wear. This is probably the single most common cause of premature clasp failure. Take your necklace off before bed.
Store necklaces with the clasp fastened. This prevents the chain from tangling and keeps the spring mechanism from being activated accidentally in a jewelry box. A fastened clasp is a protected clasp.
Do not yank the necklace on or off by pulling on the chain. Use the clasp to open and close it, and handle the chain itself as little as possible. Pulling on the chain stresses both the links and the clasp connection point.
For spring-loaded clasps (lobster and spring ring), occasionally clean the mechanism with a soft brush and warm soapy water. Lotion, sunscreen, and skin oils can build up inside the clasp and make the spring sluggish. A quick clean every few weeks keeps the mechanism working smoothly. Dry it thoroughly after cleaning, because moisture can cause tarnish on silver and plating degradation on base metals.
If you notice the clasp starting to feel loose or the gate not snapping shut as crisply as it used to, replace it before it fails completely. Clasps are cheap. Losing a favorite necklace because you waited too long is not.
Comments