Wire Wrapping with Beads: Combining Stones an...
June 5, 2026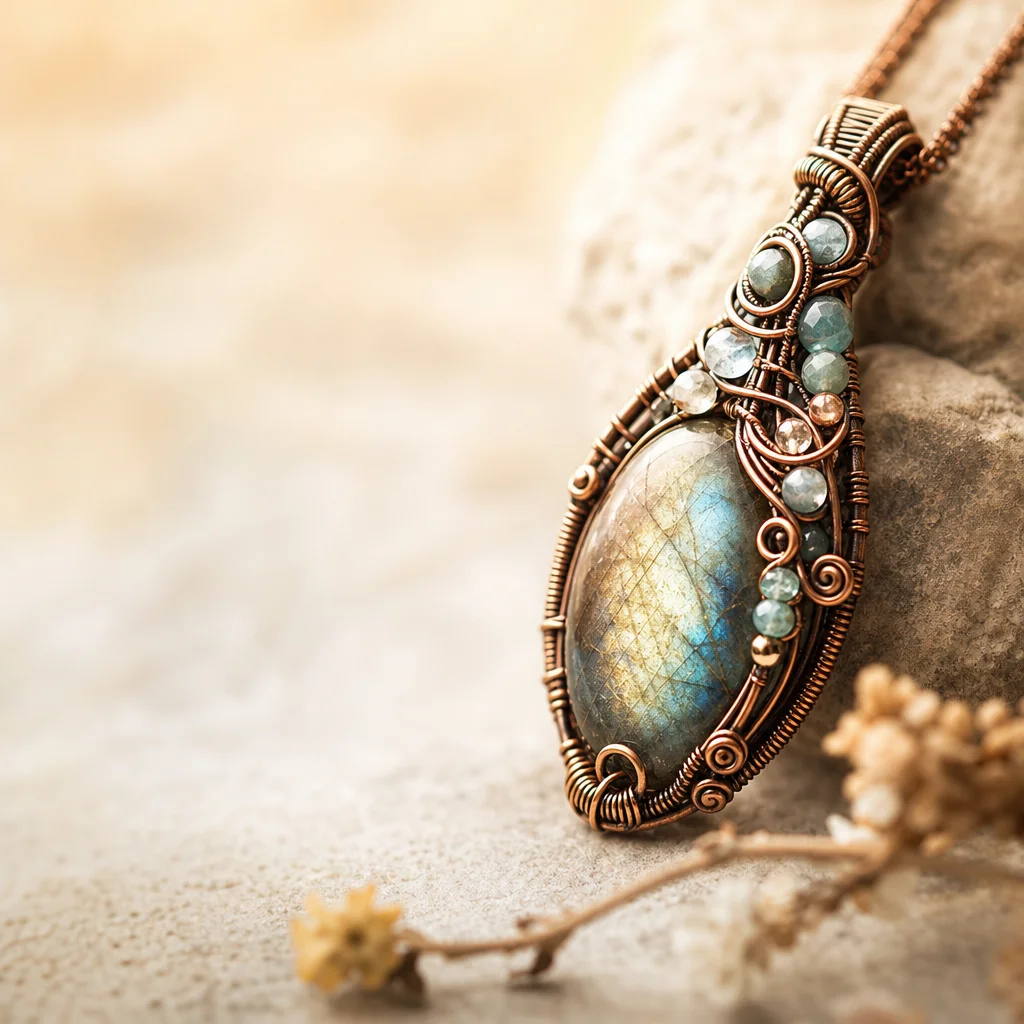
Understanding Wire and Bead Compatibility
Not every wire works with every bead size, and getting the pairing right is the first step toward successful projects. The key factors are wire gauge relative to bead hole size, bead size relative to wire strength, and the aesthetic balance between wire visibility and bead prominence.
Bead hole size matters: Standard 8mm round crystal beads typically have drill holes of about 1mm diameter. This accommodates 20-gauge wire (0.8mm) comfortably and 18-gauge wire (1.0mm) with a snug fit. For 4mm or 6mm beads with smaller holes, use 22-gauge (0.6mm) or 24-gauge (0.5mm). If you are working with chip beads that have very tiny holes, 24-gauge or 26-gauge is necessary.
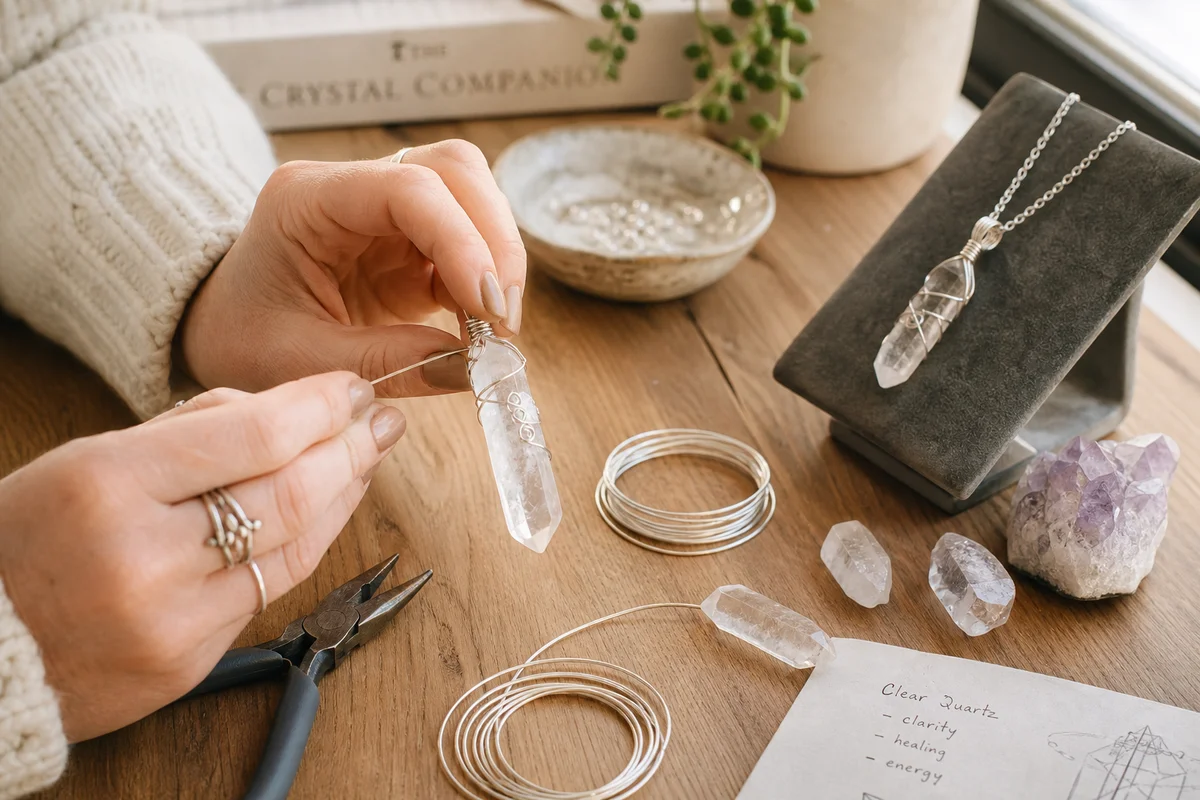
Artistic wire vs beading wire: This is a critical distinction. Beading wire (also called flex wire or tiger tail) is a multi-strand stainless steel cable coated with nylon. It is designed for stringing and crimping, not for wrapping. It will not hold bends, loops, or wraps. Artistic wire or craft wire is solid metal (copper, brass, sterling silver, or aluminum) designed to be shaped and wrapped. Always use artistic wire for wire wrapping projects.
Bead size and wire gauge reference:
- 4mm beads — Use 24-gauge wire for threading and wrapping
- 6mm beads — Use 22-gauge wire for threading, 20-gauge for wraps
- 8mm beads — Use 20-gauge for threading, 18-gauge for frame work
- 10mm+ beads — Use 18-gauge for threading, 16-gauge for structural work
Design 1: Bead Links Chain
The bead link is the foundational technique for connecting beads with wire. Each link is an individual bead wrapped between two loops, and these links connect to form a chain. It is the most versatile basic technique in beaded wire jewelry.
Materials: Crystal beads (6-8mm), 20-gauge artistic wire (2 inches per bead), jump rings, clasp of your choice.
Steps:
- Cut a 2-inch piece of 20-gauge wire for each bead.
- Thread the bead onto the center of the wire.
- Grip one end of the wire about 1/4 inch from the bead hole with round-nose pliers. Bend the wire 90 degrees away from the bead.
- Using the round-nose pliers, grab the bent wire at the bend point and curl it into a loop, bringing the wire tail around to complete the circle.
- Wrap the short tail around the wire neck (between the loop and the bead) 2-3 times. Snip the excess and flatten the end with chain-nose pliers.
- Repeat on the other side of the bead, creating a mirror-image wrapped loop.
- Connect each bead link to the next by opening the loop of one link (open sideways, never pull apart) and threading it through the loop of the adjacent link, then closing.
- Attach a clasp to each end using jump rings.
A bracelet needs roughly 15-20 links of 8mm beads. A necklace needs 40-60 links depending on length. The technique is the same regardless — it just scales.
Design 2: Bower Style Pendant
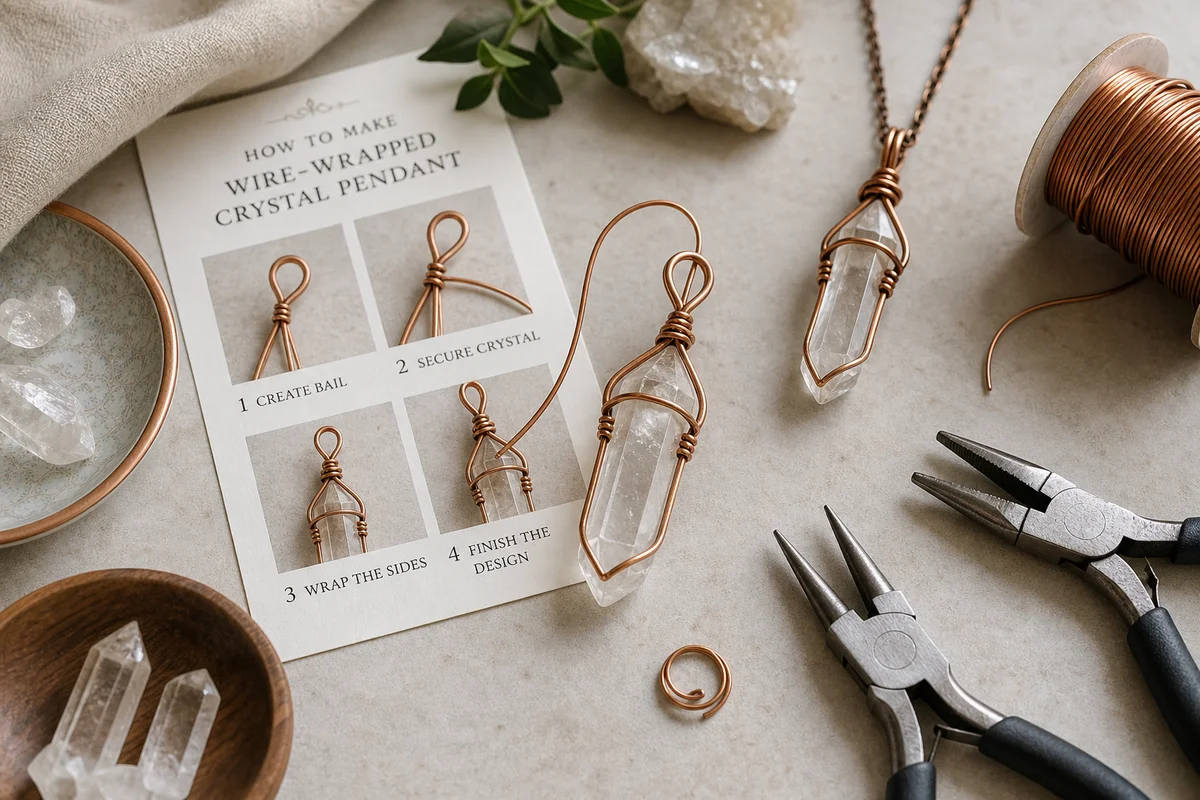
A bower (or briolette) wrap creates a teardrop-shaped frame with a bead suspended inside, like a crystal hanging in a decorative arch. It works beautifully with larger focal beads or crystal points.
Materials: One focal bead or small crystal point (12-18mm), 20-gauge wire (8 inches), 22-gauge wire (6 inches).
Steps:
- Cut the 20-gauge wire. Thread your focal bead onto the center of the wire.
- Create a small wrapped loop at one end using the technique from Design 1. This loop becomes the bail for hanging.
- At the other end of the wire, below the bead, create a matching loop but leave it slightly open.
- Bend the two wire tails (above and below the bead) away from each other, creating a gentle teardrop or arch shape.
- Using 22-gauge wire, add decorative wrapping between the two arches. Create coils, spirals, or small loops at the apex of the arch.
- Close the bottom loop by wrapping the tail securely.
- Tuck all ends and file smooth.
This design highlights a single special bead and creates a substantial pendant that works on chains, cords, or leather.
Design 3: Branched Wire and Bead Earrings
This design features a central wire stem with small bead-decorated branches extending outward, like a small crystal tree. It produces organic, nature-inspired earrings with beautiful movement.
Materials per pair: 8-10 small beads (4-6mm, can be mixed colors and types), 20-gauge wire (6 inches for stems), 22-gauge wire (3-4 inches per branch, about 12-16 inches total), two ear hooks.
Steps:
- Cut a 3-inch piece of 20-gauge wire for each earring stem. Make a wrapped loop at the top for the ear hook connection.
- Thread 1-2 beads onto the stem wire and let them rest at the bottom. Make a small loop at the bottom to secure them.
- Cut several 3-inch pieces of 22-gauge wire for branches.
- Thread 1-2 small beads onto each branch wire. Make a tiny wrapped loop at the bead end to secure.
- Attach each branch to the stem by wrapping the un-beaded end around the stem wire at different heights. Vary the branch lengths and angles for a natural look.
- Space 4-6 branches per earring for a balanced but not overly crowded design.
Mix bead colors within each earring for visual interest. Using beads of the same color family (different shades of blue, for instance) creates a cohesive but varied look.
Design 4: Paddle Wrap Bead Ring
The paddle wrap technique creates decorative "paddles" (flattened wire shapes) between beads on a ring band, making a textured, interesting piece that is more sculptural than a simple bead on a wire.
Materials: One focal bead (8-10mm), small accent beads (4mm, optional), 18-gauge wire for the band (4-5 inches), 22-gauge wire for wraps and paddles.
Steps:
- Wrap the ring shank around a ring mandrel at the correct size. Use 18-gauge wire and wrap 1.5 times around. Snip and flatten the connection point.
- Place the focal bead in the center of the shank. Use 22-gauge wire to wrap around the shank wire on both sides of the bead, creating paddles — the wire loops and coils that hold the bead in place.
- Add small accent beads on either side of the focal bead, securing each with 2-3 wraps of 22-gauge wire.
- Create paddle shapes by making small spirals, scrolls, or leaf shapes with the 22-gauge wire and wrapping them to the band between beads.
- File all ends smooth. Test the ring on your finger for comfort and adjust the band shape if needed.
The paddle wrap turns a simple beaded ring into something that looks like custom artisan jewelry. Experiment with different paddle shapes — the possibilities are nearly endless.
Design 5: Wrapped Bead Cluster Necklace
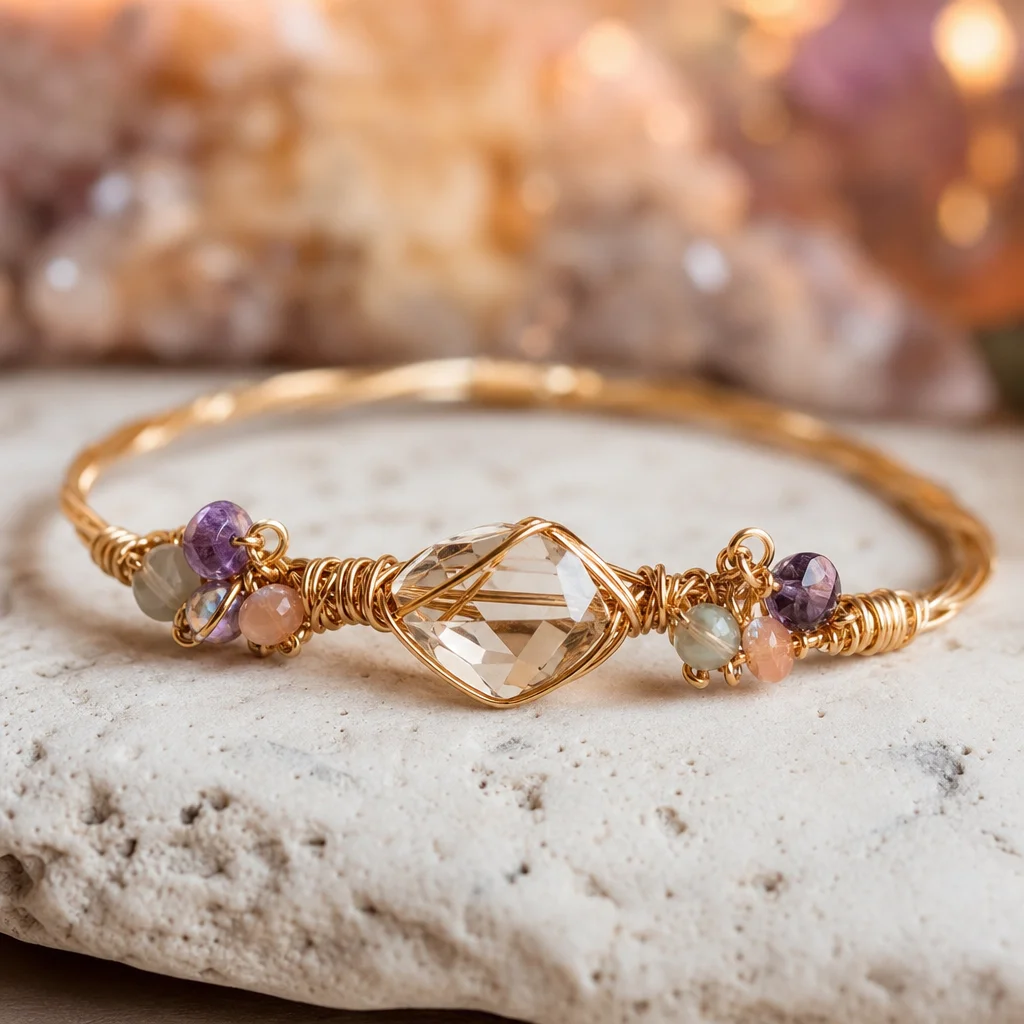
A bead cluster necklace features groups of wire-wrapped beads gathered together at intervals along a chain, creating a statement piece with lots of texture and movement.
Materials: 30-40 mixed beads (4-8mm, various colors and types), 20-gauge wire (2 inches per bead), 20-gauge chain (18-24 inches), jump rings.
Steps:
- Wrap each bead individually as a bead link (Design 1 technique). You do not need to connect them to each other — each bead is an independent wrapped unit.
- Using jump rings, attach groups of 3-5 wrapped beads at intervals along the chain. Space the clusters 2-3 inches apart.
- Within each cluster, attach beads at slightly different lengths using small jump rings of different sizes, or by connecting 2-3 jump rings together before attaching the bead.
- The varied heights within each cluster create a cascade effect.
- Attach a clasp to the chain ends.
This design is particularly effective when you mix bead types — tumbled crystals, chip beads, small raw points, and glass beads all in complementary colors create a rich, collected-over-time aesthetic.
Color Theory for Bead and Wire Combinations
Choosing colors that work well together makes the difference between a piece that looks put-together and one that feels random:
- Monochromatic — Different shades of one color (light amethyst + deep purple + lavender). Sophisticated and easy to get right.
- Complementary — Colors opposite on the color wheel (blue and orange, purple and yellow). High contrast, eye-catching. Works best when one color dominates and the other accents.
- Analogous — Colors next to each other on the color wheel (blue + blue-green + green). Natural, harmonious, very easy to wear.
- Earth tones — Browns, greens, tans, and creams. Classic, versatile, and works with both copper and silver wire.
- Crystal + metal contrast — Colorful crystal beads paired with metallic wire create a rich interplay. Copper with warm stones (amber, carnelian), silver with cool stones (amethyst, blue lace agate).
Working with Copper Wire: Patina and Oxidation
Copper wire naturally oxidizes over time, developing a darker, richer color. Some people love the aged patina; others prefer bright copper. Both are achievable:
- Keep it bright: Store copper jewelry in a sealed plastic bag with an anti-tarnish strip. Wipe with a jewelry polishing cloth after wearing.
- Accelerate patina: Seal your finished piece in a container with a crushed hard-boiled egg. The sulfur in the egg speeds up oxidation to a beautiful dark brown within hours.
- Remove patina: Soak in a solution of white vinegar and salt, then scrub gently with baking soda and a soft toothbrush. Rinse and dry thoroughly.
Frequently Asked Questions
Can I mix different types of beads in one piece?
Absolutely, and it often produces the most interesting results. Mixing crystal types, sizes, and shapes creates visual texture. Just be mindful of weight — heavy beads on one side of a necklace will cause it to hang unevenly.
Should I use copper or silver wire?
Copper is better for practice and for designs with an earthy, warm aesthetic. Silver (sterling or silver-plated) looks more refined and formal. Gold-filled wire works for high-end pieces. The wire color should complement your bead colors.
How do I prevent beads from scratching each other?
In clusters and linked chains, beads that rub against each other can get scratched over time, especially softer stones. Add small spacer beads (metal or glass) between crystal beads, or leave enough space in your wire links that beads do not directly contact each other.
Final Thoughts
Combining beads with wire wrapping multiplies your design possibilities exponentially. Once you understand the basics of wire gauge compatibility, loop-making, and bead attachment, you can create virtually any jewelry style — from delicate earrings to statement necklaces. Start simple with bead links, expand into more complex designs as your skills develop, and before long you will be creating original pieces that combine the best of both worlds.
Frequently Asked Questions
What gauge wire is best for wrapping beads and crystals?
When creating handcrafted crystal jewelry, choosing the right wire gauge is essential. For making sturdy frames and bases, use a thicker 18 or 20 gauge wire. For delicate wrapping, weaving, or securing smaller beads, a thinner 24 or 26 gauge wire is much easier to manipulate. We recommend starting with dead-soft wire, as it is highly malleable and perfect for achieving intricate, artisanal wraps.
How do I safely clean oxidized copper wire jewelry?
To clean your oxidized copper wire jewelry, mix a small amount of mild dish soap with warm water. Gently scrub the piece with a soft-bristled toothbrush to remove any dust or skin oils. Avoid harsh chemical cleaners, as they can strip the beautiful patina from your handcrafted pieces. Always dry your natural crystal jewelry thoroughly with a lint-free cloth to maintain its earthy elegance.
Comments