How to make macramé crystal pendants
Why macramé and crystals work well together
Macramé has been around for centuries. Sailors used square knots and hitching to decorate everything from knife handles to bell pulls. Today the craft has swung back into fashion, and pairing it with crystals is one of the more satisfying combinations you can try. The cord provides structure and grip, the stone provides a focal point, and the finished piece looks nothing like the basic hemp necklaces from the 1990s.
The appeal is practical too. A wrapped crystal is less likely to chip or scratch if it falls. The cord acts as a buffer. And unlike wire wrapping, which requires tools and practice to get clean loops, macramé uses a handful of knots that most people can learn in an afternoon. You need three things: cord, a crystal, and patience.
Choosing the right materials
Cord matters more than beginners think. The two most common options are cotton and waxed polyester. Cotton has a softer hand and comes in more colors — 3-ply cotton macramé cord in 1.5mm or 2mm thickness is the sweet spot for pendants. It grips well, which means your knots hold their shape without glue. Waxed polyester is stronger and more water-resistant, but it has a stiffer feel that some people dislike against the skin.
Avoid anything thinner than 1mm unless you are working with very small stones under 15mm. The cord will dig into the crystal and look messy. Anything thicker than 3mm is overkill for a pendant and makes tight knots difficult.
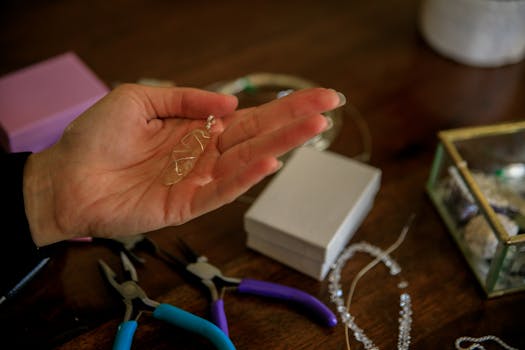
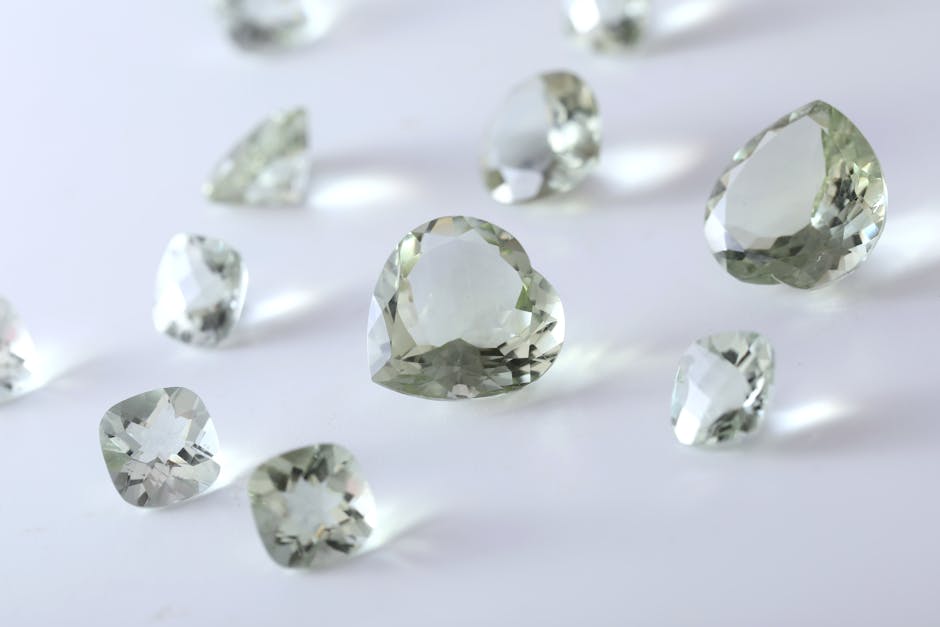
For the crystal itself, tumbled stones and raw chunks both work. Tumbled stones are easier because the smooth surface lets the cord slide into position evenly. Raw or rough stones have personality, but sharp edges can fray the cord over time. If you choose a rough piece, pick one where the sharp points are on the back side, not where the cord wraps.
Common crystal shapes for this project include tumble stones (10-25mm), small crystal points (20-40mm), and donut-shaped stones (pi stones). The wrapping technique changes slightly depending on the shape, which I will cover below.
The four knots you need to know
You do not need to learn dozens of knots. For crystal pendants, four knots cover almost every situation.
Square knot
This is the foundation. Take two working cords over two anchor cords. Left cord goes over the anchor, right cord goes over the left, under the anchor, and through the loop on the left. Then mirror it — right over anchor, left over right, under anchor, through the loop. That is one complete square knot. It is the same knot used in friendship bracelets, and most people already know it even if they don't know the name.
Half knot spiral
This is a square knot where you only do the first half, over and over. Left over, right through. Left over, right through. The result twists into a spiral, which creates a nice decorative element above or below the crystal. It looks more organic than stacked square knots and works well as a bail or a decorative tail.
Lark's head knot
Fold a cord in half, pass the loop behind your anchor (a ring, another cord, or the top of your wrapping), and pull the two tails through the loop. That is it. You will use this to attach the pendant to a necklace chain or cord. Two lark's head knots side by side on a ring make a secure and tidy attachment point.
Double half hitch
This knot lets you create angles and shapes. Hold a cord taut as an anchor, then use your working cord to make two small half hitches around it — one clockwise, one counterclockwise, pulled tight against each other. Repeat along the anchor to create diagonal or horizontal lines. It is useful for creating triangular or diamond-shaped wraps around irregular stones.
Wrapping a tumbled stone
Start with a piece of cord about 4 feet long for a 20mm stone. Fold it in half and place the loop at the bottom of the stone. The two tails go up and over the top. You are essentially creating a "nest" that the stone sits in.
Step one: Hold the folded loop at the bottom center of the stone. Take both tails up to the top, cross them over, and bring them back down the other side. You now have an X pattern across the front of the stone.
Step two: Separate the two tails. Take the left tail and wrap it around the right tail (which is now your anchor) using double half hitches. Work your way from the top down one side of the stone, about 6-8 hitches. Then do the same on the other side with the other tail. The wraps should be snug enough that you cannot slide them around, but not so tight that the cord bunches up.
Step three: Where the two wrapped sections meet at the bottom, tie the tails together with a square knot. Then tie two or three more square knots below that to create a small decorative tail.
Step four: At the top, where the cord crosses over the stone, tie three or four square knots to form the bail (the loop the necklace chain passes through). Adjust the size so a chain or cord of about 2-3mm can pass through comfortably.
Step five: Trim the ends. Leave about 1cm, unravel the cord slightly, and either leave the fringe or melt it with a lighter if you are using synthetic cord. Cotton will not melt — just fray it a bit for texture.
The whole process takes 15-25 minutes once you have done it a few times. The first one will probably take closer to 45 minutes, and that is fine.
Wrapping a crystal point
Crystal points need a slightly different approach because the taper makes it hard to get even coverage. The trick is to start wrapping at the widest point and work toward the tip.
Cut a piece of cord about 5 feet long. Find the widest part of the crystal and place the midpoint of the cord there. Wrap both tails in opposite directions around the crystal, using double half hitches, until they meet near the tip. Cross the tails and tie a square knot at the tip.
Now work back down. Use the tails to create a series of square knots or a half knot spiral down the length of the crystal. This covers the cord paths from the first wrap and adds visual interest. When you reach the bottom, split the tails again and wrap the base of the crystal in the same way you did the top.
For the bail, gather the cord at the top of the crystal and tie 4-5 square knots, forming a loop. A point pendant looks best hanging with the tip pointing down, so the bail should be at the base end (the wider part), not the tip end.
Wrapping a donut stone (pi stone)
Donut stones are probably the easiest shape for beginners. The hole in the center gives you a natural anchor point.
Thread both tails of a folded cord through the center hole from front to back. Bring them around the outside of the stone, through the hole again from back to front. Repeat this 3-4 times, adjusting the spacing so the wraps sit evenly around the hole.
Once the hole is wrapped, use the remaining cord to add decorative elements. A half knot spiral around the outer edge looks clean. Or you can wrap diagonal double half hitches across the front surface for a more geometric look. Tie off at the top with a square knot bail.
Adding a necklace cord
The pendant is only half the piece. You need something to hang it on.
A simple adjustable sliding knot is the most versatile option. Cut two pieces of cord, each about 18 inches long. Thread both through the bail of your pendant. Use the two tails on the left as anchors and the two tails on the right as working cords. Tie a series of square knots (about 1 inch of knots) on both the left and right sides. The result is a necklace that slides to adjust length, fitting most necks from choker to about 24 inches.
If you prefer a fixed length, a simple overhand knot on each side of the bail works. Just measure carefully before tying — you cannot undo it easily. Leather cord in 1.5mm is a popular choice for this style.
For a more finished look, use a split ring or jump ring to attach the pendant to a commercial chain. A lark's head knot on the ring is clean and secure.
Common mistakes and how to avoid them
The number one problem beginners run into is loose knots. Macramé knots need to be pulled tight against the previous knot every single time. If your first knot is slightly loose, the next one will be looser, and by the fifth knot you have a sloppy, uneven mess. Take the extra two seconds to pull each knot snug.
The second problem is running out of cord. Always cut more than you think you need. A 4-foot piece for a 20mm stone sounds generous, but once you factor in the bail, the wrapping, and the fringe, you will be glad you had extra. Having 6 inches of waste is much better than having to start over.
Third: uneven spacing. After every few knots, hold the piece at arm's length and look at it from a few angles. It is easy to drift off-center when you are focused on tying. Catch it early and it takes one knot to fix. Catch it late and you may need to undo several.
Finishing touches
A drop of clear craft glue or superglue on the final knots keeps everything from loosening over time. Do not soak the cord in glue — a tiny drop on the knot core is enough. Let it dry for at least 10 minutes before wearing.
For cotton cord, you can stiffen the pendant slightly with a spray of unscented hairspray or fabric stiffener. This helps the knotwork hold its shape and makes the pendant look more polished. It also reduces stretching, which cotton tends to do over time.
If you want to add small beads, thread them onto the working cords before tying your knots. Size 6/0 or 8/0 seed beads fit on 1.5mm cord. Natural wood beads, ceramic beads, or small metal accents all work. Keep it minimal — one or two beads per pendant is enough. More than that starts to look cluttered and distracts from the crystal.
What to make next
Once you are comfortable with a single pendant, try a two-stone design where a small crystal hangs below a larger one, connected by a wrapped section. Or make a matching set — pendant and a pair of earrings using smaller stones and thinner 1mm cord. A wrapped crystal hanging from a keychain is a quick project that makes a good gift.
The materials cost is low. A spool of cotton cord runs about $5-8 and makes 8-12 pendants. Tumbled stones in the 15-25mm range typically cost $1-4 each depending on the type of stone. A full set of tools — scissors, a clipboard or cork board for holding your work, and a measuring tape — adds maybe $10 if you don't already have them. At that price point, experimenting is cheap and mistakes don't hurt.
Comments