Wire Wrapping Patterns: 5 Free Designs You Ca...
May 29, 2026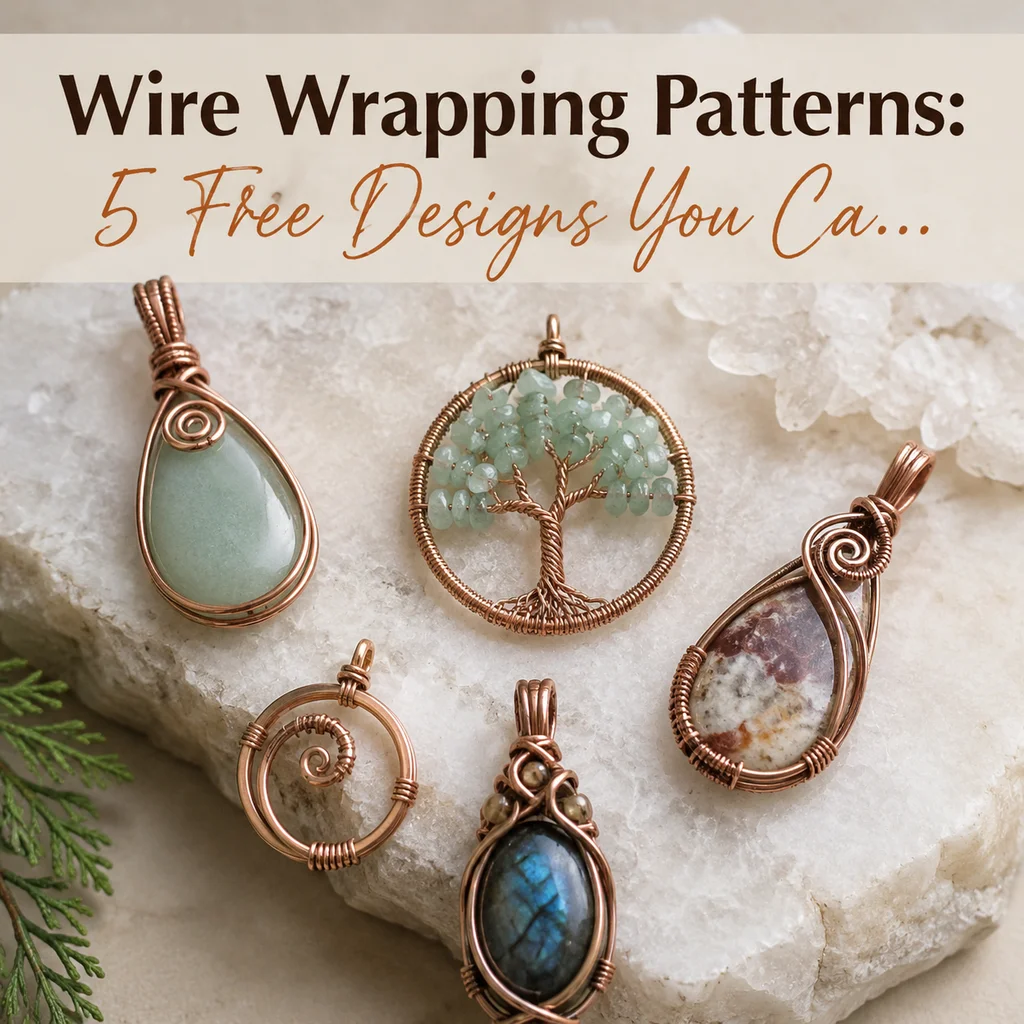
Wire wrapping, oh man, it's this craft that seems super hard at first glance. But don't stress, I've got a little secret—just break it down into teeny tiny steps and it's a total breeze! I've got these five designs for you—I start with the easiest one and then we'll slowly tackle the cooler stuff. You'll learn something new with each one, and by the time we've done all five, you'll be like, "Wow, I can actually do that!" It's so cool how wire-wrapped jewelry looks way easier when you know how it's made.
Design 1: Basic Binding Wrap (Beginner, 10 Minutes)
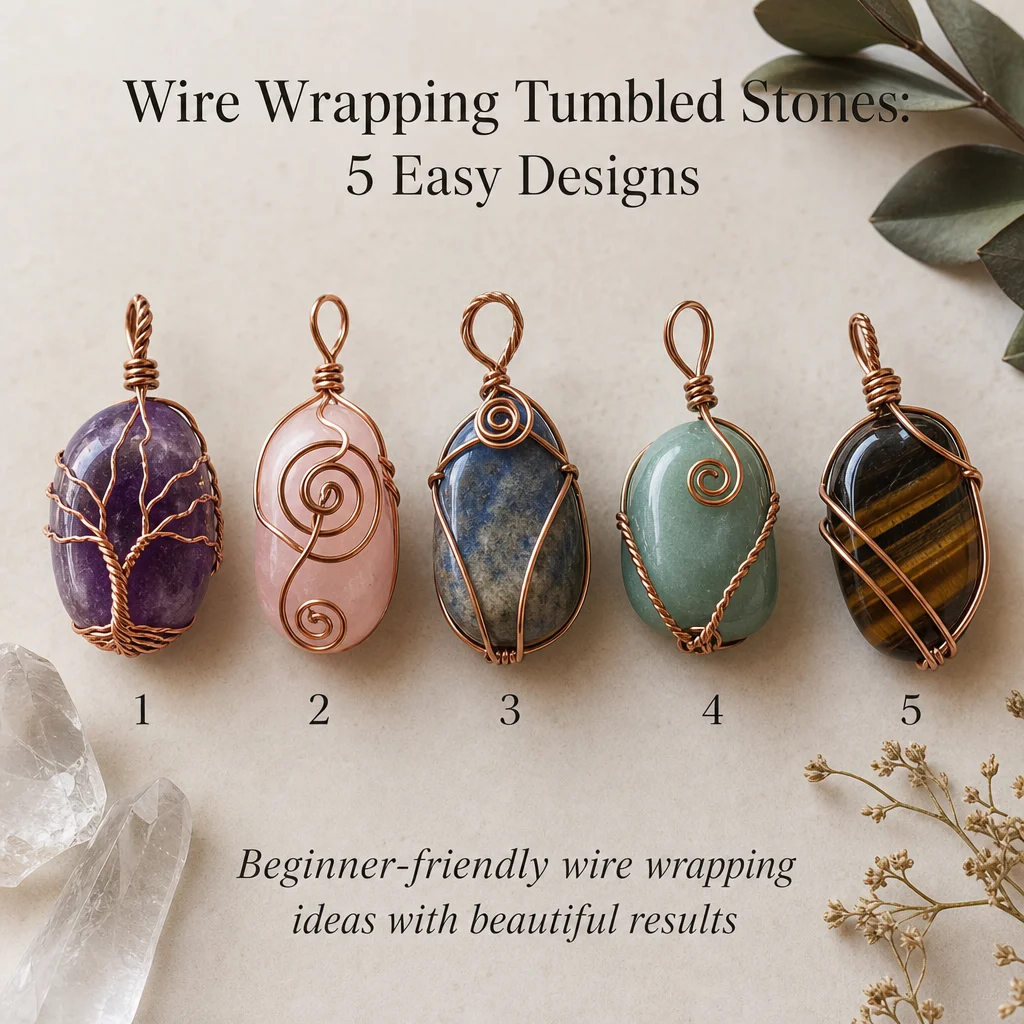
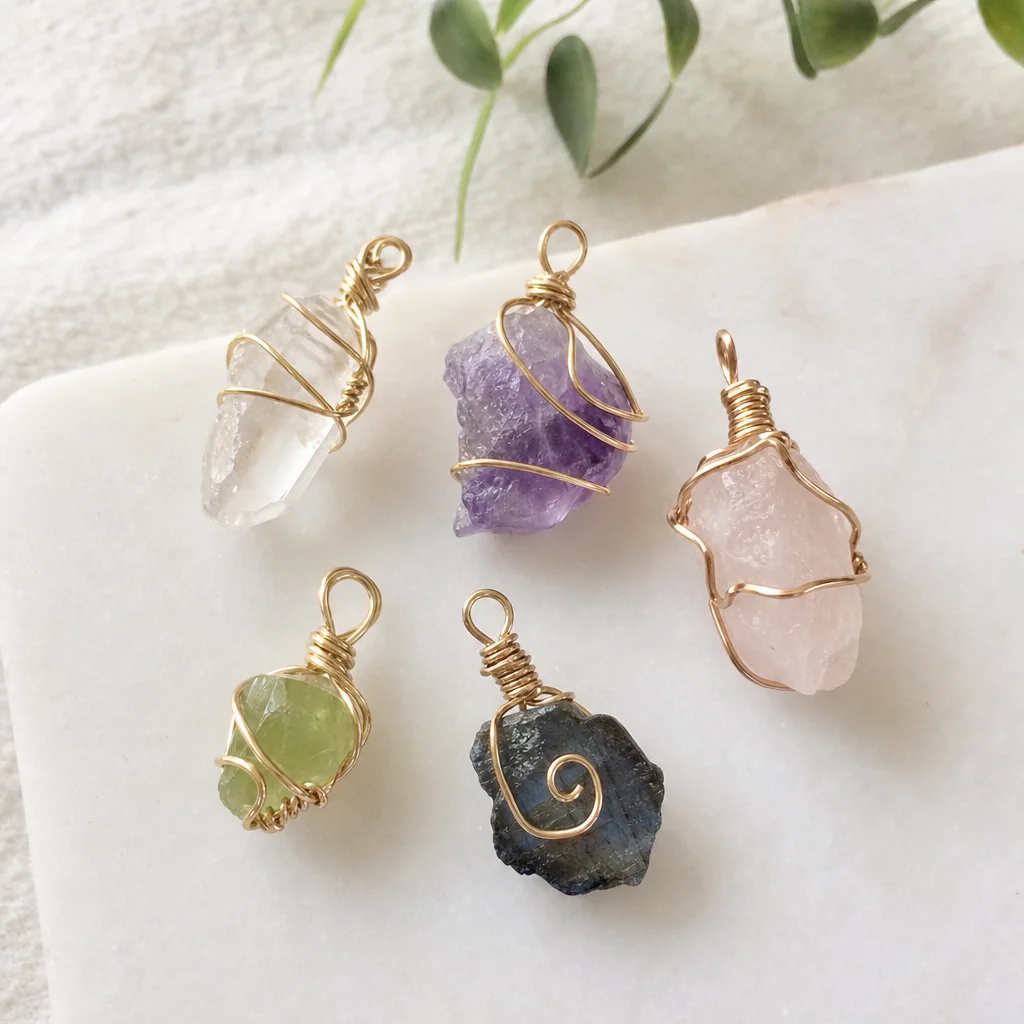
OMG, check out this Basic Binding Wrap! It's a total no-brainer for newbies and it's a wrap in just 10 minutes flat. It's so much fun, and I'm all about that quick jewelry-making vibe. What I love about making jewelry is how easy it is to jump in and see your creation come to life super fast. So, if you're new to the crystal jewelry crafting scene, this is a fantastic place to start. Give it a whirl, you'll be amazed at how awesome your homemade piece turns out!Skill taught: You know, mastering even tension and keeping consistent spacing, those are like the basics of wire wrapping. They're a big deal, for sure! It's all about making those connections just right.
Materials
Check this out! You've got 8 inches of the 20-gauge copper wire, and then 12 inches of the 26-gauge wire. Plus, you can grab any shape tumbled stone that's 1 to 1.5 inches. It's like the perfect match for making something totally awesome!Steps
Common Wrinkle
Hey, the wraps are slipping off the frame wire, right? It's like you're not pulling that thin wire tight enough. Just make sure each wrap is nice and snug against the last one. And, you know what? Give those flat-nose pliers a go and give it a good, firm tug after every 3-4 wraps. It's a bit of a finicky process, but it's totally doable!Design 2: Spiral Accent Pendant (Beginner-Intermediate, 20 Minutes)
Oh, have you seen the Spiral Accent Pendant? It's such a cool project for newbies and those still learning the ropes. It's a cinch to make and takes like, no time at all—20 minutes max. I've found it's a total blast to start my crystal jewelry crafting journey. What I love about it is how simple the design is, but it totally rocks. So, wanna join me in the fun and give it a whirl?Skill taught: Get ready to learn how to craft those totally cool decorative spirals. They're the whole deal in wire wrapping, you know, that signature look!
Materials
OMG, I'm all about that 16-inch, 20-gauge copper wire stuff—it's perfect for really popping the crystals' sparkle. And the crystal point? It's like, 1.5 to 2 inches, and it's such a showstopper, you know? Isn't it?Steps
Common Failure Point
StrongSpirals can get a bit wonky or not look so great. They need those slow, steady turns. Like, turn the pliers just a teeny tiny bit at a time, and use your fingers to help the wire into a nice, flat coil. Don't rush it—every turn should just kind of overlap the one before it evenly.Design 3: Woven Texture Band (Intermediate, 45 Minutes)
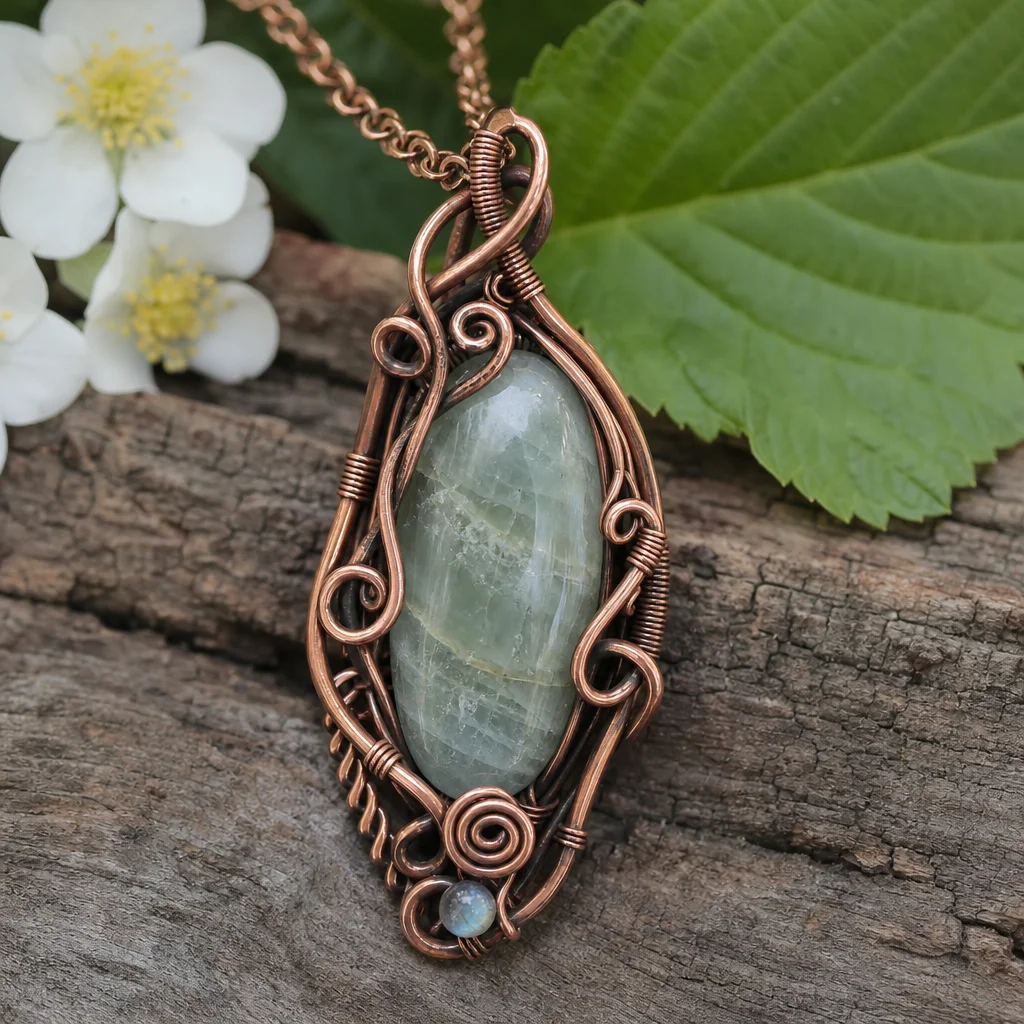
Hey, I found this really cool woven texture band design! It's intermediate, which means it's a little tricky, but I've found it's totally manageable. It'll take you about 45 minutes to create it. The thing is, what I love about it is it's like a little puzzle you're working on with your fingers. And honestly, it's super satisfying to see it all come together!Skill taught: Wire weaving, right? It's like crafting those textured, fabric-like surfaces with thin wire. You wrap it around thicker frame wires—it's super chill, kind of like a rad art project, if you know what I mean?
Materials
Hey there! Just snag 2 pieces of 18-gauge copper wire, each 6 inches long, and you'll need 36 inches of 28-gauge wire. And don't forget that adorable stone cabochon – it's usually about 1 to 1.5 inches. Super simple, I've found!Steps
Oh, and one more thing...
Here's a little trick for you: weaving gaps or uneven rows. It's super common at this intermediate level. But the fix is pretty simple. Just after every 4-5 rows, give it a little squeeze with nylon-jaw pliers to even out those rows. Consistent pressure really does the trick for a smooth texture, honestly.Three Weave Variations to Try
Alright, so once you've got the basic figure-8 down, here are three more to try out. It's super fun to experiment with new patterns!1. The Simple Spiral
Okay, so let's start with a simple spiral, it's super easy and looks totally rad. You'll love how it wraps around your wrist. Plus, it's perfect for those just starting out.2. The Classic Braid
Oh, and let's not forget the classic braid—it's got this timeless charm. I've found it goes great with any stone you pick, really.3. The Zigzag
Alright, the zigzag weave is totally my jam. It's a bit of a challenge, but it's so worth the effort. It really makes your bracelet pop with that extra dimension. Try it out, you won't be sorry! Oh, have you checked out all the different weaves we've got? They're so chill! There's one that I've found I just can't get enough of. It's got these super cool patterns that are just... mind-blowing. And honestly, the craftsmanship is just top-notch. It's so unique, I find myself picking it up every time I see it.Oh, you have to check out this Modified Soumak weave—it's so neat! You just wrap the thin wire twice around each frame wire before you cross it, and it makes this awesome braided look. Then there's the Lazy wave, you add a little loop before each crossover by wrapping the thin wire around one frame wire three times. It gives this super wavy, organic texture that looks totally natural. Plus, the Stacked weave is a total game-changer! You use two thin wires at once and weave them in opposite directions, and it ends up looking like a super dense, rope-like band. It's so unique!
Hey, look at this Tree of Life Pendant! It's a bit of a challenge, perfect for intermediate to advanced crafters. You'll spend about an hour with it. What I love about this design is how it's like a little piece of nature you can wear. It's not just a pendant; it's a statement. The intricate pattern is so cool. I've found it's a great way to unwind and get creative. Plus, the crystals just add this magical touch. Give it a try, you'll see what I mean!
Skill taught: So, you know how to split wire and make those cool, tree-like structures? It's all about branching out, like a real tree!
Materials
- 20-gauge copper wire: one 8-inch piece (trunk) + twelve 6-inch pieces (branches)
- 28-gauge copper wire: 24 inches
- One round stone cabochon or donut-shaped stone, 30-40mm
- Small chip beads (optional, for "leaves")
Steps
Common Failure Point
Branches are too stiff or too loose. The branches need to flow organically around the stone, not stick out rigidly. After placing each branch, gently curve it with your fingers (not pliers) to create natural-looking bends. If a branch is too loose and does not hold its shape, add a small wrap of thin wire to anchor it to the frame ring.Design 5: Feather Pendant (Advanced, 90 Minutes)
Skill taught: Fine detail work and wire splitting — the most technically demanding skill in wire wrapping.
Materials
- 18-gauge copper wire: one 10-inch piece (central shaft)
- 26-gauge copper wire: 60 inches (barbs)
- Chain-nose pliers, round-nose pliers, flush cutters
Steps
Common Failure Point
Barbs are uneven or the feather looks lopsided. The key is consistency: count the wraps and measure barb lengths. First 5 barbs: 10mm each. Middle 10 barbs: 15mm each. Last 5 barbs: taper from 12mm to 5mm. Use a ruler. This is the one design where eyeballing it does not work.From Free Patterns to Original Designs
Once you can execute all five patterns, you have the building blocks to create original work:
- Basic binding → any bezel or frame setting
- Spirals → decorative accents on any piece
- Weaving → textured bands, cuffs, and wide pendants
- Branching → organic shapes, trees, vines, antlers
- Wire splitting → feathers, wings, intricate filigree
Frequently Asked Questions
What type of wire is best for wrapping crystals?
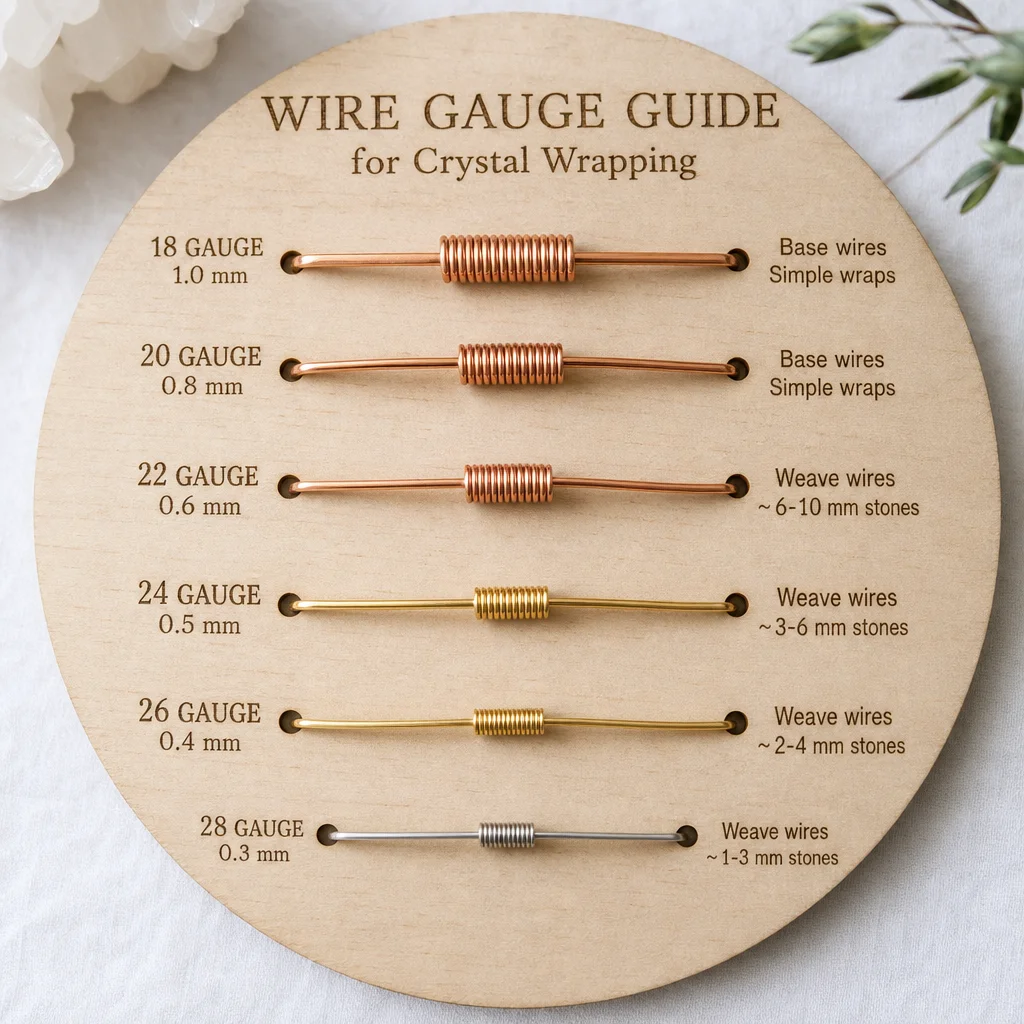
Copper wire is an excellent choice for practicing wire wrapping patterns because it is highly affordable and malleable. For finished, durable artisan jewelry, SagStone recommends using solid Sterling silver or 14k gold-filled wire. Aim for 20-gauge to 24-gauge wire for structural frames, and 28-gauge wire for delicate weaving.
Is wire wrapping hard to learn for beginners?
Not at all! Wire wrapping is incredibly accessible. As highlighted in our free pattern guide, you can complete a basic binding wrap in just ten minutes. Like any artisan craft, mastering advanced designs like the Tree of Life takes patience and practice, but anyone can create beautiful, wearable art right from their very first try.
How do you keep wire from scratching soft stones?
When wrapping fragile or soft stones like selenite or turquoise, it is crucial to use a softer, thinner wire, such as 28-gauge dead-soft copper or silver. Gently shape the wire around the crystal without forcing it, and use nylon-jaw pliers. This ensures the metal embraces the stone securely without scratching its surface.
What tools do I need to start wire wrapping?
To start creating beautiful handcrafted wire jewelry, you only need a few basic tools: chain-nose pliers, round-nose pliers, and flush cutters. Nylon-jaw pliers are also highly recommended to prevent scratching or marring your wire. As you advance to more complex patterns, you might add a mandrel or bail-making pliers to your toolkit.
Can I wear wire wrapped jewelry in the shower?
It is generally best to remove your handcrafted wire wrapped crystal jewelry before showering or swimming. While natural crystals and solid metals can handle water, prolonged exposure to soap, shampoo, and hot water can dull the stone's polish and cause the wire to tarnish more quickly. Always keep your artisan pieces dry and clean.
Comments