Wire Wrapped Crystal Earrings: 5 Designs for ...
June 5, 2026
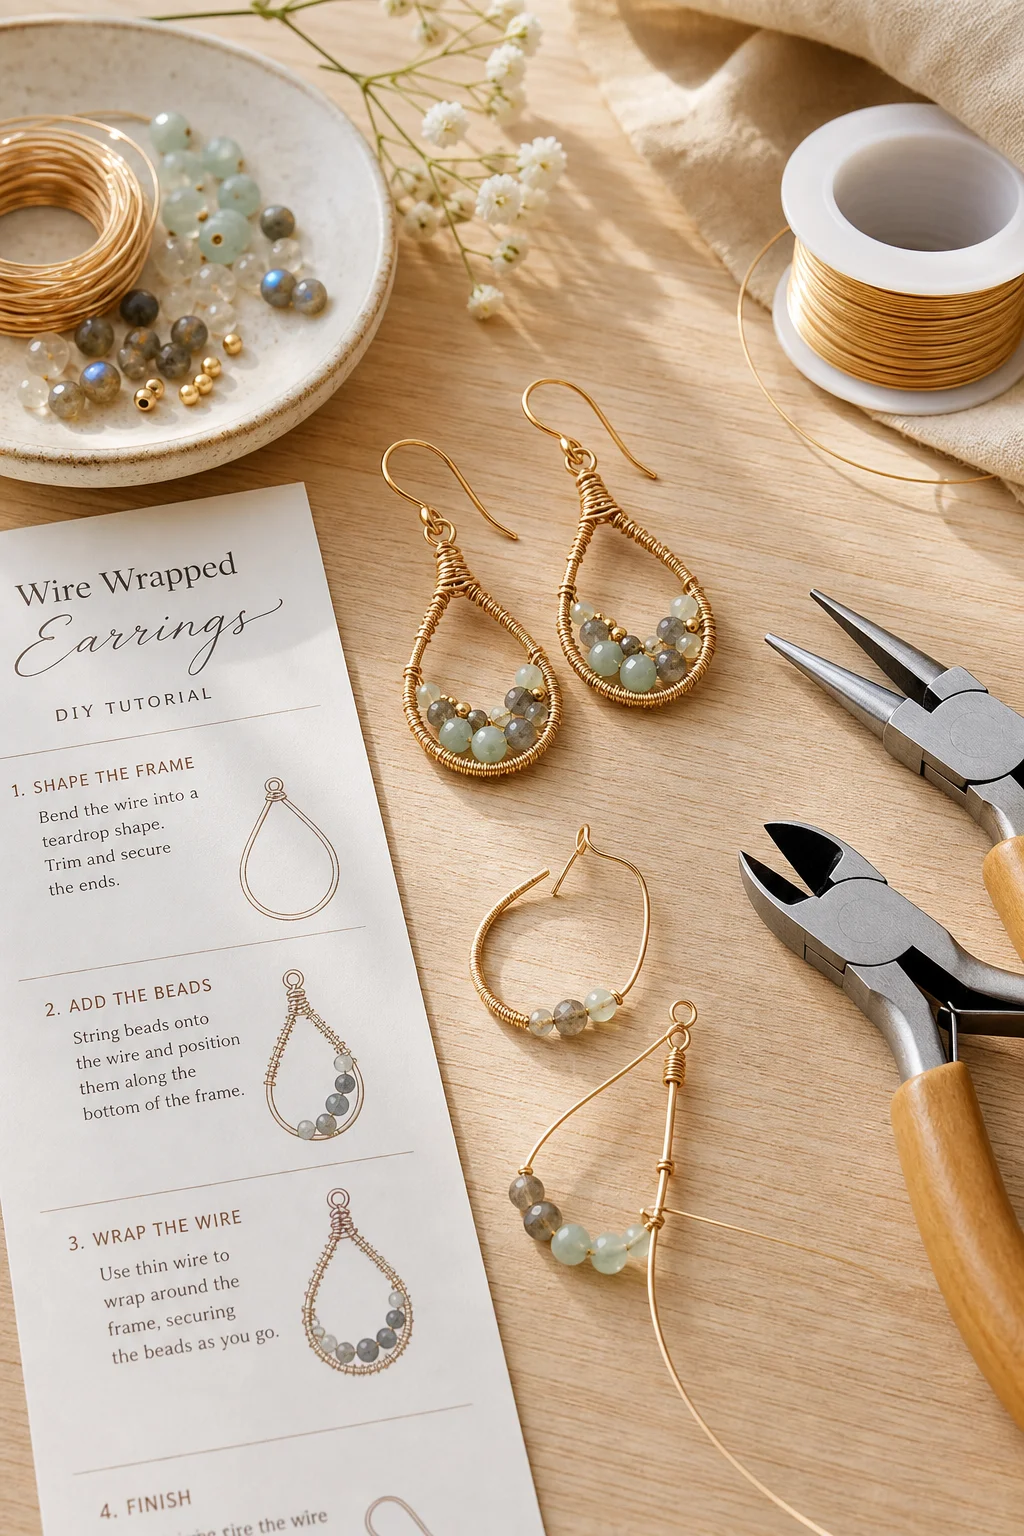
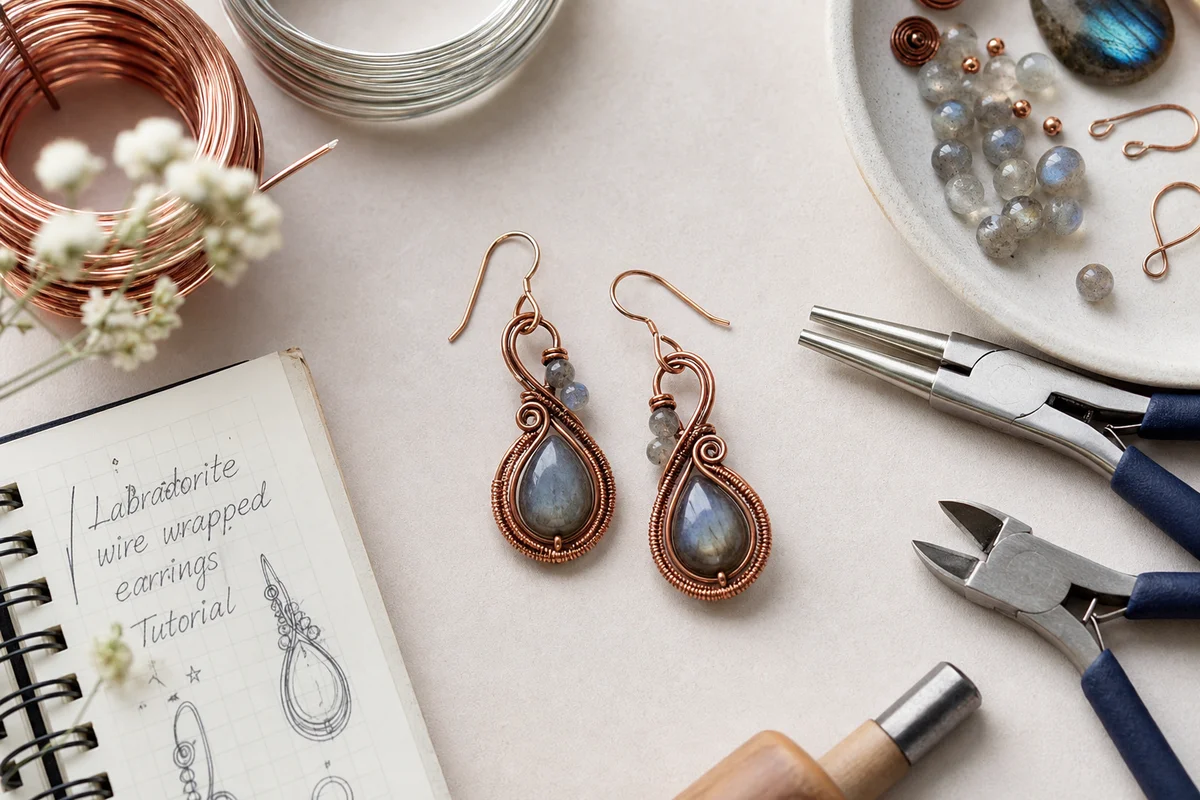
Essential Tools and Materials
Before starting any of the designs below, gather these basic supplies. You do not need expensive professional-grade tools as a beginner — mid-range craft store tools work perfectly fine.
Tools you need:
- Round-nose pliers — For making loops and curves. The tapered jaws allow you to control loop size by where on the jaw you position the wire.
- Chain-nose (flat-nose) pliers — For flattening wire, opening and closing jump rings, and gripping wire in tight spaces. Two pairs are ideal but one works.
- Wire cutters — Flush cutters are best. They cut wire cleanly without leaving sharp burrs.
- Nylon-jaw pliers (optional but helpful) — For straightening bent wire without marring the surface.
Wire selection:
- Gauge: 20-gauge wire is the best all-purpose size for beginners. It is thick enough to hold its shape but thin enough to wrap comfortably. 22-gauge works for delicate wraps. 18-gauge is good for structural frames but harder to manipulate.
- Material: Copper wire is the best choice for practice — it is affordable, soft enough to work easily, and develops a beautiful warm patina over time. If you prefer a silver look, choose sterling silver-plated copper or genuine sterling silver for finished pieces.
Earring findings:
- Ear hooks (fish hooks) — You can buy these or make your own from wire (a skill covered in Design 1).
- Jump rings — For connecting wrapped elements to ear hooks.
Crystal stones:
- Small tumbled stones (8-10mm work well for earrings), tiny raw crystal points, druzy fragments, or chip beads. Start with relatively uniform shapes — very irregular stones are harder to wrap.
Design 1: Simple Loop Drop Earrings
This is the most fundamental wire wrapped earring design. It teaches you the wrapped loop technique, which is the building block for nearly every wire wrapped jewelry project you will encounter.
Materials per pair: Two tumbled stones (8-10mm), 20-gauge wire (6 inches per earring), two jump rings, two ear hooks.
Steps:
- Cut a 6-inch piece of 20-gauge wire for each earring.
- Grip the wire about 1.5 inches from one end with your round-nose pliers.
- Wrap the wire around the pliers to form a small loop, then cross the short tail over the long tail to close the loop.
- Thread your stone onto the long tail of wire. The stone should rest at the base of the loop.
- Grip the wire just above the stone with your round-nose pliers and bend the long tail away at a 90-degree angle.
- Create a second loop at this bend, using the round-nose pliers to form a loop opposite the first one.
- Wrap the short tail around the wire neck between the loop and the stone 2-3 times to secure. Snip the excess.
- Open a jump ring, thread on the top loop of your wrapped stone, and attach to the ear hook. Close the jump ring securely.
- Repeat for the second earring.
This design is clean, simple, and elegant — perfect for everyday wear. The wrapped loop at the top ensures the stone stays securely in place.
Design 2: Wire Frame Wrap Earrings
This design wraps wire directly around a stone to create a cage-like frame, holding it securely while allowing the stone's natural shape to show. It works particularly well with flat or oval tumbled stones.
Materials per pair: Two flat or oval tumbled stones (10-14mm), 20-gauge wire (10 inches per earring), two ear hooks.
Steps:
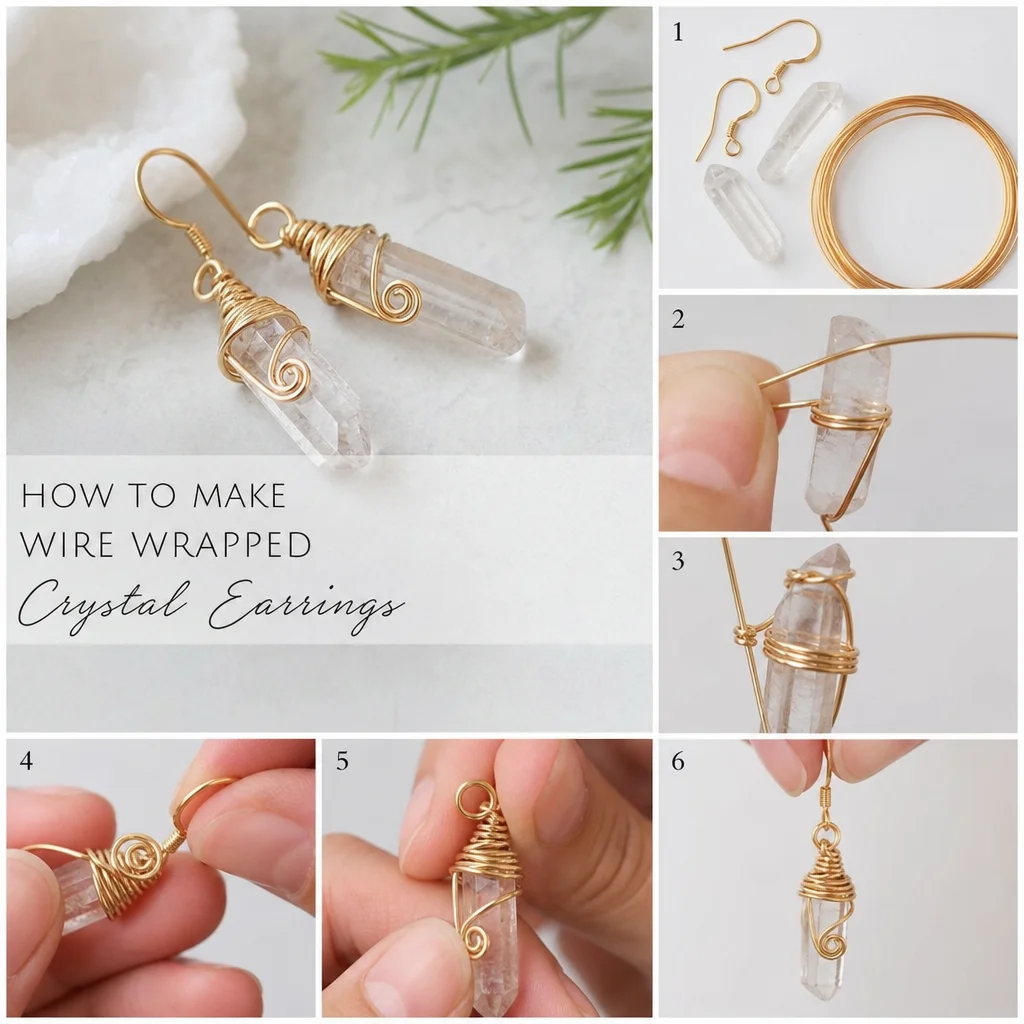
- Cut a 10-inch piece of wire. Place your stone in the center of the wire, positioned lengthwise.
- Bend both ends of the wire upward, crossing them over the top of the stone. The wire should form a rough cage shape around the stone.
- Take one end and wrap it 2-3 times around the other wire just above the stone to create a bail (the loop the ear hook will thread through).
- With the remaining long end, begin wrapping the wire across the front face of the stone at an angle. Continue wrapping diagonally across the stone 3-4 times, creating a geometric pattern.
- Bring the wire to the back of the stone and wrap it across the back, creating a crisscross pattern.
- Continue wrapping until you have covered the stone sufficiently while still showing plenty of its surface. End at the bail area.
- Wrap the remaining wire tail around the bail 2-3 times and snip the excess. Tuck the cut end flat against the bail using chain-nose pliers.
- Attach to ear hook via the bail loop.
- Repeat for the second earring.
This design looks more organic and artisanal than Design 1. The visible wrapping pattern becomes part of the aesthetic. Practice on cheaper stones first — the wrapping can be tight enough to scratch softer stones if you are not gentle.
Design 3: Hoop Dangle Earrings
This design combines a small wire-wrapped hoop with dangling wrapped crystals, creating movement and visual interest. It is slightly more complex but still very accessible for beginners.
Materials per pair: Four small crystal chips or beads (6-8mm), 20-gauge wire (14 inches per earring), two ear hooks.
Steps:
- Cut an 8-inch piece of wire for the hoop. Wrap one end around a cylindrical object (a marker pen works) to form a small circle about 15mm in diameter.
- Remove from the cylinder and wrap the short tail around the main wire where the circle closes, creating a wrapped connection. This is your hoop frame.
- Cut two 3-inch pieces of wire for the dangles. Thread each with a crystal chip and make a wrapped loop at the top (same technique as Design 1).
- Open two jump rings and attach the wrapped dangles to the bottom of the hoop, spacing them evenly.
- At the top of the hoop, create a wrapped loop (or attach an ear hook directly if the hoop is small enough).
- Wrap the wire tail at the bail 2-3 times, snip excess, and flatten.
- Repeat for the second earring, ensuring the dangles hang symmetrically.
The movement of dangling crystals catches light beautifully and draws the eye. Experiment with different numbers of dangles (three per hoop, alternating sizes) once you have mastered the basic two-dangle version.
Design 4: Chandelier Earrings
Chandelier earrings feature multiple tiers of dangling elements connected to a central frame. They are more time-consuming but produce dramatic, statement-making results.
Materials per pair: Six to eight small tumbled stones or crystal chips (4-6mm), 20-gauge wire (18 inches per earring), two ear hooks.
Steps:
- Cut an 8-inch piece of wire. Create a small triangular or diamond-shaped frame by bending the wire into shape and wrapping the connection points. This frame should be about 20mm tall.
- At the top point of the frame, create a wrapped loop for the ear hook connection.
- Cut wire segments (about 2-3 inches each) for each dangle. Wrap each stone with a wrapped loop as in Design 1.
- Attach dangles to the bottom two corners of the frame using small jump rings or by wrapping directly onto the frame wire.
- Add a shorter dangle to the middle of the frame (if using a diamond shape) for a three-tier effect.
- Check symmetry by holding both earrings side by side. Adjust loop sizes and wire lengths to match.
Chandelier earrings look best with small, lightweight stones. Heavy stones will pull the frame out of shape and make the earrings uncomfortable to wear. Chip beads, tiny raw quartz points, and small druzy fragments are ideal choices.
Design 5: Ear Cuff Wrapped Crystal
Ear cuffs are jewelry pieces that wrap around the cartilage of your ear without requiring a piercing. Adding a wire-wrapped crystal to an ear cuff creates a modern, edgy look that is very popular right now.
Materials per pair: Two small tumbled stones or crystal points (8-10mm), 20-gauge wire (10 inches per cuff), 18-gauge wire (4 inches for the cuff base).
Steps:
- Form the cuff base: Cut 4 inches of 18-gauge wire. Wrap it around a cylindrical object slightly larger than the curve of your ear cartilage (about 12mm diameter). Remove it and adjust the curve to match your ear shape.
- The cuff should have one end slightly overlapping the other. File both ends smooth so they do not irritate your ear.
- Wrap a small tumbled stone using the wire frame technique from Design 2, but keep it compact.
- Attach the wrapped stone to the outer curve of the cuff using a small piece of 22-gauge wire, wrapping it securely 3-4 times.
- Test the fit on your ear. The cuff should grip the cartilage firmly enough to stay in place but not so tight it pinches.
- Adjust the wire shape by gently bending with your fingers or nylon-jaw pliers.
Ear cuffs are forgiving because the fit can be adjusted by bending. Start with copper wire for practice — it is soft enough to reshape repeatedly without work-hardening and becoming brittle.
Common Mistakes to Avoid
- Wrapping too loosely — Loose wraps look sloppy and can catch on hair and clothing. Each wrap should sit flush against the previous one with no gaps.
- Cutting wire too short — Always leave yourself a few extra inches. You can always cut more off, but you cannot add wire back once it is cut.
- Forgetting to file cut ends — Sharp wire ends will scratch your skin, catch on clothing, and look unfinished. Use a nail file or wire rounder to smooth every cut end.
- Over-bending copper wire — Copper work-hardens as you bend it. If a piece becomes stiff and springy, it has been bent too many times in the same spot. Annealing (heating with a torch and quenching) softens it, but for beginners, it is easier to start fresh with a new piece.
- Uneven loop sizes — Use the same spot on your round-nose pliers jaw every time to create consistent loop sizes. Mark the spot with a marker if needed.
Frequently Asked Questions
What gauge wire is best for wire wrapped earrings?
20-gauge is the best all-around choice. It balances workability with strength. Use 22-gauge for delicate wrapping details and 18-gauge for structural frames that need to hold their shape.
Can I use silver wire instead of copper?
Absolutely. Sterling silver wire produces more refined-looking results, but it is harder to manipulate (especially 18-gauge) and significantly more expensive. Start with copper for practice, then switch to silver for gifts or finished pieces. Silver-plated copper is a good middle ground.
How do I match earrings perfectly?
Make both earrings in parallel rather than one at a time. Wrap the wire the same number of times, use the same loop size on the same pliers jaw position, and measure stone positions. Small asymmetries add handmade charm — perfect mirror-image matching is not necessary and can actually look less natural.
Final Thoughts
Wire wrapped crystal earrings are one of the best beginner jewelry projects because they teach essential skills while producing genuinely wearable results. Start with the simple loop drop, build confidence with the frame wrap, and gradually work up to the more complex designs. Each pair you make will be better than the last, and before long you will be developing your own signature style and techniques. The most important thing is to practice consistently — wire wrapping is a hands-on skill that improves dramatically with repetition.
Frequently Asked Questions
How heavy are wire wrapped crystal earrings?
The weight of your handmade crystal earrings depends entirely on the stones you select. For comfortable everyday wear, we recommend using smaller, lightweight tumbled stones or raw crystal chips. SagStone artisans often pair delicate wire wraps with smaller stones to ensure the final piece remains light enough to wear all day without pulling or stretching your earlobes.
How do you keep wire wrapped earrings from tarnishing?
To protect your handcrafted jewelry and prevent tarnishing, always store your wire wrapped crystal earrings in a dry, airtight bag away from direct sunlight. Keep them away from water, perfumes, and lotions. If you use bare copper wire, a clear protective sealant or jeweler's wax can be gently applied to the finished piece to preserve its beautiful artisan shine.
Comments