How to Make Resin Crystal Earrings: Beginner-Fri
June 3, 2026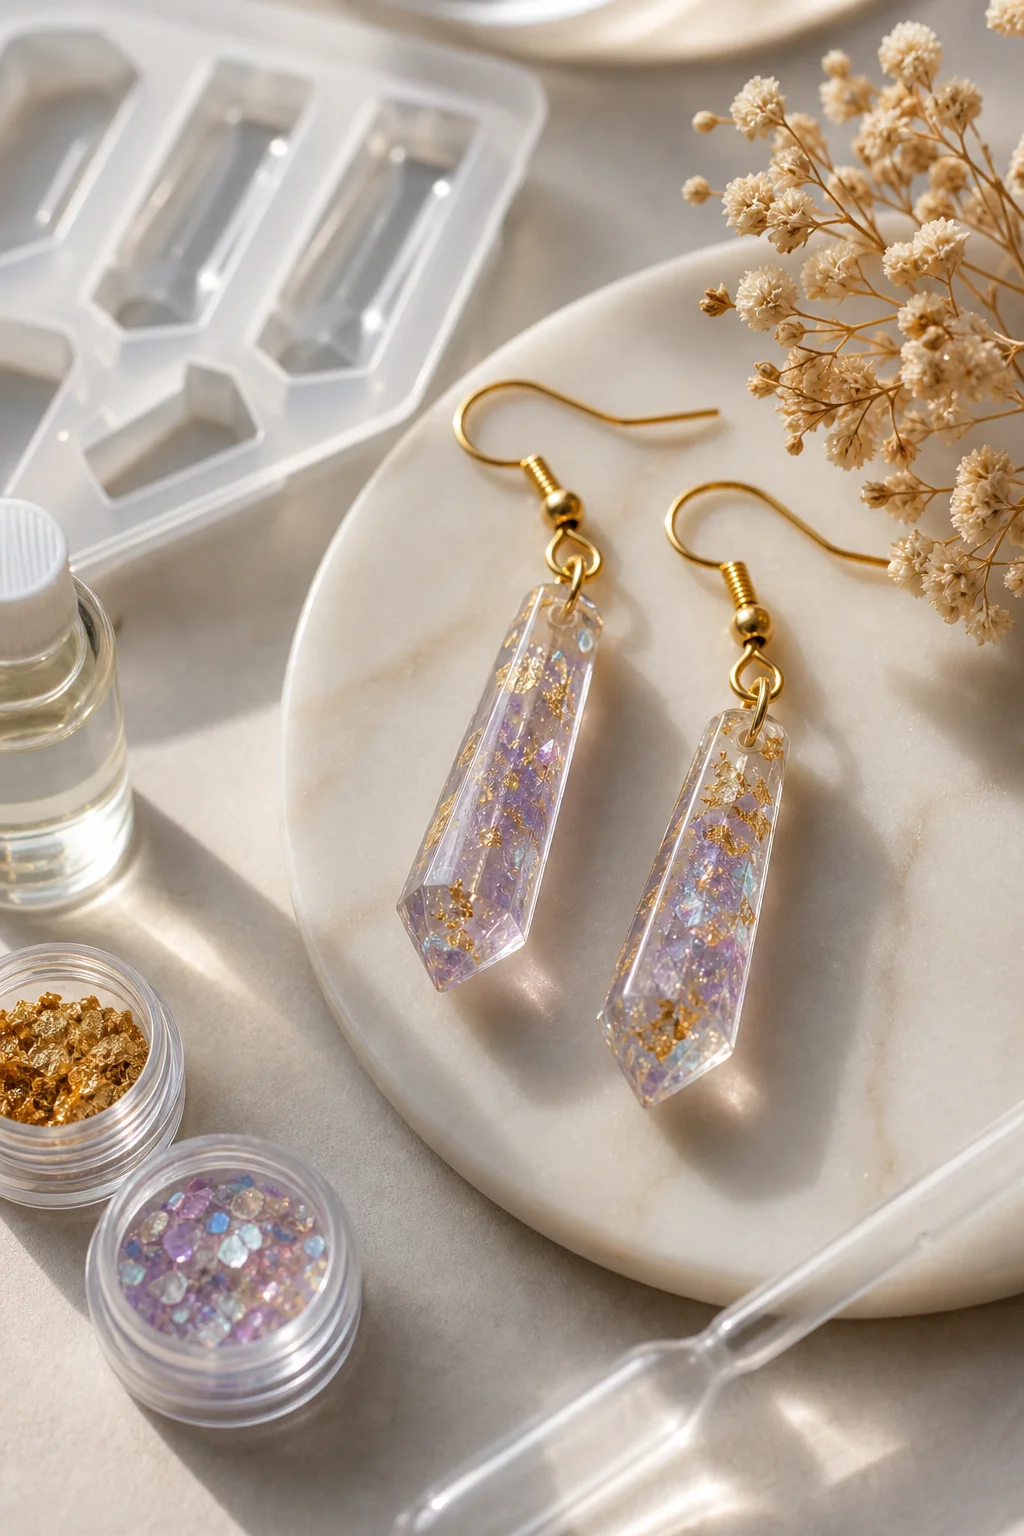
Why Resin Crystal Earrings Are a Great First Project
Resin crystal earrings sit at the perfect intersection of simplicity and visual impact for a beginner jewelry-making project. The technique is straightforward (mix resin, pour into molds, embed crystals, cure, attach hardware), the materials are affordable (a complete starter kit costs $25-40), and the results look professional enough to wear, gift, or sell. Unlike some jewelry techniques that require months of practice to produce anything presentable, a first-time resin earring maker can create wearable pieces within 48 hours (the cure time).
The "crystal" component can range from genuine crystal chips (amethyst, rose quartz, citrine fragments) to small tumbled stones, sea glass, dried flowers, metallic flakes, or any small decorative element that fits in the mold. This versatility means you can customize each pair to match a specific aesthetic or color scheme.
What You Need: The Complete Materials List
Resin
For earrings, two-component epoxy resin is the standard choice. Epoxy resin consists of a resin part (Part A) and a hardener part (Part B) that are mixed in a specific ratio (typically 1:1 by volume). Epoxy produces a hard, clear, durable finish that is ideal for small jewelry pieces.
Recommended brands: Amazing Clear Cast, ArtResin, or Pro Marine Supplies. Budget option: IEKKO or Puduo epoxy resin ($15-25 for a 16oz kit). Avoid UV resin for earrings—while UV resin cures in minutes under a UV lamp, it tends to be more brittle and less scratch-resistant than epoxy, which matters for earrings that will be handled regularly.
UV resin caveat: UV resin does work for earrings and cures in 5-15 minutes (vs. 24-48 hours for epoxy), which is appealing for impatient beginners. However, UV resin yellows faster under sunlight exposure and can be brittle. If you choose UV resin, test one pair first before committing to a batch.
Molds
Small silicone molds in earring-appropriate shapes are essential. Look for molds with cavities approximately 15-20mm (0.6-0.8 inches) in their longest dimension—larger than this and the earrings become heavy and uncomfortable. Popular shapes include teardrops, rounds, ovals, hexagons, and botanical/flower shapes.
Silicone molds are flexible (allowing easy demolding), non-stick (resin does not adhere to silicone), and reusable for dozens of pours. A good set of small earring molds costs $8-15. Wash molds with warm soapy water before first use to remove manufacturing residue.
Crystal Chips and Inclusions
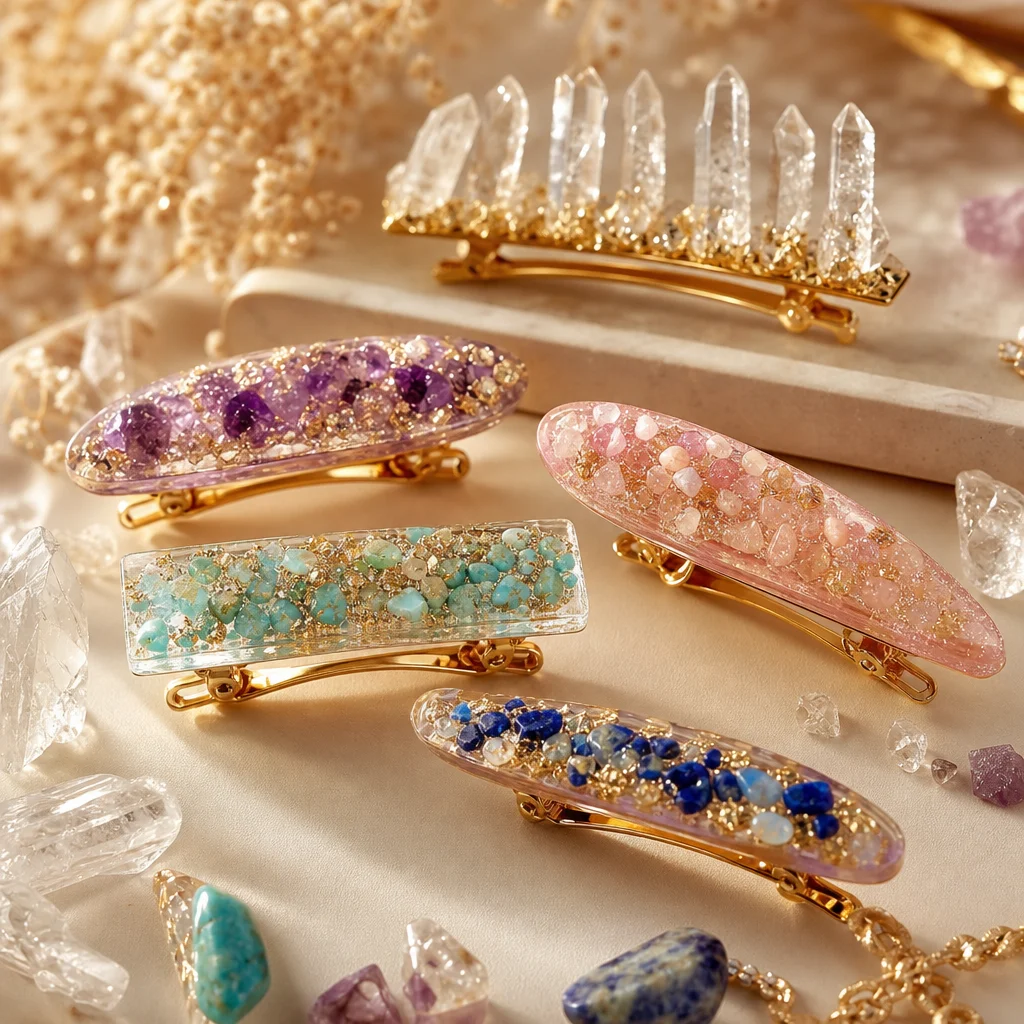
Small crystal chips (2-5mm fragments) work best for earrings. You can buy pre-packaged crystal chip assortments ($8-15 for a mixed bag) or create your own by gently crushing tumbled stones in a cloth bag with a hammer. The latter method gives you more control over chip size and lets you use stones you already own.
Good crystal choices for earrings include: amethyst chips (purple), rose quartz chips (pink), citrine chips (yellow-orange), peridot chips (green), and aquamarine chips (blue). Avoid opaque stones (jasper, agate) in earrings—the transparent/translucent stones look best when suspended in clear resin because light passes through both the crystal and the resin.
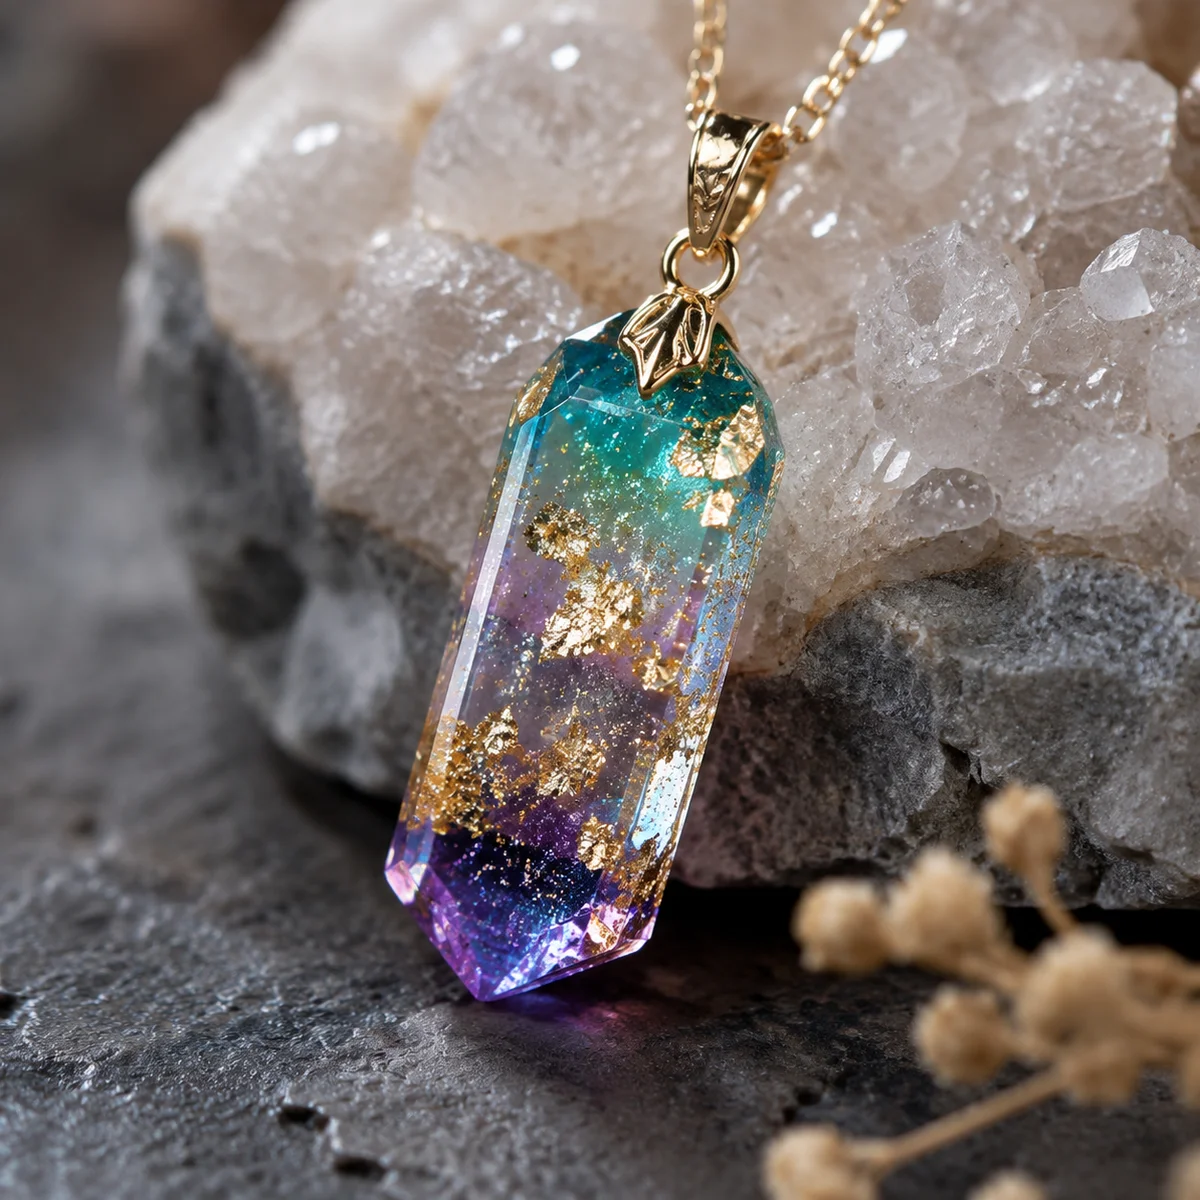
Non-crystal inclusions that pair well: dried flower petals, metallic leaf flakes (gold or silver), tiny star sequins, mica powder (for tinting the resin), and small shell fragments.
Earring Hardware
You need earring posts or hooks plus some method of attaching them to the cured resin pieces:
- Stud posts with flat pads: attach to the back of the resin piece with a small dot of epoxy or super glue
- Jump rings + fishhook wires: for dangling earrings, attach a jump ring to a small hole drilled (or embedded) in the resin, then attach the fishhook wire
- Glue-on bail pads: small metal pads with a loop, glued to the resin back for chain or hook attachment
Surgical stainless steel or hypoallergenic hardware is recommended for earrings that will touch the skin. Nickel-plated hardware can cause allergic reactions in sensitive individuals. A pack of 50-100 earring hooks or stud posts costs $5-10.
Other Supplies
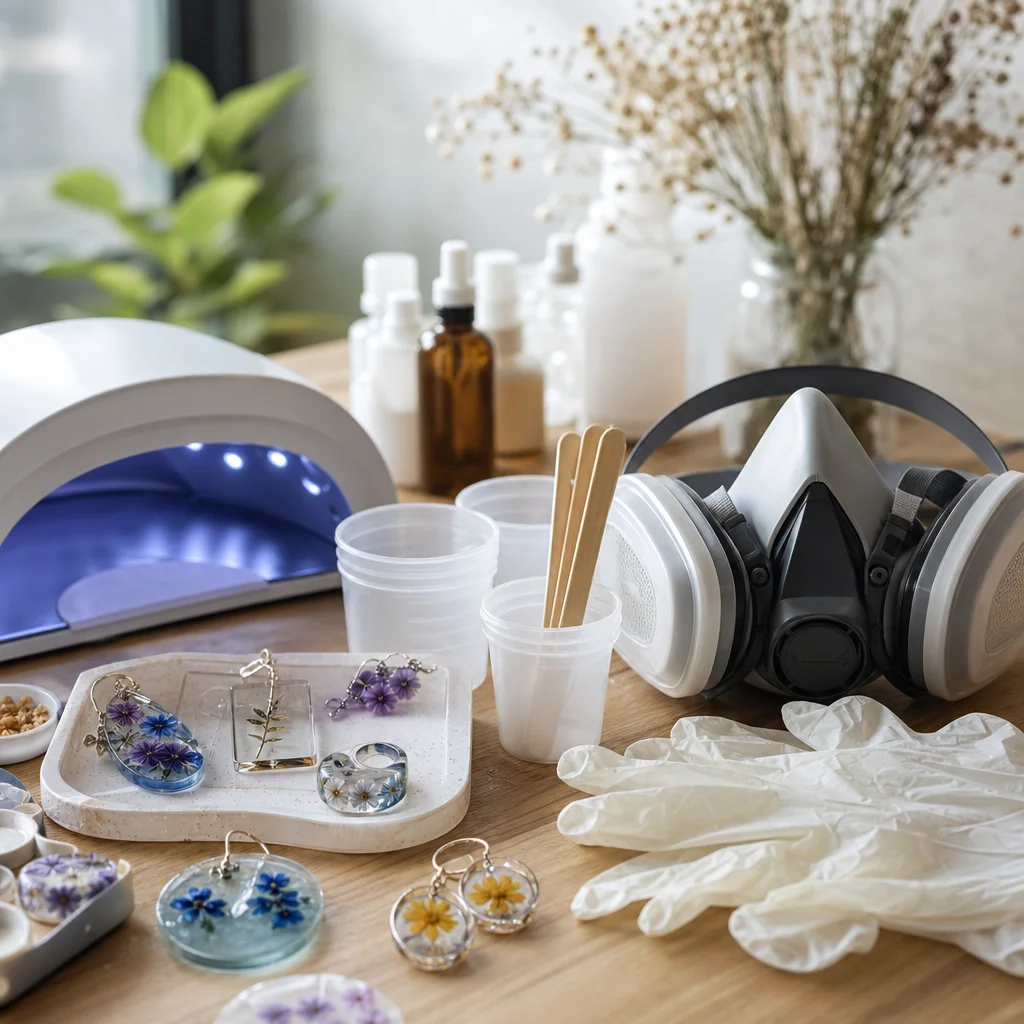
- Mixing cups: small plastic or silicone cups (disposable). Silicone cups are preferred because cured resin peels off easily for reuse.
- Stir sticks: wooden craft sticks or plastic stirrers. One per pour—do not reuse.
- Toothpicks: for positioning crystal chips and popping bubbles
- Heat gun or lighter: for removing air bubbles (see bubble removal section)
- Nitrile gloves: resin is sticky and can irritate skin. Wear gloves throughout the mixing and pouring process.
- Covered workspace: resin will ruin surfaces it contacts. Work on a silicone mat, plastic sheet, or paper towel over a protected table.
Step-by-Step: Making Your First Pair
Step 1: Prepare Your Workspace
Cover your work area. Lay out all materials within arm's reach—once resin is mixed, you have a limited working time (typically 20-40 minutes depending on the brand) before it begins to thicken. Set up the molds on a flat, level surface (resin is self-leveling, but the molds need to be on a flat surface for even filling).
Step 2: Mix the Resin
Measure equal parts resin (Part A) and hardener (Part B) by volume. Precision matters: too much of either component will result in resin that does not cure properly (stays sticky or rubbery). Use the measuring cups provided with your resin kit, or use identical containers for each part.
Pour both parts into a clean mixing cup. Stir slowly and thoroughly for 2-3 minutes. Scrape the sides and bottom of the cup as you stir to ensure complete mixing. The mixture should become clear and uniform—if you see streaks or cloudiness, keep stirring. After mixing, let the resin sit for 1-2 minutes to allow bubbles to rise to the surface.
Step 3: Pour the First Layer
Pour a small amount of resin into each mold cavity—about one-third full. This creates a base layer. Use a toothpick to spread the resin evenly across the bottom of the cavity. Do not overfill; you need room for the crystal layer and a top sealing layer.
Step 4: Add Crystal Chips
Using tweezers or a toothpick, carefully place crystal chips into the resin-filled mold cavities. Arrange them in a pattern that looks pleasing: a single large chip centered with smaller chips radiating outward, a scattered random pattern, or a geometric arrangement. The chips should be partially submerged in the base layer but not completely covered—you want them visible within the resin, not buried.
For the most visually striking earrings, use 3-8 chips per cavity depending on size. Too many chips make the resin look crowded; too few and the earring looks sparse. The sweet spot is 4-6 chips for a 15mm teardrop mold.
Step 5: Remove Bubbles
Air bubbles are the most common issue in resin work. They get trapped during mixing, pouring, and chip placement. There are three ways to remove them:
- Toothpick method: gently poke any visible bubbles with a toothpick. This works for large bubbles near the surface.
- Heat gun method: pass a heat gun (on low setting) or a lighter quickly over the resin surface for 2-3 seconds. The heat causes bubbles to expand and pop. Do not hold the heat source in one place—moving quickly prevents overheating the resin.
- Wait: some small bubbles will rise to the surface on their own within 10-15 minutes. If you are not in a rush, simply let the resin sit and bubbles will resolve themselves.
Do not blow on the resin to pop bubbles—your breath introduces moisture, which can cause cloudy spots in the cured resin.
Step 6: Pour the Top Layer
After placing the chips and removing bubbles, fill the rest of each mold cavity with resin. Pour slowly to avoid creating new bubbles. Fill to just below the rim of the cavity—overfilling creates a lip that requires sanding after curing.
Check that all crystal chips are fully submerged. If any chips are poking above the resin surface, use a toothpick to push them down gently. Any exposed chip surface will not be sealed by the resin and may look unfinished.
Step 7: Cure
Cover the molds with a clean box, plastic container, or plastic wrap to protect from dust while curing. Epoxy resin typically cures in 24-48 hours at room temperature (65-75°F / 18-24°C). Warmer temperatures speed up curing; cooler temperatures slow it down. Do not move or disturb the molds during curing—any vibration can shift the crystal positions.
After the initial cure (the resin is firm but may still be slightly tacky), let the pieces sit in the molds for an additional 12-24 hours before demolding. Fully cured resin should be hard, smooth, and non-tacky to the touch.
Step 8: Demold and Finish
Gently flex the silicone mold to release the cured resin pieces. They should pop out easily—if they stick, flex the mold more aggressively or gently push from the back of the cavity with a finger. Inspect each piece: the surface should be glossy and smooth with the crystal chips clearly visible inside.
If there are rough edges, you can sand them with fine-grit wet sandpaper (400-600 grit) followed by polishing with a cloth. Small imperfections often become invisible once the earring hardware is attached and the piece is worn.
Step 9: Attach Hardware
For stud earrings: apply a small dot of epoxy or super glue to the flat pad of the stud post and press it against the back of the resin piece. Hold for 30-60 seconds. Let the glue cure fully (follow the glue manufacturer's instructions—usually 24 hours for epoxy, 1 hour for super glue).
For dangling earrings: use a small drill bit (1mm) to create a hole at the top of the resin piece, then thread a jump ring through the hole and attach the fishhook wire. Alternatively, embed a small eye pin into the resin before curing (during Step 4) so that when the resin hardens, the eye pin is permanently embedded with a loop protruding for attachment.
Safety Notes
Epoxy resin produces fumes during mixing and curing that some people find irritating. Work in a well-ventilated area (open window or fan). Wear nitrile gloves throughout—resin is extremely difficult to remove from skin and can cause contact dermatitis in sensitive individuals. Do not eat, drink, or smoke while working with resin. Clean up spills immediately with rubbing alcohol before the resin cures—cured resin is nearly impossible to remove from surfaces.
Troubleshooting Common Problems
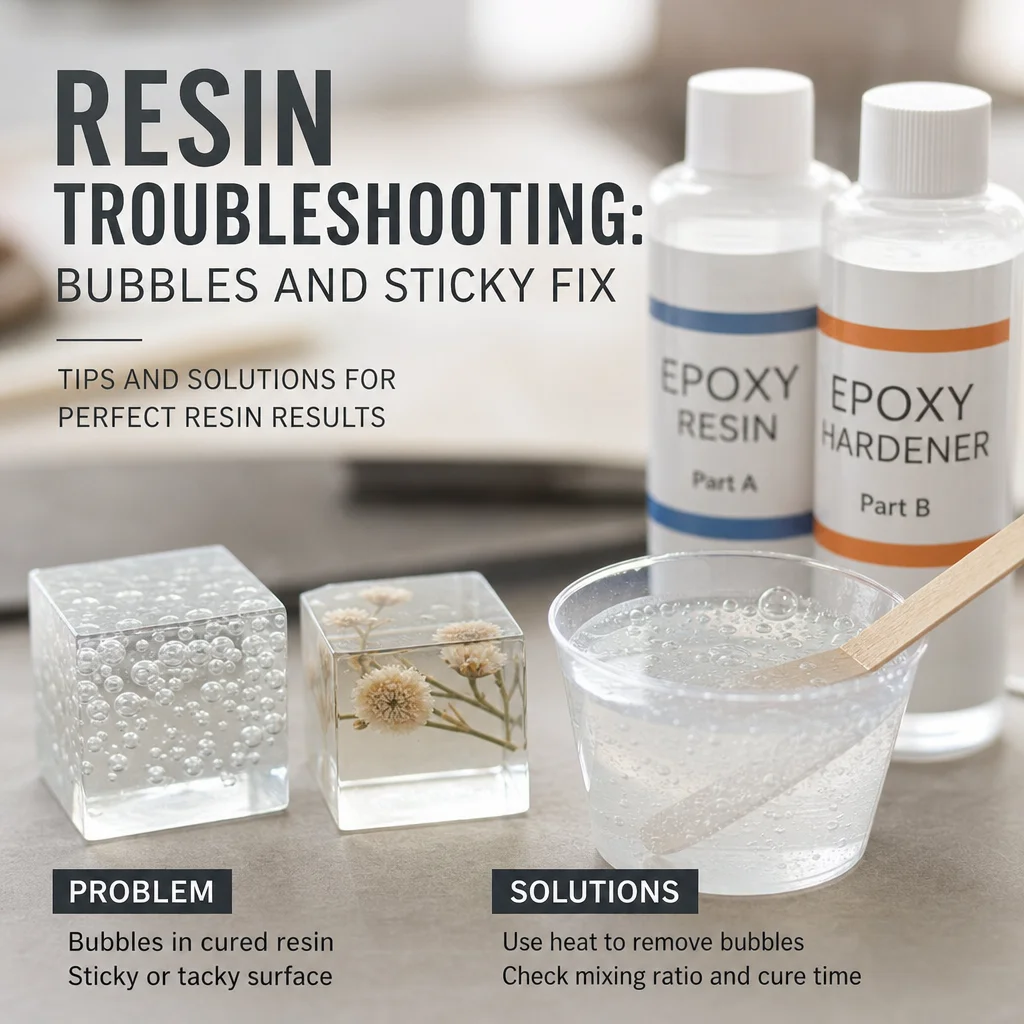
- Resin stays sticky after 48 hours: incorrect mixing ratio is the most common cause. If you measured by eye instead of volume, the ratio may have been off. Sticky resin cannot be fixed—discard and start over with careful measurement.
- Bubbles in the finished piece: pour more slowly next time, and use the heat gun method to pop bubbles before the resin begins to set.
- Crystal chips sink to the bottom: this happens when you pour too much resin before placing the chips. Pour a thin base layer, add chips, let it set partially (15-20 minutes), then pour the top layer. The partial set prevents chips from sinking.
- Cloudy or yellowed resin: may indicate moisture contamination (water in the mixing cup or chips) or expired resin. Ensure all tools and materials are dry before use. Store resin in a cool, dark place.
Frequently Asked Questions
How long do resin crystal earrings last?
Properly made epoxy resin earrings are surprisingly durable. The resin is resistant to water, UV light (for a time), and normal wear. Expect 1-3 years of regular wear before yellowing or minor scratching becomes noticeable. Epoxy resin is not as hard as glass or gemstone, so it can be scratched by abrasive surfaces—avoid wearing resin earrings while sleeping or during vigorous activities.
Can I sell resin crystal earrings I make?
Yes, many independent jewelry makers sell resin earrings on Etsy, at craft fairs, and through social media. Pricing typically ranges from $15-35 per pair, with material costs of $2-5 per pair. Be transparent about materials—state that the earrings are made with genuine crystal chips (if applicable) set in epoxy resin.
Do I need a UV lamp for this project?
Not if you are using epoxy resin (which cures at room temperature over 24-48 hours). UV lamps are only needed for UV-curing resin, which is a different product. Epoxy resin is the recommended choice for beginners making earrings because it produces a harder, more durable, and less yellowing final product.
Frequently Asked Questions
Can you put real natural crystals inside resin?
Yes, you can absolutely encapsulate real, natural crystals in resin! It is a beautiful way to showcase raw stones or small tumbled chips. At SagStone, we love preserving the natural beauty of genuine stones. Just ensure your crystals are completely clean and dry before pouring the resin, as any dust or moisture can cause cloudiness or imperfect curing over time.
How do I prevent bubbles in my resin crystal earrings?
To achieve that flawless, glass-like finish, warm your resin bottles in a water bath before mixing. When pouring, do so very slowly from a high distance to allow bubbles to pop naturally. You can also lightly spray the surface with alcohol or use a toothpick to coax stubborn bubbles out before the curing process begins.

Comments