How to Make Resin Crystal Coasters: Complete ...
May 29, 2026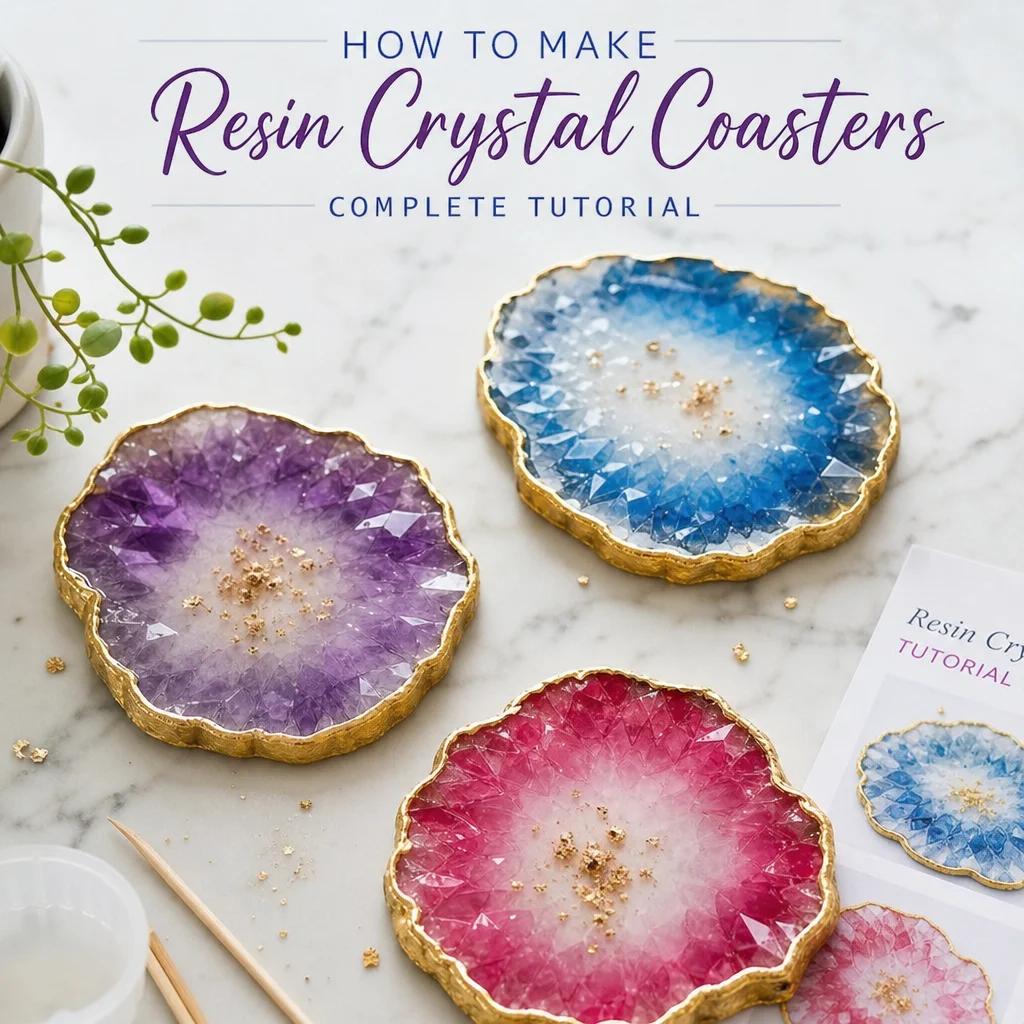
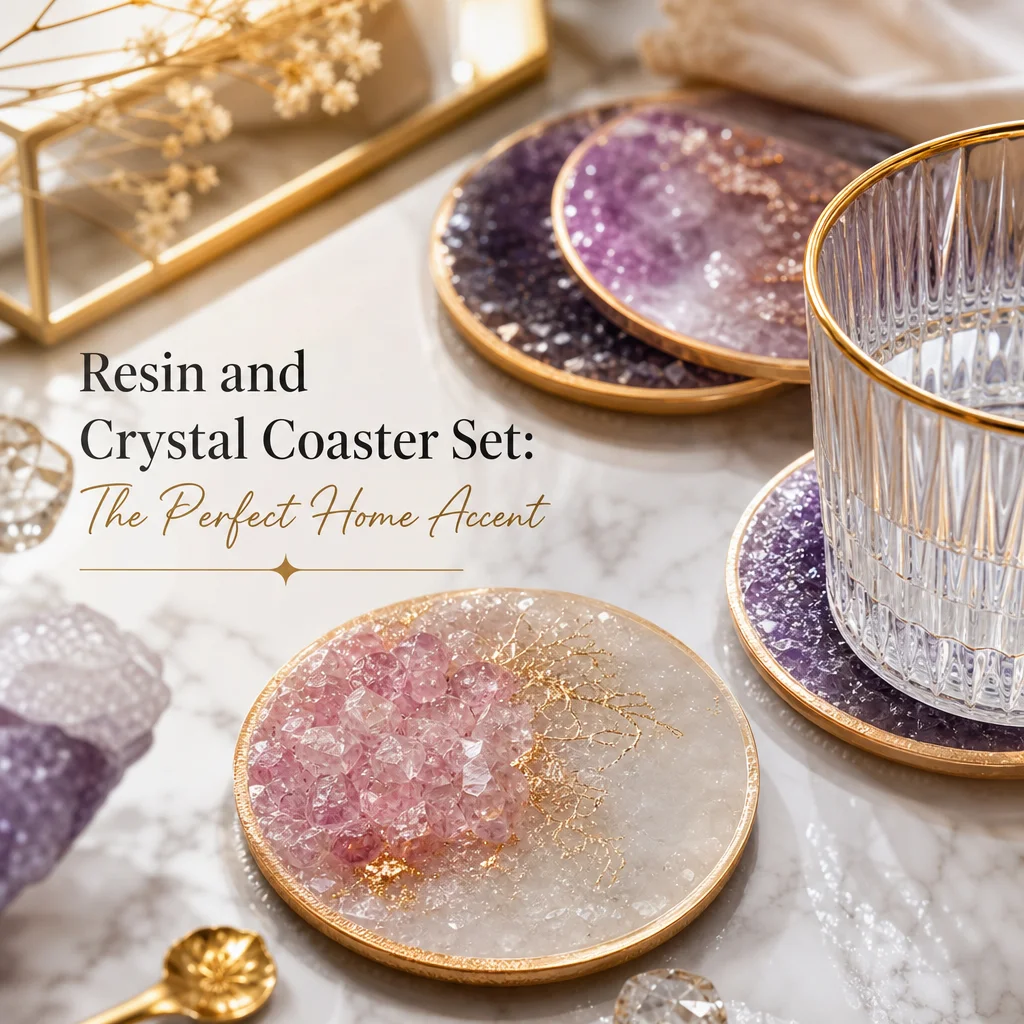
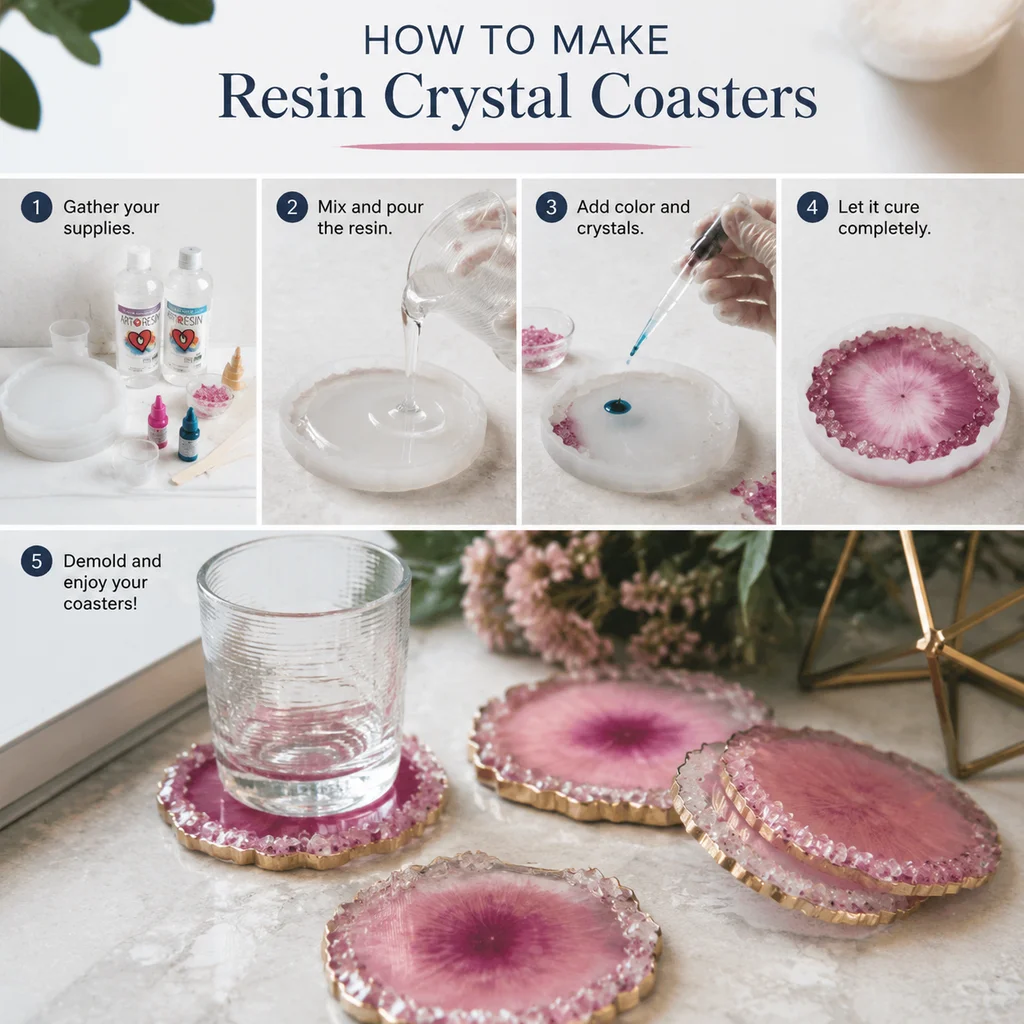
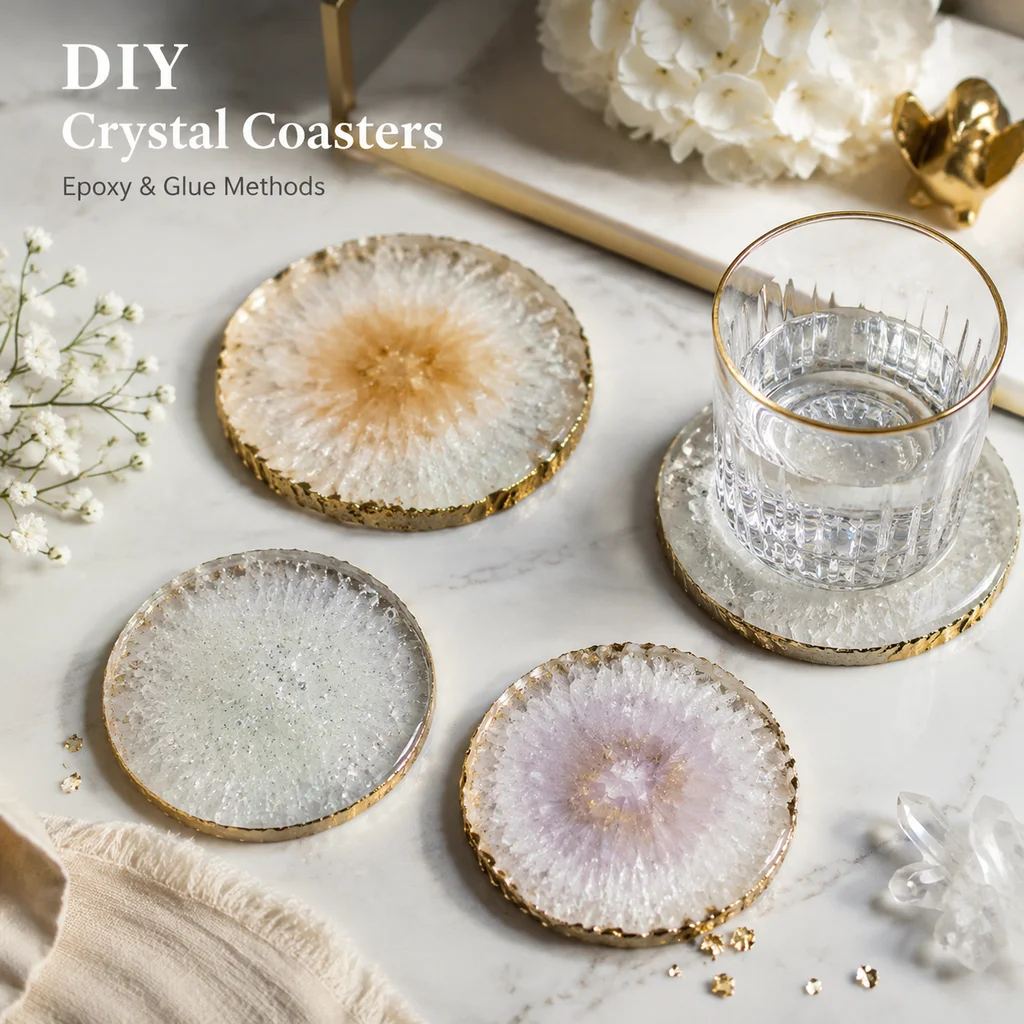
Resin crystal coasters are one of those projects that look intimidating but are actually straightforward once you understand the process. The materials are inexpensive, the tools are minimal, and the results are genuinely beautiful — layers of transparent resin with real crystals suspended inside, creating coasters that catch light and draw attention.
The part most tutorials gloss over is safety. Epoxy resin involves chemicals that can cause allergic reactions, respiratory irritation, and long-term sensitization if you do not take basic precautions. This tutorial covers the creative process and the safety measures with equal detail.
Materials List
Resin and Hardener
Use a clear casting epoxy resin — not coating resin, not polyester resin, not UV resin. Casting epoxy is formulated for thicker pours (up to 1-2 inches in a single layer) and cures with minimal shrinkage and excellent clarity.
Recommended brands for beginners: ArtResin, Alumilite Clear Cast, or EasyCast. A 16oz kit costs $15-25 and makes 4-6 coasters.
Crystals and Decorative Elements
- Crystal chips or small tumbled stones: $3-8 per 100g bag. Clear quartz, amethyst, rose quartz, and citrine chips are widely available and affordable.
- Gold leaf flakes: $5-8 for a small booklet. A little goes a long way — you only need a few flakes per coaster.
- Mica powder or pigment (optional): $3-5 per color. Pearl white, gold, and rose gold are popular choices. Use sparingly — too much pigment clouds the resin.
Mold
Silicone coaster molds: $5-10 for a set of 4. Round coasters (4 inch diameter) are standard. Look for molds with smooth, glossy interiors — the resin will pick up every detail of the mold surface.
Tools
- Two mixing cups (plastic or silicone, with measurement markings)
- Mixing sticks (wooden or plastic)
- Toothpicks or a fine-point tool for positioning crystals
- Heat gun or butane torch (for bubble removal)
- Level surface for curing (check with a bubble level — this matters)
- Nitrile gloves (not latex — some resins react with latex)
- Nitrile gloves (backup pair — you will need them)
- Respirator mask with organic vapor cartridges (N95 is not sufficient for resin fumes)
- Safety glasses
Total Material Cost Per Set of 4 Coasters
- Resin: $4-6
- Crystal chips: $1-2
- Gold leaf: $0.50
- Molds are reusable (one-time purchase of $5-10)
- Total per set: approximately $5-8
Safety Precautions (Read This Before You Start)
Epoxy resin consists of two parts: the resin (Part A) and the hardener (Part B). Both contain chemicals that can cause:
- Skin contact dermatitis: Red, itchy, blistering rash that can become a permanent allergy with repeated exposure. Once sensitized, you will react to even tiny amounts of epoxy for the rest of your life.
- Respiratory irritation: Fumes from mixing and curing can irritate your nose, throat, and lungs.
- Eye irritation: Resin splashes are painful and potentially damaging.
If you get resin on your skin, wash immediately with soap and water. Do not use solvent — it drives the resin deeper into the skin.
Step-by-Step Process
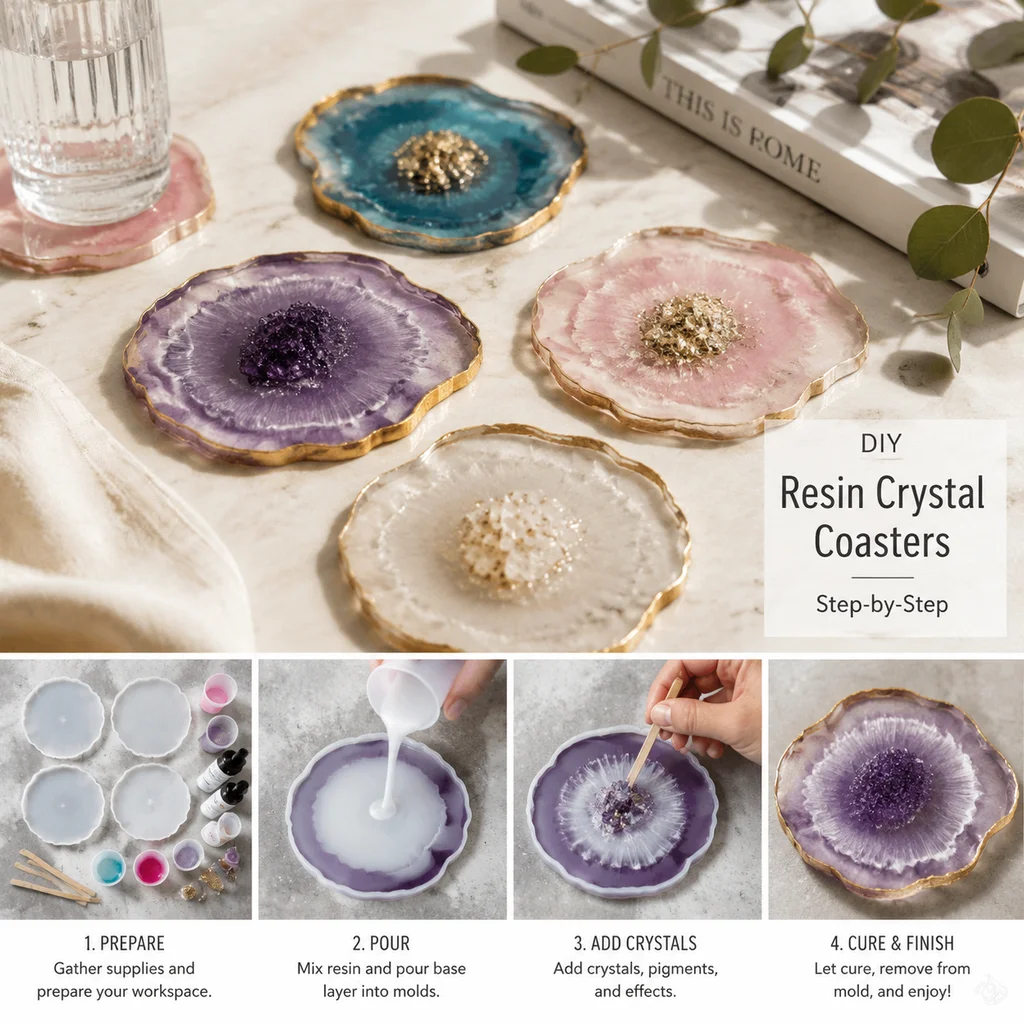
Step 1: Prepare Your Workspace (10 minutes)
- Cover your work surface with wax paper or a silicone mat
- Set up your level surface — use a bubble level to confirm it is flat
- Lay out all materials and tools within arm's reach
- Open windows and turn on ventilation
- Put on gloves, respirator, and safety glasses
Step 2: Plan Your Design (5 minutes)
Arrange your crystal chips and decorative elements on a flat surface next to the molds. Plan the layout before you mix resin — once the resin is mixed, you are on a timer (typically 20-40 minutes of working time before it starts to thicken).
For a layered design:
- Bottom layer: Clear resin with a few scattered crystal chips
- Middle layer: Main crystal arrangement with gold leaf
- Top layer: Clear resin to fill the mold
Step 3: Mix the Resin (5 minutes)
Follow your resin brand's instructions precisely. The ratio matters — too much resin and the mixture stays tacky. Too much hardener and it cures too fast and yellows.
General process:
Step 4: Pour the Bottom Layer (5 minutes)
Pour a thin layer (about 3-4mm) of clear resin into each mold. This is your base layer — it should be enough to cover the bottom of the mold evenly.
Use a toothpick to spread the resin if it does not flow into the corners on its own.
Step 5: Place the First Crystal Layer (10 minutes)
Before the bottom layer cures, arrange your first layer of crystal chips on top of the wet resin. Use toothpicks or tweezers to position them.
Bubble prevention tip: Dip each crystal chip in a small amount of mixed resin before placing it in the mold. This pre-coats the stone and reduces the chance of air bubbles clinging to its surface.
Step 6: Add the Middle Layer and Decorations (10 minutes)
Pour more resin over the crystal layer, filling the mold to about 70% full. Add gold leaf flakes and any mica powder accents at this stage. Use a toothpick to swirl or position the decorative elements.
If using mica powder, sprinkle it lightly from above — do not dump it in. A little creates a pearlescent shimmer; too much creates an opaque mess.
Step 7: Remove Bubbles (5-10 minutes)
This is the step that separates amateur coasters from professional ones.
Method 1: Heat gun or torch — Pass the heat source quickly over the surface of the resin. The heat makes bubbles expand and rise to the surface where they pop. Keep the heat source moving — holding it in one spot will overheat and distort the resin.
Method 2: Toothpick — For stubborn bubbles near crystals, use a toothpick to gently coax bubbles to the surface.
Method 3: Pressure pot (advanced) — If you have access to a pressure pot, place the filled molds inside and pressurize to 40-50 PSI for the first few hours. This compresses all bubbles to invisibility.
Check for bubbles from multiple angles. Tilt the mold and look through the sides — bubbles that are invisible from above might be clearly visible from an angle.
Step 8: Fill to the Top and Final Bubble Check (5 minutes)
Pour the remaining resin to fill the molds to just below the rim. Do not overfill — resin shrinks slightly during curing, and an overfilled mold will create a domed surface (which may or may not be desirable).
Perform a final bubble check and heat-gun pass.
Step 9: Cure (24-72 hours)
Place the molds on your level surface, cover them loosely with a box or container to keep dust out, and wait.
- Initial set: 6-12 hours (resin becomes firm to the touch)
- Full cure: 24-72 hours depending on the resin brand and room temperature
- Optimal temperature: 70-75°F (21-24°C). Cooler temperatures slow curing; warmer temperatures speed it up but can cause yellowing
Step 10: Demold and Finish (15-30 minutes)
Once fully cured, flex the silicone mold and gently push the coaster out. It should release cleanly.
If the surface is matte or has imperfections:
- Spray with a clear coat of resin-safe varnish or apply a thin "flood coat" of clear resin
- Alternatively, sand with progressively finer grits (400 → 800 → 2000) and polish with a plastic polish compound
- Sand the edges with 400-grit sandpaper, then progress to 800 and 2000
- Wet sanding produces smoother results and less dust
- Unfortunately, bubbles that cured inside the resin cannot be removed without cutting and re-pouring. Prevention (Steps 6-7) is the only cure.
Design Variations
Ocean theme: Use blue mica powder at the bottom, white mica in the middle (for waves), clear quartz chips, and tiny seashells.
Galaxy theme: Dark purple and blue mica, gold leaf stars, small amethyst chips, and a pinch of fine glitter.
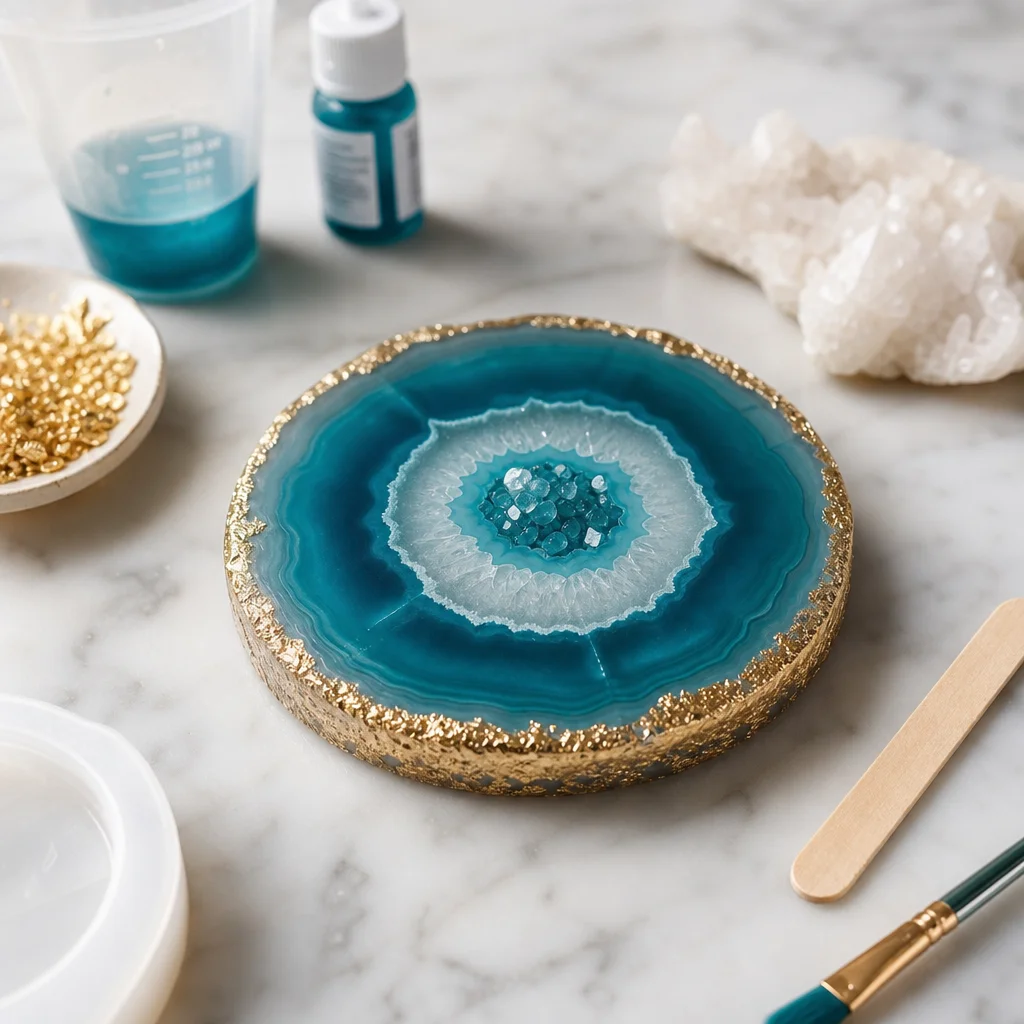
Geode look: Place crystals around the outer ring of the coaster, leaving the center relatively clear. Add gold leaf along the crystal boundary to simulate a geode's crystalline edge.
Minimalist: Clear resin with a few scattered crystal chips and no additional color. Clean and modern.
Care Instructions for Finished Coasters
Resin coasters are heat-resistant to about 135°F (57°C) — warm mugs are fine, hot pans are not. They are water-resistant and can be wiped clean with a damp cloth. Do not put them in the dishwasher.
Prolonged exposure to direct sunlight will eventually cause epoxy resin to yellow. Clear resin yellows faster than tinted resin. If you are making coasters for a sunny room, consider using a UV-resistant resin formulation (which costs a bit more but resists yellowing significantly better).
Selling Your Work
If you decide to sell resin crystal coasters:
- Pricing: Material cost $5-8, labor 30-45 minutes. Price at $20-30 for a set of 4 to stay competitive while maintaining a healthy margin.
- Platforms: Etsy, Instagram shops, local craft markets
- Photography: Photograph coasters on a dark surface with side lighting to show the depth and crystal details. Backlighting also works well to make the crystals glow through the resin.
- Custom orders: Offer to embed specific crystals, initials, or small objects (dried flowers, coins, small photos) for premium pricing.
Frequently Asked Questions
Can you put real crystals inside epoxy resin coasters?
Yes, you can absolutely put real crystals inside epoxy resin coasters! At SagStone, we love embedding natural stones like clear quartz, amethyst, and rose quartz. Just ensure your natural crystals are clean and completely dry before pouring the resin to avoid cloudiness or trapped air bubbles inside your handcrafted piece.
What type of resin works best for making crystal coasters?
For making crystal coasters, a high-quality, clear-casting epoxy resin is best. Casting resin is specifically formulated to pour in thicker layers, which perfectly encapsulates heavier natural crystals without yellowing over time. Look for a slow-curing resin, as it produces fewer bubbles and gives you more time to arrange your handcrafted designs.
How do you prevent natural stones from floating in resin?
To keep natural stones from floating to the top of your resin coasters, try pouring a very thin base layer of resin first and letting it cure until it is tacky. Once this base layer is slightly hardened, arrange your crystals and pour the rest of the resin. This secures your handcrafted stones perfectly in place.
Are epoxy resin coasters safe for hot drinks?
While cured epoxy resin is somewhat heat resistant, it can still warp or leave heat marks if exposed to boiling temperatures directly from a kettle or stove. Standard epoxy coasters are generally safe for warm mugs, like coffee or tea, but we highly recommend using cork or felt bottoms and advising users to avoid placing excessively hot pans on them.
How long should resin coasters cure before using them?
Most crystal resin coasters need at least 24 to 72 hours to fully cure, depending on the specific epoxy brand and room temperature. Even if the surface feels dry after a day, waiting the full curing time ensures the resin hardens completely, protecting your beautiful natural crystals and creating a durable, artisan-quality finish.
Comments