Resin and Crystal Coaster Set: The Perfect Ha...
June 5, 2026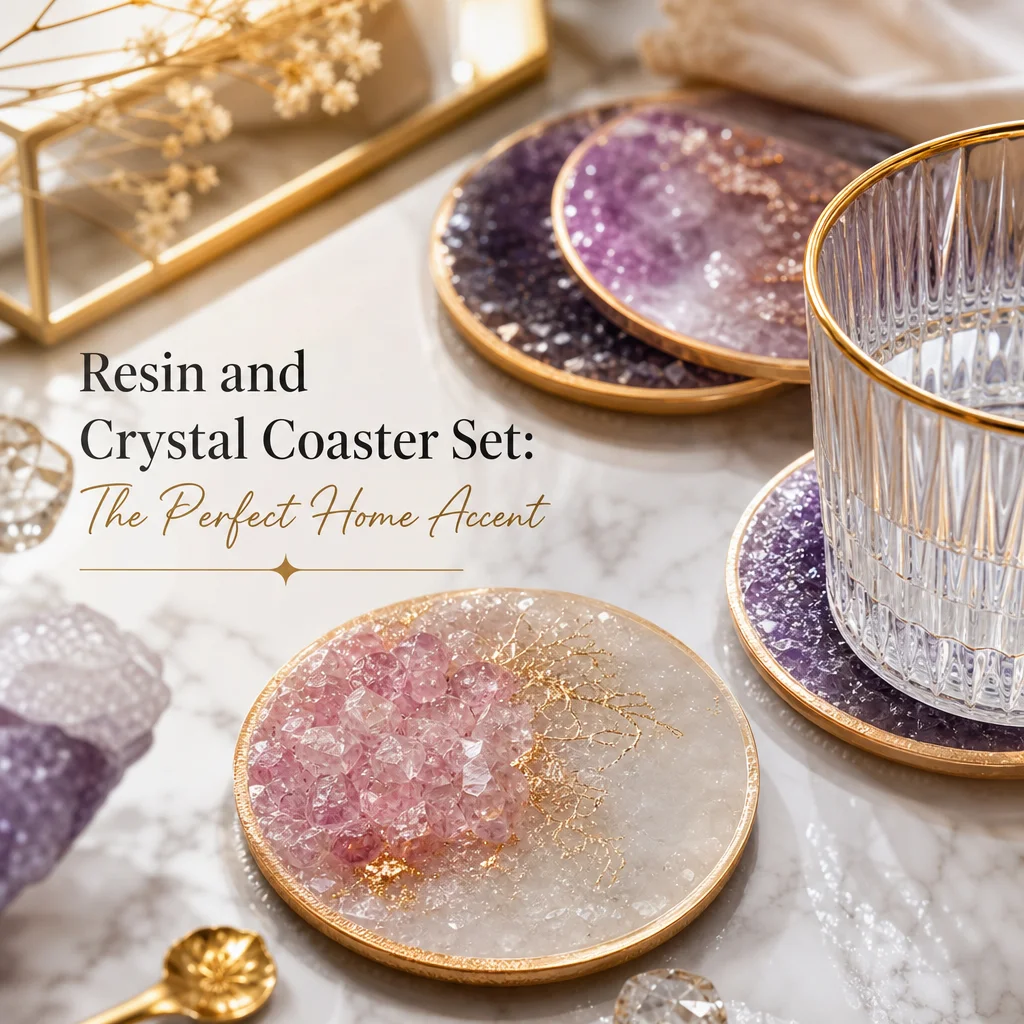
Choosing Your Silicone Mold
The mold determines the shape, size, and edge style of your coasters. Options include:
- Round (90mm diameter) — The most popular coaster shape. Fits all glassware types and looks clean on any surface.
- Hexagonal — A modern, geometric shape that adds visual interest. Hexagonal coasters arranged in a honeycomb pattern on a coffee table look particularly striking.
- Square (95mm) — Classic and space-efficient. Square coasters tile neatly and work well in minimalist settings.
- Irregular / organic shapes — Silicone molds shaped like natural stone or abstract forms produce artistic, conversation-starting coasters.
For coasters specifically, choose molds with a slight lip (raised edge) to keep resin from overflowing. The mold should be at least 5-6mm deep — thinner than this produces coasters that feel flimsy and flex under the weight of a glass. A thickness of 6-8mm is ideal for durability.
Silicone quality matters. Food-grade platinum-cure silicone molds produce better surface finishes and last longer than cheaper tin-cure molds. They release resin more cleanly and do not leave residue on the surface.
Selecting Crystals for Coasters
The stones you choose directly affect the visual impact and cost of your coasters. Here are practical considerations:
Crystal chips and fragments are the most cost-effective choice. Sold in bulk by weight (100g, 500g bags), chip-grade crystal pieces are small irregular fragments that look beautiful when scattered through resin. They cover a large surface area at low cost. A 100g bag of amethyst chips (roughly $8-15) is enough for 8-12 coasters depending on density.
Tumbled stones are rounder, smoother, and more uniform. They create a cleaner, more polished look. The downside is that tumbled stones are larger and fewer fit per coaster, so the coverage is sparser. Use them as focal elements rather than fill material.
Crystal types by visual effect:
- Amethyst chips — Purple fragments that look spectacular scattered through clear resin. The varied purple tones from pale lavender to deep violet create natural color depth.
- Rose quartz chips — Soft pink that adds warmth. Less color variety than amethyst, so consider mixing with clear quartz for contrast.
- Citrine chips — Warm amber-to-yellow tones that pair beautifully with gold metallic accents.
- Clear quartz chips — Nearly transparent, they catch light and add sparkle without introducing strong color.
- Mixed crystal chips — Pre-mixed bags containing multiple stone types. Convenient and produce colorful, varied results, but harder to control the color palette.
- Black tourmaline fragments — Dark contrast pieces that anchor lighter designs and add sophistication.
Cost control: A set of four coasters using crystal chips costs approximately $3-8 in materials (resin + crystals). Using tumbled stones or larger specimens increases the cost to $8-20 per set. This makes crystal coasters genuinely affordable handmade gifts.
Themed Set Ideas
Creating a cohesive set is more visually appealing than making four random coasters. Here are popular themes:
Seven Chakra Set: Seven coasters, each representing one chakra. Root (red jasper), Sacral (carnelian), Solar Plexus (citrine), Heart (green aventurine or jade), Throat (blue lace agate or sodalite), Third Eye (lapis lazuli), Crown (amethyst or clear quartz). Each coaster uses the corresponding stone type and a matching tinted resin color. This set is visually spectacular and carries strong symbolic meaning.
Four Elements Set: Earth (brown/green stones + green-tinted resin), Water (blue stones + blue resin), Fire (red/orange stones + warm tinted resin), Air (clear/white stones + pearlescent resin). The four-coaster format naturally suits this theme.
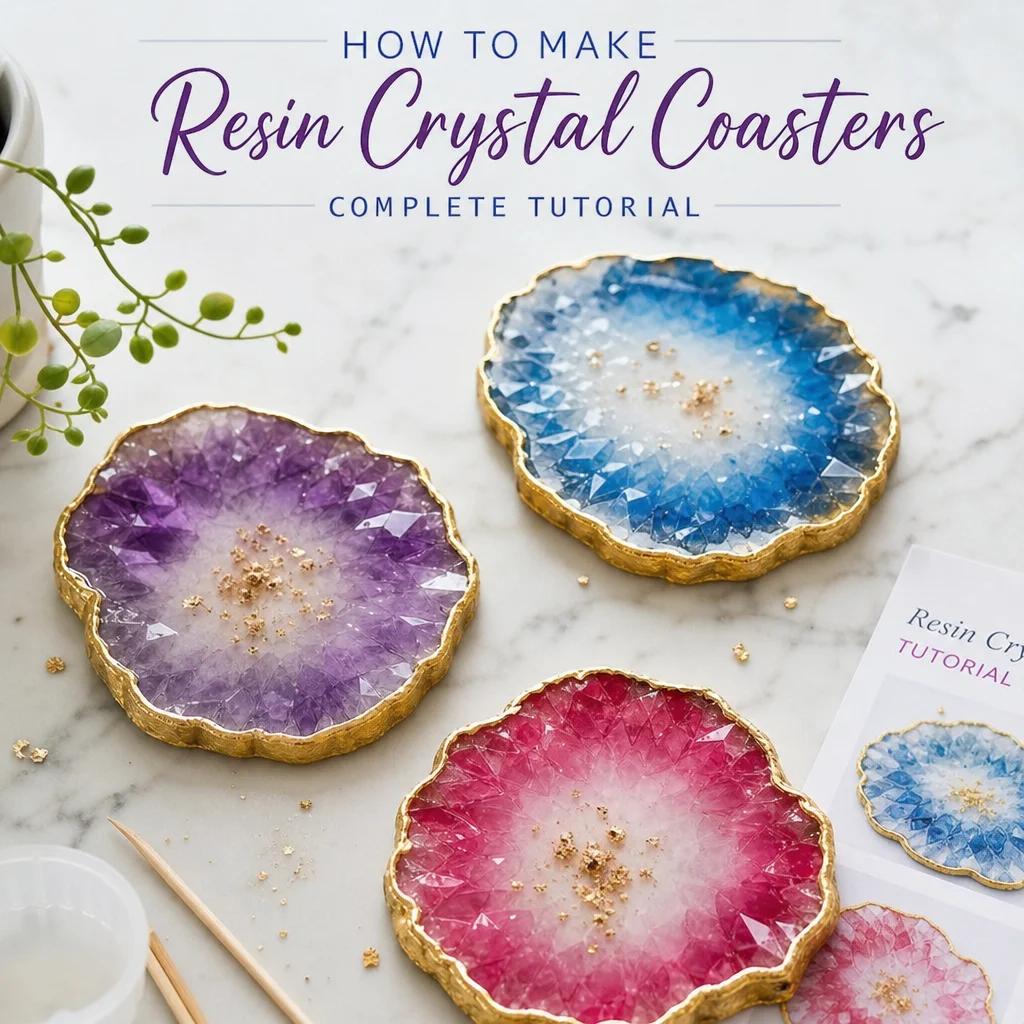
Monochrome Series: All coasters use stones of the same color family at different intensities. An amethyst set might range from pale lavender to deep violet. A rose quartz set from blush pink to deep rose. Elegant and sophisticated.
Natural Earth Tone Set: Mixed warm-toned stones — amber, citrine, tiger's eye, red jasper, aventurine — in clear resin. No artificial color, just the natural warmth of the stones. This is the most versatile and gender-neutral option.
Step-by-Step Construction
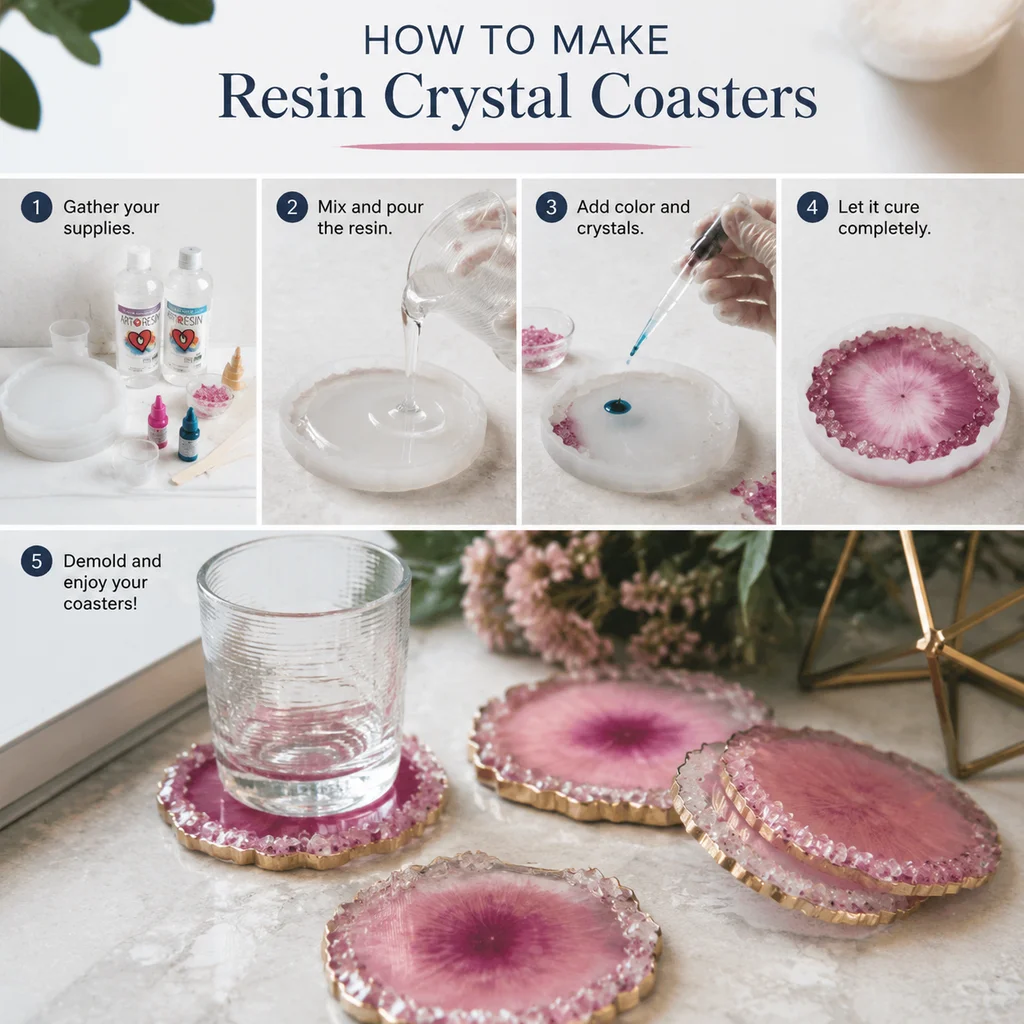
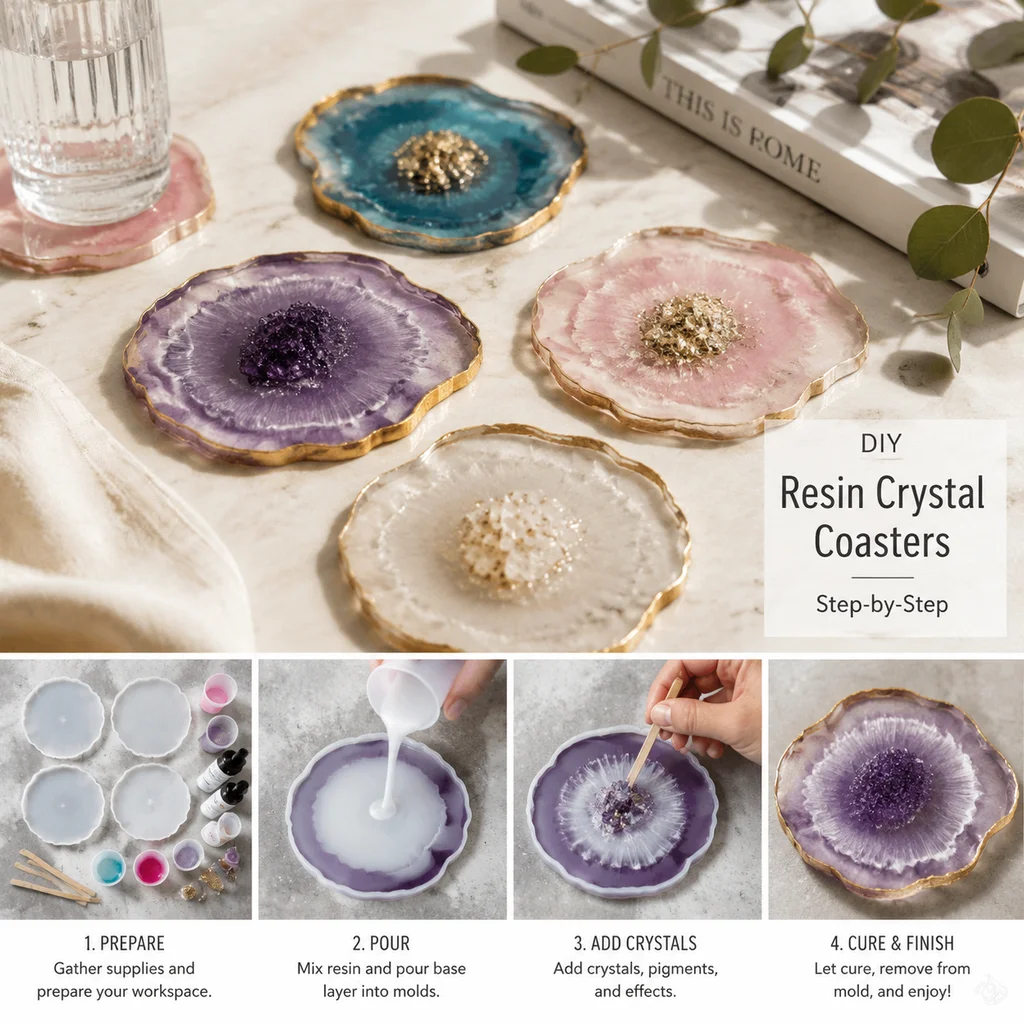
Step 1: Prepare Your Materials
Clean your silicone molds with isopropyl alcohol and let dry. Sort your crystal chips, removing any pieces with sharp edges that might protrude above the resin surface (these can scratch glassware). Lay out your working area with all materials within reach. Work at room temperature — 70-75°F (21-24°C) is optimal for resin work.
Step 2: Mix the Base Resin Layer
Measure your two-part epoxy resin according to the manufacturer's instructions. For a standard 90mm round coaster at 6mm depth, you need approximately 30-40ml of mixed resin per coaster. Mix a batch sufficient for one coaster at a time until you are comfortable with the timing.
If you want a tinted base layer, add a small amount of resin pigment and mix thoroughly. Less is more — you want translucency, not opacity. A single drop of pigment in 40ml of resin produces a light tint. Build color gradually.
Step 3: Pour the Base Layer
Pour the resin into the mold to a depth of about 3mm — roughly half the total thickness. Pour slowly and from a low height to minimize bubbles. Tap the sides of the mold gently to release any trapped air bubbles.
Step 4: Arrange the Crystals
Before the base layer fully sets (wait 10-15 minutes until it is viscous but still tacky), arrange your crystal chips on the surface. Use tweezers for precise placement. Create patterns rather than random scatter — concentric rings, radial bursts, clustered groupings, or asymmetric focal arrangements all look intentional and designed.
Keep crystal placement within the center 80% of the coaster surface. If stones touch the edge of the mold, they create thin resin walls around the crystal that are prone to cracking when the coaster is used.
Step 5: Add Metallic Accents (Optional)
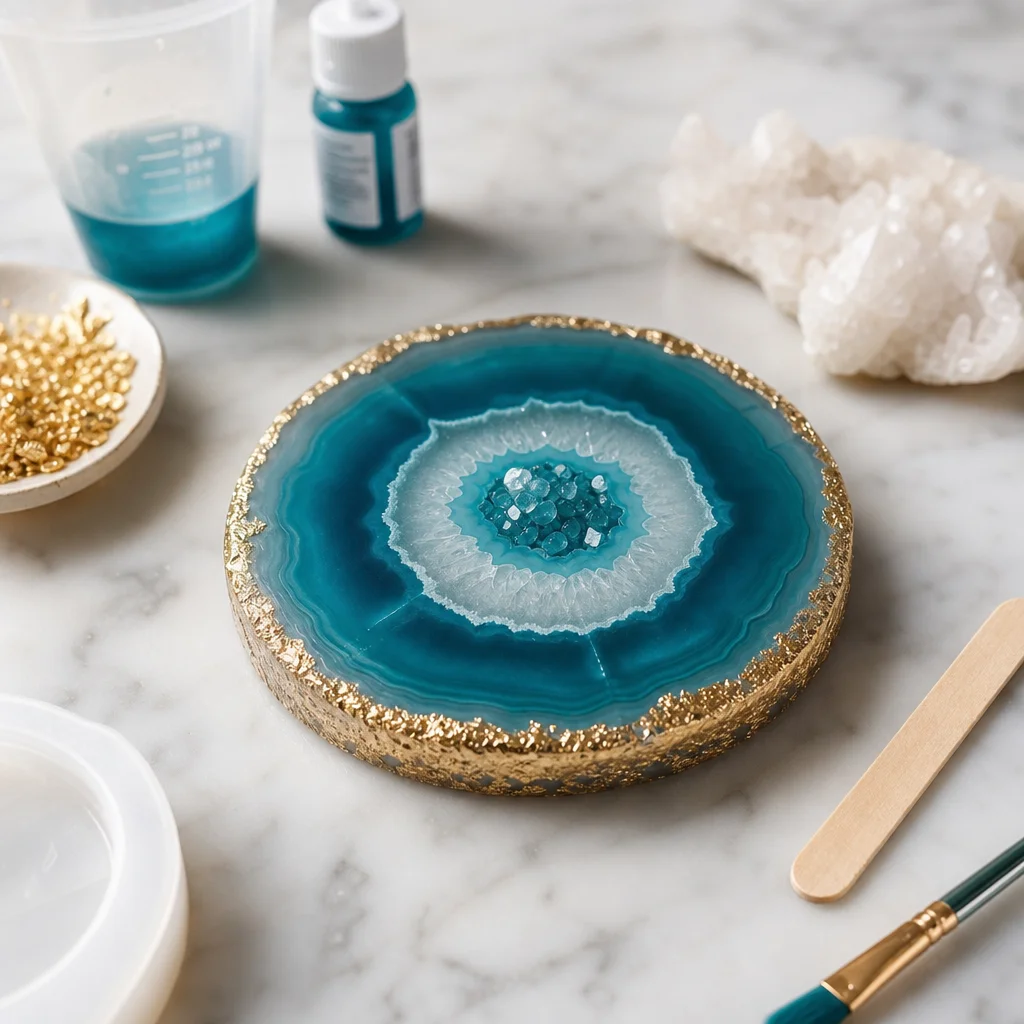
Lightly dust the arranged crystals with metallic mica powder using a soft brush. Gold, silver, and copper accents around the crystal edges create a geode-like rim effect. You can also add metallic flakes that float in the resin between crystals for extra sparkle.
Step 6: Pour the Top Layer
Mix a fresh batch of resin. Pour over the arranged crystals, filling the mold to about 1-2mm below the top edge. Pour slowly and close to the surface. If the resin displaces any crystals from their position, use tweezers to reposition before it sets.
Step 7: Remove Bubbles
Spray lightly with isopropyl alcohol to pop surface bubbles. Use a toothpick to guide stubborn bubbles to the surface. For deep bubbles near the crystals, a brief pass with a heat gun on low setting helps, but do not overheat.
Step 8: Cover and Cure
Cover the mold with a clean container or plastic dome to prevent dust from settling on the surface. Let cure for 24-48 hours. Do not move the mold during curing.
Step 9: Demold and Inspect
Flex the silicone mold and pop out the coaster. Inspect the surface for bubbles, uneven areas, or crystals protruding above the resin. Minor issues can be addressed with a thin topcoat pour. Major issues might require starting over — which is why practicing on a single coaster first is wise.
Step 10: Finish the Back Surface
The back of the coaster (the surface against the mold base) should be smooth from the mold itself. If it has any rough spots from overfilling, sand lightly with 600-grit sandpaper until flat, then apply a thin coat of self-adhesive cork pad or felt pad to the back. The pad protects furniture surfaces and provides grip.
Packaging Ideas for Gifting
Presentation elevates a handmade gift significantly:
- Wooden box — A simple unfinished wooden box (available at craft stores for $3-5) with a hand-written label makes the set feel precious. Stain or burn a simple design on the lid for extra personalization.
- Cloth pouch — A velvet or linen drawstring pouch in a color that complements the coasters adds a tactile, luxurious touch.
- Information card — Include a small card listing the crystal types used and their traditional meanings. Recipients love knowing what stones are in their coasters.
Common Problems and Solutions
- Bubbles in the resin — Warm the resin bottles before mixing, pour slowly and close to the mold, use alcohol spray, and consider using a pressure pot if you make coasters regularly.
- Resin surface is sticky after curing — Incomplete mixing is the most common cause. Other causes include incorrect ratio, low temperature, or expired resin. Follow the manufacturer's instructions precisely.
- Crystals sink to the bottom — The base layer was too liquid when you placed the crystals. Wait 10-15 minutes for the resin to thicken slightly before arranging stones. Alternatively, let the base layer partially cure, then place crystals and pour the second layer.
- Coaster flexes or bends — The resin is too thin or not fully cured. Ensure 6mm+ thickness and allow full 48-hour cure before use.
Frequently Asked Questions
Are resin coasters heat resistant enough for hot drinks?
Epoxy resin can handle warm drinks without issue, but very hot cups (freshly boiled tea or coffee in thin ceramic) can leave a heat ring. Most commercially available epoxy has a heat resistance up to about 120°F (49°C). For hot beverages, thicker coasters (8mm+) and allowing the cup to cool slightly first helps.
Can I use dried flowers in the coasters?
Yes, but ensure they are completely dry. Even slightly moist botanical material will cause bubbles and discoloration in the resin. Seal dried flowers with a light spray of clear acrylic or mod podge before embedding.
How many coasters can I make from one resin kit?
A standard 16oz epoxy kit yields approximately 450ml of mixed resin. At 35ml per coaster, that is roughly 12-13 coasters — enough for three sets of four. This makes the per-set material cost quite reasonable.
Final Thoughts
Crystal resin coasters sit at the intersection of natural beauty, practical function, and handmade craftsmanship. They are inexpensive to produce, forgiving for beginners to learn on, and impressive enough to give as gifts that people genuinely treasure. Start with a single set of four, refine your technique, and you will quickly find yourself producing coasters that look like they came from a high-end artisan studio.
Frequently Asked Questions
How long does it take for resin coasters to fully cure?
While resin coasters will feel dry to the touch and can be removed from the silicone mold within 24 hours, we recommend allowing them to fully cure for at least 7 days before use. This ensures the epoxy reaches maximum hardness and durability, protecting the natural crystals inside and creating a perfectly heat-resistant surface for your favorite beverages.
Which natural crystals are best to embed in resin coasters?
When crafting our handcrafted crystal pieces, we love using tumbled stones like Clear Quartz, Amethyst, and Rose Quartz because their smooth edges won't poke through the resin or scratch your tables. We highly recommend avoiding porous or delicate stones like Selenite. Tumbled crystals provide a beautiful, durable finish that complements the resin beautifully!
Comments