Resin Crystal Tray: Functional Art for Display
June 11, 2026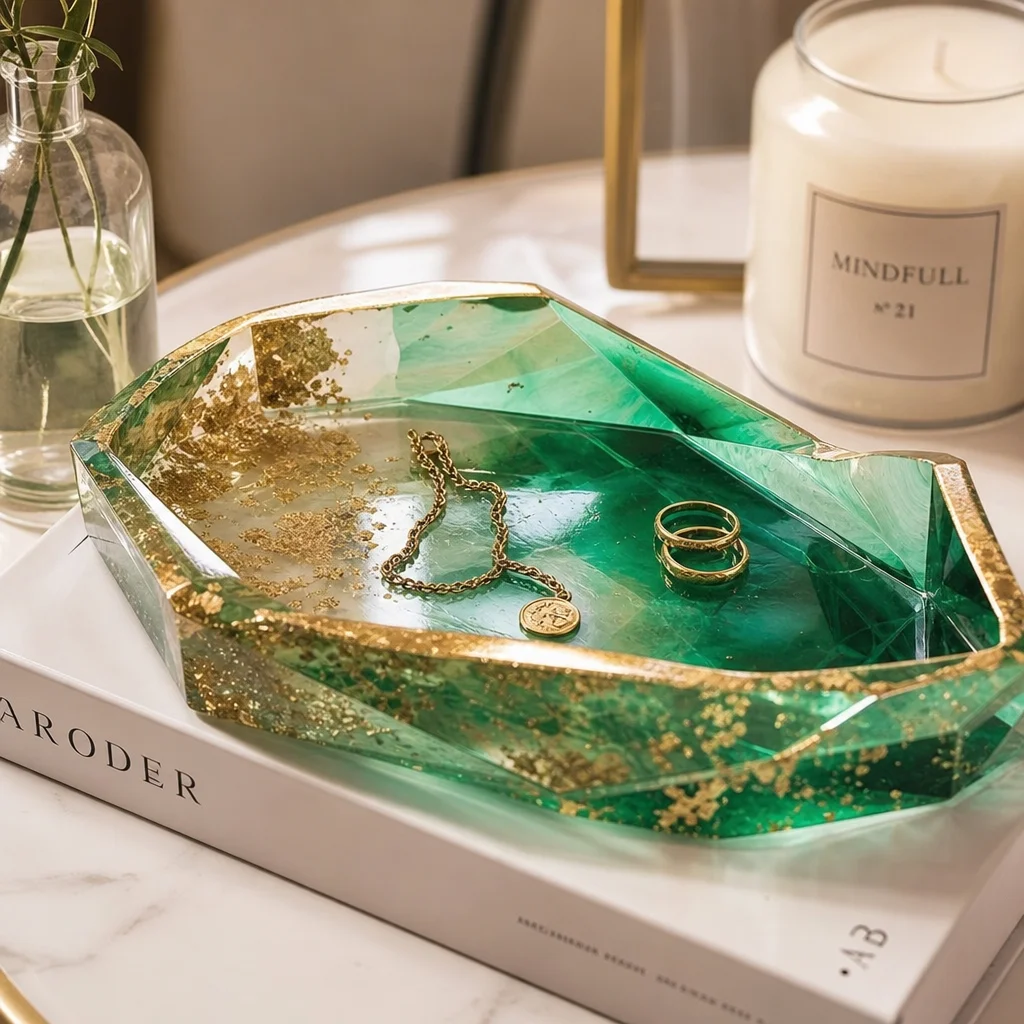
Why Resin Crystal Trays Are the Perfect Beginner Project
Trays are one of the best resin projects to start with, and here's why: they're flat, so there's no mold complexity. They're large, so you have room to experiment with crystal placement without everything looking cramped. And they're functional — even a slightly imperfect tray still holds your rings and necklaces beautifully. Unlike bangles or pendants where flaws are immediately obvious, trays have a built-in forgiveness factor.
I made my first resin tray about two years into my resin journey. After a dozen successful pendants and a few bangles, I wanted to make something bigger and more ambitious. The first tray took me three attempts (air bubbles, uneven pour, then a successful one). The second tray took one attempt. By the fifth tray, I had a reliable process that I barely had to think about. That's the learning curve — steep at first, then it clicks.
Making or Finding the Right Mold
For trays specifically, you have more mold options than for most resin projects:
Silicone Molds (Easiest)
Pre-made silicone tray molds are available in rectangular, round, oval, and hexagonal shapes. Prices range from $8-25 depending on size. Look for molds with a slightly raised edge (at least 5mm) to create a proper tray lip. The interior should be smooth — textured silicone transfers its pattern to the resin surface, which can look either artistic or messy depending on your taste.
Good sizes for jewelry trays: 6x4 inches, 8x5 inches, or 10x7 inches. Anything larger uses a lot of resin (and resin isn't cheap at $20-35 per kit) and takes longer to cure evenly.
DIY Silicone Mold (Custom Shapes)
If you want a specific shape or size, make your own mold using silicone putty or liquid silicone rubber:
- Choose a template. An existing tray, a picture frame, or a shallow box. The template determines the interior shape of your mold.
- Build a containment wall. Use cardboard or foam core to create walls around your template, about 1 inch higher than the desired tray depth.
- Press silicone putty. Cover the template surface with silicone putty, pressing firmly to eliminate air bubbles. Build up the walls with additional putty.
- Cure. Most silicone putties cure in 30-60 minutes at room temperature.
- Remove template. Pop out the original object and you have a custom mold.
Cost: $10-20 for enough silicone putty to make a medium tray mold. Reusable for 20-30 pours before the silicone starts to degrade.
Acrylic Sheet with Silicone Edges (Advanced)
For perfectly flat trays, some crafters pour directly onto a sheet of acrylic glass with silicone tubing hot-glued around the edges to create the tray walls. This gives you a perfectly smooth bottom (from the acrylic) and flexible edges (from the silicone tubing, which you peel off after curing). I've used this method for 3-4 trays and the flat bottom quality is noticeably better than silicone molds.
Resin Selection for Trays
Trays are thick pours (typically 10-20mm deep), so resin choice matters more than for thin projects like earrings.
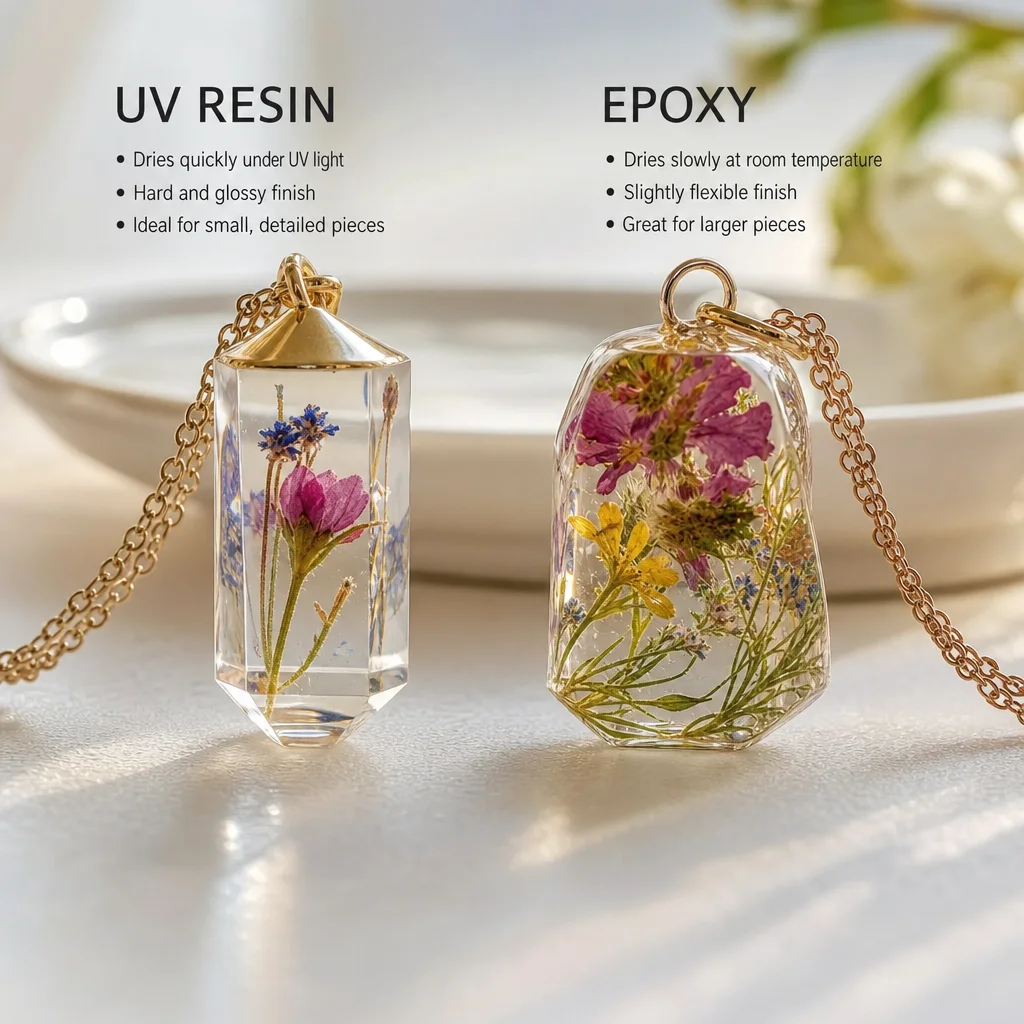
Epoxy resin (2-part) is the only practical choice for trays. UV resin cures too shallowly (1-2mm per layer) — you'd need to do 5-10 separate layers for a single tray, each taking 10-15 minutes to cure. With epoxy, you can pour the entire tray in one or two layers.
Choose a brand that handles deep pours well. Some epoxy resins have a maximum pour depth of 1/4 inch (6mm) per layer — exceeding this causes excessive heat buildup (exothermic reaction) that can crack the resin, discolor it, or even melt a silicone mold. For trays, look for "deep pour" formulas that allow 1/2 inch (12mm) or more per layer.
How Much Resin Do You Need?
Calculate by volume: Length × Width × Depth (all in inches) × 0.55 = ounces of mixed resin needed.
For an 8×5 inch tray at 15mm (0.6 inch) depth: 8 × 5 × 0.6 × 0.55 = 13.2 ounces. That's roughly half of a standard 32oz kit per tray. Factor in extra for spillage and testing — budget about 16 ounces per tray.
Layering Technique: The Key to Professional-Looking Trays
The best resin trays aren't single-color slabs. They use layered techniques to create depth, dimension, and visual interest. Here's my standard three-layer approach:
Layer 1: The Base (10-15 minutes)
Mix your resin and add the base color or keep it clear. Pour about one-third of the tray depth. This is your foundation layer. If you're using opaque pigment, this layer carries the dominant color. If you're keeping it clear, this layer is pure resin.
Let this layer cure partially — it should be tacky but not wet (about 4-6 hours). The tacky surface is what bonds the next layer. If you pour the next layer too soon, the colors blend into each other. Too late, and the layers separate when you demold.
Layer 2: The Crystal Placement (30-45 minutes)
This is where the magic happens. Pour the second third of the resin, then immediately start placing your crystals and inclusions. The order matters:
- Large crystals first. Place your biggest stones — they create the structural focal points. Space them evenly, with the most visually striking ones near the center where they'll be most visible.
- Medium stones second. Fill the gaps between large stones with medium chips and tumbled pieces.
- Small fill. Use crystal gravel or crushed stone to fill remaining gaps. This creates a natural "bed" effect.
- Accent elements. Gold leaf, dried flowers, glitter — add these last as finishing touches. Gold leaf is particularly effective scattered across resin trays, creating an elegant metallic accent.
Use tweezers for precise placement and a toothpick for nudging stones into position. Work quickly — resin starts setting within 30-45 minutes, and once it begins to thicken, moving stones becomes difficult and leaves visible drag marks.
Layer 3: The Cap (10-15 minutes)
After the crystal layer has partially set (another 4-6 hours), pour the final layer. This "caps" the crystals, locking them in place and creating a smooth, glossy surface. The cap layer should be slightly over the rim — the excess will create a meniscus that actually looks great once polished.
Pop any surface bubbles with a heat gun or torch immediately after pouring. Let cure for 24-48 hours.
Crystal Selection and Placement Strategies
What crystals work best in trays, and how should you arrange them?
Best Crystals for Resin Trays
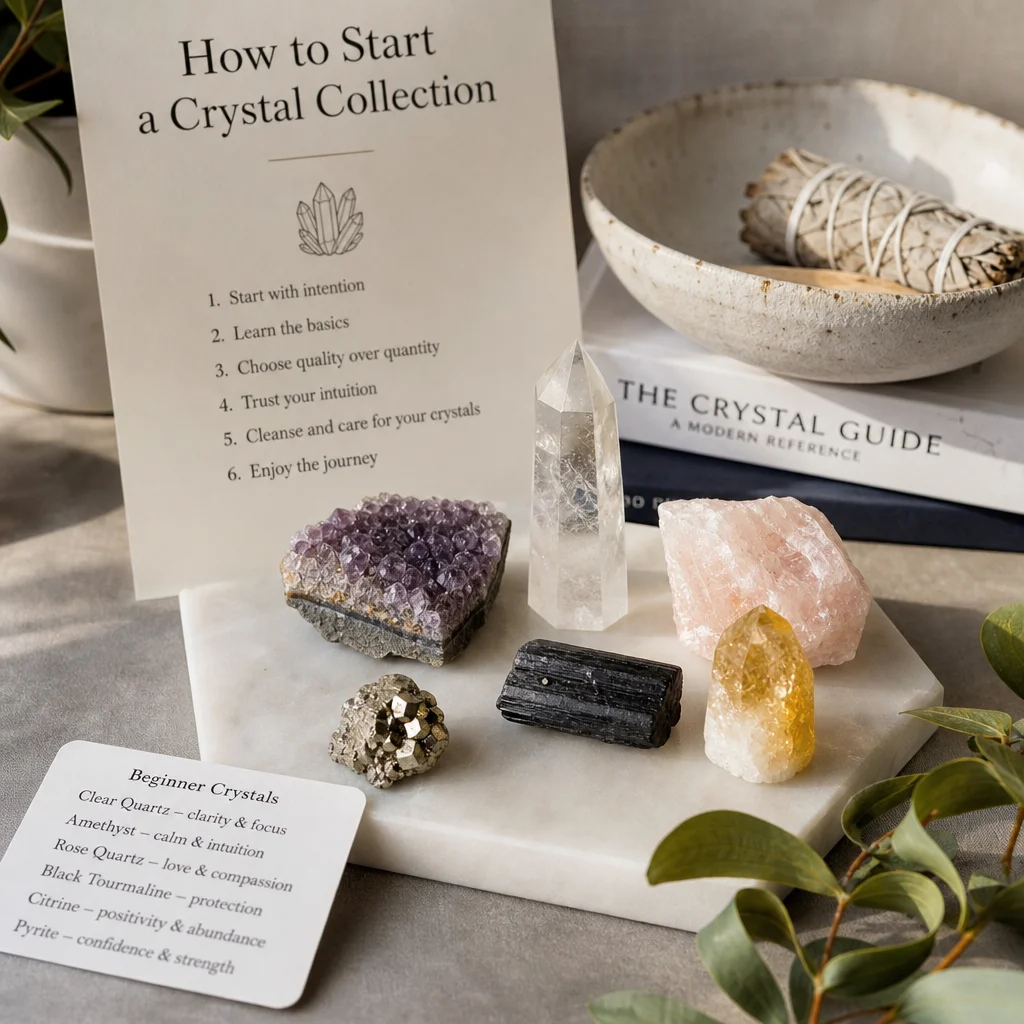
- Amethyst chunks: Purple against clear or white resin is stunning. Raw (uncut) pieces look more natural than tumbled.
- Rose quartz points: The soft pink adds warmth. Natural points create interesting angles in the resin.
- Clear quartz clusters: The transparency means they almost disappear in clear resin, creating a subtle "ice" effect. In white or blue resin, they're more visible.
- Turquoise nuggets: The blue-green matrix pattern adds texture and color contrast. Best with white or gold-tinted resin.
- Agate slices: Thin-cut agate slices create beautiful stained-glass effects when light passes through the tray. Available in natural, dyed blue, and dyed pink varieties.
- Pyrite cubes: Natural gold-colored cubes add a metallic element that complements any color scheme.
Arrangement Patterns
- Radial: Stones radiate from the center outward. Creates a mandala-like effect. Best for round or oval trays.
- Scattered organic: Random placement with varying stone sizes. Looks natural and effortless. Paradoxically, this is harder to achieve well than organized patterns — the randomness needs to look intentional.
- Stream or river: Stones concentrated in a flowing pattern (like a river of crystals). The empty space creates contrast.
- Frame: Stones placed around the perimeter with the center left clear or minimally decorated. Looks elegant and provides maximum usable surface area.
Gold Leaf and Metallic Accents
Gold leaf sheets (or imitation gold leaf, which is much cheaper at $3-5 per pack) transform resin trays from crafty to polished. Here's how to use it:
- Scattered flakes: Tear small pieces of gold leaf and scatter them on the wet resin surface between crystals. They'll settle at different depths, creating a layered metallic effect.
- Border accent: Place a continuous strip of gold leaf along the tray edge before the final pour. The cap layer of resin seals it, creating a gold-rimmed effect.
- Under-layer glow: Place gold leaf on the bottom of the mold before any resin. The first resin layer will cover it, and the gold will glow through the clear resin like a submerged treasure.
Demolding, Sanding, and Finishing
After 24-48 hours of curing:
- Flex the mold. Gently bend the silicone mold from multiple angles to release the tray. Don't pull — flexing creates air gaps that break the suction.
- Trim flash. Use a sharp craft knife to remove any excess resin at the edges (flash is the thin resin that seeps into tiny mold imperfections).
- Sand edges. Start with 220 grit, then 400, then 600, then 1000. Work in one direction (clockwise around the edge) to maintain even sanding.
- Polish. Apply polishing compound with a soft cloth. Buff until glossy. For extra shine, spray with a clear gloss coat.
- Protect the bottom. Apply felt pads to the bottom corners to prevent scratching surfaces the tray sits on.
Frequently Asked Questions
Can I use real flowers in a resin tray?
Yes, but they must be completely dry before embedding. Any moisture trapped in the flower will cause bubbles, discoloration, and potential mold growth inside the resin. Press and dry flowers for 2-3 weeks before using them, or buy pre-dried flowers from craft stores. Pansies, daisies, ferns, and baby's breath all preserve well and look beautiful in resin trays.
How thick should a resin tray be?
For jewelry display trays, 10-15mm (3/8 to 5/8 inch) is ideal. Thinner than 10mm and the tray feels flimsy and may warp. Thicker than 20mm uses excessive resin and is unnecessarily heavy. Most jewelry doesn't need deep walls to stay contained — even rings stay put in a 10mm-deep tray thanks to the lip edge.
Why does my resin tray have bubbles?
Bubbles come from three sources: mixing too fast (introduces air), pouring from too high (traps air), and crystals releasing trapped air when submerged. Prevent by mixing slowly, pouring close to the surface, and pre-dusting crystals with a tiny bit of resin before placing them (this coats the surface and prevents air release). After pouring, use a heat gun or culinary torch to pop surface bubbles within 10 minutes.
Can I add a handle to my resin tray?
You can embed metal handles, bent wire, or even driftwood into the resin during the crystal placement layer. Position the handle ends deep in the resin (at least 10mm embedment) so they're structurally secure. Alternatively, drill holes after curing and screw in cabinet-style handles. The drilling approach is cleaner and more reliable — resin drills easily with standard wood drill bits.

Comments