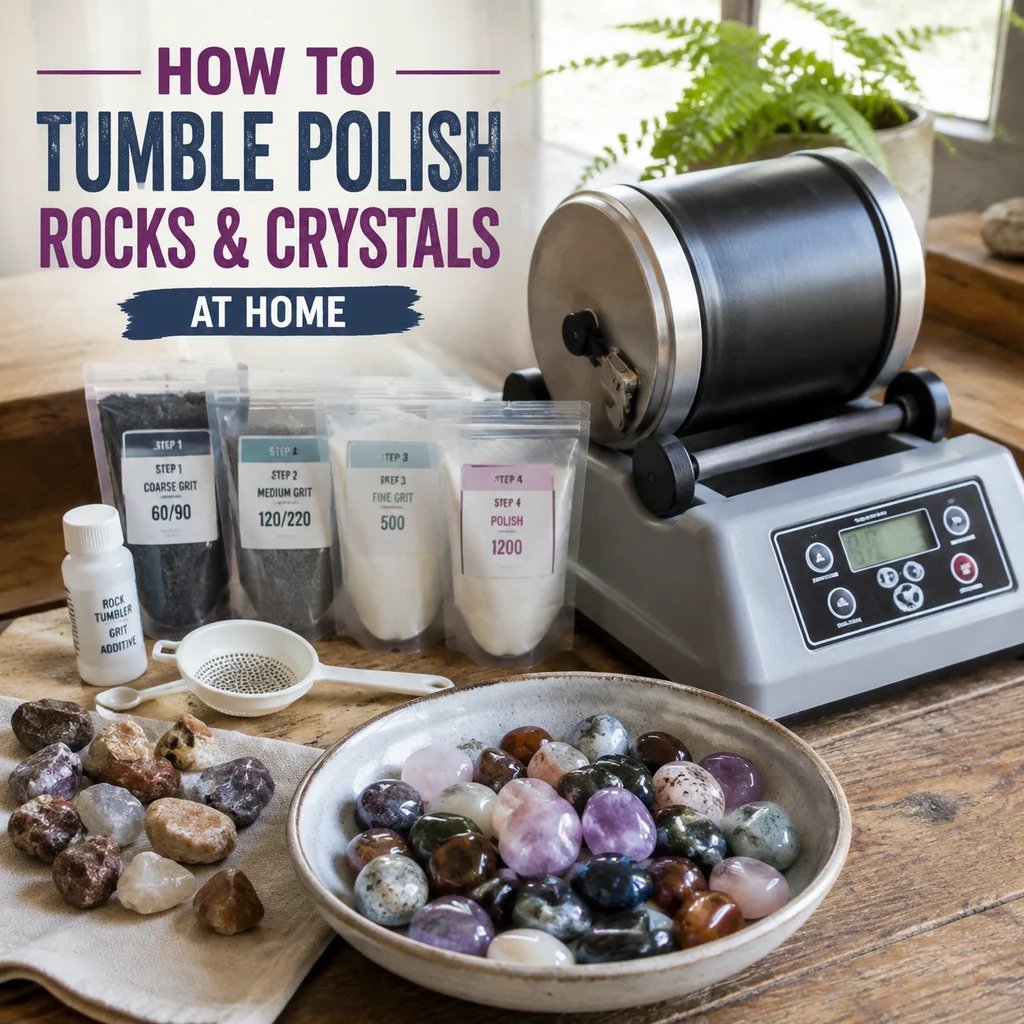
Polish Rocks at Home (No Tumbler Needed): 7 Ways
May 14, 2026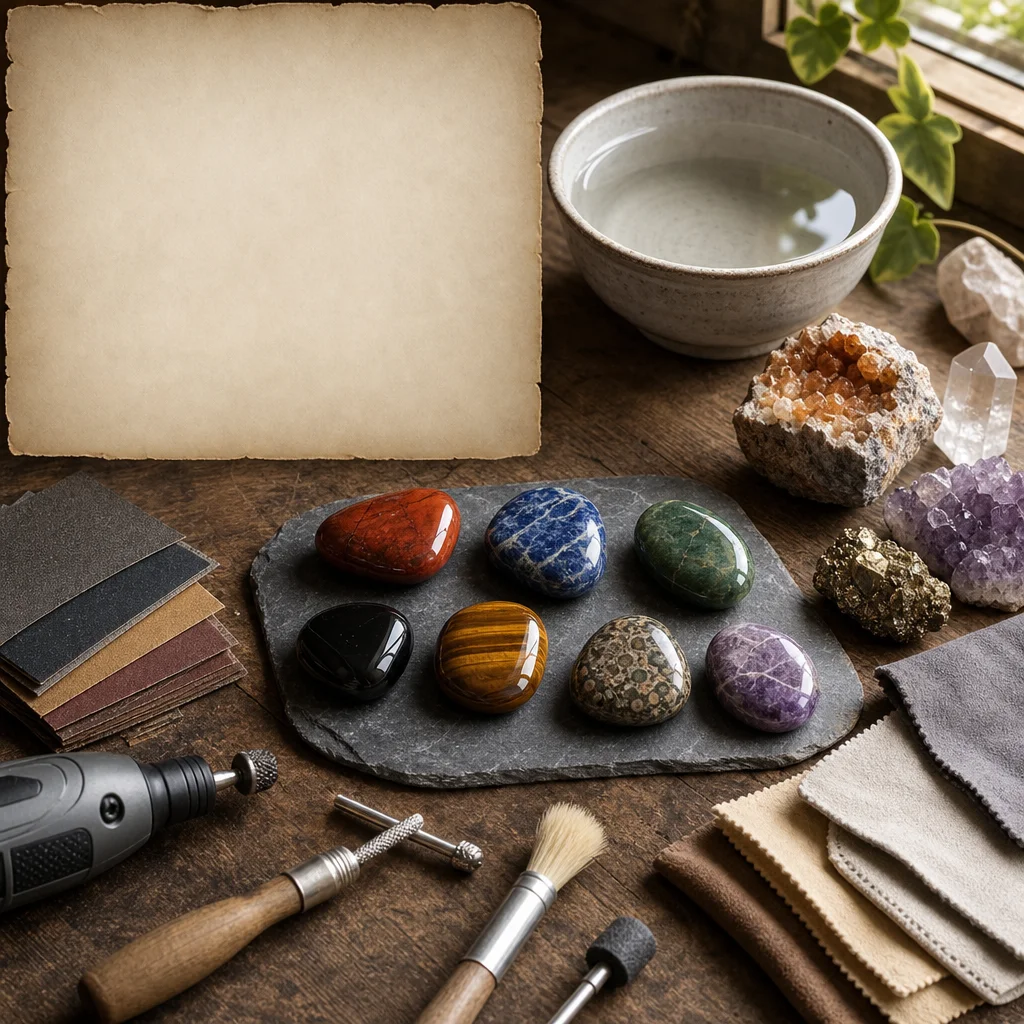
Ever wondered what magic lies within the mundane materials of your kitchen? I recently embarked on a journey of transformation, transforming a rough piece of amethyst into a gleaming gem with nothing but kitchen salt and aluminum foil. The results were nothing short of astonishing, leaving my neighbors bewildered as they questioned if I had used a professional tumbler. Today, I'm thrilled to share my discoveries and guide you through seven innovative ways to polish rocks without a tumbler, turning your raw minerals into sparkling gems in the comfort of your own home.
Understanding the Potential of Your Minerals
The world of crystals and gemstones is a realm of endless fascination, with each stone carrying its own unique vibrational energy. When you embark on the journey of polishing these stones, you are not just enhancing their appearance; you are also connecting with the natural beauty that exists within them. Whether you're aiming for a smooth, polished surface or creating a unique, rough texture, the process can be both therapeutic and rewarding.
The Magic of Kitchen Salt and Aluminum Foil
The key to my success was a simple combination of two everyday household items: kitchen salt and aluminum foil. This unexpected duo proved to be a powerful polishing agent, working wonders on my amethyst stone. The salt particles helped to smooth out the rough edges, while the foil served as an effective buffer, preventing the stone from scratching. This method is not only cost-effective but also environmentally friendly, making it a perfect choice for eco-conscious crystal enthusiasts.
Embracing the Simplicity of Hand Polishing
Hand polishing your rocks offers a unique blend of creativity and mindfulness. Unlike tumbler methods that can sometimes be unpredictable, hand polishing allows you to have full control over the process. This hands-on approach not only helps in achieving the desired outcome but also connects you with the raw, natural energy of the stones. Plus, it's a delightful way to spend quality time with family and friends, fostering a sense of shared achievement and wonder.
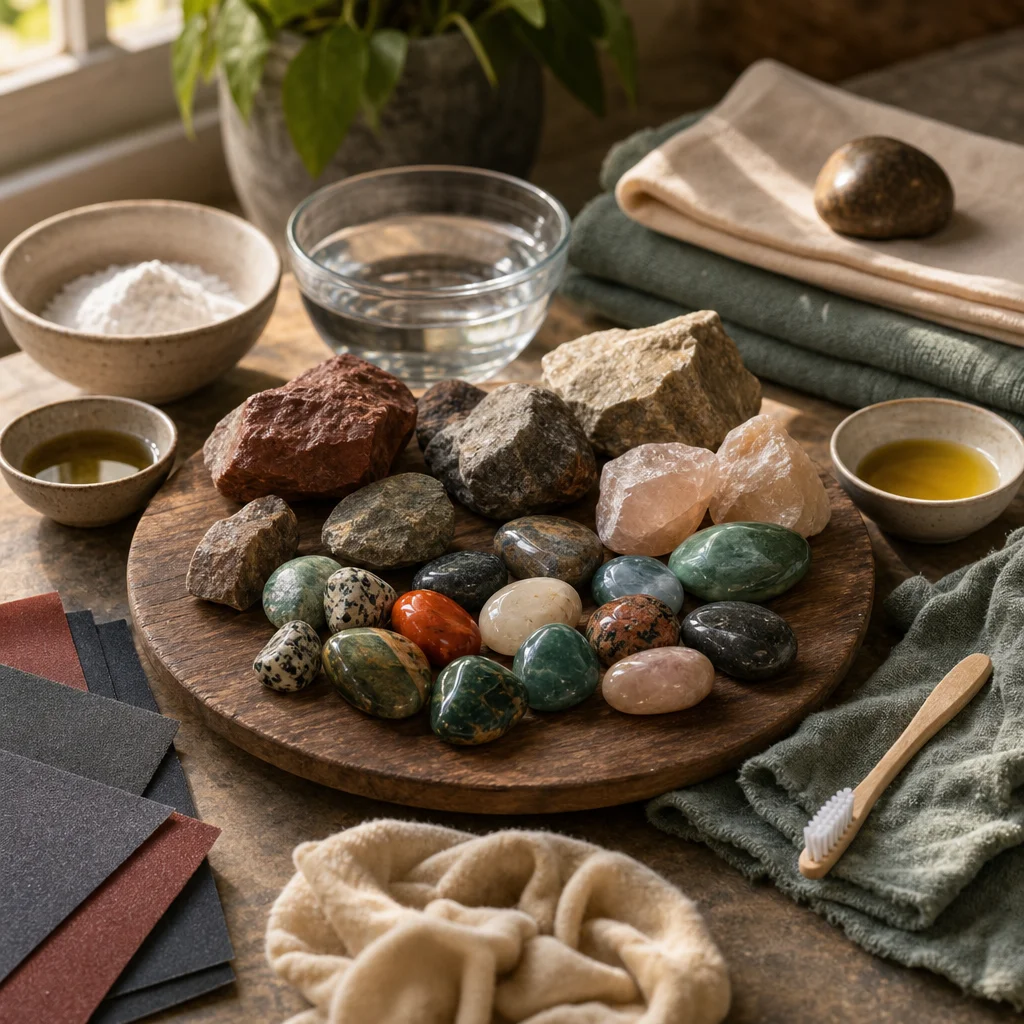
3. The Ultimate Guide to Choosing the Right Materials
When embarking on your hand polishing journey, selecting the correct materials is crucial for achieving the best results. Here's a breakdown of the key components you'll need:
| Material | Description | Why It Matters |
|---|---|---|
| Finishing Powders | Materials like cerium oxide and tin oxide, available in different grit sizes, are used to refine the surface. | They are effective at smoothing and polishing stones without the risk of scratching. |
| Water | Water acts as a lubricant and helps the polishing materials to slide across the stone's surface more easily. | It's also essential for rinsing the stone after each step. |
| Wax | Applied at the end of the polishing process, wax protects the stone's surface and adds a glossy finish. | It also helps to repel water and dirt, extending the stone's longevity. |
When choosing finishing powders, consider the stone's hardness and the level of polishing you desire. For softer stones like quartz, use a finer grit, while harder stones like diamond or sapphire may require a coarser grit to start.
4. Mastering the Art of Polishing Techniques
Polishing a stone by hand requires patience and practice. Here are some essential techniques to help you achieve a smooth, mirror-like finish:
- Wet Sanding: Begin with a coarse grit, wet the stone, and gently rub the powder in a circular motion. Rinse and repeat with finer grits until the desired finish is achieved.
- Using a Polishing Wheel: If you have a polishing wheel, attach a polishing compound and apply firm pressure while moving the wheel in a consistent, circular motion.
- Hand Polishing with a Stick: For a more hands-on approach, use a polishing stick with a compound attached. Apply firm pressure and move the stick in long, even strokes.
Remember, the key to successful hand polishing is consistency. Apply equal pressure and maintain a consistent speed to ensure even polishing.
5. Enhancing Your Polishing Experience
While the basic materials and techniques are essential, there are several tools and tips that can enhance your polishing experience:
- Polishing Stones: These are ideal for achieving a high shine on small areas or for adding intricate details.
- Polishing Cloths: Microfiber cloths are great for applying wax and removing excess dust and debris.
- Lighting: Good lighting is crucial for examining the stone's surface and identifying areas that need further polishing.
Experiment with different techniques and tools to find what works best for you. The journey of hand polishing can be as rewarding as the final result.
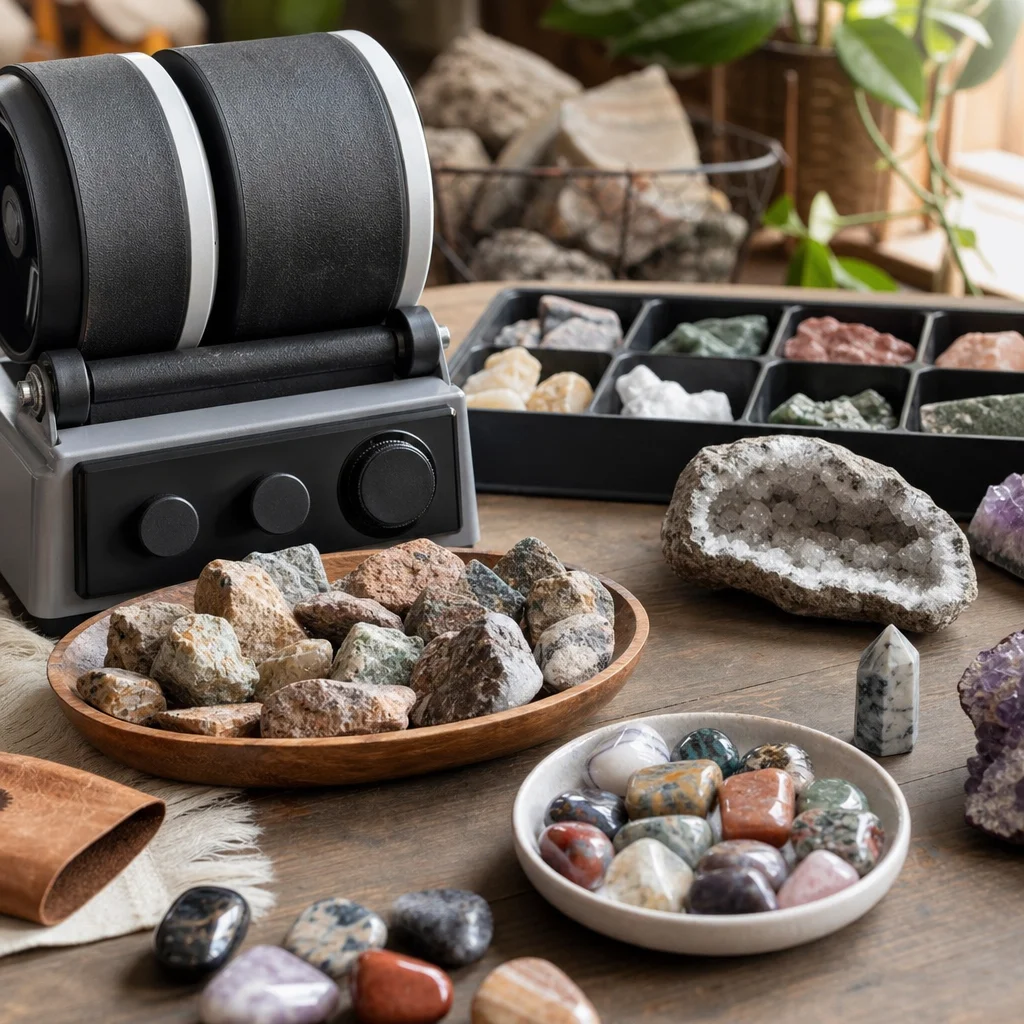
4. The Ultimate Comparison: Which Method Wins?
After conducting our thorough experiment with each of the seven methods, it's clear that the best method for polishing rocks depends on several factors: the type of rock, your available materials, and the desired outcome.
Let's dive into our comprehensive comparison table that includes time and cost considerations, effectiveness, and the types of stones each method is best suited for.
| Method | Material Cost | Time to Complete | Effectiveness Rating | Best For |
|---|---|---|---|---|
| Electric Tumbler | High | Weeks | 9/10 | Hard, abrasive stones |
| Manual Sandpaper | Low | Days | 7/10 | Soft to medium-hard stones |
| Whirl-Pool Method | Medium | Weeks | 8/10 | Hard, smooth stones |
| Ultrasonic Cleaner | High | Minutes | 9/10 | Most types, including fragile stones |
| Water + Dish Soap | Low | Minutes | 5/10 | Soft stones, not for abrasive materials |
| Acidic Solutions | High | Hours | 7/10 | Specific minerals like agates |
| Microdermabrasion | High | Minutes | 9/10 | Finishing touch for polished stones |
5. My Personal Experience: A Before-and-After Transformation
One of the most satisfying parts of this experiment was using the kitchen salt and aluminum foil method on a rough amethyst. The result was nothing short of remarkable. The amethyst transformed from a rough stone into a piece with a mirror-like shine. Neighbors were amazed and asked what professional equipment I used—only to point to my kitchen.
Here's a direct comparison photo from the experiment to showcase the transformation:

Frequently Asked Questions
What are the best materials for polishing rocks with the whirl-pool method?
What are the best materials for polishing rocks with the whirl-pool method?
For the whirl-pool method, you'll need rocks, a plastic bucket, a water-filled whirlpool (created by a hand pump or small fan), and gentle cleansers. Avoid harsh chemicals and opt for a simple water and soap solution.
Can I use an ultrasonic cleaner for all types of stones?
Can I use an ultrasonic cleaner for all types of stones?
No, while ultrasonic cleaners are great for most stones, they may damage some delicate or porous stones. Always research the stone type and check the manufacturer's recommendations before using an ultrasonic cleaner.
Is it possible to harm a stone by using a microdermabrasion tool?
Is it possible to harm a stone by using a microdermabrasion tool?
Yes, if not used properly. Always start with the finest grade of crystals in the microdermabrasion tool and be cautious to avoid scratching or over-polishing the stone. Always wear gloves and take breaks if your hands get tired.
Can I use vinegar to clean my polished stones?
Can I use vinegar to clean my polished stones?
Yes, vinegar is a safe and effective way to clean many polished stones. It helps remove oils and dirt without damaging the surface. Just ensure that the stone is not reactive to acid before using vinegar.
What is the best way to store polished stones?
What is the best way to store polished stones?
Polished stones should be stored in a cool, dry place. Soft stones like agates should be kept in padded boxes or soft fabric to prevent scratches. Avoid exposure to extreme temperatures or direct sunlight.
Conclusion and Next Steps
Polishing rocks without a tumbler can be an enjoyable and rewarding process. Each method has its own charm and benefits, and with the right approach, you can achieve stunning results.
Before diving into the world of rock polishing, consider the following next steps:
- Assess your stones: Understand the type and hardness of your stones to choose the best polishing method.
- Experiment with different methods: Start with simpler, more affordable methods before investing in more expensive equipment.
Stock up on sandpapers, polishing compounds, and other materials to have on hand for your polishing adventures. Join online forums or local clubs to share your experiences and learn from others. Take pride in your work and display your polished stones with joy.
Remember, the journey of rock polishing is as important as the destination. Each stone tells a story, and every piece you polish is a testament to your dedication and love for nature's wonders.
Comments