8 Quick Rock Polishing Methods - No Tumbler
May 14, 2026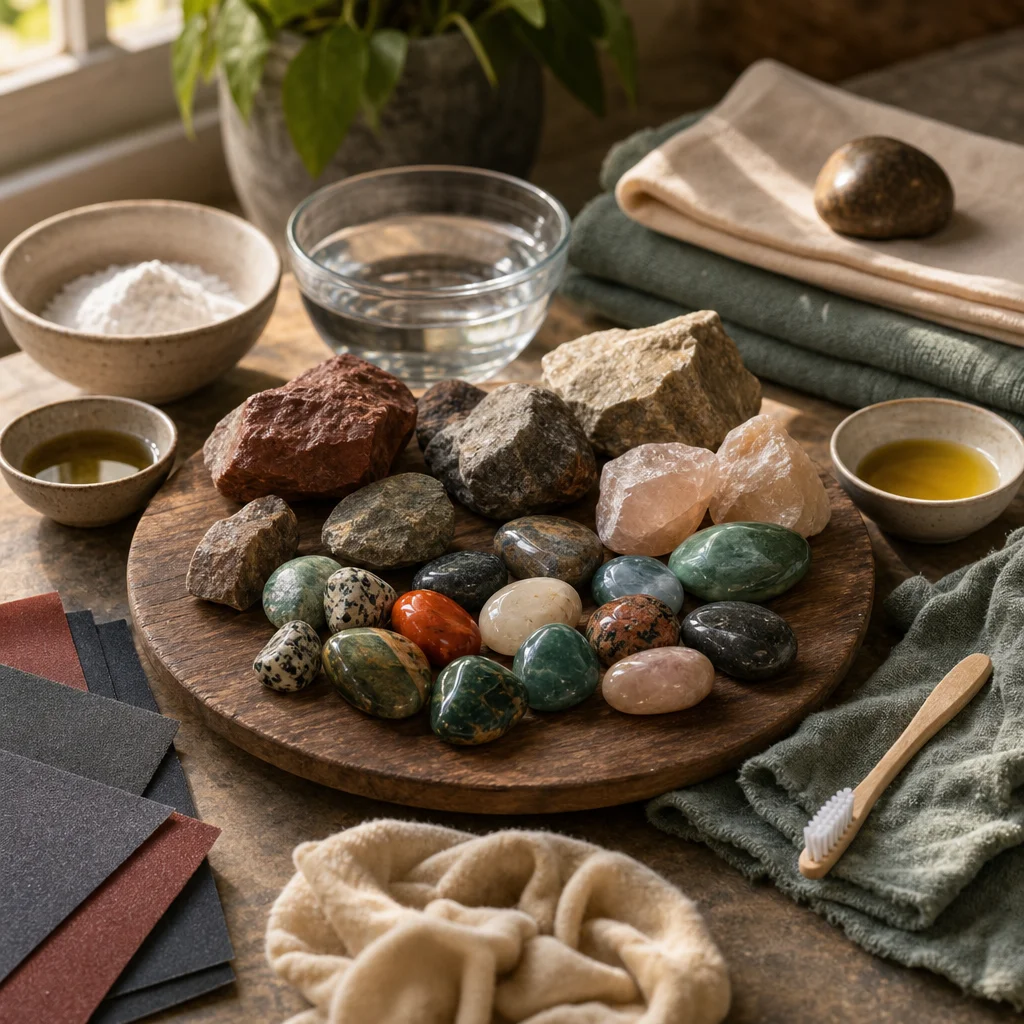
How to Polish Rocks by Hand: 8 Methods That Don't Require a Tumbler
Rock tumblers are great — if you have one, and if you're patient enough to wait 4-6 weeks for results. But you can achieve a surprisingly good polish on many stones using nothing but household items and elbow grease. Some methods take an afternoon; some take a few days. All of them cost less than a tumbler.
Here are eight methods, ranked from fastest to slowest, with specific instructions for each.
Method 1: Mineral Oil and Cloth (Fastest)
Best for: Stones that are already relatively smooth — river rocks, tumbled stones that lost their shine, polished cabochons with light scratches
This doesn't actually polish the stone — it fills microscopic scratches with oil, making the surface appear shinier. Think of it like moisturizing dry skin.
- Clean the stone with warm soapy water and dry thoroughly
- Apply a few drops of mineral oil (baby oil works) to a soft cloth
- Rub the stone in circular motions for 2-3 minutes
- Let sit for 10 minutes, then buff with a clean cloth
The shine lasts a few weeks before the oil evaporates or wears off. Reapply as needed. This is also a good way to bring out the color in dull-looking stones for display.
Method 2: Toothpaste Polish
Best for: Hard stones (quartz family, Mohs 7+) with minor surface scratches
Use plain white toothpaste — not gel, not whitening (those have different abrasive sizes). The mild abrasive in toothpaste (usually hydrated silica) is fine enough to smooth minor scratches on hard stones.
- Apply a small dab of toothpaste to a damp soft cloth
- Rub the stone in small circles for 5-10 minutes
- Rinse thoroughly — toothpaste residue looks like white film if left on
- Dry and assess. Repeat if needed.
Don't use this on soft stones (calcite, fluorite, selenite) — the abrasive is too harsh and will create new scratches.
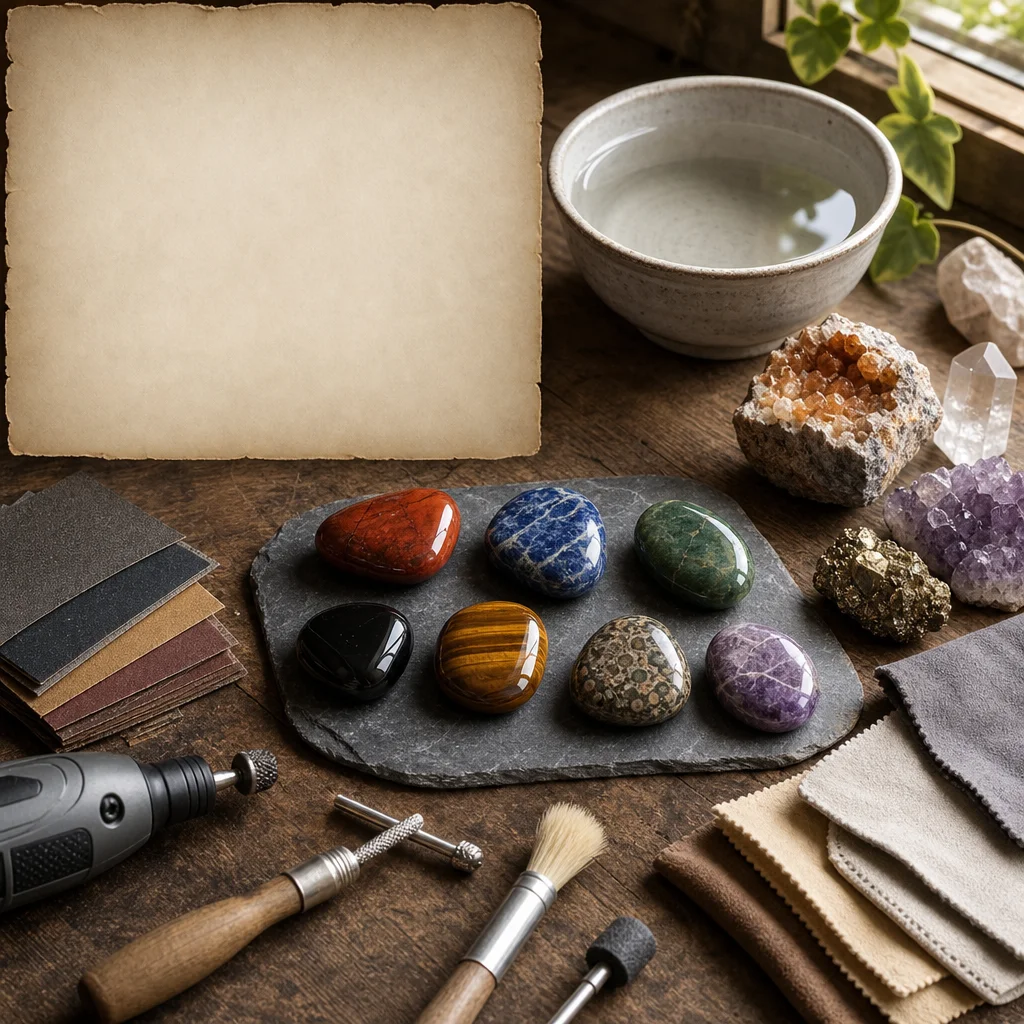
Method 3: Sandpaper Progression
Best for: Rough stones you want to shape and polish, hard stones only (Mohs 6+)
This is the most labor-intensive but most effective hand-polishing method. The key is progression through grits — jumping from coarse to fine too quickly leaves deep scratches visible under the shine.
- Shape: Start with 80-120 grit wet/dry sandpaper. Use water to keep dust down. Sand until you have the basic shape you want.
- Smooth: Move to 220 grit. Sand until all 120-grit scratches are gone. If you can still see coarse scratches, you haven't sanded enough at this stage.
- Refine: Progress through 400, 600, 1000, and 2000 grit. Spend at least as much time at each grit as you did at the previous one. Rushing is the #1 mistake.
- Polish: Finish with polishing compound (aluminum oxide or cerium oxide) on a felt pad or leather. Buff in circular motions until you see a mirror shine.
Total time for a small stone (1-2 inches): 2-4 hours of active sanding. For larger pieces, plan on a full day.
Method 4: Dremel Tool
Best for: Detailed work, small stones, hard-to-reach areas on larger specimens
A Dremel rotary tool with polishing attachments dramatically speeds up the process. Use felt polishing wheels with polishing compound.
- Start with a coarse polishing bit and cutting compound
- Progress to medium, then fine polishing bits
- Finish with a soft felt wheel and cerium oxide
- Keep the stone wet to prevent heat damage (friction can crack some stones)
Safety note: Wear safety glasses. Small stones can catch on the spinning bit and become projectiles. Hold small stones with pliers, not your fingers.
Method 5: Leather and Powder Polish
Best for: Soft to medium stones (Mohs 3-6) that would be damaged by sandpaper
This traditional method uses a piece of leather (an old belt works) and a fine polishing powder. The leather provides a soft abrasive surface that won't scratch softer minerals.
- Apply polishing powder (tin oxide, cerium oxide, or even fine chalk dust) to a damp piece of leather
- Rub the stone against the leather in firm, circular motions
- 10-15 minutes per stone for a decent polish
- Clean with a damp cloth when done
Method 6: Wet Sand on Glass
Best for: Creating flat, polished faces on quartz and other hard stones
A flat piece of glass (an old window pane or picture frame glass) with wet sand as an abrasive creates remarkably flat, polished surfaces.
- Place glass on a flat, stable surface
- Add a tablespoon of fine sand and enough water to make a paste
- Rub the stone face-down on the glass in figure-8 motions
- Start with coarse sand (playground sand), finish with fine sand (sandbox sand or beach sand)
- This naturally creates a flat, polished face — great for cabochons
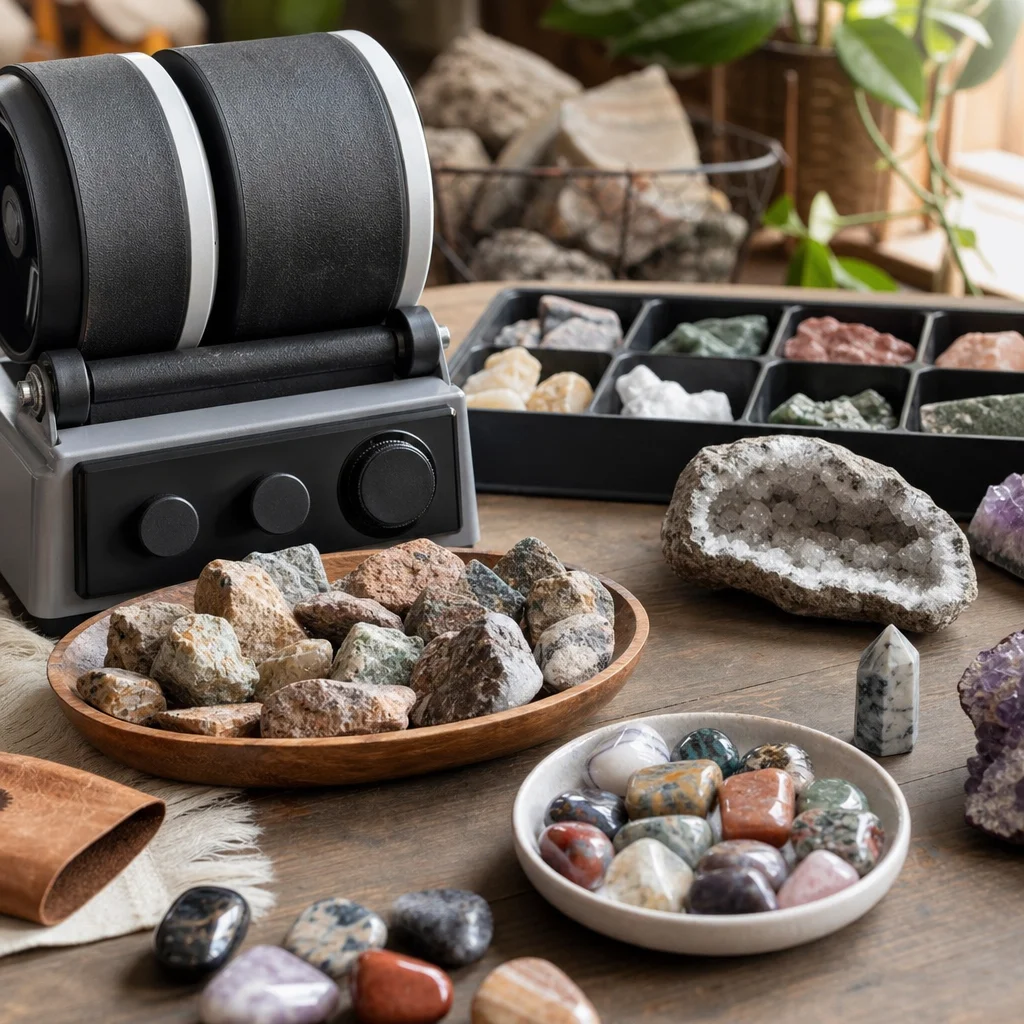
Method 7: Vibrating Polisher (Not a Tumbler)
Best for: Batch processing multiple stones with minimal effort
Vibratory tumblers are different from rotary tumblers — they vibrate rather than rotate. They're faster (1-2 weeks vs 4-6 weeks) and produce different shapes (they don't round off edges as aggressively). A small vibratory tumbler costs $40-60 and is worth considering if you process more than a few stones per month.
Method 8: Natural Water Polish
Best for: The patient. Very patient.
River stones are smooth because water and sand have been polishing them for thousands of years. You can simulate this by placing stones in a container with sand and water, then agitating it by hand for 15-20 minutes daily. Results take 2-4 weeks. This is more of an experiment than a practical method, but it demonstrates the geological principle behind natural polish.
Which Method for Which Stone
Choose based on stone hardness and starting condition:
- Hard stones (Mohs 7+): Sandpaper progression, Dremel, or glass-and-sand method
- Medium stones (Mohs 4-6): Leather polish, toothpaste, or mineral oil
- Soft stones (Mohs 2-3): Mineral oil only — anything abrasive will damage them. Know your stone's hardness before you start.
- Already polished but dull: Mineral oil or toothpaste
- Rough and shaping needed: Sandpaper or Dremel
Tips That Apply to All Methods
- Test on a hidden area first. Always. Some stones have treatments, dye, or composite layers that react unpredictably to polishing.
- Keep it wet. Wet sanding produces less dust, prevents heat damage, and gives a smoother result.
- Don't skip grits. The most common mistake. Each grit removes the scratches from the previous one. Skipping means deep scratches show through the final polish.
- Wear a mask. Stone dust isn't something you want in your lungs. Silica dust from quartz is genuinely hazardous with repeated exposure.
- Our expanded rock polishing guide covers additional techniques and troubleshooting
You don't need expensive equipment to polish rocks. A piece of sandpaper, some water, and patience will get you from rough to shining on most hard stones. The hand methods take longer than a tumbler, but there's something satisfying about putting in the work yourself and seeing the result.
Want more? Our The Complete Guide to Crystal and Jewelry Care, Cleaning, and Storage is a single-page reference for everything related to jewelry and crystal care.
Method 4: Baking Soda and Vinegar
Best for: Soft stones (like calcite, dolomite, and limestone) with minor surface imperfections
This method is a bit unconventional but surprisingly effective for soft stones. The baking soda acts as a mild abrasive, while the vinegar helps to clean and dissolve any impurities on the stone's surface.
- Mix 1 part baking soda with 3 parts vinegar to create a paste
- Apply the paste to the stone and let it sit for 10-15 minutes
- Rinse the stone thoroughly with water
- Use a soft cloth to gently buff the stone until it's dry
This method is gentle enough for soft stones but can be quite effective at removing minor scratches and restoring their natural luster.
Method 5: Aluminum Foil and Baking Soda
Best for: Stones with a metallic luster (like hematite, pyrite, and copper) and minor surface imperfections
This method is a bit like a science experiment. The aluminum foil helps to create a mild abrasive effect, while the baking soda acts as a cleaning agent.
- Line a shallow dish with aluminum foil
- Place the stone on the foil
- Apply a layer of baking soda over the stone
- Use a damp toothbrush to gently scrub the stone in circular motions
- Rinse the stone thoroughly with water and dry with a soft cloth
This method can be quite effective at restoring the natural luster of metallic stones and can also help to remove minor surface imperfections.
Method 6: Dish Soap and Microfiber Cloth
Best for: All types of stones with minor surface imperfections
This is a simple and quick method that can be used on any type of stone. Dish soap is a mild cleaner, and a microfiber cloth can help to buff the stone to a shine.
- Wet a microfiber cloth with warm water
- Apply a small amount of dish soap to the cloth
- Gently rub the stone in circular motions
- Rinse the stone thoroughly with water and dry with a soft cloth
This method is great for a quick polish and can be used on a regular basis to maintain the shine of your stones.
Method 7: Salt and Lemon Juice
Best for: Stones with a porous surface (like jasper, agate, and chalcedony) with minor surface imperfections
This method is a bit like a natural cleaning solution. The lemon juice acts as a mild abrasive, while the salt helps to scrub away any dirt or grime.
- Combine 1 tablespoon of salt with 1/4 cup of lemon juice to create a paste
- Apply the paste to the stone and let it sit for 10-15 minutes
- Rinse the stone thoroughly with water and dry with a soft cloth
This method can be quite effective at cleaning and polishing porous stones and can help to restore their natural luster.
Method 8: Ketchup
Best for: Stones with a metallic luster (like hematite, pyrite, and copper) with minor surface imperfections
This method is a bit unconventional but can be quite effective for restoring the natural luster of metallic stones. The vinegar in the ketchup acts as a mild abrasive, while the tomato paste helps to clean and polish the stone.
- Apply a small amount of ketchup to a soft cloth
- Rub the stone in circular motions
- Rinse the stone thoroughly with water and dry with a soft cloth
This method is great for a quick polish and can be used on a regular basis to maintain the shine of your stones.
FAQ
Can I use any type of sandpaper for the sandpaper progression method?
Can I use any type of sandpaper for the sandpaper progression method?
Yes, you can use any type of sandpaper for the sandpaper progression method, as long as it is wet/dry sandpaper. The grit sizes should range from 80-120 to 2000, with each subsequent grit being finer than the previous one.
How often should I polish my stones?
How often should I polish my stones?
The frequency of polishing your stones depends on how often you wear them and how they are exposed to the elements. For daily wear, it's a good idea to polish your stones every few months. If they are exposed to harsh conditions, you may need to polish them more frequently.
Can I use these methods on gemstones?
Can I use these methods on gemstones?
Yes, you can use these methods on gemstones, as long as you are careful to use the appropriate method for the type of stone. Some gemstones are more delicate than others, so it's important to follow the instructions carefully.
What should I do if I scratch my stone while polishing?
What should I do if I scratch my stone while polishing?
If you scratch your stone while polishing, it's best to stop immediately and assess the damage. If the scratch is minor, you may be able to buff it out with a finer grit of sandpaper. If the scratch is deep, you may need to seek professional repair.
Can I use these methods on antique or heirloom stones?
Can I use these methods on antique or heirloom stones?
It's always best to consult with a professional before attempting to clean or polish antique or heirloom stones. Some stones may be too delicate or have unique finishes that require special care.
Comparison Table: Rock Polishing Methods
| Method | Best for | Time Required | Cost | Effectiveness |
|---|---|---|---|---|
| Mineral Oil and Cloth | Smooth stones | 10 minutes | Low | Good |
| Toothpaste Polish | Hard stones | 10-15 minutes | Low | Good |
| Sandpaper Progression | Rough stones | Several hours to a day | Medium | Excellent |
| Baking Soda and Vinegar | Soft stones | 10-15 minutes | Low | Good |
| Aluminum Foil and Baking Soda | Metals | 10-15 minutes | Low | Good |
| Dish Soap and Microfiber Cloth | All types | 5-10 minutes | Low | Good |
When choosing a method to polish your rocks, consider the type of stone, the desired outcome, and the time and resources you have available. With a little patience and the right technique, you can achieve beautiful results without the need for a tumbler.
Comments