Broken Crystal? 6 Ways to Fix Chips and Cracks
May 14, 2026
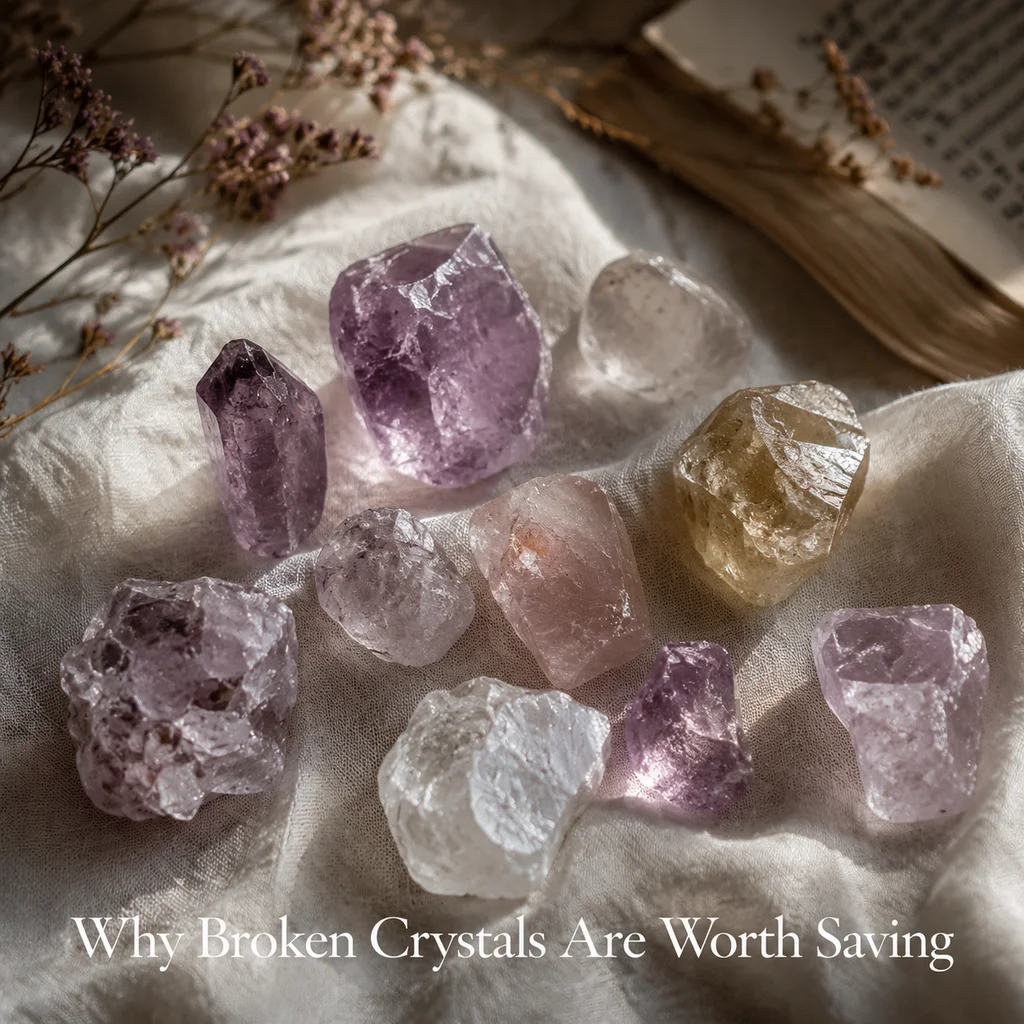
The soft crunch echoed through my workshop as I accidentally knocked my favorite rose quartz cluster off its stand. My heart sank. That piece wasn't just beautiful—it was a gift from my grandmother, and I'd worn smooth its many points over years of holding it during meditation. As I picked up the larger fragments, I noticed a hairline fracture running through the center. In that moment, I realized something important: crystals aren't just decorative objects; they hold energy, intention, and personal meaning. And when they're damaged, it's not just a physical loss—it's an emotional one too.
Over the next decade, I've repaired countless crystals for clients at SagStone, learning that what many consider "beyond repair" can often be restored to not just functional but beautiful condition. Today, I'm sharing those hard-won techniques so you can rescue your own cherished crystals.
Understanding Crystal Damage: What Can Be Saved?
Not all crystal damage is created equal. The first step in any repair is assessing whether restoration is possible and what approach to take. Crystal damage generally falls into several categories, each requiring different techniques:
Surface chips and fractures are the most common issues. These occur when crystals impact hard surfaces or are stored improperly. The good news is that most surface damage can be repaired with minimal visible results. Point breaks—where crystal points snap off—can often be reattached seamlessly with proper technique. Internal fractures, sometimes called "inclusions" but actually structural weaknesses, require more specialized approaches.
It's important to understand the crystal's structure and hardness on the Mohs scale before attempting repairs. Softer crystals like selenite (2-2.5) are more challenging to repair without further damage, while harder varieties like quartz (7) can tolerate more intervention. Always identify your crystal first—some crystals are water-soluble or heat-sensitive, which affects repair options.
When damage extends through the crystal's matrix or creates multiple fragments that don't align properly, professional restoration may be your best option. However, what many "experts" deem irreparable might surprise you—with patience and the right techniques, even seemingly hopeless cases can be transformed into unique pieces with character.
Essential Tools and Materials for Crystal Repair
Investing in quality tools makes all the difference in crystal repair. Unlike casual repairs that use household adhesives, professional restoration requires specialized materials that bond securely without damaging crystal structure. Here's what you'll need:
Epoxy Resins: Not all glues are equal for crystal work. I recommend two-part epoxy resins designed for crystal and glass repair. Devcon 5 Minute Professional Epoxy offers excellent clarity and strength for most crystals, while Loctite E-30HP provides superior optically clear results for repairs near surfaces. For quartz varieties, try Permabond 358 for its crystal-clear finish and non-yellowing properties. Always choose low-viscosity epoxies that won't leave excessive residue in crystal crevices.
Precision Tools: Micro-syringes for applying epoxy (11-gauge or smaller), crystal-shaped files in varying grits (400, 800, 1200), and precision tweezers are indispensable. I prefer Dumoxel No. 5 tweezers with their fine, cross-serrated tips for handling small fragments without slippage. For sanding, Diamond files or ceramic files work better than metal ones, as they're less likely to further chip delicate crystal edges.
Polishing Compounds: After repair, you'll need to blend the repair line with the surrounding crystal. Start with 600-grit silicon carbide paper, progressing through finer grits (800, 1200, 2500) to 8000 or higher for optical clarity. For final polishing, use cerium oxide on felt pads or diamond paste (3 micron or finer) for a professional finish.
UV Curing Light: If using UV-curable epoxies (which I recommend for most repairs), a 395nm UV flashlight allows for quick curing while positioning. Always wear UV-protective glasses when using these lights, and cure in stages—first position the pieces with minimal epoxy, cure, then apply a thin fillet along the seam for additional strength.
Assessment and Preparation Before Repair
Successful crystal repair begins long before you apply any adhesive. Proper assessment and preparation can mean the difference between an invisible restoration and a repair that stands out. Here's my proven assessment process:
First, document the damage thoroughly. Take clear photographs from multiple angles under consistent lighting. These reference images will help you evaluate your progress and ensure proper alignment during reassembly. I use a lightbox with diffused lighting to highlight fractures and structural details that might be missed under ambient lighting.
Next, gently clean the fractured areas with isopropyl alcohol (90% or higher) using cotton swabs. This removes oils and debris that could interfere with bonding. For water-sensitive crystals like selenite or malachite, use a dry brush instead—compressed air canes work well for dislodging dust from crevices without moisture contact.
After cleaning, assess the fracture pattern. Is it a clean break that can be perfectly realigned, or a shatter pattern requiring multiple reassembly points? Clean breaks offer the best repair prospects. For complex fractures, create a digital map or sketch of how pieces fit together—crystal fragments often have distinctive patterns that serve as puzzle pieces.
Prepare your workspace with anti-static mats and clean, well-lit conditions. Temperature matters too—epoxy adhesives bond best at room temperature (68-77°F/20-25°C). If your workspace is cooler, warm the crystal fragments slightly (not exceeding 110°F/43°C) to improve epoxy flow and adhesion.
Finally, prepare your crystal energetically for repair. Many practitioners believe crystals absorb energy from their surroundings, so before physical restoration, consider cleansing your crystal with sound (singing bowls or tuning forks) or smudging (with sage or palo santo) to clear any residual energies from the trauma of breaking.
Basic Repair Techniques for Common Crystal Damage
With proper assessment and preparation completed, you're ready to begin the actual repair process. Different types of damage require specific techniques. Let's explore the most common repair scenarios and how to address them effectively:
Surface Chip Repair: For small chips on crystal points or surfaces, begin by carefully sanding the rough edges with progressively finer grit sandpaper, starting at 400 grit and working up to 2000+ grit. Create a smooth, curved transition rather than attempting to rebuild the original shape. Mix a small batch of epoxy resin (clear, slow-curing type gives you more working time). Using a toothpick or micro-syringe, apply a minimal amount of epoxy to fill the chip, slightly overfilling it. Once cured, sand the filled area smooth, blending it with the surrounding crystal. Polish with cerium oxide on a soft cloth for optical clarity.
Point Reattachment: When a crystal point breaks off, reattachment can create nearly invisible results if done correctly. First, ensure the broken surfaces are perfectly clean. Apply epoxy sparingly to both mating surfaces—too much epoxy will create visible seams. Position the point precisely, using a removable adhesive like museum putty to temporarily hold it in place while the epoxy sets. For particularly valuable crystals, consider using UV-curable epoxy that allows you to position, cure with UV light, then make final adjustments before full curing.
Fline Fracture Repair: Hairline fractures require special attention to prevent them from propagating further. Begin by wicking epoxy into the fracture using capillary action with a thin applicator. For very fine fractures, a vacuum chamber can help draw epoxy deep into the crack. After initial curing, reinforce the repair from behind by creating a shallow groove along the fracture line, applying epoxy, and inlaying a thin piece of similarly refractive material (like optical fiber or quartz rod) for structural support.
Color Restoration: Some crystals lose color when damaged or repaired. For citrine or amethyst that has lost color at repair sites, try heat treatment. Use a butane torch with a fine tip (held 6-8 inches away) to gently warm the repaired area. The iron impurities in these varieties will recrystallize under heat, potentially restoring the original color. Test this technique on an inconspicuous area first, as not all crystals respond the same way to heat.
Remember, the goal isn't just to make the crystal whole again, but to restore both its physical integrity and energetic resonance. Take your time, work methodically, and allow each step to fully cure before moving to the next. Patience is your most valuable tool in crystal restoration.
Advanced Crystal Restoration Techniques
When basic repairs aren't enough for your precious crystals, advanced restoration techniques can bring even severely damaged specimens back to life. These methods require patience, precision, and specialized tools, but the results can be truly remarkable.
For deep fractures or significant structural damage, the epoxy resin method becomes more sophisticated. Instead of simple application, you'll need to create custom molds using food-grade silicone to hold the pieces in perfect alignment while the adhesive cures. This is particularly useful for prismatic crystals like quartz clusters or geodes where maintaining the natural angle of formation is crucial.
Professional restorers often use a technique called "dop mounting" where the crystal is temporarily attached to a specialized holder using a wax-based adhesive. This allows for precise polishing without fingerprints or additional pressure on the damaged areas. The process involves gradually working through finer and finer grits of diamond polish, starting at 600 grit and potentially progressing up to 50,000 grit for museum-quality finish.
For crystals with surface etching or water damage, a process called "recrystallization" may be employed. This involves carefully heating the crystal (within safe parameters specific to the mineral type) and then allowing it to cool slowly in a controlled environment. This can sometimes help the crystal structure "heal" at a microscopic level, reducing the visibility of fine scratches and etching marks.
Advanced color restoration techniques exist for some crystals like amethyst or citrine that may have faded over time. While not true "repair," specialized UV treatments or gentle heat treatments (when appropriate for the specific mineral) can sometimes restore lost vibrancy. It's crucial to research extensively before attempting any such treatment, as improper application can permanently damage the crystal.
Maintaining and Caring for Repaired Crystals
Once your crystal has been repaired, proper care becomes essential to ensure the repair lasts and the crystal maintains its beauty. The repaired area may be more vulnerable than the original crystal structure, so extra precautions are necessary.
First and foremost, allow sufficient curing time for any adhesives or sealants. While many epoxies claim to cure in 24 hours, they continue to strengthen for up to 72 hours. For optimal results, avoid handling or using your repaired crystal for divination or energy work for at least 3-5 days after repair. Many professional restorers recommend a full week of cure time before exposing the crystal to regular use.
Regular cleaning is important, but methods must be adjusted for repaired crystals. Avoid soaking repaired stones in water or salt water for extended periods, as this can weaken the bond. Instead, use a soft, slightly damp cloth to wipe down the crystal. For deep cleaning, use a cotton swab dipped in a mild soap solution to gently clean around the repair area, then immediately dry with a soft lint-free cloth.
When storing repaired crystals, wrap them individually in soft cloth or velvet pouches to prevent them from bumping against other stones or surfaces. Avoid placing repaired crystals in direct sunlight for prolonged periods, as UV light can degrade some epoxy resins over time. If using your repaired crystals for meditation or energy work, be mindful that the repaired area may have slightly different energetic properties than the original crystal structure.
Periodic inspection of the repair is advisable. Check every few months for any signs of separation or changes in the repair area. Early detection of potential issues allows for prompt attention and can prevent more extensive damage later. Remember that even the most expert repair creates a point of vulnerability in the crystal structure, so treat your repaired pieces with the gentle care they deserve.
When Professional Crystal Repair is Necessary
While many crystal enthusiasts successfully perform repairs at home, there are situations where professional crystal restoration becomes the only viable option. Knowing when to seek professional help can save you from causing further damage to valuable specimens.
High-value or museum-quality crystals should always be entrusted to professional conservators. These pieces may have significant monetary or historical value, and improper repair techniques can drastically reduce their worth. Professional conservators have access to specialized equipment, adhesives, and techniques not available to the average enthusiast, and they understand how to maintain the integrity and value of the piece.
Crystals with sentimental value that are irreplaceable may benefit from professional restoration even if they don't have significant monetary worth. Professional restorers can often achieve results that are virtually undetectable, preserving both the physical and emotional integrity of the piece. The peace of mind that comes from knowing your precious family heirloom has been properly cared for is invaluable.
Structurally complex crystals like intricate clusters, delicate points, or fragile formations often require professional handling. These pieces have multiple stress points that must be carefully managed during repair. Professional restorers have the expertise to disassemble complex clusters, repair individual components, and reassemble them with perfect alignment—a process that would be extremely challenging for most hobbyists.
When the crystal's structure is compromised beyond basic repair, professional intervention may be the only way to salvage the piece. A conservator can assess whether the crystal is structurally sound enough to handle repair, or if it requires specialized stabilization techniques to preserve what remains. They can also advise on whether display modifications, such as creating a custom stand that provides additional support, might be necessary.
Frequently Asked Questions about Crystal Repair
Even after learning the basics of crystal repair, questions naturally arise. These frequently asked questions address concerns and provide additional insights to help you approach crystal repair with confidence and knowledge.
Can all types of crystals be repaired?
While most crystals can be repaired to some degree, the success of the repair depends heavily on the mineral's structure, hardness, and fragility. Hard crystals like quartz, amethyst, and citrine generally repair well with epoxy adhesives. Softer crystals like selenite or halite are more challenging due to their porous nature and tendency to react with adhesives. Even harder crystals like topaz or beryl may present challenges if they have perfect cleavage, as they can continue to break along those natural planes despite repair efforts.
Will the repair be visible after it's completed?
The visibility of a repair depends on the damage extent, your skill level, and the technique used. Expert repairs can be virtually invisible, while amateur attempts may show some evidence of work. Strategic reassembly, color-matched epoxies, and careful polishing can minimize visibility. The repaired area will always be a point of vulnerability and may appear slightly different under close examination, but with proper technique, the repair can be subtle enough that most people won't notice it without careful inspection.
Can I use super glue instead of epoxy for crystal repair?
Super glue (cyanoacrylate) can be used for small repairs, but it's generally not recommended for most crystal restoration projects. Super glue creates a very rigid bond with little flexibility, which can cause stress fractures in the crystal as it expands and contracts with temperature changes. It also typically has a lower tensile strength than quality epoxies and can yellow over time when exposed to light. For most crystal repairs, a two-part epoxy formulated specifically for glass and crystal will provide superior results in terms of strength, clarity, and longevity.
How long does a crystal repair last?
A well-executed crystal repair can last for many years, even decades, when properly cared for. The longevity depends on several factors: the quality of the adhesive used, the thoroughness of the preparation process, how well the repair area is protected from further damage, and the crystal's inherent stability. Epoxies specifically formulated for crystal and glass restoration can maintain their strength and clarity for 20+ years. However, the repair site will always be structurally weaker than the original crystal, so proper handling is essential to ensure the repair lasts as long as possible.
Will repairing a crystal affect its metaphysical properties?
This is a complex question with varied perspectives in the crystal community. Some believe that a damaged crystal's energy field is compromised regardless of repair, while others feel that a properly repaired crystal can maintain most of its original energetic properties. Many metaphysical practitioners report that repaired crystals still function effectively for their intended purposes, though some notice subtle differences in energy flow or intensity. Ultimately, the effect on metaphysical properties may depend on your personal sensitivity to energy, the extent of the damage, and how energetically sensitive you are to the repair materials themselves.
Is it worth repairing a very cheap crystal or tumbled stone?
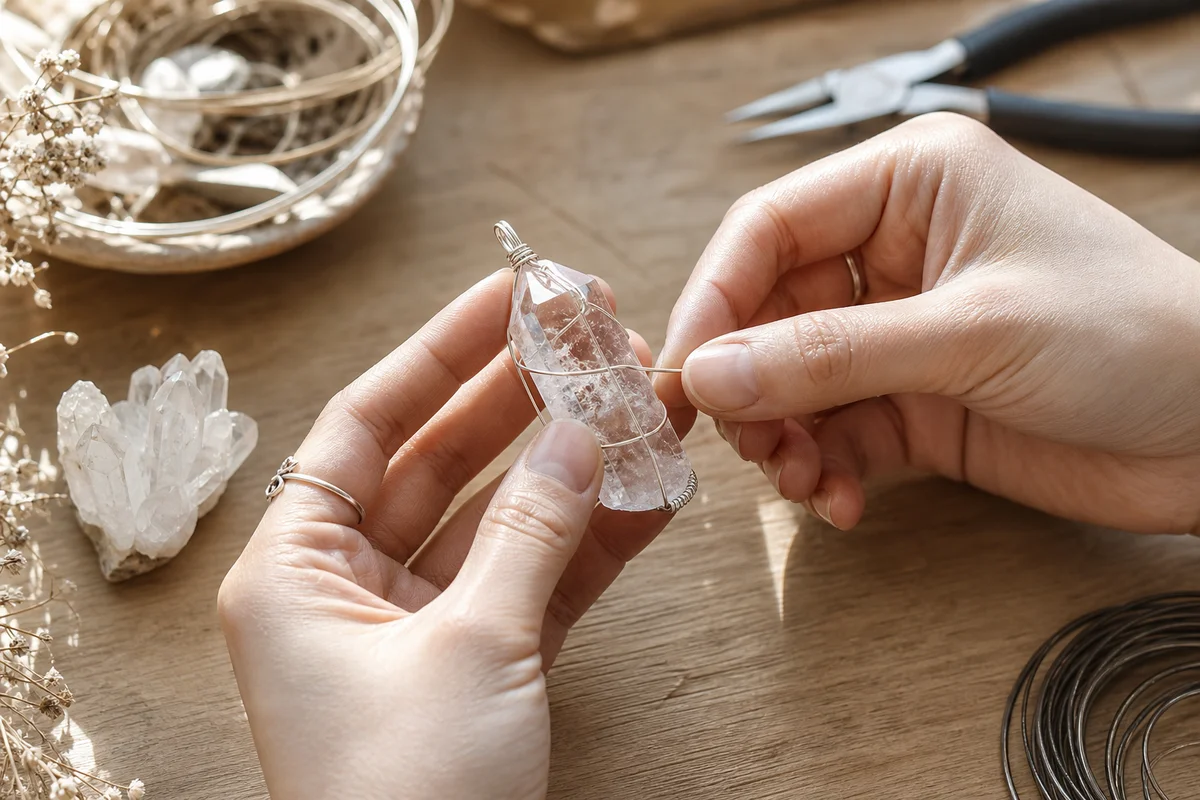
While the sentimental value of any crystal can make repair worthwhile, there's a practical consideration with less expensive stones. For tumbled stones or low-cost crystals, the time and materials invested in repair might exceed the value of the piece itself. However, if you have an emotional attachment to a particular stone, or if it has unique properties that are difficult to replace, repair may absolutely be worthwhile. In some cases, rather than attempting to restore the original form, it might be more practical to repurpose the stone—perhaps by creating a crystal elixir from the remaining pieces, or using it in a grid where its broken form has specific symbolic meaning.
Next Steps: Your Crystal Repair Journey Begins
As you embark on your crystal repair journey, remember that every repair project is unique. The techniques and advice offered here provide a solid foundation, but your personal experience will guide your developing expertise. Start small, practice patience, and celebrate each successful repair as you build your skills.
Begin your journey by assembling a basic repair kit with the essential tools: a quality two-part epoxy, fine-grit sandpaper, polishing cloths, and cleaning supplies. Practice on inexpensive stones or fragments first to familiarize yourself with the repair process before attempting to restore more valuable pieces. Document your repairs with photos before, during, and after the process—this will help you track your progress and learn from each experience.
Consider joining a community of crystal enthusiasts, either locally or through online forums dedicated to mineralogy and crystal care. These communities can offer support, advice, and inspiration as you develop your repair skills. Many experienced crystal restorers are happy to share their knowledge and provide guidance when you encounter challenges.
Remember that the goal of crystal repair isn't merely restoration—it's about honoring the history and energy of each piece. Even a repaired crystal carries the story of its journey, including the damage and the loving care that went into its restoration. Embrace this process as a form of stewardship, where you become both caretaker and witness to the enduring beauty of these natural wonders.
As you gain confidence in your repair skills, you may discover a new appreciation for the resilience of crystals and the satisfaction that comes from preserving these gifts of the Earth. Whether you're repairing a family heirloom, a beloved meditation stone, or simply experimenting with the art of crystal restoration, you're participating in a timeless practice of reverence for natural beauty. Your journey as a crystal conservator begins now—with patience, care, and a deep respect for the mineral kingdom.


Comments