Wire Wrapping Stones Without Holes
June 11, 2026
Wire Wrapping Stones Without Holes: A Prong Setting Tutorial
Oh, I'm so excited to share this with you! There's something so magical about those raw crystals, isn't there? Imagine them on your wrist, glowing with their natural beauty. You can totally wrap them without holes to make your own unique pendants or earrings. Let me walk you through how I've done it and give you some tips to get you started! **Here's What You Need:**- Wire – pick 20-gauge for tiny stones and 16-gauge for bigger ones.
- Round-nose pliers – they're a must for shaping the wire.
- Wire cutters – for snipping your wire just right.
- Flat-nose pliers – they help you grip and hold the wire.
- A ruler – to make sure your wire and stones are just right.
- An embossing tool or mallet – if you want to add some texture to your wire.
- Pick Your Crystal: Grab a smooth, flat cabochon that you're head over heels for. For this, I'm using an amethyst that's about 1.5 inches long and an inch wide.
- Cut Your Wire: Snip two pieces of wire. You'll need a 12-inch piece for the pendant and a 7-inch piece for the earring. You'll have extra wire to make loops for attachment.
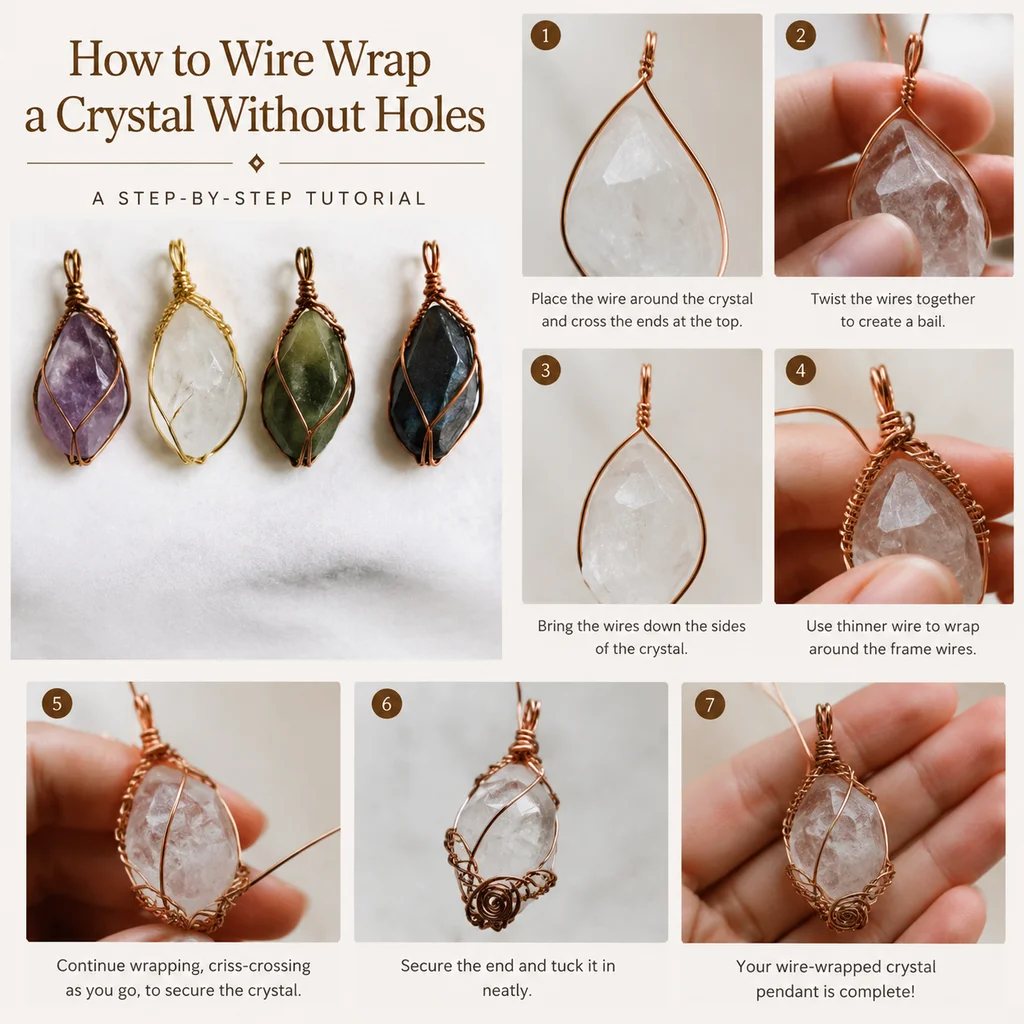
- Make the Loop: Take one end of your wire, wrap it around your round-nose pliers, and make a loop. Slide it right onto the top of your crystal and press it in place.
- Shape the Base: Wrap the wire around the bottom of the crystal in a circle, making sure it's a bit bigger than the stone. Use your flat-nose pliers to hold it in place and bend it to secure it.
- Add the Second Loop: Take your second piece of wire, make a loop, and put it over the first one. Make sure it's against the base you just made.
- Seal the Deal: Use your flat-nose pliers to squeeze the wire where the loops meet to make a tight connection.
- Get Creative: If you're feeling it, use your embossing tool or mallet to add some designs to the wire.
- Trim and Tuck: Snip the wire close to the loop with your wire cutters, leaving a teeny tiny tail. Flatten it with your flat-nose pliers so it doesn't snag on your clothes.
- Make the Prongs: Cut four pieces of 18-gauge wire, make loops at the ends, and voilà!
- Attach the Prongs: Put the loops around the edges of the crystal, making sure they hold it nice and tight.
- Keep It Secure: Wrap the extra wire around the back of the prongs to make sure they're good and solid.
- Create the Base: Wrap the wire around the bottom of the crystal to make a base, a bit bigger than the stone.
- Add the Loop: Make a loop at the top and slide the crystal on.
- Secure the Base: Wrap the wire around the bottom again to keep it in place.
Frequently Asked Questions
Q?
A.
Oh, totally! You can wire wrap pretty much any smooth, flat crystal cab. Just keep in mind not to go too big or heavy with it since you want the wire to hold up, you know?Q?
A.
Alright, so what's the best wire gauge for these beauties? For those little gemstones, go with 20-gauge wire. Bigger stones? I've found 16-gauge works like a charm.Q?
Oh, hey there! So, you're wondering how to keep the wire from snagging your clothes, right? Make sure the ends are nice and flat and smooth. Plus, you can jazz it up with a bead or charm for a cleaner look.Q?
A.
Absolutely! Wire wrapping stones with holes is a breeze. Just slide the wire through the hole and you're on your way! Super easy, I've found.Q?
A.
Hey, so what if the wire breaks while I'm wrapping the stone? Don't sweat it! Just snip it, flatten those ends out, and start fresh. It's honestly all part of the process, you know? And trust me, we've all been there. It's what I love about crafting – it's a bit like solving a puzzle, but with crystals! 🌟Geological Formation
You know, it's totally amazing how crystals form. It all starts deep in the Earth's crust. These cool crystals without any holes come to life when magma (super hot rock) either erupts up or oozes out through cracks. Then it slowly cools, turns into a solid, and that's where the crystals come into play. They're mostly made up of silicate minerals. And guess what? The crystals can form in different shapes depending on how fast the magma cools. Like, sometimes it happens super quick, and there's no time for the crystals to really get big, which is why they can be stone cold and hole-free. Oh, and the color and stuff? It all depends on the bits and bobs that are in the magma, like special elements that pop it right out with those amazing properties!Color Varieties and Their Origins
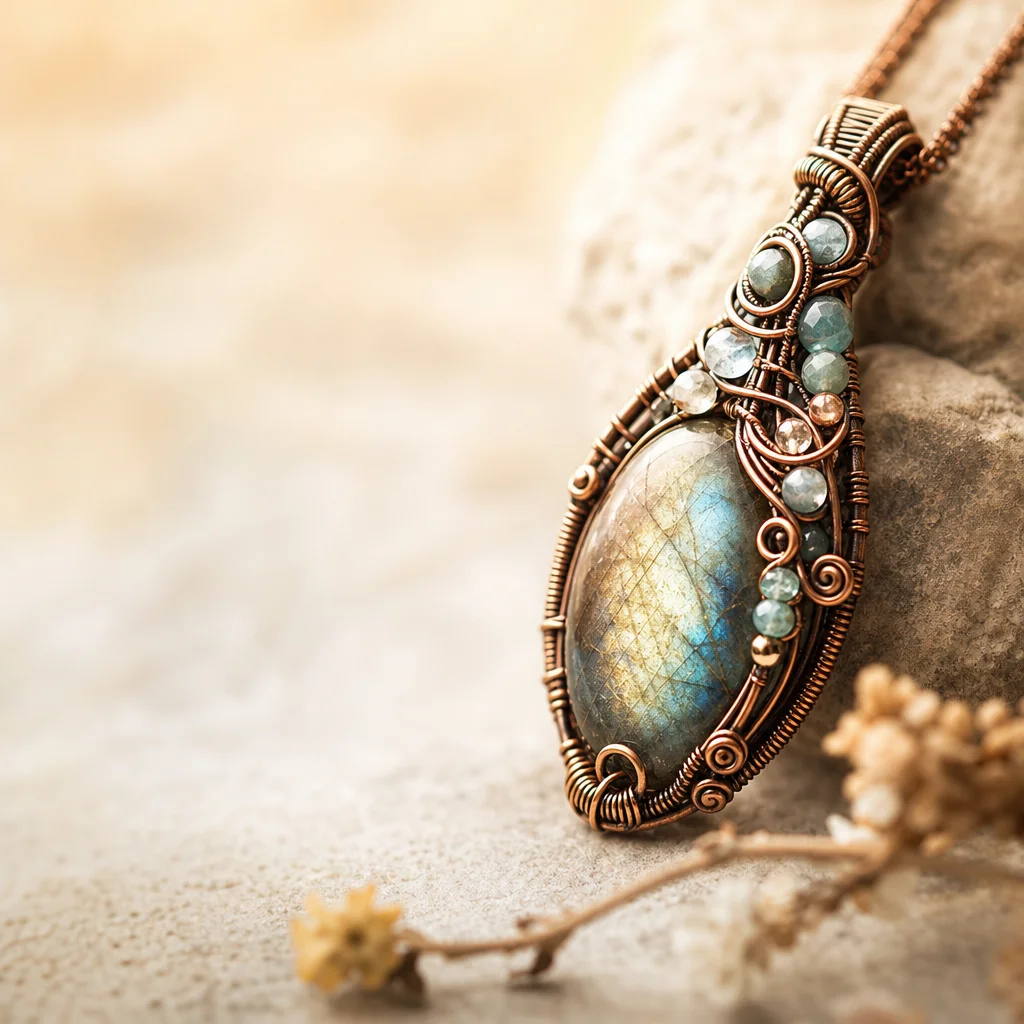
Hey, did you know? The colors in those smooth, no-hole stones are super cool, like a mystery! It's all about what's hiding inside them, like tiny impurities, you know? Like, if there's iron, you'll see those pretty red shades, and manganese? It's like giving stones a pastel paint job – think pink or purple! And get this – some stones can turn green just from a bit of copper or chromium sneakin' in. So wild, right? The thing is, the color also has a lot to do with how the stone is put together, and how light bounces around in there. I've found it really cool, like the way labradorite changes colors depending on how the light hits it. It's almost like watching a movie with iridescent shades!How to Identify Quality Specimens
Alright, so when you're out buying stones without holes, you gotta keep your eyes peeled for the good stuff. First off, look at the color. It should be popping and even all over the stone. Don't even think about those with spots or splotches—those are usually a bit on the low-end quality wise. Now, check out the clarity. The fewer specks and blemishes, the better. Look for a stone that feels silky smooth and glistens like it's just had a good polish. Skip the ones that feel like sandpaper or have that dull, matte finish. Those could mean they've been polished too much or even treated. And hey, be on your toes for stones that look way too perfect or too matchy-matchy in color—they might've been dyed or had other fancy treatments. Always shop at places you trust, and don't forget to ask for that certificate if they've got it.Care and Maintenance Guide
So, keeping your wire-wrapped beauties looking fresh is a big deal, right? When it's time to clean 'em up, grab a soft cloth and something gentle for jewelry. No harsh chemicals or scrubby stuff, 'cause that's a no-go for your pretty stones. Keep your gems in a cool, dry spot, away from the sun. It's like, they fade super quick if you leave 'em out in the bright lights. And don't forget to stash 'em in a jewelry box or a soft pouch to keep 'em scratch-free. Now, the thing is, don't let 'em get too hot or cold, 'cause that can crack 'em up. If you spot any chips or cracks, it's best to get 'em fixed by a pro. And honestly, I've found that taking good care of your stones is what makes them last longer and shine brighter. Keep 'em happy, and they'll keep on sparkling!Frequently Asked Questions
How do I know if a stone without holes is natural?
How do I know if a stone without holes is natural?
Answer: Look for signs of natural formation, such as inclusions and imperfections. Natural stones will not have a perfectly smooth surface or uniform color throughout.Can I wear wire-wrapped stones without holes every day?
Can I wear wire-wrapped stones without holes every day?
Answer: Yes, you can wear them every day. However, be mindful of activities that could cause them to get damaged or scratched.How can I tell if a stone has been treated or dyed?
How can I tell if a stone has been treated or dyed?
Answer: Look for signs of unnatural coloration, such as patchy or uneven coloring. Treated stones may also have a different weight or feel compared to natural stones.Can I clean my wire-wrapped stones with ultrasonic cleaner?
Can I clean my wire-wrapped stones with ultrasonic cleaner?
Answer: No, ultrasonic cleaners can damage the wire wrapping and may not be suitable for all types of stones. Use a soft cloth and a gentle cleaner instead.How long can wire-wrapped stones last?
How long can wire-wrapped stones last?
Answer: With proper care, wire-wrapped stones can last for many years. The longevity will depend on the quality of the stone and the wire wrapping.Related Crystals You Might Love
- Amber: A fossilized tree resin, amber is known for its warm, golden hues and is often used in jewelry for its unique beauty and history.
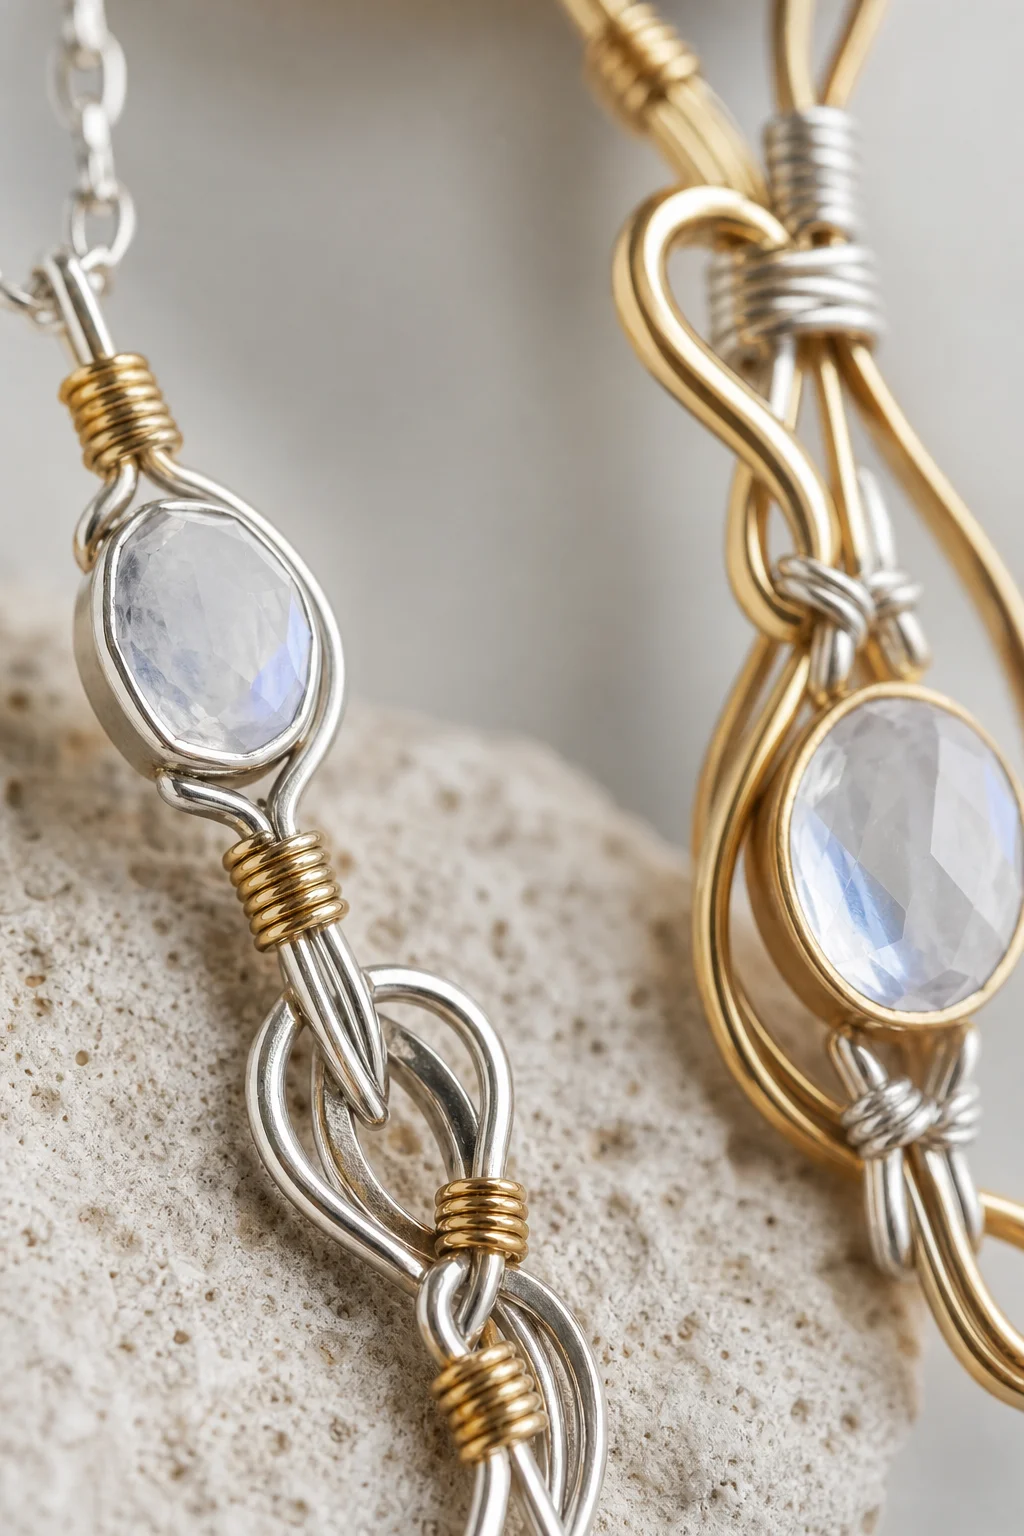
- Moonstone: This beautiful stone exhibits a pearly luster and a soft, iridescent glow. It's often associated with the moon and is believed to bring calm and serenity.
- Lapis Lazuli: Known for its vibrant blue color and golden pyrite inclusions, lapis lazuli is a popular stone in jewelry and is often used to symbolize wisdom and truth.
- Turquoise: A gemstone that has been cherished for centuries, turquoise is known for its vibrant blue-green color and is believed to bring good fortune and protection.
Comments