Wire Wrapped Necklace Chain: 5 Ways to Make C...
June 5, 2026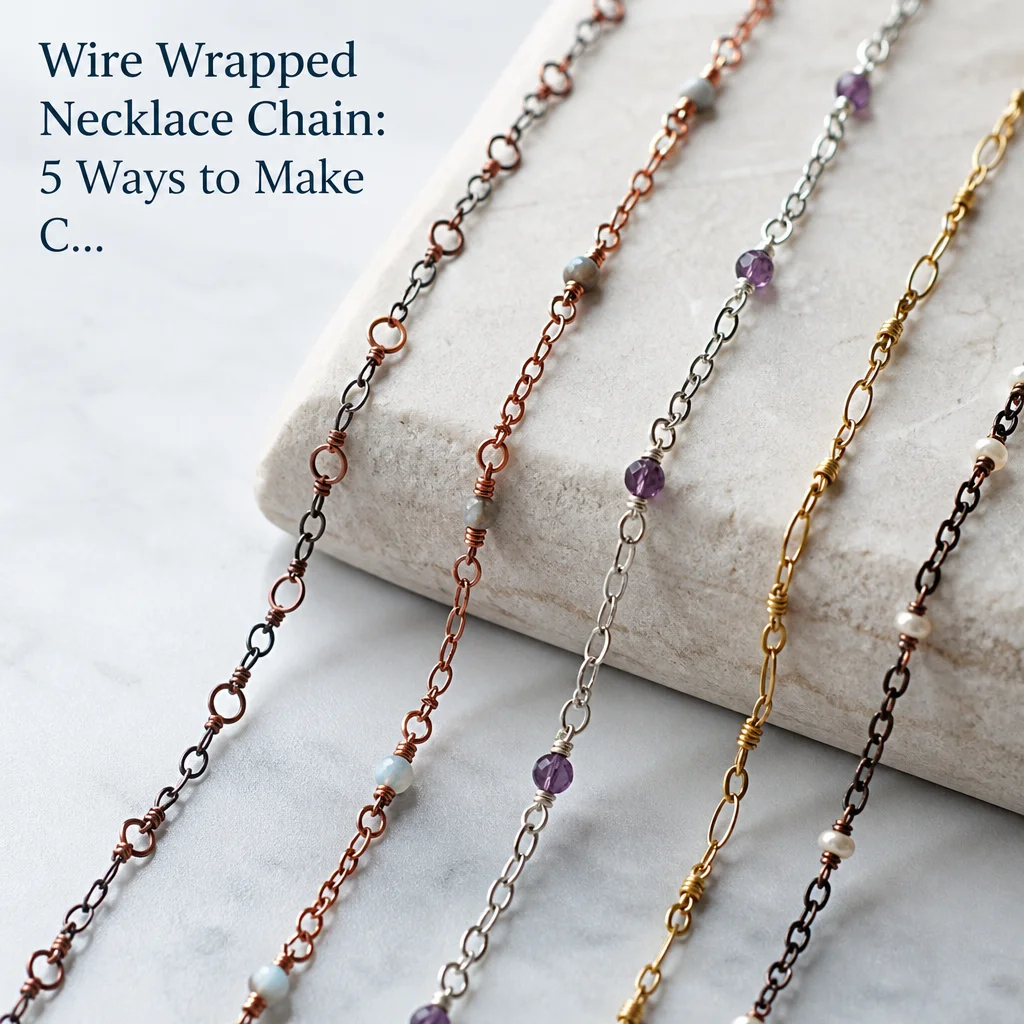
Why Make Your Own Necklace Chain?
Store-bought chains serve a purpose, but they're fundamentally generic. They're made in factories, cut to standard lengths, and designed to accommodate as many styles as possible — which means they perfectly suit none. When you make your own chain, every link is an intentional design decision. You choose the gauge, the metal, the link pattern, the exact length, and the clasp type. The chain becomes as much a part of the design as the pendant it carries.
Wire wrapping chain by hand also creates a distinctive aesthetic that machine-made chains can't replicate. Handmade links have subtle variations — slightly different openings, tiny asymmetries, the gentle tool marks that prove human hands made them. These imperfections aren't flaws; they're the signature of artisan work that sets handmade jewelry apart from mass production.
This guide covers five chain styles suitable for different skill levels and design aesthetics, plus everything you need to know about wire selection, clasp attachment, and pendant bail construction.
Wire Selection for Chain Making
The wire you choose determines everything about the finished chain — its weight, its drape, its durability, and its appearance. Here's what you need to know:
Gauge (Thickness)
Chain wire is typically 18-22 gauge. The gauge number is counterintuitive — higher numbers are thinner wire. For chain making specifically:
16 gauge (1.3mm): Very heavy. Use for large statement links and structural elements only. Difficult to bend into small curves. Not recommended for most chain applications unless you're making chunky, industrial-style pieces.
18 gauge (1.0mm): The most versatile chain wire. Strong enough for daily-wear chains, manageable for wrapping and linking. Use for main chain links on medium to heavy designs. This is the wire most professional wire wrappers reach for most often.
20 gauge (0.8mm): Lighter chains, delicate designs, connecting components. Good for bead-wrapped links and finer chains. Slightly flexible — not ideal for chains that bear heavy pendants.
22 gauge (0.6mm): Very fine. Use for wrapping beads onto chain, making small connecting loops, and decorative coiling. Too thin for structural chain links on its own, but excellent for the wrapping wire in wrapped-loop connections.
Metal Types
Copper: Affordable, easy to work with, develops a beautiful patina over time. Excellent for practice and for earthy, warm designs. Some people have skin sensitivity to copper — apply a clear lacquer coating to the inside (skin-contact) surface if needed.
Sterling silver: The professional standard. More expensive than copper but significantly more durable and hypoallergenic. Available in dead soft (easy to bend, work-hardens with handling), half-hard (moderate flexibility, good for structural work), and full hard (very stiff, used for ear wires and clasps). For chain links, half-hard is ideal.
Brass: Between copper and silver in both price and working properties. Brass has a warm gold color that complements warm-toned stones (carnelian, amber, citrine). It work-hardens quickly and can become brittle if overworked.
Gauge-brass or bronze craft wire: Inexpensive colored wire for practice. The colored coating scratches easily, so it's not suitable for finished pieces, but it's perfect for learning link shapes and chain patterns without wasting expensive metal.
Essential Tools
You need four tools for chain making — no more, no less:
Round-nose pliers: For making loops and curves. The conical jaws create different-sized loops depending on where on the jaw you place the wire. Practice finding consistent positions on the jaws to create uniform loops.
Chain-nose pliers: Flat-jawed, slightly tapered pliers for opening and closing links, gripping wire, and flattening. The flat inner surface prevents marking the wire.
Flush cutters: Cuts wire with one flat side and one pinched side. Always orient the flat side toward the finished work and the pinched side toward the waste. This creates clean ends that don't need additional filing.
Flat-nose pliers (optional but helpful): Wider, flatter jaws than chain-nose. Useful for holding multiple links simultaneously, flattening wire, and creating sharp bends.
Chain Style 1: Rosary Chain (Bead-on-Wire Links)
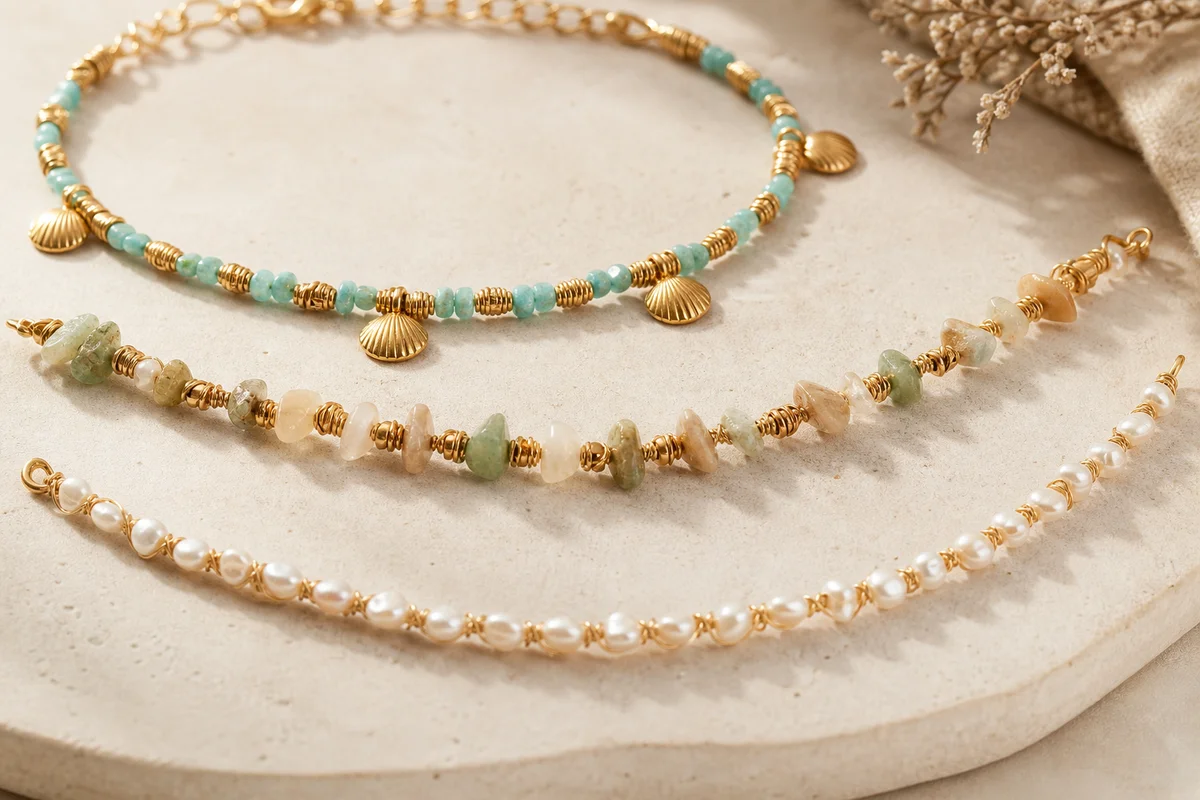
The rosary chain is the simplest handcrafted chain and an excellent starting point for beginners. Each link is a short piece of wire with a loop on each end and a bead in the middle. The loops connect to adjacent links, creating a chain of evenly spaced beads.
Wire: 20-gauge for the link wire, matching the bead hole size.
Process:
- Cut wire to approximately 2.5 times the bead length plus 1cm. For an 8mm bead, cut to about 3cm.
- Thread the bead onto the wire, centering it.
- Create a wrapped loop on one side: grip the wire just above the bead with round-nose pliers, bend the wire 90°, wrap the tail 2-3 times around the stem, and trim. This is your first loop.
- Create a wrapped loop on the other side: grip the wire above the second loop's bend point with round-nose pliers, wrap 2-3 times, trim.
- Open the loop of the previous link (always open sideways, never pulling apart) and attach the new link. Close firmly.
Design variations: Alternate bead colors for a patterned look. Use different bead sizes (6mm and 8mm alternating). Mix bead materials (gemstone + metal spacer beads). The rosary chain is forgiving and highly customizable.
Chain Style 2: Figure-Eight Chain
Figure-eight chains are made from simple figure-eight shaped links that interlock with each other. The chain is lightweight, flexible, and has a distinctive lacy appearance that works beautifully with delicate pendants.
Wire: 20-gauge, dead soft or half-hard.
Process:
- Cut wire to 2cm lengths (for approximately 4mm links — adjust for your desired link size).
- Grip one end of the wire with round-nose pliers and form a loop. Don't close the loop completely — you need the opening to connect to the previous link.
- Just below the first loop, use the round-nose pliers to form a second loop in the opposite direction, creating a figure-eight shape.
- Connect the second loop to the previous link's open loop. Close both loops securely.
The figure-eight chain drapes beautifully because the double-loop construction gives each link flexibility in two directions. It takes practice to get the loops uniform — aim for consistency rather than perfection at first.
Chain Style 3: Cable Chain
The cable chain is the most familiar chain style — it's what most commercially made chains look like. Each link is a simple oval or round jump ring, and they connect in an alternating orientation (each link passes through two adjacent links from the perpendicular direction). Making it by hand gives it a more organic, artisanal quality than the machine-stamped version.
Wire: 18-gauge half-hard for durability, 20-gauge for a lighter look.
Process:
- Wrap wire around a mandrel (a dowel, pen, or proper metal mandrel) to create a coil. The mandrel diameter determines the link size — 4mm mandrel for delicate chain, 6-8mm for medium, 10mm+ for bold.
- Use flush cutters to cut the coil into individual rings. Cut each ring with the flat side of the cutters facing the same direction for consistency.
- Open each ring sideways (pull one end toward you and the other away — never pull the ring apart in a C shape, which weakens the metal).
- Thread each open ring through two closed rings from the previous section, then close firmly. The chain builds link by link.
For a professional cable chain, all links should be the same size and the openings should face alternating directions (one up, one down). This creates the even, consistent drape that distinguishes a well-made cable chain from a sloppy one.
Chain Style 4: S-Hook Chain
S-hook links give the chain a more angular, modern aesthetic. Each link is shaped like the letter S, and the hooks interlock with adjacent S-links. This is a more advanced chain style that requires good wire control but produces a striking result.
Wire: 18-gauge half-hard for structural integrity.
Process:
- Cut wire to 4cm lengths.
- Using flat-nose pliers, bend the wire into an S shape — one curve going left, one going right, with a slight straight section in the middle.
- Hook the top curve of each S through the bottom curve of the previous S. The interlocking creates a chain that lies flat against the neck.
- Gently squeeze each closed hook with flat-nose pliers to ensure it doesn't come undone during wear.
The S-hook chain has a more rigid drape than cable or figure-eight chains — it holds its shape rather than flowing liquidly. This makes it ideal for showcasing chunky pendants where you want the chain to act as a structured frame rather than a flowing ribbon.
Chain Style 5: Viking Knit Chain
Viking knit is one of the oldest chain-making techniques, dating back to at least the 8th century CE in Scandinavian cultures. Despite the name, it's not actually knitted with yarn — it's a wire weaving technique that produces a tubular chain with a distinctive spiral pattern. The resulting chain is incredibly flexible, comfortable to wear, and has a rich, historical character.
Wire: 24-26 gauge for the knitting wire (very fine), 18-gauge for the drawplate and end caps.
Process (simplified):
- Create a starter ring from 18-gauge wire (about 2cm diameter). Cut five 30cm lengths of fine knitting wire.
- Attach each knitting wire to the starter ring using simple loop connections, spacing them evenly around the ring.
- Weave each wire over and under the adjacent wires in a pattern — over one, under the next, over the next — similar to a simple 5-stitch circular knitting pattern.
- Continue weaving downward, adding length to the tube. For a 18-inch necklace, you'll need approximately 6-8 inches of woven tube (it stretches significantly when drawn).
- Pass the woven tube through a drawplate (a metal plate with progressively smaller holes) to compress and smooth the chain. Start with the largest hole and work down to your desired chain thickness.
- Attach end caps and a clasp to finish.
Viking knit chains take significantly more time than the other four styles (a 18-inch chain might take 2-4 hours for beginners) but the result is a unique, professional-looking chain that's impossible to confuse with commercially made jewelry.
Pendant Bail Construction: 3 Methods
Every pendant chain needs a bail — the loop or connector that attaches the pendant to the chain. Here are three wire-wrapped bail methods:
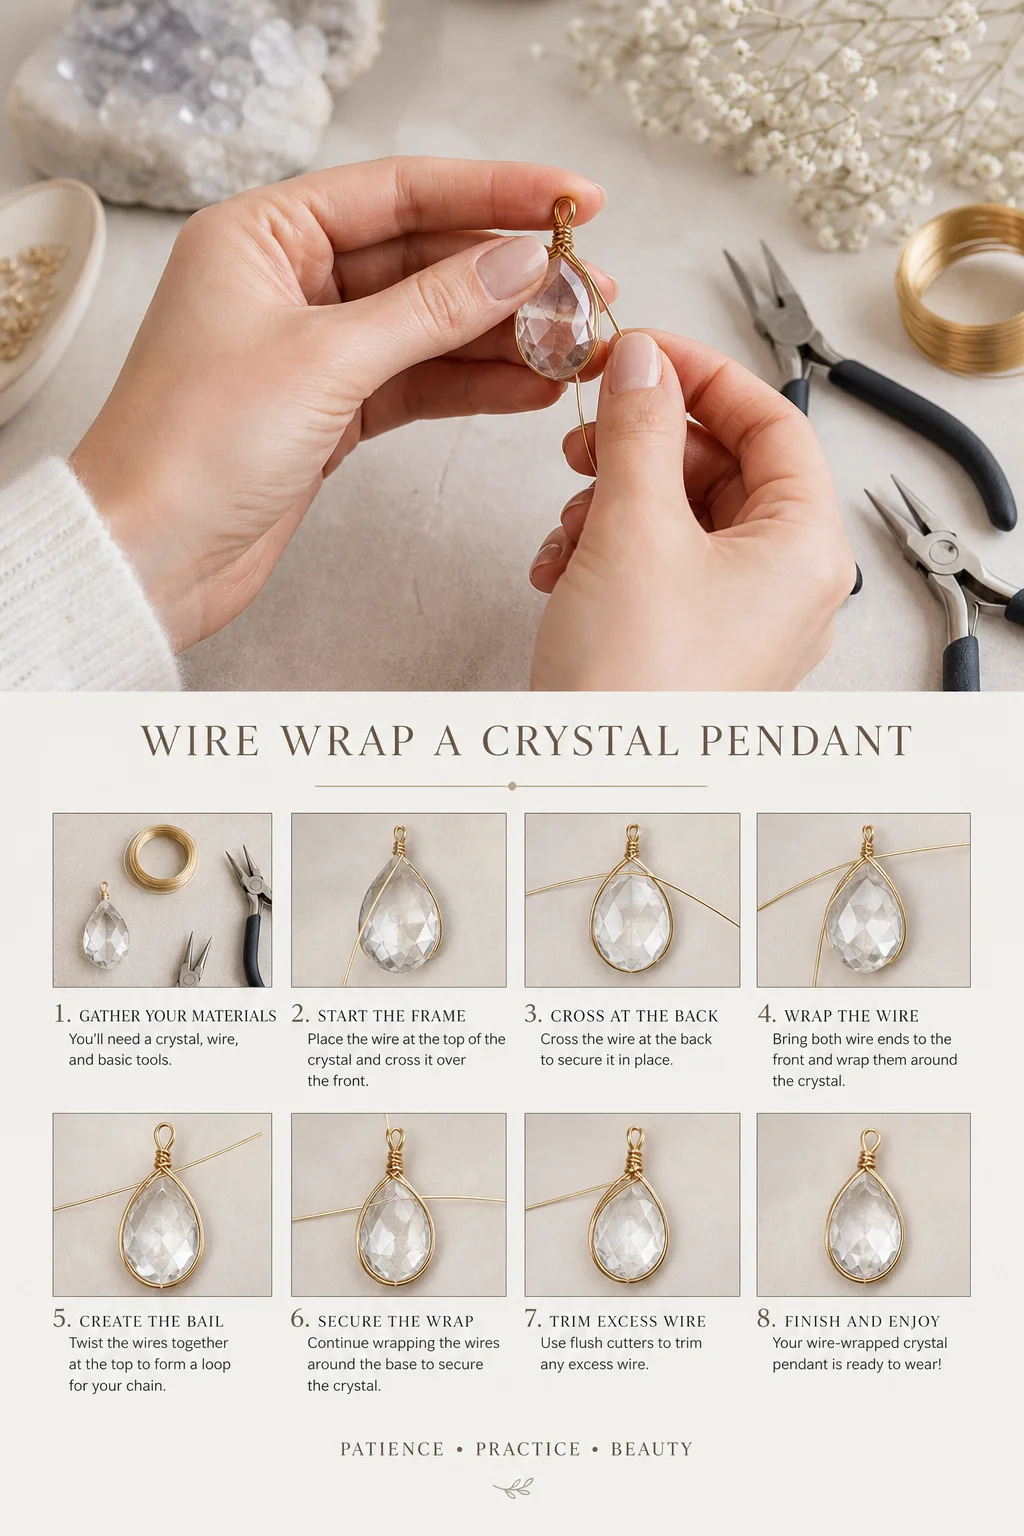
Simple loop bail: Thread the chain through a loop on the pendant. For wire-wrapped pendants, create this loop as part of the wrapping process. For drilled pendants (stones with holes), pass wire through the hole and form a loop above.
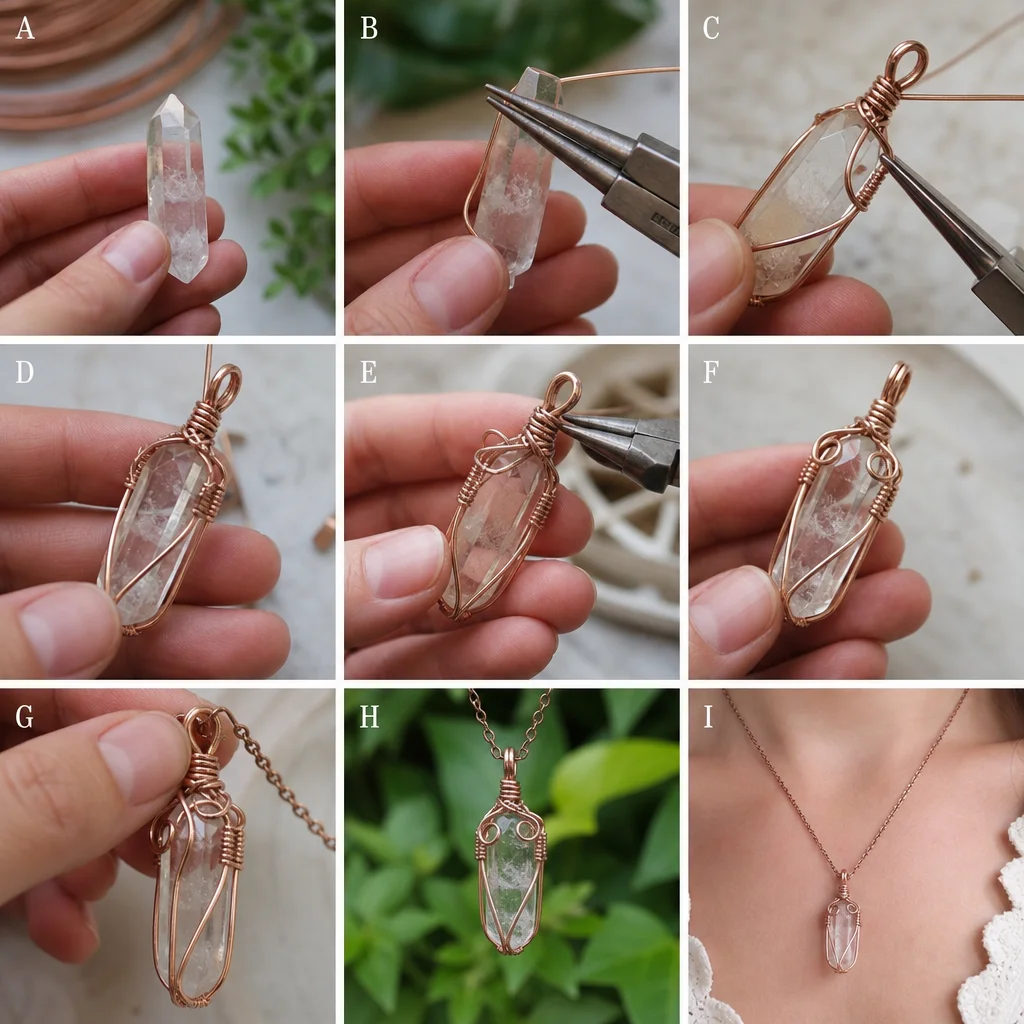
Wrapped bail: Create a figure-eight bail by wrapping wire around the pendant's top and forming a separate loop for the chain. This is more secure than a simple loop and adds a decorative element. Use 22-gauge wire for wrapping and 18-gauge for the structural loop.
Decorative bail: Use coiling, weaving, or spiraling techniques to create an ornate bail that becomes a design feature rather than just a functional connector. This works well with focal pendants that deserve an elaborate presentation.
Clasp Options
Lobster clasp: The most common modern clasp. Secure, easy to use one-handed, and available in every metal. Buy them pre-made — making your own lobster clasp is possible but not cost-effective for most projects.
T-toggle clasp: A T-shaped bar that fits through a circular loop. More decorative than lobster clasps and popular in artisan jewelry. Can be wire-wrapped for a custom look.
Hook-and-eye clasp: The simplest handmade clasp. Forge a hook from 18-gauge wire and create a loop catch on the opposite end. Slightly less secure than lobster clasps but adds a handmade aesthetic.
Standard Necklace Lengths
- 14 inches: Collar — sits high on the neck, typically for chokers
- 16 inches: Choker — sits at the base of the throat
- 18 inches: Princess — most versatile length, sits at the collarbone
- 20 inches: Matinee — falls to the upper chest
- 24 inches: Opera — falls to the mid-chest
- 30+ inches: Rope — long enough to double or knot
Measure your intended length by wrapping a piece of string around your neck at the desired position, then measure the string. Add 2 inches to the measured length for the clasp overlap.
FAQ
How do I prevent wire links from opening during wear?
Always close links by pressing the cut ends past each other and squeezing them firmly together with chain-nose pliers. The metal should "spring" slightly past the closed position — this tension keeps the link shut. If a link keeps opening, work-harden it further by tapping it gently with a nylon hammer against a hard surface. Work-hardening makes the metal stiffer and helps it hold its shape. For heavy pendants, use wrapped loops instead of simple loops — the wire wrapping physically prevents the link from opening.
Can I mix different metal colors in one chain?
Absolutely, and it's one of the hottest trends in artisan jewelry right now. Copper and silver create a warm-cool contrast that's visually striking. Brass and copper together are subtler but add depth. The key is proportion — choose one dominant metal (60-70% of the chain) and use the second metal for accents (30-40%). Random mixing looks chaotic; intentional mixing with a pattern or section looks designed.
How do I know if my chain is strong enough for my pendant?
The test is simple: hold the chain at both ends and let the pendant hang. If the chain stretches visibly or the links distort, the wire is too thin or the links are too open. For pendants over 15 grams, use 18-gauge wire minimum. For very heavy pendants (30+ grams), consider using a purchased commercial chain for the main structure and adding wire-wrapped sections as decorative accents.
Frequently Asked Questions
What gauge wire is best for making a durable necklace chain?
For crafting a durable necklace chain for heavy natural crystals, 16 to 18-gauge wire is ideal for structural links, while 20 to 24-gauge works best for wrapping. Thicker wires provide the strength needed to hold pendants without bending, ensuring your handcrafted jewelry lasts a lifetime. Always remember to work-harden your wire before assembling to maximize the structural integrity of your piece.
How do I securely attach a heavy crystal pendant to my handmade chain?
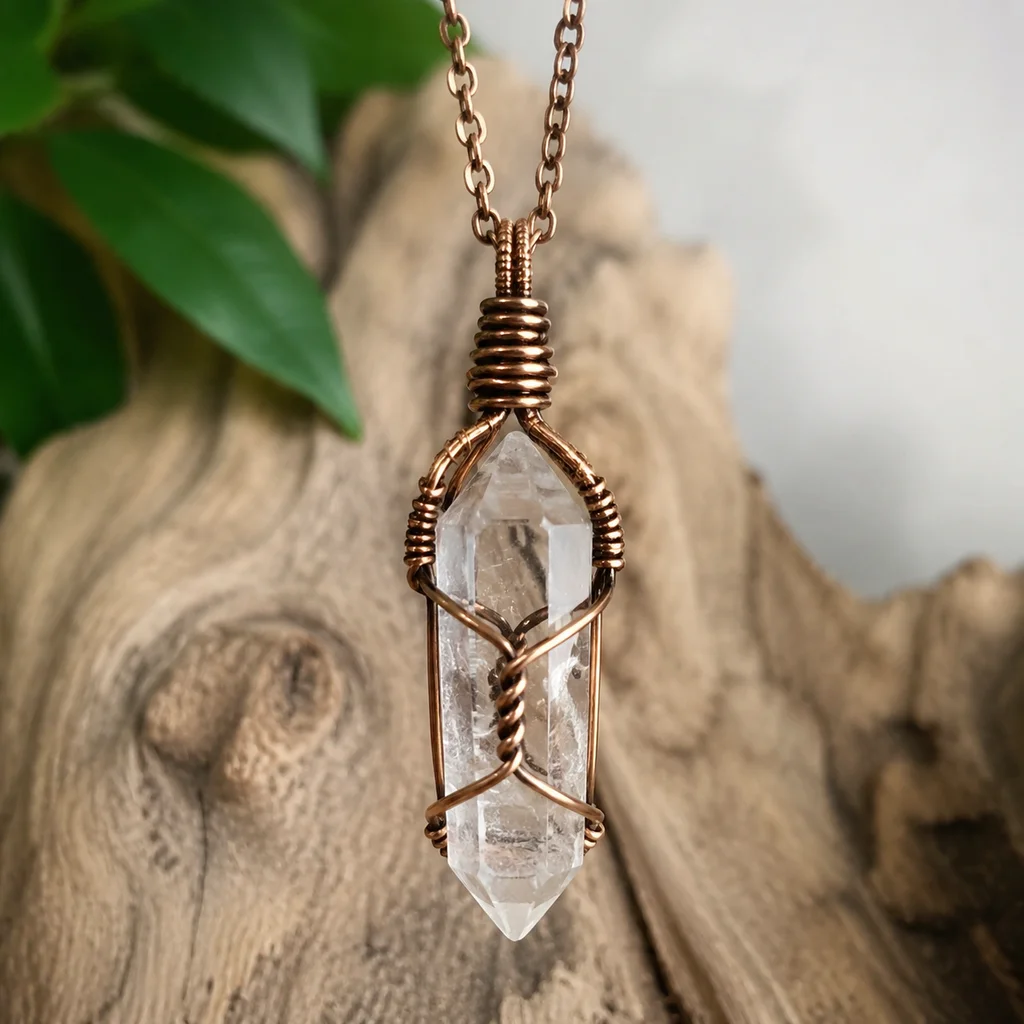
To securely attach a heavy crystal pendant to a wire wrapped chain, creating a sturdy woven bail is your best option. By using a thicker gauge base wire and weaving a finer gauge wire around it, you distribute the weight evenly. This artisan technique ensures the focal point of your necklace remains perfectly balanced and protected, preventing undue stress on the delicate chain links above.

Comments