Wire Wrapped Crystal Pendant Necklace: Step-b...
May 29, 2026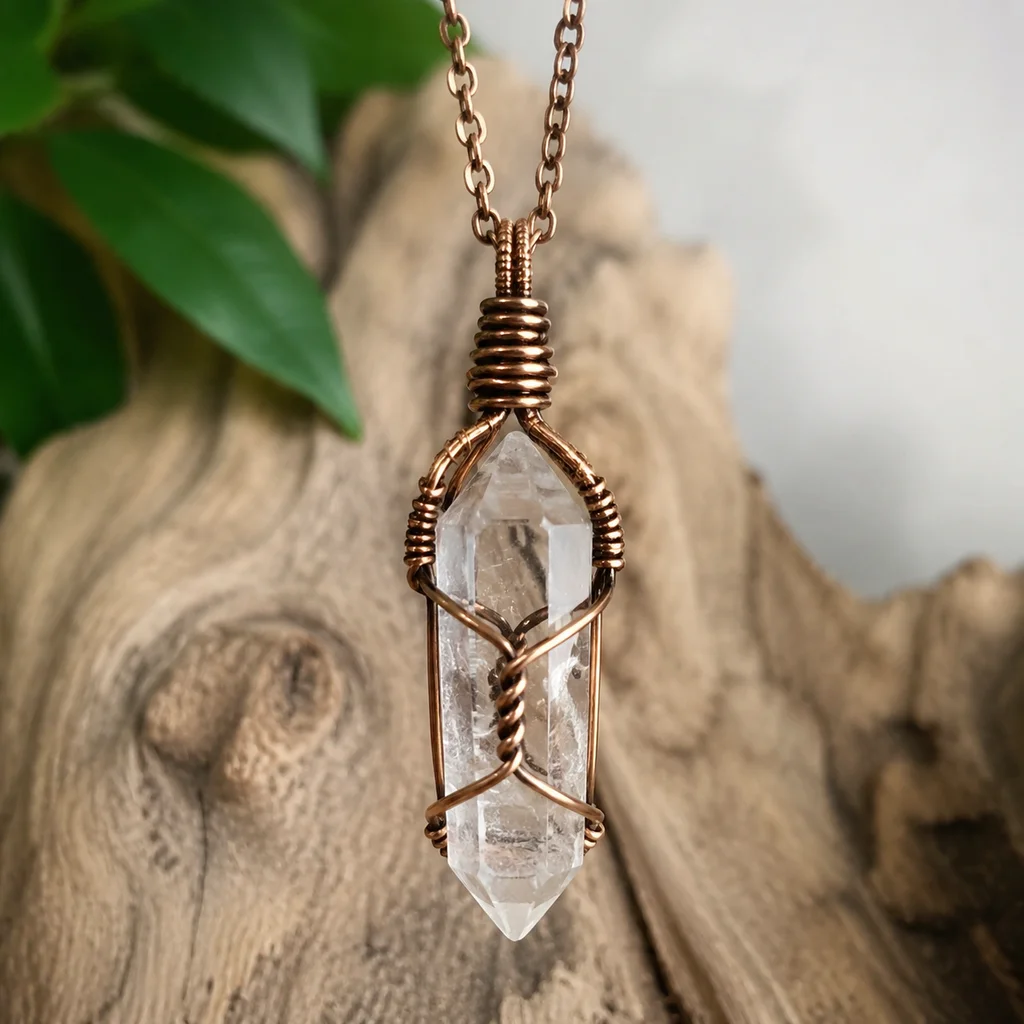
Making a wire-wrapped crystal pendant is one of the most satisfying jewelry projects you can do at your kitchen table. The materials are cheap, the tools are minimal, and the results look professional enough to sell. I have made hundreds of these — for gifts, for markets, and for my own collection — and the process below is what works most reliably.
Materials and Costs
Before starting, here is what you need and what it will cost:
| Item | Details | Unit Cost ||------|---------|-----------|| Copper wire (22 gauge) | 10-yard spool, dead-soft | $3-5 || Copper wire (20 gauge) | 10-yard spool, half-hard | $3-5 || Copper wire (28 gauge) | 15-yard spool, dead-soft | $2-4 || Crystal point or tumbled stone | Any stone, 1-2 inches long | $1-3 || Necklace cord or chain | Leather cord or ball chain, 18 inches | $1-3 || Total per pendant | | $3-8 |
For comparison: Similar pendants on Etsy sell for $25-50. If you buy materials in bulk (100-foot wire spools, stone lots from a lapidary), your per-unit cost drops to under $2.
Tools (One-Time Purchase)
| Tool | Use | Cost ||------|-----|------|| Round-nose pliers | Loops and curves | $8-12 || Flat-nose pliers | Grip and flatten | $6-10 || Wire cutters (flush cut) | Clean cuts | $6-10 || Ruler or measuring tape | Wire length | $2 || Nylon-jaw pliers (optional) | Straighten bent wire | $8 |
You do not need the nylon-jaw pliers, but they save a lot of frustration when you accidentally bend your wire in the wrong place and need to straighten it without leaving marks.
Choosing Your Crystal
Best shapes for beginners: Crystal points (natural or polished), roughly 1.5-2 inches long. The pointed shape gives you an obvious top and bottom, which makes wrapping intuitive.
Tumbled stones work too but are harder to wrap because of their smooth, rounded surfaces. If using tumbled stones, choose larger ones (1+ inch) so you have more surface area to grip with wire.
Rough/raw crystals create the most dramatic pendants but require more wire and more patience to accommodate irregular shapes.
Stone hardness does not matter much here — the wire holds the stone, it does not grind against it. Even soft stones like fluorite work fine in pendants.
Style 1: The Simple Loop Wrap (5 Minutes)
This is the wrap you learn first. It holds the stone securely with minimal wire and looks clean and modern.
Step 1: Measure the Wire
Cut 12 inches of 20-gauge wire using your flush cutters. This is more than you need, but excess wire is better than coming up short.
Step 2: Create the Base Loop
Using round-nose pliers, grip the wire 3 inches from one end. Bend the short end around the plier jaw to form a small loop (about 4mm diameter). This loop will hold your necklace cord or chain.
Wrap the short end around the long wire twice below the loop to secure it. Trim the excess short end with flush cutters and use flat-nose pliers to press the cut end flat against the wrap.
Step 3: Position the Stone
Hold the crystal point vertically with the point facing down. Place the loop at the top. The long wire should run straight down along the front of the stone.
Step 4: Spiral Wrap
Starting from the top, spiral the long wire down and around the stone. Make three to four tight wraps, each one slightly lower than the last, creating a descending spiral. Keep the wraps snug against the stone — tension is what holds everything in place.
Step 5: Secure the Bottom
When you reach the bottom of the stone, wrap the wire tightly around the base (the widest part) two times. Then bend the remaining wire back up along the back of the stone.
Step 6: Finish
Wrap the remaining wire around the top section (just below your loop) three times. Trim the excess and press the end flat. Thread your necklace cord through the top loop. Done.
This style works best with elongated stones — crystal points, wand-shaped rough, or long tumbled stones like lepidolite or aquamarine.
Style 2: The Cage Wrap (30 Minutes)
The cage wrap fully encloses the stone in a decorative wire net. It is more complex but works with any stone shape, including round tumbled stones.
Step 1: Measure and Cut
Cut 24 inches of 20-gauge wire and 36 inches of 28-gauge wire. The thick wire forms the structural frame. The thin wire binds everything together.
Step 2: Frame — The Backbone
Fold the 20-gauge wire in half to find the center point. At the center, use round-nose pliers to form a small loop (this is your pendant bail — where the chain goes). Twist the two wire ends together below the loop for about half an inch.
Step 3: Open the Frame
Separate the two wire ends and curve them outward to form a U-shape that cradles your stone. The distance between the wires should be roughly the width of your stone. Place the stone between the wires to test the fit.
Step 4: Weave the Cage
Starting from the top (just below the twisted section), begin weaving the 28-gauge wire back and forth between the two frame wires. Make 4-5 wraps around each frame wire before crossing to the other side. This creates a ladder-like pattern.
Continue weaving downward, pressing the stone gently into the frame to maintain its shape. The stone should sit snugly in the wire cage with no wobble.
Step 5: Close the Bottom
When you reach the bottom of the stone, bring the two frame wires together. Wrap them tightly with the thin wire for about half an inch. Then spiral one frame wire back up along the outside of the cage for decoration, and wrap the other frame wire around the base of the bail to secure everything.
Step 6: Detail Work
Use any remaining thin wire to add decorative spirals or coils around the frame. This is where you can get creative — add small loops at the bottom, wrap a coil around the bail, or create a spiral flourish on one side.
Trim all wire ends and press flat with flat-nose pliers. Check for any sharp points by running your finger over the entire pendant.
Style 3: The Double-Loop Statement Pendant (60 Minutes)
This is the showpiece — two interlocking wire loops that frame the stone like a picture frame. It takes longer but produces a pendant that looks like it came from a boutique.
Step 1: Measure Generously
Cut 30 inches of 20-gauge wire and 48 inches of 28-gauge wire.
Step 2: Create Two Loops
Form two large decorative loops (about 15mm each) on either side of the pendant bail using round-nose pliers. The loops should be symmetrical and face the same direction.
Step 3: Wrap the Stone
Position the stone between the two loops. Use the thin wire to bind the stone to the frame, weaving through the loops and around the stone in a decorative pattern. The key is to create enough contact points (at least 6-8 wraps) that the stone cannot shift.
Step 4: Add Bail and Chain
Form a wrapped loop at the top of the pendant for the chain. Thread onto your necklace cord or chain.
Choosing the Right Chain or Cord
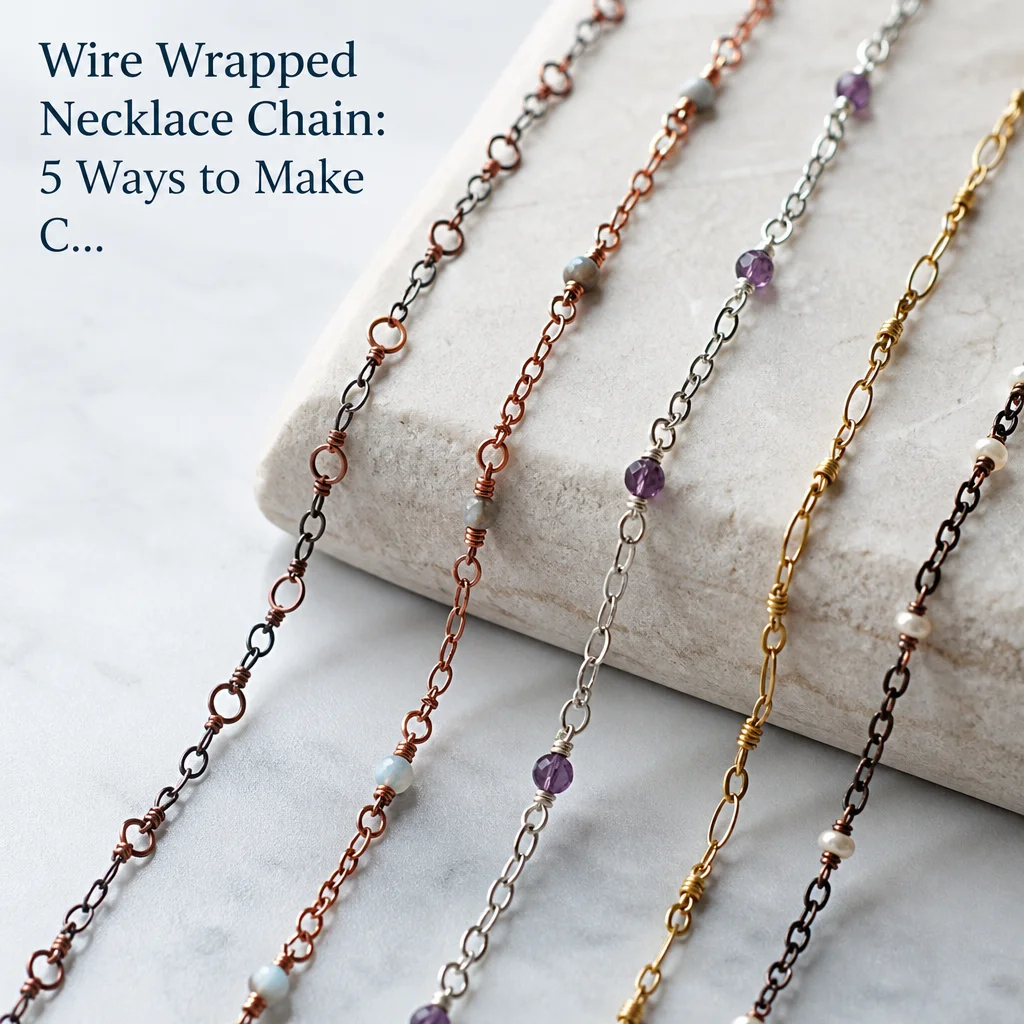
| Cord Type | Best For | Look ||-----------|----------|------|| Leather cord (2mm) | Casual everyday wear | Bohemian || Ball chain (silver) | Copper or silver wire pendants | Modern || Suede cord | Larger pendants | Rustic || Satellite chain (gold-fill) | Fine or delicate pendants | Elegant || Wax cord | Waterproof durability | Sporty |
Common Mistakes and Fixes
Wire keeps slipping off the stone: You are not maintaining enough tension. Hold the wire taut against the stone with your thumbnail while making each wrap. The wire should slightly indent into the stone surface (not enough to damage it, but enough to grip).
Wraps are uneven and messy: This is a tension and spacing issue. Count your wraps — the same number on each side creates symmetry. Practice on a dowel or pen before using your good stones.
The pendant tilts forward when worn: Your bail (top loop) is too far forward. Position it directly above the stone's center of gravity. For heavier stones, use a larger bail loop and a thicker chain.
Wire ends catch on clothing: You did not press the cut ends flat enough. Use flat-nose pliers to crimp every wire end flush against the wrap. Run a fingernail over each end — if it catches your nail, it will catch on fabric.
Upgrading Your Materials
Once you are comfortable with copper wire, you can upgrade to:
- Sterling silver wire ($12-20 per spool) — higher-end look, sells for more
- Gold-fill wire ($20-35 per spool) — professional quality
- Brass wire ($5-8 per spool) — looks like gold at a fraction of the price
- Colored craft wire ($3-5 per spool) — fun for experimenting, but softer and less durable
Style 2: The Classic Briolette Wrap (15 Minutes)
The classic briolette wrap adds a touch of elegance and sophistication to your pendant. It's a bit more intricate, but it's well worth the effort for the stunning results.
Step 1: Cut and Prepare the Wire
Cut 12 inches of 20-gauge wire for this style. The same cutting and base loop steps as in the Simple Loop Wrap apply here.
Step 2: Create the Briolette Shape
Using round-nose pliers, create a loop about 2 inches from the end of the wire. Next, twist the wire into a spiral shape around a mandrel (a small dowel or pencil) until it reaches the base loop. Once you have the desired shape, remove the wire from the mandrel and adjust it into a rounded teardrop form.
Step 3: Attach the Crystal
Position the crystal at the base of the briolette and secure it with a tight wrap of wire around the top of the briolette. Wrap the wire around the bottom of the briolette to secure the stone in place, and then trim any excess wire.
Step 4: Attach the Necklace Cord or Chain
Loop the remaining wire back into a small loop to attach the necklace cord or chain. Ensure it's secure and tuck the end under the base loop for a clean finish.
Styling Tips for Wire Wrapped Crystal Pendants
- Complement Your Outfit: Choose crystal colors that complement your wardrobe. For instance, wear a purple crystal pendant with a purple top for a cohesive look.
- Layer Up: Wear multiple pendants at once for a bold statement. Mix and match different styles and sizes for a unique look.
- Accessories Match: Coordinate your crystal pendant with other accessories like bracelets or rings for a cohesive look.
- Seasonal Flair: Swap out your pendants with the seasons. Warmer tones like amber and citrine work well in autumn, while lighter colors like aquamarine and light blue are perfect for spring.
- Personalize: Add personal touches by choosing crystals that resonate with you, like your birthstone or a stone you're drawn to for its properties.
Care Instructions for Wire Wrapped Crystal Pendants
Proper care ensures your wire-wrapped crystal pendant remains beautiful for years to come.
- Keep It Dry: Avoid getting your pendant wet, as water can cause the wire to tarnish and the crystal to become dull.
- Avoid Chemicals: Keep your pendant away from chemicals, including perfume, hairspray, and household cleaners.
- Handle with Care: Treat your pendant with care, as the wire can bend and the crystal can chip if handled roughly.
- Regular Cleaning: Use a soft cloth to wipe away any dust or dirt. For a deeper clean, use a damp cloth and mild soap, then gently pat dry.
- Professional Check-ups: Have your pendant checked by a professional every year to ensure the wire is secure and the crystal is in good condition.
Pairing Suggestions for Wire Wrapped Crystal Pendants
| Crystal | Pairing Suggestion |
|---|---|
| Amber | Amber with dark gemstones like black onyx or dark green malachite for a grounding effect. |
| Quartz | Quartz with clear crystals like rose quartz or citrine for a harmonious look. |
| Emerald | Emerald with white metals and diamonds for a classic, timeless look. |
| Aquamarine | Aquamarine with silver and gold for a refreshing and energetic vibe. |
| Lapis Lazuli | Lapis Lazuli with silver and other dark stones for a mystical and enchanting look. |
Buyer's Guide: What to Look for When Buying Wire Wrapped Crystal Pendants
- Quality of Wire: Look for clean, well-finished wraps without gaps or sharp edges.
- Stone Selection: Choose high-quality stones that are well-polished and have minimal imperfections.
- Design and Style: Pick a design that speaks to you, whether it's simple and elegant or intricate and bold.
- Comfort: Ensure the pendant is comfortable to wear, with the right length and weight.
- Price: Compare prices, but also consider the quality and craftsmanship. A well-made pendant may be worth its price.
FAQ
How do I choose the right gauge of wire for my crystal pendant?
How do I choose the right gauge of wire for my crystal pendant?
For beginners, 20-gauge wire is a good starting point. It's versatile enough for both simple and more intricate designs.
Can I use any type of crystal for wire wrapping?
Can I use any type of crystal for wire wrapping?
Yes, you can use a variety of crystals, but pointed crystals like crystal points and tumbled stones work best for beginners due to their shape and size.
How do I prevent my wire-wrapped crystal pendant from tarnishing?
How do I prevent my wire-wrapped crystal pendant from tarnishing?
Avoid getting the pendant wet and keep it away from chemicals. Wipe it with a soft cloth to remove any dust, and consider using a tarnish-resistant finish on the wire if desired.
Can I wear my wire-wrapped crystal pendant in the shower or pool?
Can I wear my wire-wrapped crystal pendant in the shower or pool?
No, it's best to avoid getting your pendant wet. Water can cause the wire to tarnish and the crystal to become dull or damaged.
How long does it take to make a wire-wrapped crystal pendant?
How long does it take to make a wire-wrapped crystal pendant?
The time it takes can vary based on the design complexity. Simple loops can be made in 5-10 minutes, while more intricate designs like briolettes may take 15-30 minutes.
Comments