Wire Wrapping Tumbled Stones: How to Wrap Any...
May 29, 2026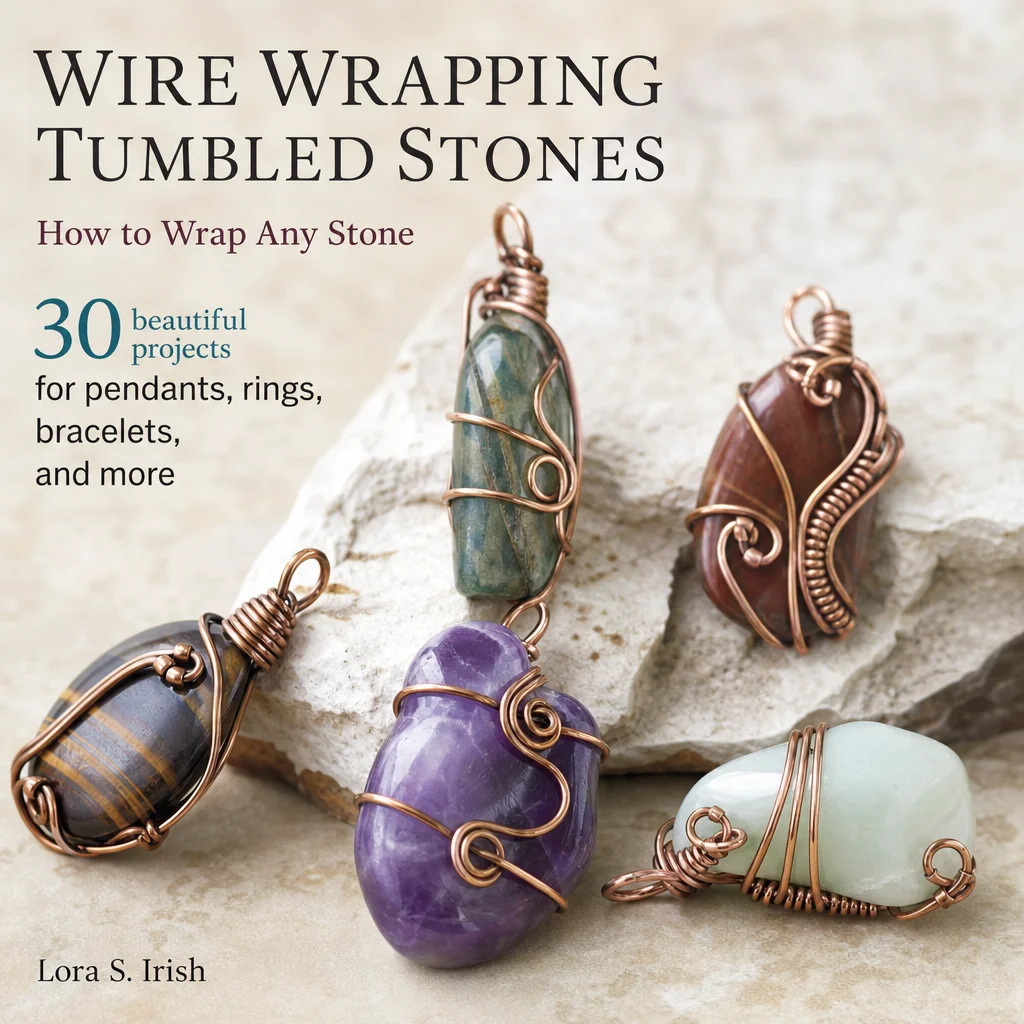
Tumbled stones are the bread and butter of crystal collecting. They are affordable, pocket-friendly, and come in every mineral imaginable. But when you try to wrap one in wire, you quickly discover the problem: they are smooth, round-ish, and have no natural grooves or edges for the wire to grip. Unlike rough crystals with points and facets, tumbled stones want to slide right out of whatever you wrap around them.
That is exactly why learning to wrap tumbled stones is the best skill test for wire wrapping. If you can wrap a smooth tumbled stone securely, you can wrap anything. Here are three techniques that cover every situation, from a $3 rose quartz to a $50 labradorite freeform.
Materials You Need
Wire
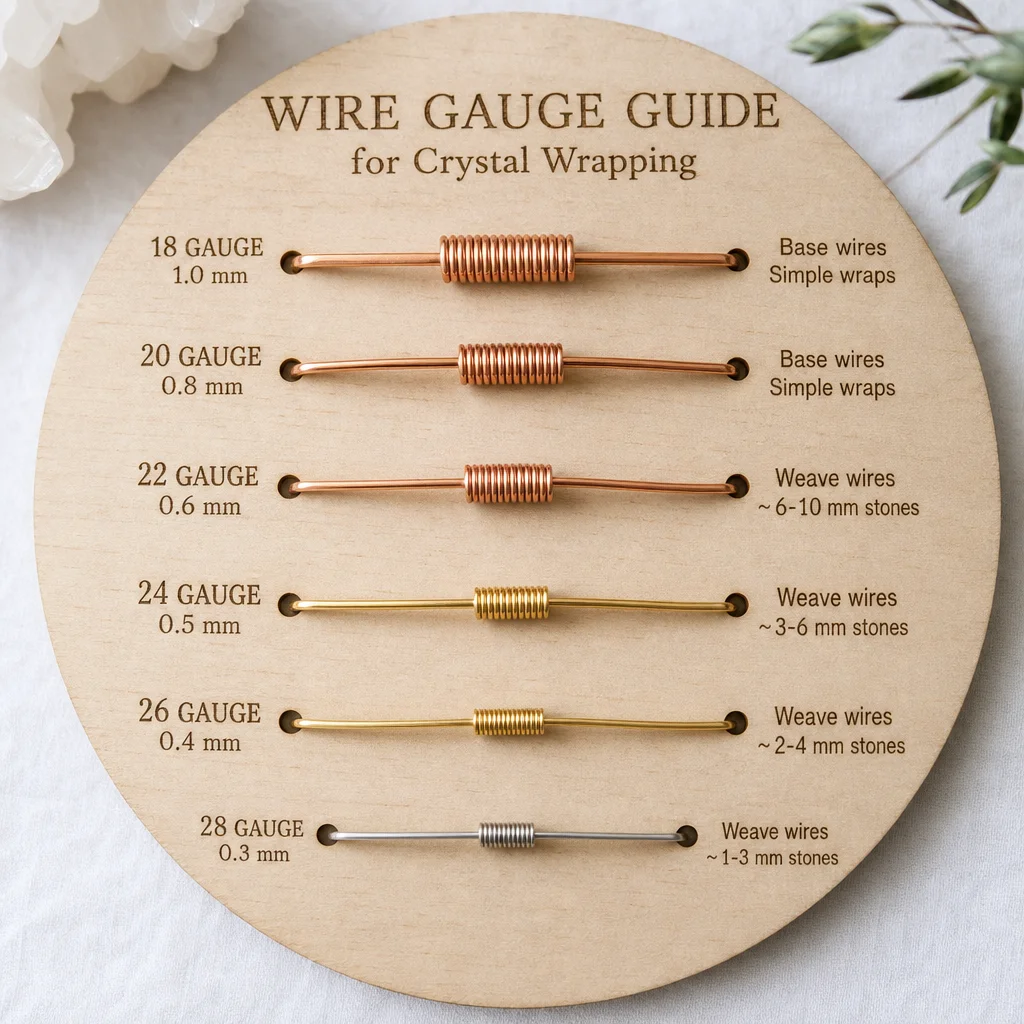
You will work with three gauges:
- 20-gauge (0.8mm): Your structural wire. This forms the frame that holds the stone. Use dead-soft or half-hard — dead-soft is easier to bend for beginners, half-hard holds its shape better.
- 22-gauge (0.6mm): Intermediate wire. Good for wrapping details and securing joints. Half-hard preferred.
- 28-gauge (0.3mm): Fine weaving wire. Used for decorative wraps and holding structural wires together. Must be dead-soft.
- Copper: The best material for learning. Cheap ($3-5 for 30 feet), forgiving, and develops a beautiful patina over time. If you make a mistake, you cut it and start over without financial pain.
- Sterling silver: For finished pieces you want to sell or gift. More expensive ($15-25 for 10 feet of 20ga) but hypoallergenic and valuable. Practice in copper first, then repeat in silver.
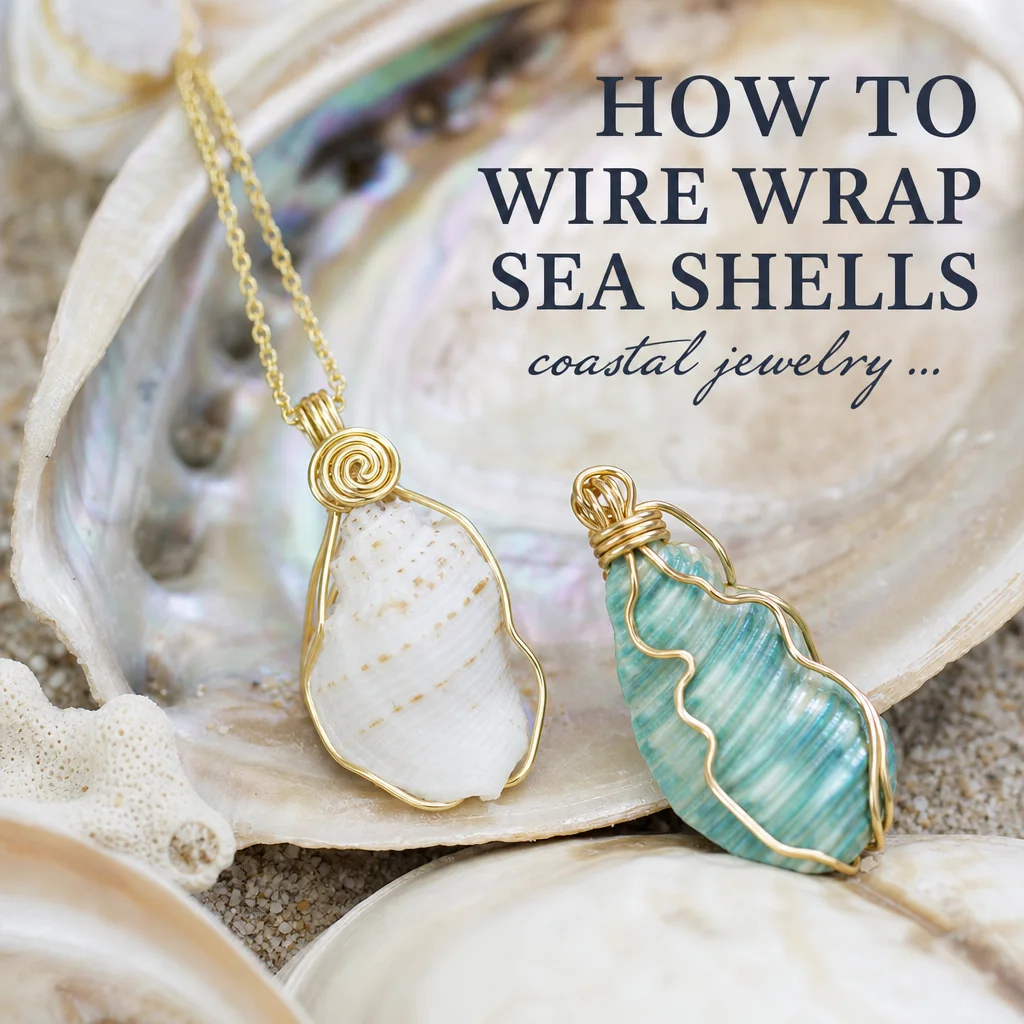
- Gold-filled or plated: For a gold look without solid gold prices. Be gentle — plating can scratch during aggressive wrapping.
Tools
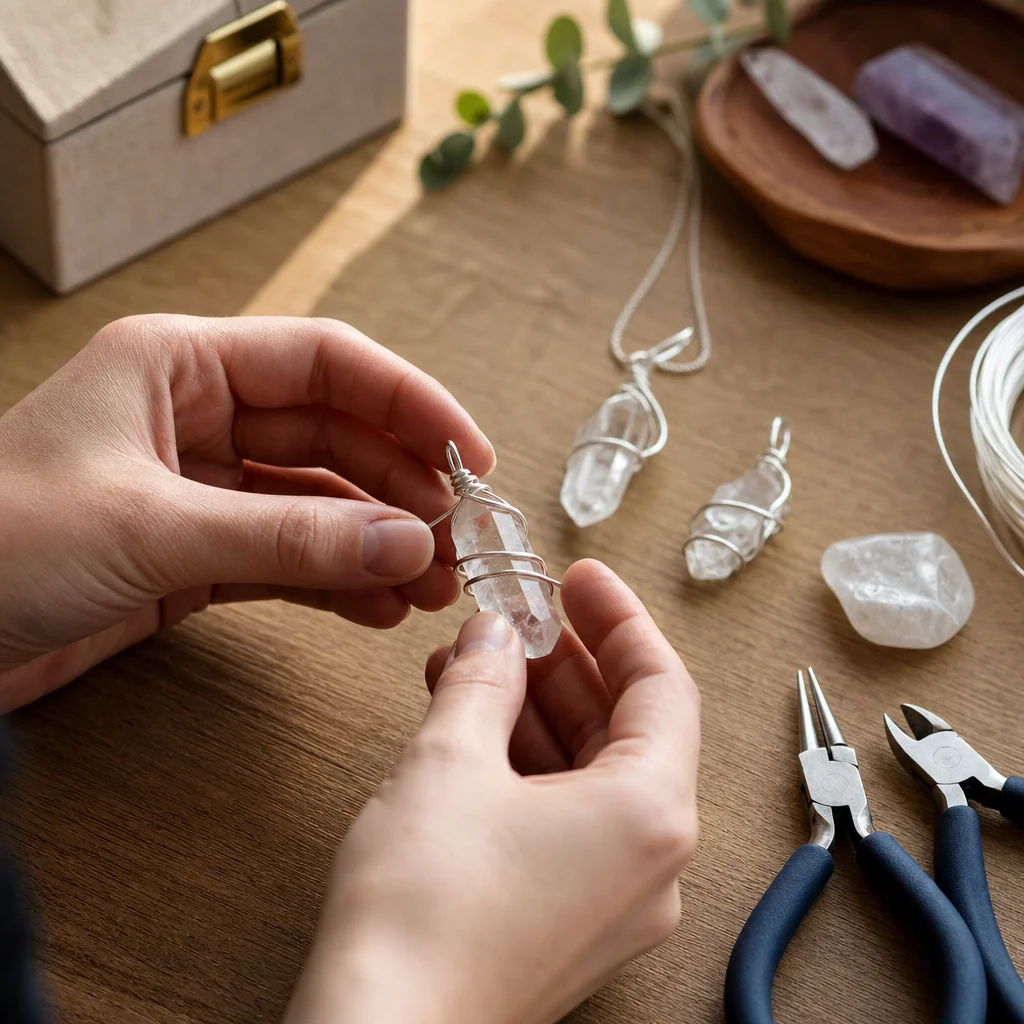
You need exactly five tools:
Total tool cost for a beginner set: $15-25 on Amazon or at any craft store.
The Stone
Any tumbled stone works for practice. Start with stones that are roughly 20-30mm across — small enough to be manageable, large enough to see what you are doing. Oval and teardrop shapes are easier than perfectly round ones.
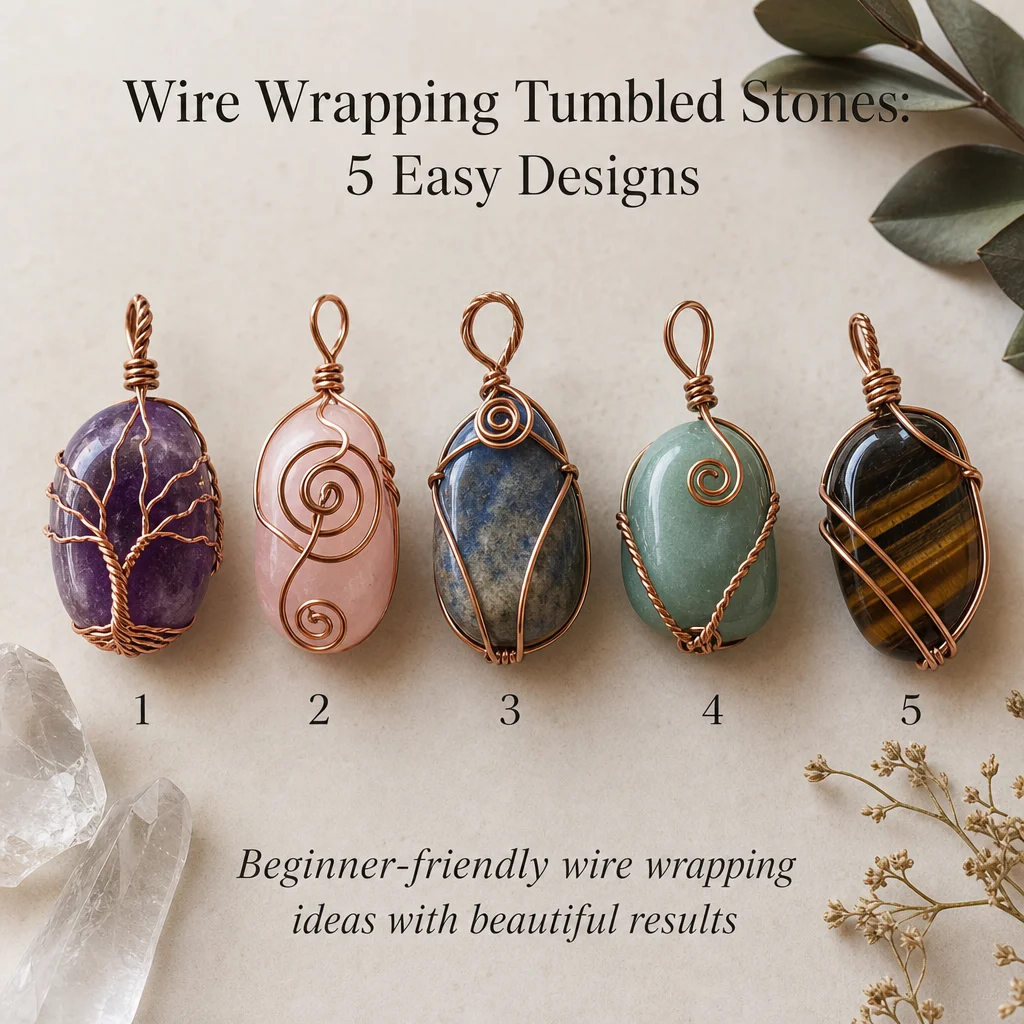
Technique 1: Cage Wrap (Beginner)
The cage wrap is the simplest method and the one most people learn first. It works for any shape because the cage conforms to the stone.
Cut wire: Cut three pieces of 20-gauge wire, each about 8 inches long.
Step 1 — Create the bundle: Hold all three wires together at their midpoints. Using a piece of 28-gauge weaving wire, wrap the bundle tightly at the center point — about 6-8 tight wraps. This creates a "gathered" point where the three wires fan out from a single node.
Step 2 — Fan the wires: Spread the six wire ends (three wires, two ends each) into a rough star pattern. Think of it like a basket — the wires will curve around the stone from different angles.
Step 3 — Place the stone: Set the stone on top of the wrapped node. Curve the wire ends up and around the stone from different directions. The goal is to have wires crossing the stone's surface at multiple angles so there are no large gaps.
Step 4 — Secure the top: Gather the wire ends above the stone. Twist them together or wrap them with 28-gauge wire to create a bail (the loop that the chain goes through).
Step 5 — Shape and tighten: Use your chain-nose pliers to gently push the cage wires closer to the stone. The cage should be snug enough that the stone does not rattle when shaken, but not so tight that the wires dig into the surface.
Step 6 — Finish the ends: Curl the wire ends into small spirals or tuck them flat against the cage. Any sharp end that could catch on fabric must be tucked.
Time: 15-20 minutes for your first attempt. 8-10 minutes once you have made a few.
Technique 2: Bezel Wrap (Intermediate)
The bezel wrap creates a structured frame around the stone's perimeter. It looks more polished than a cage wrap but requires more precision.
Cut wire: Cut two pieces of 20-gauge wire, each about 6 inches. You will also need 28-gauge weaving wire.
Step 1 — Shape the frame: Take one piece of 20-gauge wire and bend it around the widest part of your stone. Use your round-nose pliers to make clean bends at the stone's edges. The wire should trace the stone's outline like a picture frame, sitting about 1mm proud of the stone's surface.
Step 2 — Create the second frame bar: Take the second 20-gauge wire and bend it into a matching shape, slightly smaller than the first. This will sit on the back of the stone.
Step 3 — Connect the frames: Place the stone between the two frame pieces. Using 28-gauge weaving wire, connect the top edges of both frames by wrapping them together. Start at one end of the stone and weave along the top edge, catching both frame wires with each wrap.
Step 4 — Weave the bottom: Continue weaving along the bottom edge. The stone is now sandwiched between the two frame wires, held in place by the woven connections.
Step 5 — Create the bail: At the top of the pendant, bring the remaining wire ends together and form a wrapped loop. Use your round-nose pliers to create a clean circle, then wrap the tail wire around the base of the loop 3-4 times.
Step 6 — Tighten and finish: Check that the stone is secure. If there is any play, add a few more wraps of 28-gauge wire at the tension points. Tuck all wire ends.
Time: 25-35 minutes for beginners. 15-20 minutes with practice.
Technique 3: Prong Wrap (Advanced)
The prong wrap uses individual wire prongs to hold the stone at specific points, similar to how a gemstone ring setting works. This method is best for stones that have some natural variation in shape — it looks intentional and architectural.
Cut wire: Cut four pieces of 20-gauge wire, each about 5 inches.
Step 1 — Determine prong positions: Look at your stone and identify four points where prongs can grip. For an oval stone, use roughly the 2, 4, 8, and 10 o'clock positions. For irregular stones, find four natural high points where the wire can catch.
Step 2 — Create the base structure: Take two wires and cross them in the center. Wrap the crossing point with 28-gauge wire (6-8 wraps). This creates an X-shaped base.
Step 3 — Position the stone: Set the stone on the crossing point. Bend the four wire ends up along the stone's surface toward the prong positions you identified.
Step 4 — Form the prongs: At each prong position, use your round-nose pliers to bend the wire inward, creating a small hook or shelf that the stone's edge sits against. The prong should grip the stone with just enough pressure to hold it — too tight and you risk scratching softer stones.
Step 5 — Bring prongs to the top: Continue each prong wire to the top of the stone. Gather them and create a bail as in the bezel wrap.
Step 6 — Add decorative wraps: Use 28-gauge wire to add decorative wraps along the prong wires. This is where you can get creative — spiral wraps, woven patterns, or simple coiled sections between prongs.
Time: 40-60 minutes. This is not a quick technique, but the results look professional.
Troubleshooting Common Problems
The stone keeps sliding out: The cage is too loose or the prongs are not gripping at the right points. For cage wraps, add one more structural wire (go from three to four). For prong wraps, adjust the prong angles so they press against the stone's surface, not just hover near it.
The wire scratches the stone: You are using too much force when tightening. Softer stones (fluorite at hardness 4, calcite at 3) will scratch more easily than hard stones (quartz at 7). Use nylon-jaw pliers to press wire against soft stones instead of metal-jaw pliers.
The pendant looks messy: Most beginner messiness comes from two issues: wire ends that are not properly tucked, and uneven wraps. Cut your wire ends short (2-3mm) and use chain-nose pliers to press them flat. For more even wraps, count your rotations — aim for the same number of wraps at each joint.
The bail is too small for my chain: The bail loop should be at least 5mm in diameter for a standard chain. Use the wider part of your round-nose pliers (closer to the handle) to form larger loops.
I keep running out of wire: Cut longer pieces than you think you need. For a 25mm stone, each structural wire should be at least 7-8 inches. Excess wire can always be trimmed; insufficient wire means starting over.
Cost Analysis
Making your own wire-wrapped tumbled stone pendant costs remarkably little:
- Tumbled stone: $1-5
- Copper wire per pendant: $0.50-1.00
- Total material cost: $1.50-6.00
From Practice to Products
Once you can consistently produce clean wraps in copper, consider these next steps:
- Switch to sterling silver for gift-quality pieces
- Learn to combine techniques (cage wrap with prong accents)
- Add beads or small charms to the bail area
- Create matched sets (pendant + earrings using the same stone type)
- Take clear photos and list pieces on Etsy or at local craft shows
Crystals are not a substitute for medical treatment. The crafting techniques described in this article are for educational and creative purposes.
Frequently Asked Questions
What type of wire is best for wrapping tumbled stones?
Copper wire is ideal for beginners due to its affordability and malleability. For finished jewelry, sterling silver or gold-filled wire offers durability and a premium look. Most wire wrappers use multiple gauges: 20-22 gauge for structural frames and 26-28 gauge for weaving and decorative details. Always choose dead-soft wire for easier bending, then work-harden your finished piece for strength.
How long does it take to learn wire wrapping?
Most beginners can complete a simple cage wrap within their first few hours of practice. Becoming comfortable with intermediate techniques like bezel wraps typically takes two to three weeks of regular practice. Advanced prong wraps and intricate designs may take several months to master. The key is starting with inexpensive copper wire and practicing fundamental techniques before moving to precious metals.
Can you wire wrap stones without holes?
Yes, wire wrapping is actually perfect for tumbled stones without holes. Unlike beading which requires drilled holes, wire wrapping secures stones using tension and structural wire frameworks. Techniques like cage wraps, bezel wraps, and prong wraps are specifically designed to hold undrilled cabochons and tumbled stones. This makes wire wrapping one of the most versatile jewelry-making methods for irregular natural crystals.
What gauge wire should beginners start with?
Beginners should start with 21 or 22 gauge dead-soft copper wire for creating structural frames. This gauge is sturdy enough to hold shape yet flexible enough to manipulate easily. Keep 26 gauge wire on hand for binding and weaving techniques. Avoid starting with wire thinner than 24 gauge for structural components, as it may bend too easily and fail to secure heavier tumbled stones properly.
How do I keep wire wrapped jewelry from tarnishing?
To prevent tarnishing, store your wire wrapped pieces in airtight bags or jewelry boxes away from moisture and humidity. Apply a thin coat of Renaissance wax or clear nail polish to copper wire to create a protective barrier. Remove jewelry before swimming, showering, or exercising. For sterling silver pieces, anti-tarnish strips in your storage container help maintain shine and prevent oxidation over time.
Comments