How to Make a Resin Crystal Geode Pendant: Lu...
June 5, 2026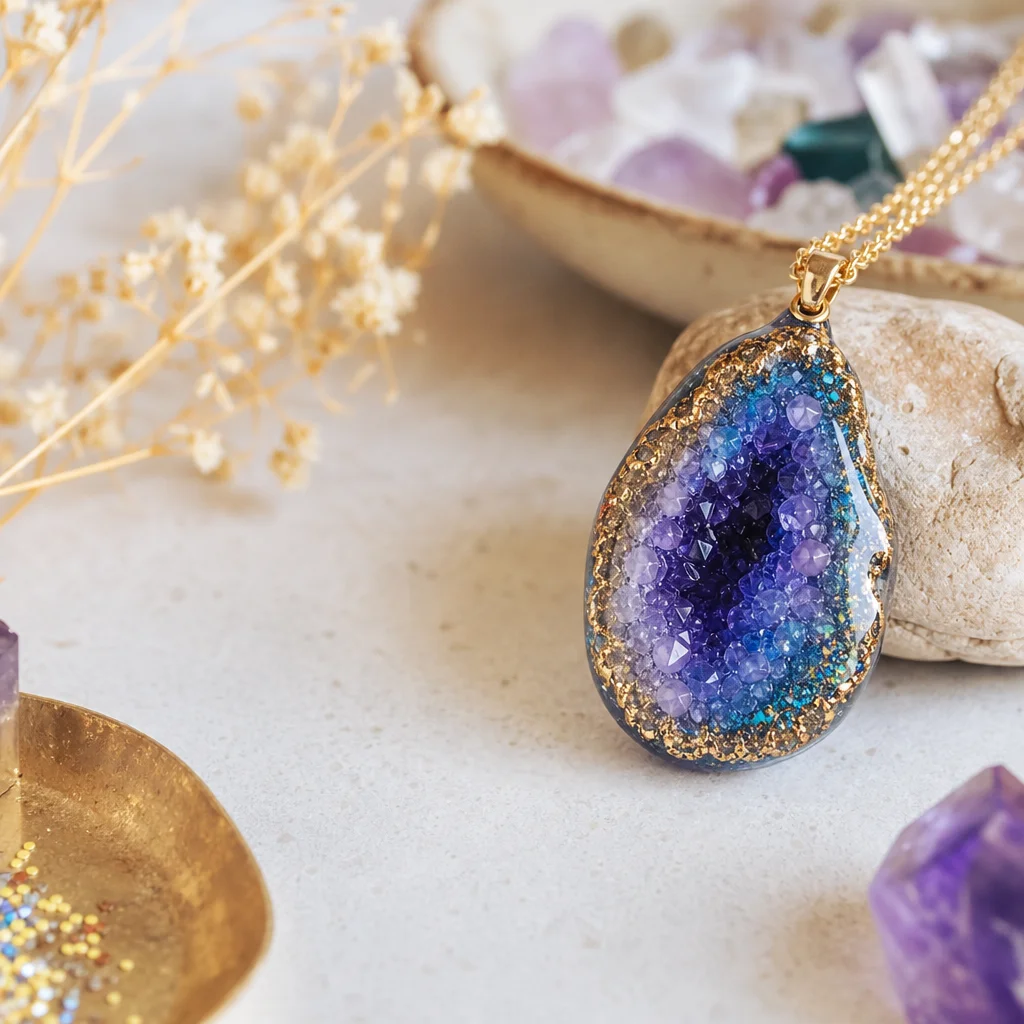
Choosing Your Resin: UV vs Epoxy
Hey there! So, you're thinking about making some cool resin jewelry, right? I've been there, and let me tell you, choosing the right resin can make all the difference. I've tried both UV and epoxy, and honestly, they're pretty different. What I love about UV resin is how quick it sets; you just pop it under a UV light, and voilà! It's done. But the thing is, it can be a bit tricky to get the bubbles out. Epoxy, on the other hand, takes longer to cure, but it's more forgiving when it comes to bubbles. Plus, it's got this cool, glossy finish that's just so satisfying to see. So, you'll have to decide what's more important to you: speed or that perfect finish. Just remember, there's no one-size-fits-all, so go with what you think you'll like best!
Oh man, this is a big deal! Choosing the right material is like picking the perfect outfit for a date – it affects everything else. You've got to get it right, it's a total game-changer for the whole project.
Epoxy resin (great for beginners!): It's this two-part magic combo of resin and hardener you mix up in those specific ratios, usually by volume or weight. It takes about 24-72 hours to set at room temp. The perks? You've got a longer window to work with (30-60 minutes), it's awesome for making those layered looks, it's super clear, and it's not too pricey. The downside? It takes a bit longer to cure and can be a bit picky about the temperature and humidity it's curing in.
UV resin (for quick projects): So, UV resin is this game-changer for quick projects. It cures super fast—like in minutes! Just zap it with a UV lamp or let it soak up some sun. Perfect for little pieces like pendants. What I love about it is you can cure each layer in like 2-5 minutes. But, the thing is, it's a bit pricier than other options, and you can't pour it too thick 'cause it'll end up looking cloudy. Also, it doesn't last as long on the shelf, and it can feel a little bit脆 once it's all done, more so than epoxy. Honestly, it's got its ups and downs.
Hey there! So, for those geode pendants, I've found that two-part epoxy resin is the way to go. It's got this cool layered pouring technique that UV resin just can't match, and the thing is, it gives you this really tough, long-lasting piece that's perfect for everyday wear.
Choosing Your Crystal or Geode Slice
So, the crystal slice is like the star of the pendant show. You've got a bunch of options that look awesome:
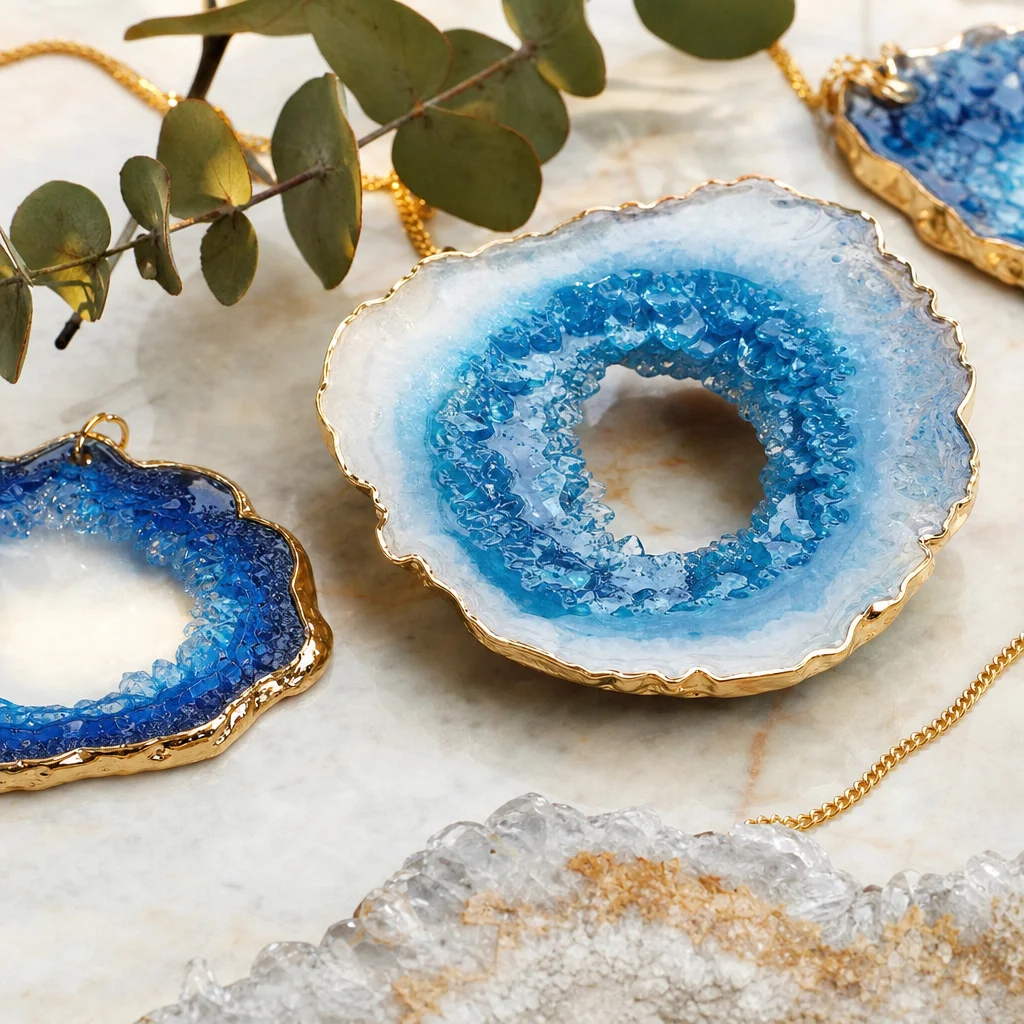
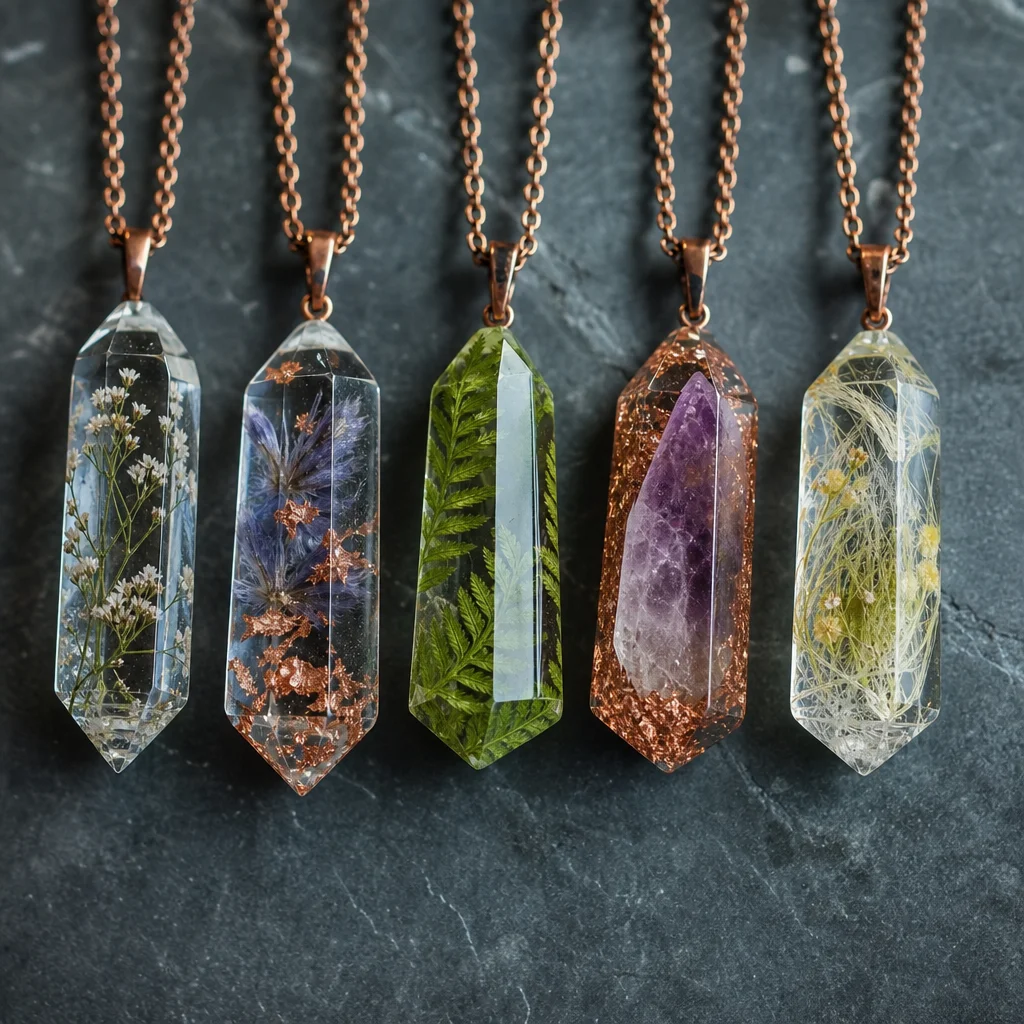
Oh, have you seen our agate slices? They're the big hit with geode pendants. These thin cuts are a dream because they show off all the pretty banding patterns and color changes, and sometimes you get a druzy in the middle – like a sparkling crystal center. We've got 'em in all kinds of natural colors, dyed versions, and even heat-treated ones. Super cool! And then there are geode fragments. They're like the broken bits of bigger geodes, showing off that internal crystal structure in an organic way. The shapes are a bit wonky but so unique. Next up, crystal points. They're these tiny quartz or amethyst points encased in resin. They really stand out and make a bold statement. Lastly, we've got those crystal chips and fragments. They're scattered throughout the resin, making this cool, speckled effect that's like a gemstone-pavé but way more affordable!
Hey, when it comes to pendants, size really counts. I always go for slices or specimens that can fit snugly in a 30-40mm circle or oval. You don't want something too big; it's just not comfortable to wear. And by the way, thinner slices—like 2-4mm—are a hit with me because they fit perfectly in resin without sticking out.
Getting ready to prep your crystal slice: Just give it a good rinse with some warm water and make sure it's totally dry. Take a peek at the cut edge and if there's any stuff that's loose or looking like it's going to crumble, give it a gentle wipe away. If the back's a bit rough, give it a quick seal with a tiny bit of clear nail polish or resin. It's like a barrier, so the resin doesn't sneak into all those tiny holes and make bubbles when you stick it in there.
Materials Checklist
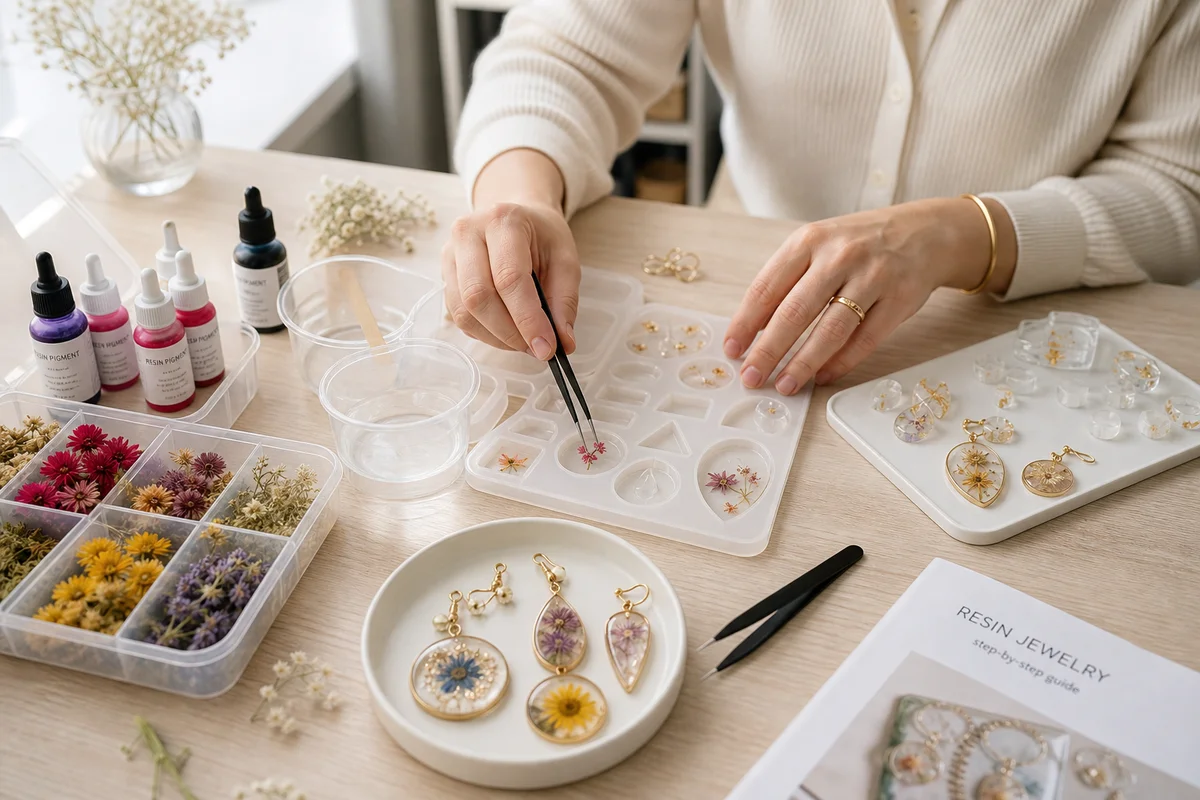
Alright, here's the list of everything you need to get started with making your own crystal jewelry. First off, you'll need some high-quality art-grade epoxy resin, the kind that's specifically for jewelry-making. Then, you've got to pick out a crystal or a geode slice that's 30-40mm big – it adds such a pop of sparkle! Next up, grab a silicone pendant mold, either round or oval, and make sure it's 40-50mm. And let's not forget the metallic pigment powders – I love the look of gold, silver, or even rose gold mica powder. If you want, you can also get some resin pigment for some color variation. And if you're feeling fancy, why not add some metallic leaf or flakes? They give it a whole different vibe. You'll need a bail, which is that little metal loop that connects your pendant to the chain. And of course, disposable mixing cups, stirring sticks – craft sticks or silicone stirrers work great – and toothpicks for those little details and bubble-busting. For bubble removal, a spray bottle of 91%+ isopropyl alcohol is a lifesaver. And let's talk about finishing – you'll want a few different grits of sandpaper (320, 600, 800, 1200, 2000 grit) and some polishing compound or plastic polish. Don't forget your tweezers for placing the crystal perfectly, and don't mess up your hands with gloves, plus a covered work surface to keep everything in place. Oh, and one more thing – the joy of making your own crystal jewelry is totally worth it, honestly. What I love about it is the process and seeing the end result. Just be prepared for a little bit of patience – it's worth the wait!How to Make a Pendant: A Quick Guide
Alright, first things first: prep your workspace!
Make sure you're in a cozy, dry spot, like around 70-75°F / 21-24°C. Low humidity's a big deal 'cause it messes with the epoxy when it's curing. Line your workspace with a plastic sheet or a craft mat. Keep everything you need right there so you don't have to wander around once you start mixing the resin. It's like, once you start, you're on a clock!
Step 2: Sealing the Crystal Slice Back
Alright, so after you've got the crystal slice ready, it's time to seal the back. It's kind of like giving it a little protective layer. You know, I've found this step to be pretty straightforward, but just make sure you've cleaned the back properly first. And honestly, I always use this clear sealant stuff—it's my go-to. It's not too tricky, but the thing is, you want to make sure you don't get any bubbles. It's like, if you do, it's like, "Oh no, now what?" But once it's dry, it's all good to go!Just put a thin layer of clear nail polish or a tiny bit of mixed resin on the back and edges of the crystal slice. Make sure it's totally dry. This stuff stops any resin from leaking and gets rid of those bubbles that pop up at the crystal-resin spot when you're pouring the main mix.
So, let's move on to step 3: Mixing the first resin layer, which is the base.
Alright, so you gotta measure your resin and hardener just like the instructions tell ya. Most art epoxy is a 1:1 ratio, by the way. Mix it up good for at least 2 minutes, making sure to scrape the sides and bottom of the cup too. Trust me, not mixing it right is the main reason your resin might end up soft, sticky, or just not curing. Don't want that, right?
For the base layer, you can throw in a little bit of metallic pigment if you're into it—gold or copper always gives it that cool vibe. Just pour a thin layer (like, 2-3mm), kind of like a flat base to let your crystal sit on top of.Step 4: Placing the Crystal Slice
So, once you've got your crystal slice, it's time to position it. It's like putting the cherry on top of a sundae. You want it to be right in the center, so it sparkles the most when the light hits it. I've found what I love about this step is that it's really just about finding that perfect spot for your crystal slice. It's like a little puzzle to figure out where it fits best. Now, just make sure it's secure so it doesn't move around. It's honestly such a satisfying feeling when you get it just right!Before the base layer fully sets (wait about 15-20 minutes — it should be tacky but not liquid), use tweezers to position the crystal slice in the mold. Press it gently into the tacky base layer. Adjust the position until you are satisfied with the composition — the crystal should be centered or slightly off-center for visual interest.
Step 5: Apply Metallic Accents
Using a small brush or toothpick, apply metallic mica powder along the edge of the crystal where it meets the resin. This creates a faux "rind" effect that mimics the natural edge of a geode. Gold and copper are the most effective colors for this technique. You can also add metallic leaf fragments that will float in the resin, creating organic metallic veins.
Step 6: Pour the Second Layer
Mix a second batch of resin. Pour it over and around the crystal, filling the mold to about 2-3mm below the top. Pour slowly and close to the surface to minimize bubbles. If you add pigment to this layer, keep it very transparent — the point is to see the crystal through the resin, not to hide it.
Step 7: Remove Bubbles
Immediately after pouring, spray the surface lightly with isopropyl alcohol from about 6 inches away. The alcohol breaks surface tension and causes trapped bubbles to rise and pop. You can also use a toothpick to manually guide bubbles to the surface and pop them. For deep bubbles, use a heat gun on low setting — brief passes only, as heat can affect curing.
Step 8: Cure
Cover the mold loosely to prevent dust from settling on the surface. Let cure for 24 hours minimum, 48 hours for optimal hardness. Do not touch or move the mold during curing. Temperature fluctuations during curing can cause cracking or cloudiness.
Step 9: Demold
Once fully cured, flex the silicone mold gently and pop the pendant out. It should release easily. If it sticks, wait another few hours — the resin is not fully cured.
Step 10: Sand and Polish
The back edge of the pendant (where resin meets the mold seam) will have a slightly rough edge. Sand progressively through the grits: 320, 600, 800, 1200, 2000. After 2000 grit, the surface will be smooth but matte. Apply plastic polish or a final very thin coat of resin to restore the glossy finish.
Step 11: Attach the Bail
Drill a small hole at the top of the pendant for a glued-in bail, or use a pre-made pinch bail that clamps onto the pendant edge without drilling. Both options work; pinch bails are easier for beginners since they require no additional tools.
Pro Tips for Better Results
- Temperature matters — Cold resin is viscous and traps bubbles. Warm both bottles in a bowl of warm water for 5 minutes before mixing. Do not exceed body temperature — overheating resin can cause premature curing.
- Pour in thin layers — Never pour more than 1/4 inch at a time. Deep pours generate excess heat during the exothermic curing reaction, which can crack the resin, yellow the color, and even melt the silicone mold.
- Work with a heat mat — If your workspace is cool, a silicone crafting mat on a low-temperature warming pad keeps the resin at optimal viscosity.
- Use a dust cover — A clean plastic container inverted over the curing mold prevents airborne particles from landing on the surface. This single step dramatically improves clarity.
Safety Considerations
Epoxy resin is a chemical product that requires proper handling:
- Work in a well-ventilated area.
- Wear nitrile gloves throughout.
- Avoid skin contact — uncured resin is a sensitizer that can cause allergic reactions with repeated exposure.
- Do not eat, drink, or touch your face while working with resin.
- Clean spills immediately with isopropyl alcohol before the resin cures.
- Store resin and hardener out of reach of children and pets.
Frequently Asked Questions
Can I use real gold leaf instead of imitation?
Yes, but real gold leaf is extremely thin and fragile. It works beautifully but requires more careful handling. Imitation metallic leaf (composition leaf) is more durable and costs a fraction of the price, making it the better choice for practice pieces.
Why are there bubbles in my finished pendant?
Bubbles come from several sources: inadequate mixing (whipped-in air), pouring from too high above the mold, resin that is too cold (high viscosity), or stirring too vigorously. Warm your resin, pour close to the surface, mix slowly, and use the alcohol spray technique for bubble removal.
Can I add dried flowers or organic material?
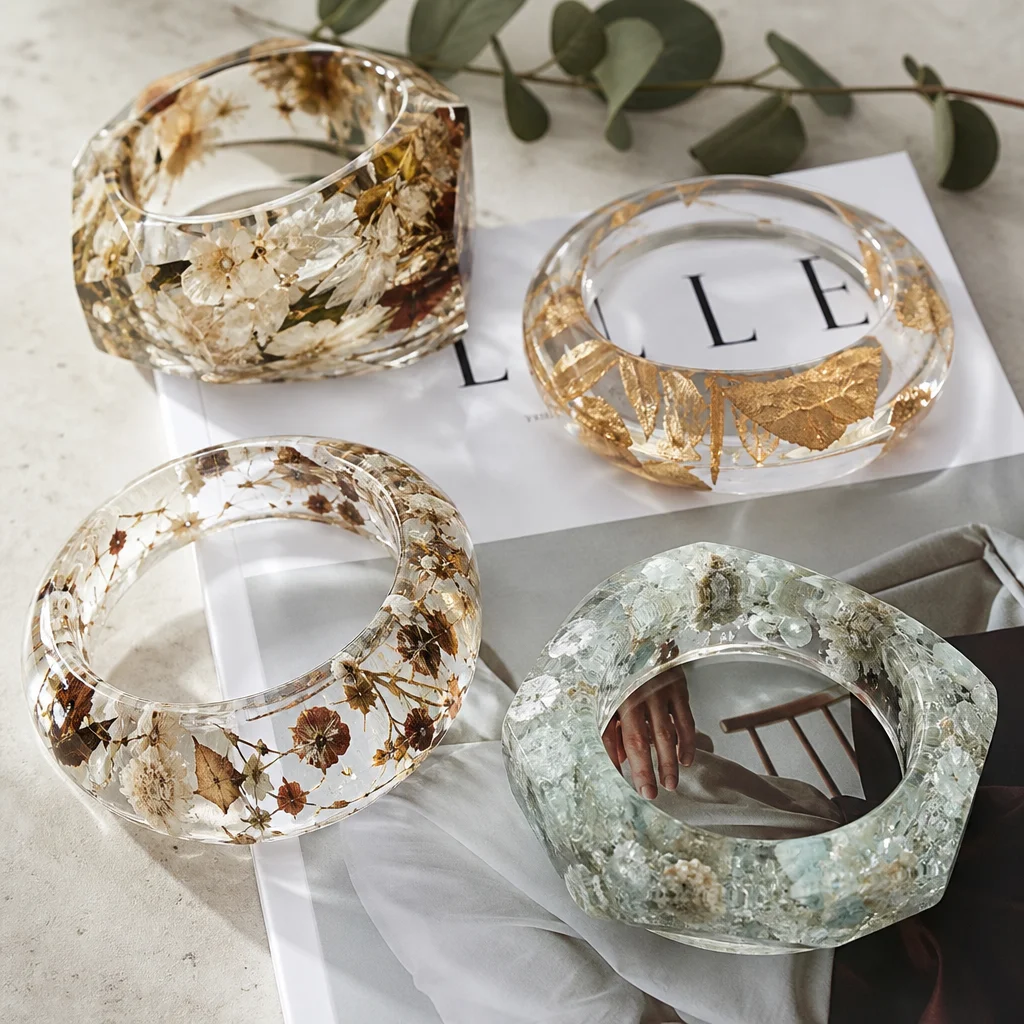
Yes, but organic materials should be completely dry and sealed before embedding. Moisture trapped in flowers or leaves will create bubbles and can cause the resin to cure cloudy or not at all. Seal dried botanicals with a thin coat of resin or mod podge before embedding.
Final Thoughts
Creating a resin crystal geode pendant is a satisfying project that combines natural beauty with hands-on craftsmanship. The first piece will teach you the most — pay attention to how the resin behaves, how long your working time actually is, and what bubble patterns you get. Each subsequent pendant will be cleaner, clearer, and more polished. With practice, you will develop your own signature style and technique for combining crystals with resin, and you will have a unique piece of wearable art that no one else owns.
Frequently Asked Questions
How long does it take for a resin crystal pendant to fully cure?
While UV resin hardens in minutes under a UV lamp, two-part epoxy resin usually takes 24 to 72 hours to fully cure. Even if it feels dry to the touch after 12 hours, you must wait the entire curing period before wearing your handcrafted pendant. This ensures your natural crystal slice is securely locked in place and the resin achieves a durable, glass-like finish.
What are the best natural crystals to use in resin jewelry?
Thin, flat geode slices like agate, amethyst, or clear quartz are absolutely ideal because they lay flush inside the pendant bezel. However, you can also use small tumbled stones or raw crystal chips. As long as the natural stone fits within your frame without poking through the resin, it will look stunning. Always ensure your handcrafted pieces use clean, dust-free crystals.
Comments