How to Photograph Crystals for Instagram: Lig...
June 5, 2026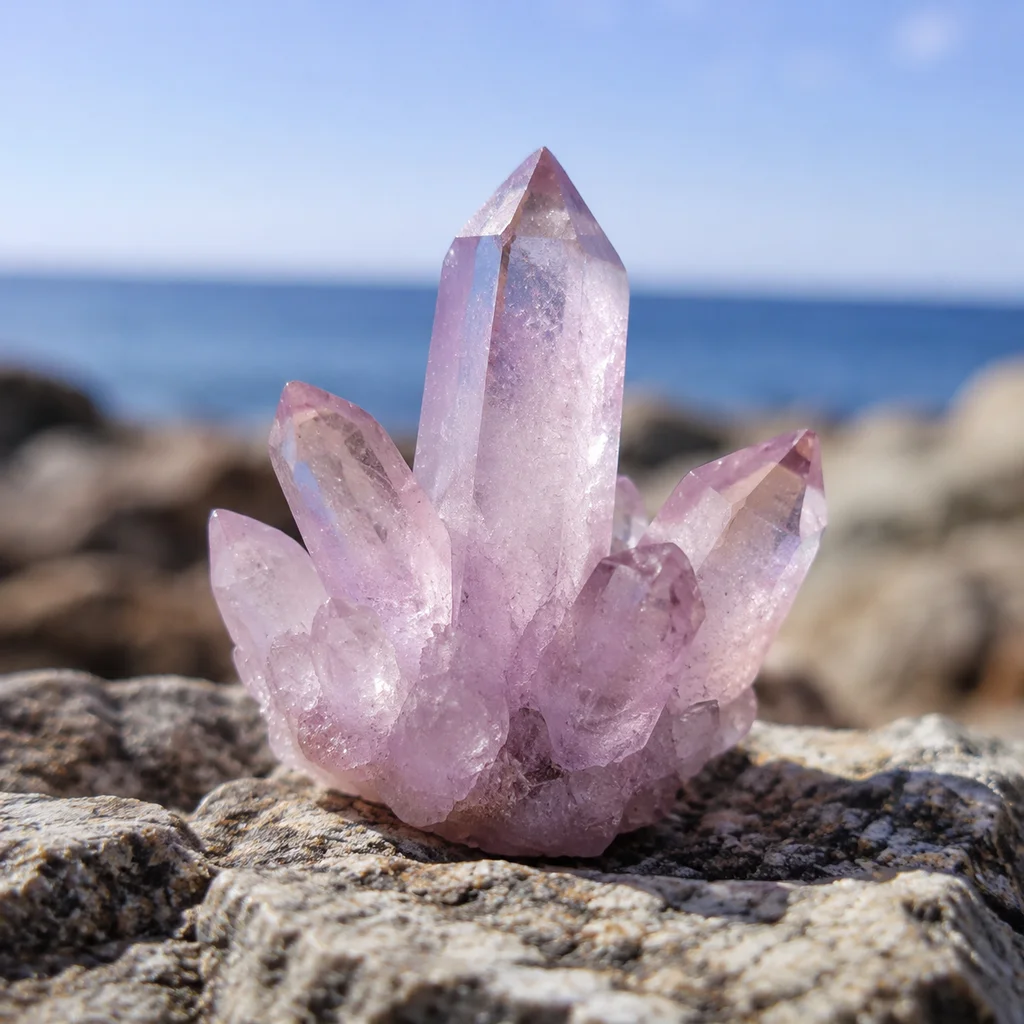
Understanding How Crystals Interact with Light
Before diving into techniques, it helps to understand why photographing crystals is fundamentally different from photographing most other subjects:
Transparency and translucency — Many crystals (clear quartz, rose quartz, amethyst, citrine) are translucent or transparent. Light passes through them, refracts, and creates internal reflections. Capturing this quality requires backlighting or side lighting rather than flat front lighting.
Reflectivity — Polished stones, crystal faces, and geode interiors are highly reflective. Direct flash produces harsh glare spots that obliterate detail. Soft, diffused light preserves the stone's natural luster while showing its surface features.
Internal inclusions — The beauty of many crystals lies in what is inside them — rainbows in clear quartz, rutile needles in rutilated quartz, chlorite phantom layers, or the dendritic patterns in moss agate. Revealing these features requires specific lighting angles and sometimes backlighting.
Color accuracy — Crystal colors can vary dramatically depending on lighting conditions. Rose quartz can look peachy in warm light and icy pink in cool light. Amethyst shifts between purple and blue depending on the light source. Getting accurate color requires awareness of your light source's color temperature.
The Best Lighting for Crystal Photography
Natural Light (Best Overall)
Window light is the single best light source for crystal photography. Specifically, indirect natural light — light coming through a window but not direct sunlight hitting the stone. Set up your shooting area next to a north-facing window (in the Northern Hemisphere) or a window that does not receive direct sun during your shooting time.
Indirect window light provides soft, diffused illumination that reveals surface texture and internal features without creating harsh glare. The light has a natural color temperature that renders crystal colors accurately.
Time of day matters: Early morning and late afternoon light is warmer (more golden) and can be beautiful for certain stone types. Midday light is cooler and more neutral, better for accurate color rendering. Overcast days provide perfectly diffused light — the best conditions for crystal photography.
Side Lighting (For Texture and Depth)
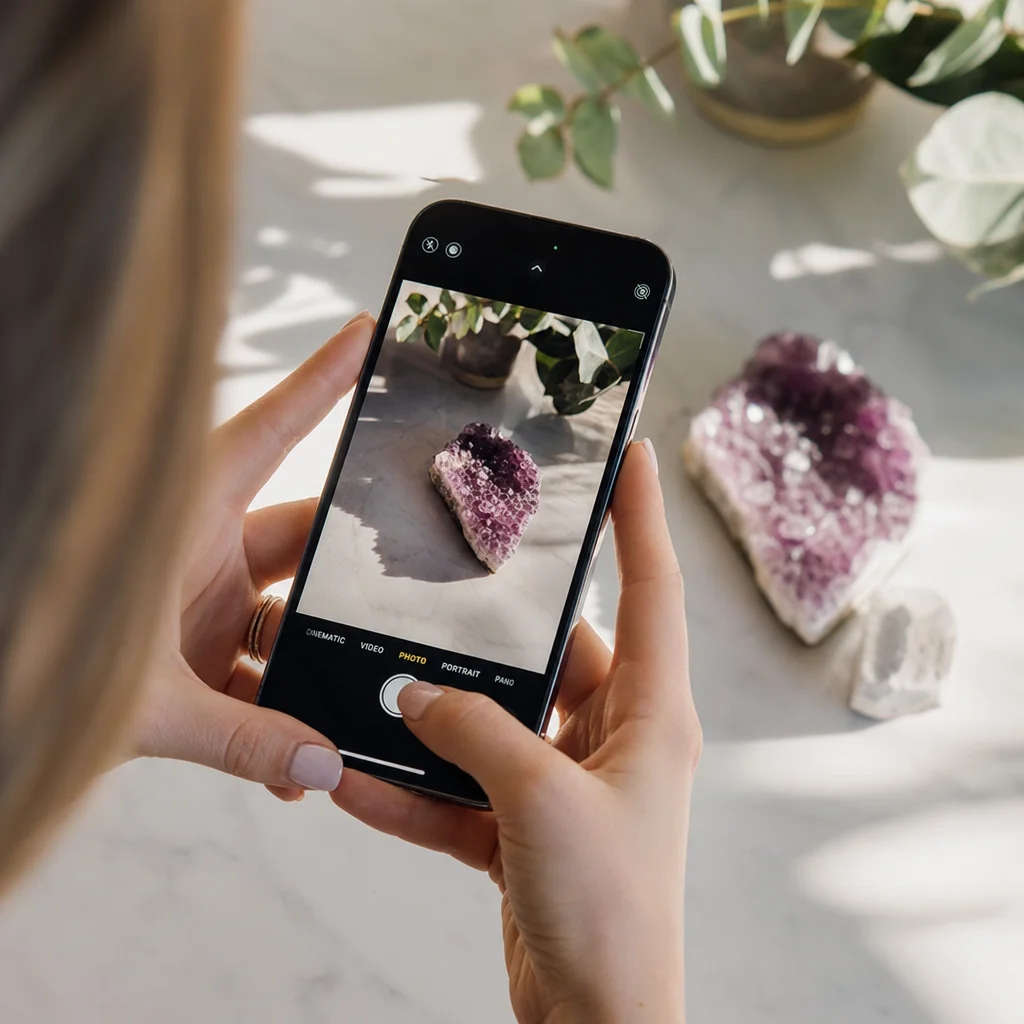
Place your crystal so the light comes from the side (roughly 45-90 degrees from the camera-to-subject line). Side lighting creates shadows that reveal surface texture, facet edges, and the three-dimensional form of the stone. This is particularly effective for rough crystals, mineral specimens, and geode slices.
Position your crystal close to the window (within 1-2 feet) and the camera at a right angle to the window for maximum side lighting effect.
Backlighting (For Transparency and Inclusions)
Place your light source behind the crystal (between the crystal and the camera). This creates a silhouette effect for opaque stones and a glowing, illuminated effect for transparent and translucent stones. Backlighting is the key technique for revealing internal features like inclusions, phantoms, rainbows, and color zoning.
To achieve backlighting with window light, position the crystal between your camera and the window. If the light is too intense, hang a sheer white curtain or place a sheet of white paper between the window and the crystal to diffuse it further.
Avoid Direct Flash
Direct camera flash is almost universally terrible for crystal photography. It creates a flat, washed-out look with bright glare spots that destroy the stone's natural beauty. If you must use artificial light, bounce it off a white wall or ceiling, or use a small LED panel positioned at a 45-degree angle.
Background Choices
The background should complement the crystal without competing for attention. Here are the most effective options:
White background — Clean, minimal, and professional. White cardstock or a white acrylic sheet works well. White backgrounds make crystal colors pop and are ideal for product-style shots. Avoid pure white paper with texture — smooth surfaces prevent shadows.
Black background — Dramatic and moody. Black velvet is ideal because it absorbs light completely, creating a deep black that makes crystals appear to float. Black backgrounds work best with lighter-colored stones and transparent crystals.
Wood surface — Warm and natural. A light wood surface (birch, maple) adds warmth without overwhelming the stone. Dark wood (walnut, mahogany) creates a rich, earthy setting. Ensure the wood is clean and free of distracting grain patterns.
Neutral fabric — Linen, burlap, or muslin in cream, gray, or soft earth tones provides a textured but non-competing background. Iron the fabric to remove wrinkles before shooting.
Natural elements — Dried flowers, leaves, small shells, or other crystals can create contextual backgrounds. Use restraint — the crystal should remain the clear focal point, not compete with elaborate arrangements.
Whatever background you choose, keep it consistent within a post or series. Varying backgrounds between shots in the same carousel or grid creates visual inconsistency.
Composition Techniques
The Rule of Thirds
Place your crystal off-center — roughly at one of the four intersection points if you imagine the frame divided into thirds horizontally and vertically. Off-center placement creates visual tension and is more dynamic than centering the stone. This is not a rigid rule, but it is a reliable starting point.
Angle Variations
Shoot the same crystal from multiple angles. The difference between a top-down shot, a 45-degree angle, and a straight-on side view can be dramatic. Certain features of a crystal are only visible from specific angles — rainbows in quartz, the depth of a geode cavity, or the facet pattern of a natural point. Three to five shots from different angles give you material to choose from and create interesting carousel posts.
Macro and Detail Shots
Get close. Most smartphones have a macro mode (or you can use a clip-on macro lens attachment). Detail shots showing surface texture, internal inclusions, or crystal terminations are visually compelling and communicate the quality and authenticity of the stone. A tightly cropped detail shot paired with a wider composition shot makes a powerful Instagram carousel.
Scale Context
Include something familiar in the frame to communicate the crystal's actual size. A coin, a finger, a ruler edge, or a common object near the crystal gives viewers a reference point. This is especially important for large or very small specimens where the camera cannot communicate scale on its own.
Editing for Crystal Photos
Post-processing can significantly enhance crystal photos, but the goal is enhancement, not fabrication. These adjustments specifically benefit crystal photography:
Exposure and brightness — Crystal photos often need slight brightness increases. However, avoid overexposure — blown-out highlights destroy detail in reflective crystal surfaces. If the stone has bright reflection spots, reduce highlights rather than boosting brightness.
Contrast — A slight contrast boost helps crystal edges stand out and internal features pop. Be conservative — too much contrast makes the image look harsh and artificial.
Saturation — Crystal colors benefit from a small saturation increase (5-15%), but this is where many people go wrong. Over-saturated crystal photos look unnatural and are immediately recognizable as "Instagram fake." Increase saturation just enough to make the color feel true to life.
Warmth/coolness — Adjust white balance to match the crystal's actual color. If your rose quartz looks too orange, reduce warmth slightly. If your aquamarine looks too green, shift slightly toward blue. Compare your edited photo to the actual stone while editing.
Sharpening — A modest sharpening pass improves the perceived clarity and detail of crystal surfaces. Focus sharpening on the crystal itself, not the background. Heavy sharpening creates visible halos around crystal edges.
Recommended free apps: Snapseed (Google), Lightroom Mobile (Adobe), and VSCO all offer the fine-grained controls needed for quality crystal photo editing. Instagram's built-in editing tools are sufficient for minor adjustments but lack the precision needed for color-critical work.
Styling Tips for Instagram
- Flat lay arrangements — Group multiple crystals on a neutral surface with complementary props (crystal grids, tarot cards, sage bundles, candles). Keep arrangements intentional and visually balanced.
- Hand-in-shot — Showing a hand holding or reaching toward a crystal adds human warmth and scale context. Keep hands clean and jewelry-free unless the jewelry is part of the aesthetic.
- Environmental context — Photograph crystals in their natural setting — on an altar, on a windowsill with plants, on a bookshelf, in a garden. Context shots perform well because they help followers imagine the crystals in their own space.
- Before/after — Show raw stones alongside polished ones, or crystals before and after cleansing. Progression shots tell a story and generate engagement.
Photographing Specific Crystal Types
Different stones photograph best with slightly different approaches:
- Clear quartz — Backlight to reveal inclusions and rainbows. Use a dark background to emphasize clarity and internal features.
- Rose quartz — Side lighting at a 45-degree angle to capture the soft pink translucency. Avoid warm light that shifts the color toward peach.
- Amethyst — Moderate backlighting to show color depth and zoning. Overexposure washes out the purple. A slightly dark exposure preserves color richness.
- Labradorite — Angle the stone under the light and shoot from various angles until you catch the labradorescence flash. This stone requires patience — the flash is directional and only visible from specific angles.
- Fluorite — Photograph under UV light (a small UV flashlight) to capture the stunning fluorescence that is fluorite's signature feature. For normal shots, backlighting shows the color banding.
- Selenite — Backlight strongly. Selenite is translucent and almost white under normal lighting but shows beautiful internal fiber structure when backlit.
- Obsidian — High contrast between the stone's surface and the background. Obsidian's reflective surface captures mirror images of its surroundings — use this creatively.
Frequently Asked Questions
Do I need a macro lens for crystal photography?
Not strictly, but it helps. Most modern smartphones (iPhone 13 Pro and later, Samsung Galaxy S21 and later) have built-in macro modes that are sufficient for most crystal photography. For older phones or more detailed work, a clip-on macro lens ($10-20) is a worthwhile investment.
Why do my crystal photos look flat?
Flat-looking photos are almost always caused by even, front-facing lighting that eliminates shadows. Move your light source to the side or behind the crystal, or shoot near a window at an angle rather than directly facing it. Shadows create depth.
How do I photograph crystals without glare?
Eliminate direct light sources from your frame. Use indirect window light, diffuse any artificial lights with a white cloth, and position reflective stones at angles that bounce light away from the camera lens rather than directly into it. A circular polarizer filter (available for some phones) can also reduce glare on polished surfaces.
Final Thoughts
Great crystal photography comes down to three things: controlling your light, choosing complementary backgrounds, and editing with restraint. The most impactful improvement most people can make is moving from direct overhead or on-camera flash to indirect window light positioned at the side or behind the stone. This single change transforms flat, mediocre shots into images that capture the genuine beauty of the crystals. Practice with one stone — photograph it from every angle, under different lighting conditions, and on different backgrounds — and you will develop an intuitive understanding of how to photograph any crystal type effectively.
Frequently Asked Questions
How do I capture the sparkle of my crystal jewelry on an iPhone?
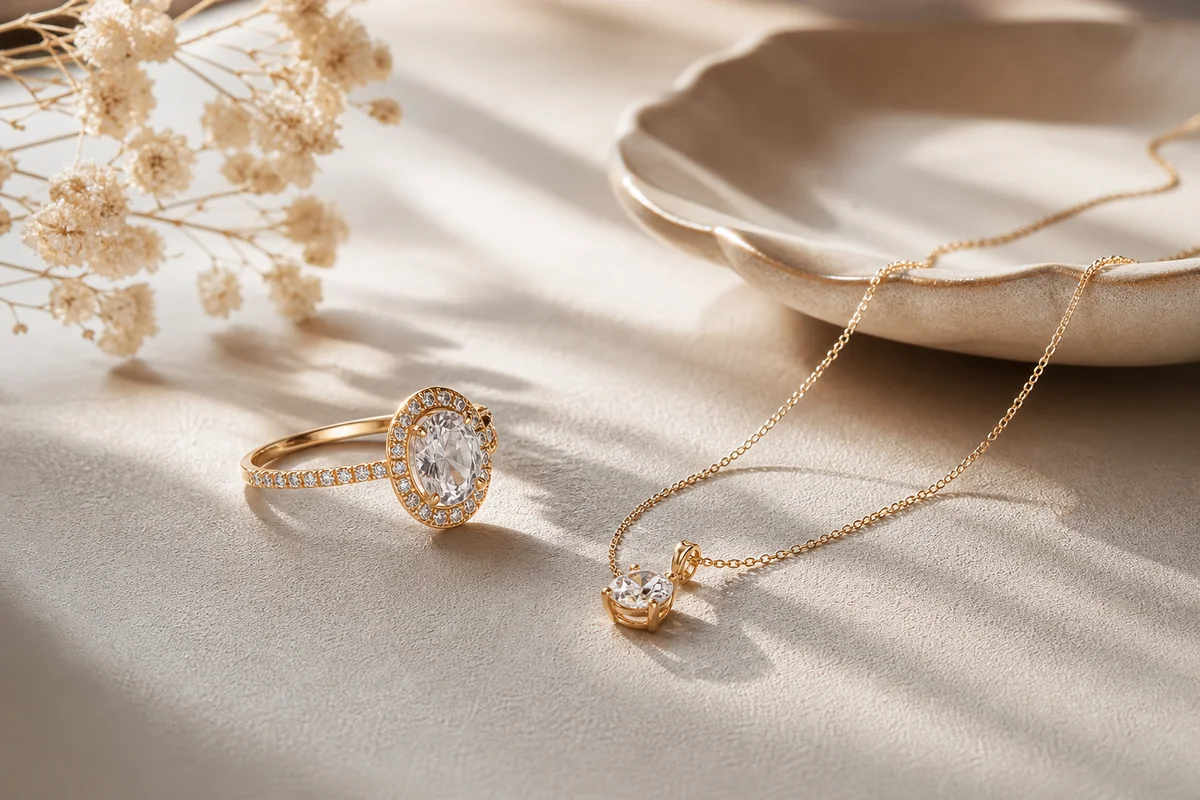
To capture that gorgeous sparkle on your phone, try recording a quick video while slowly moving your handcrafted jewelry under a direct light source. For still photos, tap the screen to focus, then lower the exposure slightly by dragging the sun icon down. This deepens the shadows and makes the natural light reflections pop beautifully on your Instagram feed!
What are the best props for crystal jewelry photography?
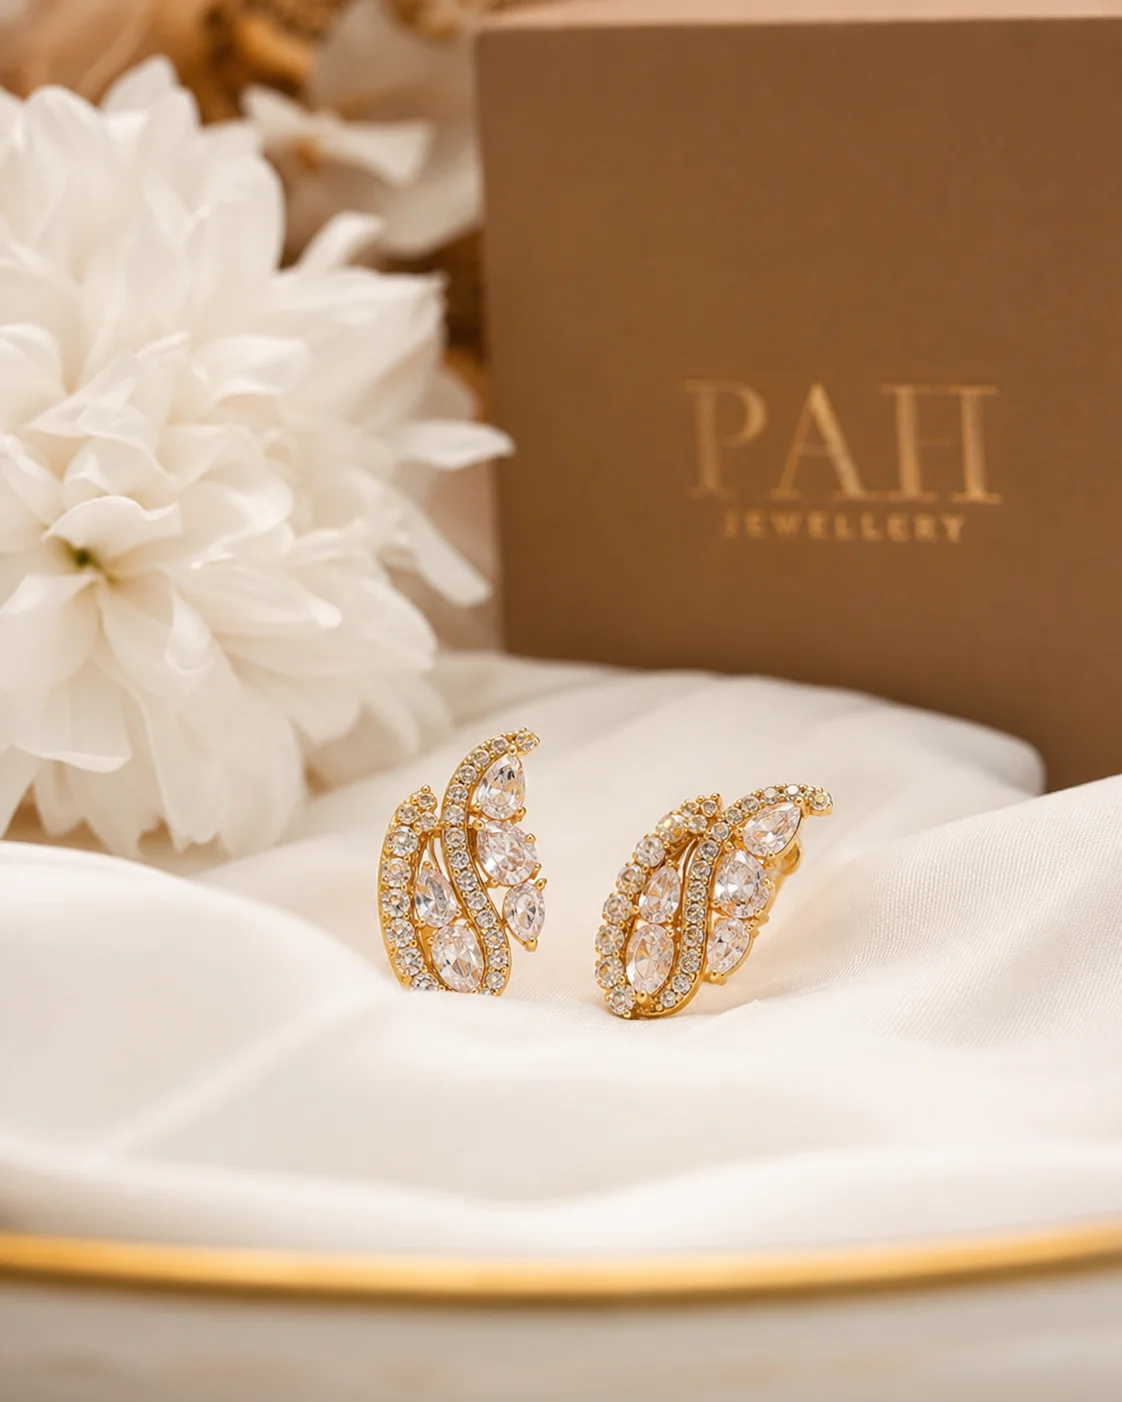
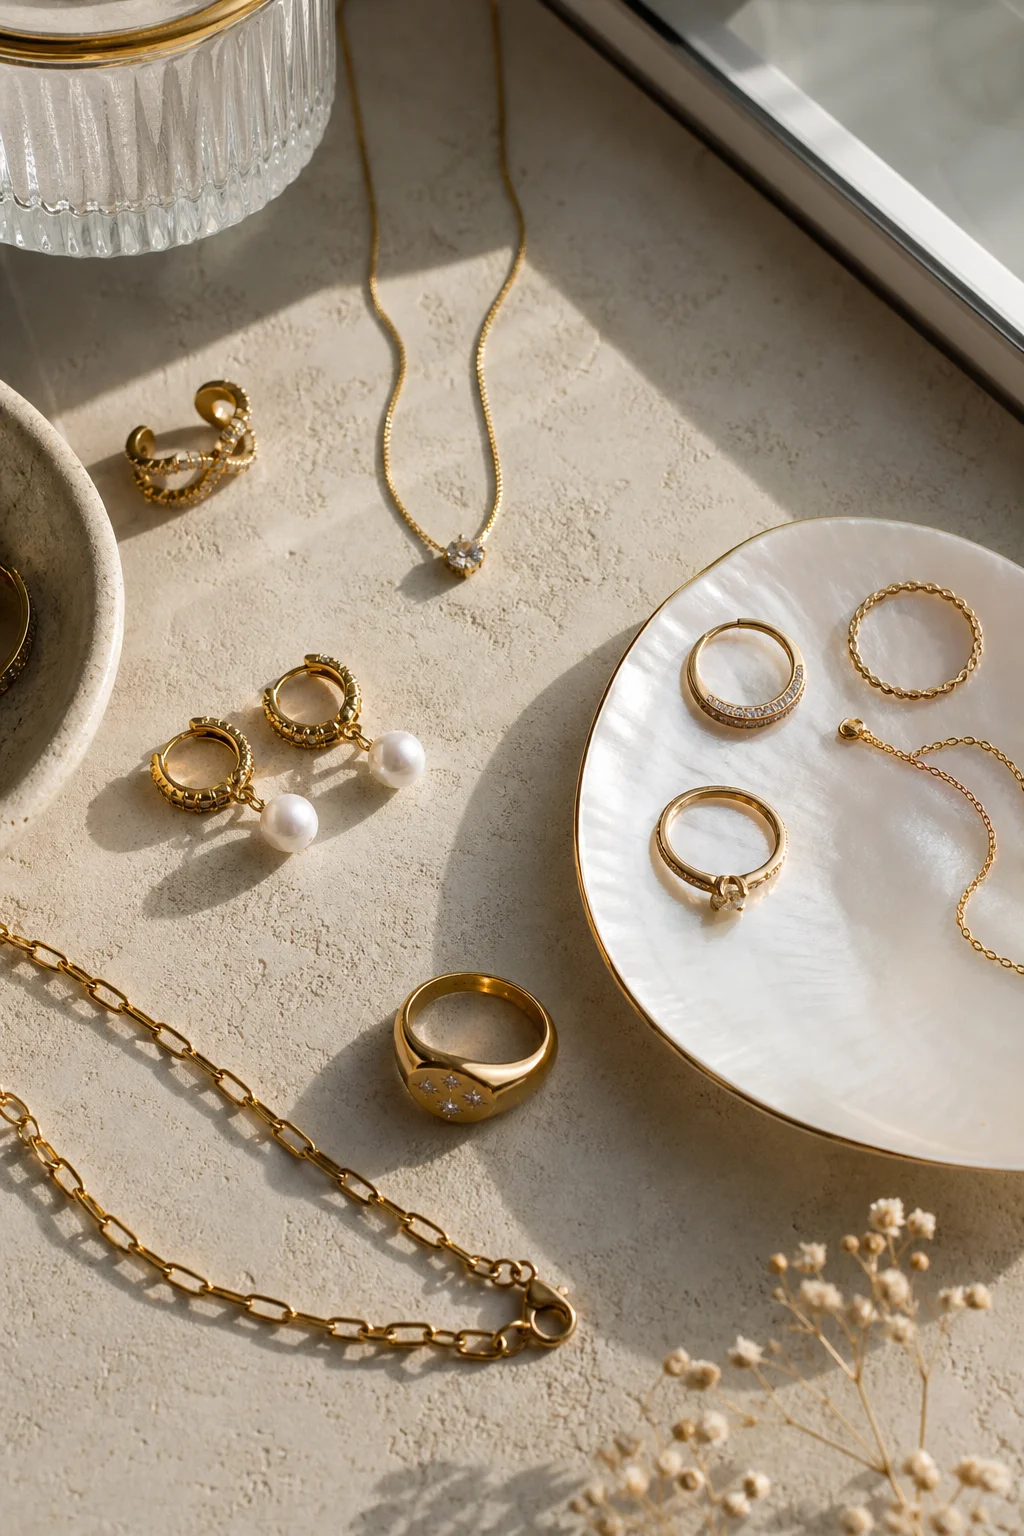
When styling your natural stone pieces, stick to organic elements that complement the crystal's earthy energy. Silk fabrics, dried flowers, or raw stone slabs make excellent bases. Keep props minimal so the artisan details of the jewelry remain the focal point. Using cohesive, natural textures across your posts will also give your Instagram grid a beautifully curated aesthetic.

Comments