How to Photograph Jewelry for Instagram: A Real Person's Guide
Two years ago, I posted a photo of a sterling silver ring I'd made on a folding table in my apartment. It was shot with my phone, under a yellowish overhead light, on a cluttered cutting mat. The ring looked like it had been photographed through a foggy window by someone who was actively sneezing. I got three likes — and two of them were from accounts that liked everything.
Fast forward to last month: that same little jewelry hobby has turned into something I actually care about, my Instagram has a small but engaged following, and a boutique brand DM'd me asking if I'd be interested in a collaboration. The turning point wasn't buying expensive gear or taking a photography course. It was learning a handful of techniques that completely transformed how my pieces looked on screen.
If you're making jewelry — whether you sell it or just enjoy it as a creative outlet — and your photos aren't doing your work justice, I get it. It's frustrating to spend hours on a piece and then watch it look flat and lifeless in a photo. Here's everything I've figured out so far, from someone who still considers this a hobby, not a profession.
You Don't Need Expensive Equipment
Let me say this clearly because I wish someone had said it to me: you do not need a DSLR. You do not need a macro lens that costs more than your rent. You do not need a light tent or studio strobes or any of the stuff that photography blogs try to convince you is essential.
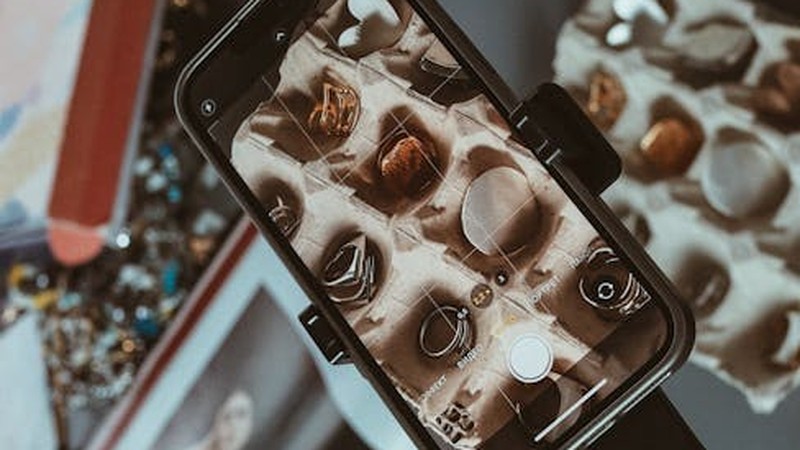
Your phone is enough. Seriously. I've taken some of my best-performing photos on a three-year-old iPhone. Modern phone cameras are remarkably capable, especially in good lighting. The sensor is small, sure, but for jewelry photography — where you're working with small objects in controlled conditions — it's more than sufficient.
The only "accessory" I'd genuinely recommend is a cheap phone tripod or a stack of books to stabilize your shots. Shaky hands are the enemy of sharp jewelry photos, and no amount of editing fixes motion blur. Beyond that, everything else I'm going to talk about can be done with stuff you already have around the house.
Lighting Is Everything (No, Really)
I cannot overstate this. Lighting is the single most important variable in jewelry photography. Bad lighting makes beautiful jewelry look dull, dark, and uninspiring. Good lighting makes even simple pieces glow.
Natural Window Light: Your Best Friend
My favorite setup — and the one I use for probably 80% of my photos — is a piece of white poster board placed next to a window, with indirect natural light coming in. Not direct sunlight, mind you. Direct sun creates harsh shadows and blown-out highlights that are a nightmare to fix later. You want soft, diffused light — the kind you get on an overcast day, or from a north-facing window in the morning.
The reason window light works so well is that it's directional but soft. It gives your jewelry dimension and sparkle without creating dark, distracting shadows. It also renders colors accurately, which matters a lot when you're trying to show off gemstones or metal tones.
I usually shoot within an hour or two after sunrise or before sunset, when the light is warm but not orange. Midday light can work if it's overcast, but bright noon sun coming through a window will fight you every step of the way.
Artificial Lighting: When Nature Doesn't Cooperate
Sometimes you need to shoot at night, or the weather just isn't cooperating, or your window faces a brick wall. That's fine. You can still get great results with artificial light.
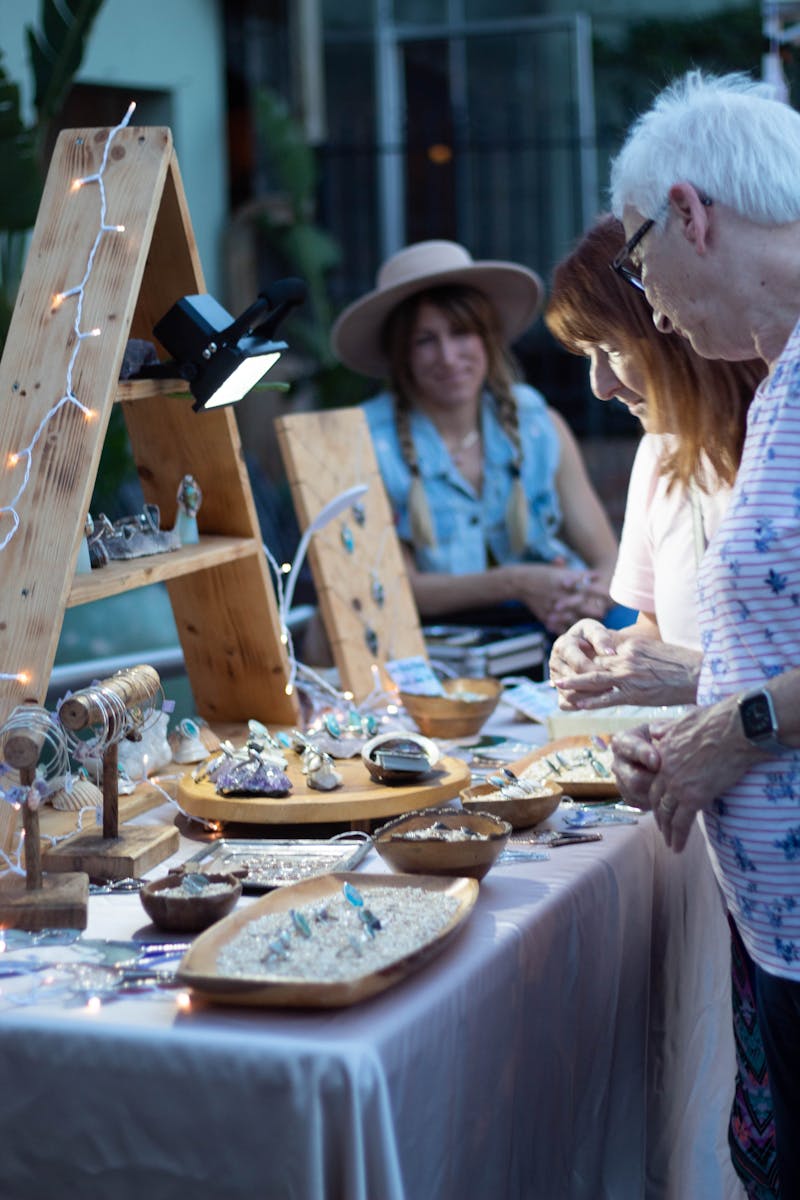
A simple LED desk lamp with a white diffuser (even a piece of tracing paper taped over it) can work in a pinch. The key is to avoid colored or warm-toned bulbs — you want something as close to daylight (around 5000-5500K) as possible. Cheap ring lights are popular for jewelry photography, and they're decent for even illumination, but they can create that telltale circular catchlight in reflective surfaces. For metals especially, I prefer a single diffused source to the side rather than frontal ring lighting.
If you want to get slightly more serious, a small softbox on a desk lamp is a game-changer. I picked one up for about $15 on Amazon, and it made an immediate difference in how smooth and even the light looks on polished metal surfaces.
Backgrounds and Props: Keep It Simple
Early on, I made the mistake of thinking my jewelry photos needed elaborate styling. I'd arrange crystals, dried flowers, fabric swatches, and whatever else I could find around the photos. The result? Photos where the jewelry was competing with the background for attention. The ring got lost in the composition.
Here's what I've settled on, and it works consistently:
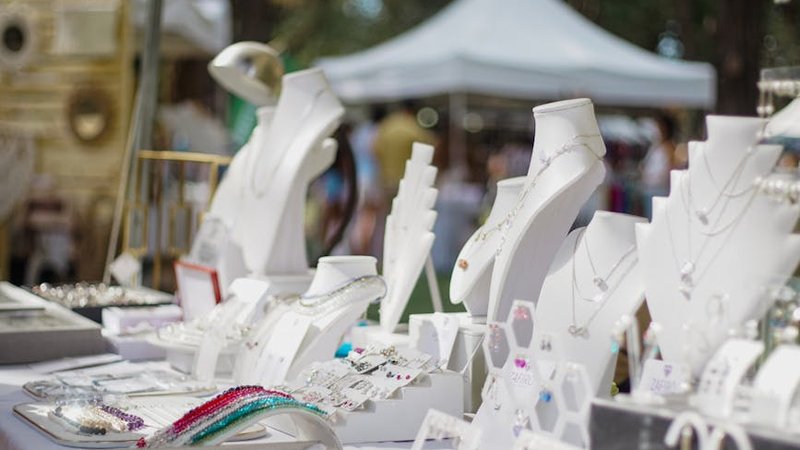
White or Light Gray Card Stock
The classic jewelry photography background for good reason. A plain white or light gray surface makes the piece pop and keeps the focus entirely on the jewelry. It looks clean, professional, and works for just about any style. I buy large sheets of white foam board from a craft store — they're cheap, they don't crease easily, and you can curve them to create a seamless backdrop.
Marble Contact Paper
Want something with a little more personality without being distracting? Marble-patterned contact paper stuck to a piece of cardboard is one of the best cheap tricks I know. It looks like a marble surface in photos — sophisticated and slightly editorial — but costs almost nothing. I've seen this trick used by jewelers with 100k followers, so don't let the low cost fool you.
Wood and Fabric
Light wood surfaces (a cutting board, a piece of plywood, a cheap wood-grain tile) give a warm, organic feel that works well for earthy or bohemian-style jewelry. Soft fabrics — linen, muslin, even a clean white bedsheet — can add texture without distraction. Darker backgrounds like slate or dark wood can look stunning for silver and white gold pieces, creating high contrast that makes the metal shine.
The rule I follow: if the background makes you look at it before you look at the jewelry, it's too busy. The piece should always be the star.
Composition: Where to Put the Camera
How you angle the camera matters more than most people realize. There are three angles that work well for jewelry, and each serves a slightly different purpose.
The Flat Lay (Top-Down)
This is the most common angle on Instagram, and for good reason — it's easy, it shows the full piece, and it works great for flat objects like earrings, pendants, and bracelets laid out together. The challenge with flat lays is that they can look a bit static. To make them more interesting, I offset the jewelry slightly from center, arrange props asymmetrically, or shoot at a very slight angle rather than perfectly top-down.
The 45-Degree Angle
This is my go-to for rings and anything with dimension. Shooting at roughly 45 degrees gives a sense of depth and shows how the piece catches light from different angles. It's more dynamic than a flat lay and more flattering for three-dimensional pieces. Most of my best-performing ring photos were shot at this angle.
Close-Up / Macro Detail
Don't be afraid to get really close. Jewelry has incredible detail — textures, settings, tiny stones, engraved patterns — that gets lost in wider shots. Use your phone's macro mode (most modern phones have one) or just get as close as the camera will focus. These detail shots perform well on Instagram because they're visually interesting and they show the craftsmanship behind the piece.
For best results, combine angles in a single post. A carousel with one wide shot, one angled shot, and one close-up detail tells a much more complete story than a single image.
Editing: Less Is More
You don't need Photoshop. I do all my editing on my phone, and I use the same three apps for almost everything.
Snapseed
Free, made by Google, and surprisingly powerful. I use it primarily for basic adjustments: brightness, contrast, and white balance. The "Selective" tool is fantastic for brightening just the jewelry without affecting the background. The "Healing" tool removes dust spots and tiny distractions. It's my first stop for every photo.
Adobe Lightroom Mobile
The free version has everything you need for jewelry photography. The "Auto" tone often gets you 90% of the way there, and from there you can fine-tune exposure, highlights, and shadows. The color grading tools are useful if your lighting was slightly off and you need to warm up or cool down the image. I also use the sharpening tool sparingly — just a touch — to bring out detail in metal textures.
VSCO
I use VSCO for filters, but carefully. The temptation to slap a heavy preset on every photo is real, especially when the filters look so good in the preview. But for jewelry, subtlety is key. I tend to use low-intensity filters — maybe 20-30% — just to add a slight mood or color tone. Anything more starts to distort the actual colors of the metal and stones, which is the last thing you want.
The editing principle I follow: adjust the photo until it looks like what your eyes saw in real life. Not better, not more dramatic — just accurate. If your silver ring looks blue in the photo, the white balance is wrong. If the gold looks washed out, bump the warmth slightly. Trust your eyes.
Video Content: The Direction Instagram Is Heading
I resisted Reels for a long time. I'm a photographer, not a videographer, and the idea of making videos for Instagram felt like a whole different skill set I didn't want to learn. But here's the reality: Instagram's algorithm strongly favors video content, and Reels consistently outperform static photo posts in terms of reach and engagement.
You don't need to be a filmmaker. The jewelry video content that performs best is often the simplest. A slow, close-up rotation of a ring catching light. A time-lapse of a piece being assembled. A before-and-after polishing clip. These aren't complicated to shoot — prop your phone on the tripod, hit record, and rotate the piece slowly by hand.
For rotating shots, I use a small turntable I bought for about $12. Place the jewelry on it, set your phone to video mode, and let it spin. A 10-15 second clip of a ring slowly turning under good light is visually mesmerizing and takes zero skill to produce. Add a trending audio track and you've got a Reel that the algorithm will happily push.
The key with video is the same as with photos: good lighting and clean backgrounds. Everything else is secondary.
Posting Strategy: Timing and Hashtags
Okay, so you've got great photos. Now what? Posting strategy matters, even if it feels unsexy compared to the creative side of things.
When to Post
For jewelry content targeting a primarily US-based audience (which is where most of the engagement seems to come from for English-language accounts), I've had the best results posting between 10 AM and 2 PM Eastern, Tuesday through Thursday. Weekends are hit or miss — people are out doing things, not scrolling through Instagram looking at jewelry. Monday mornings are slow as people catch up on work.
That said, consistency matters more than perfect timing. Posting once a week at a mediocre time is better than posting three times in one day and then vanishing for two weeks. I aim for 3-4 posts per week and try to maintain a regular schedule.
Hashtags: Quality Over Quantity
Instagram allows up to 30 hashtags per post, but using all 30 looks spammy and can actually hurt your reach. I use 8-12 relevant hashtags per post, mixing different sizes:
Large, broad hashtags like #jewelry #handmade #jewelryphotography have millions of posts but can help with general discoverability. Medium hashtags like #jewelryphotography #silversmithing #handmadejewelry have more manageable competition and tend to drive better-targeted engagement. Small, niche hashtags like #jewelryphotography or specific style tags have fewer posts but higher conversion rates — the people who find you through these are genuinely interested in what you do.
I also keep a running list of hashtags in my phone's notes app and rotate them so I'm not using the exact same set every time. Instagram's algorithm apparently deprioritizes repetitive hashtag use, so mixing it up helps.
The Unsexy Truth About Growth
I want to be honest about something: my growth has been slow. It took over a year of consistent posting to go from those foggy, yellow-lit ring photos to getting a brand collaboration DM. There was no viral moment, no secret hack, no overnight success.
What changed was gradual. I got better at lighting. My compositions improved. My editing got more refined. I started posting Reels. I engaged with other makers' content. And slowly, incrementally, the numbers started to move.
If you're just starting out and your photos aren't where you want them to be yet, that's normal. It's a skill, and like any skill, it improves with practice. The first hundred photos you take will probably be mediocre. That's not failure — that's the learning curve. Keep shooting, keep experimenting with light and angles, keep editing, and keep posting.
The best time to start taking better jewelry photos was a year ago. The second best time is right now. Go find a window, grab a piece of white cardboard, and start shooting. You'll surprise yourself.
Comments