Advanced Wire Wrapping: Weaving & Coiling Tech..
June 2, 2026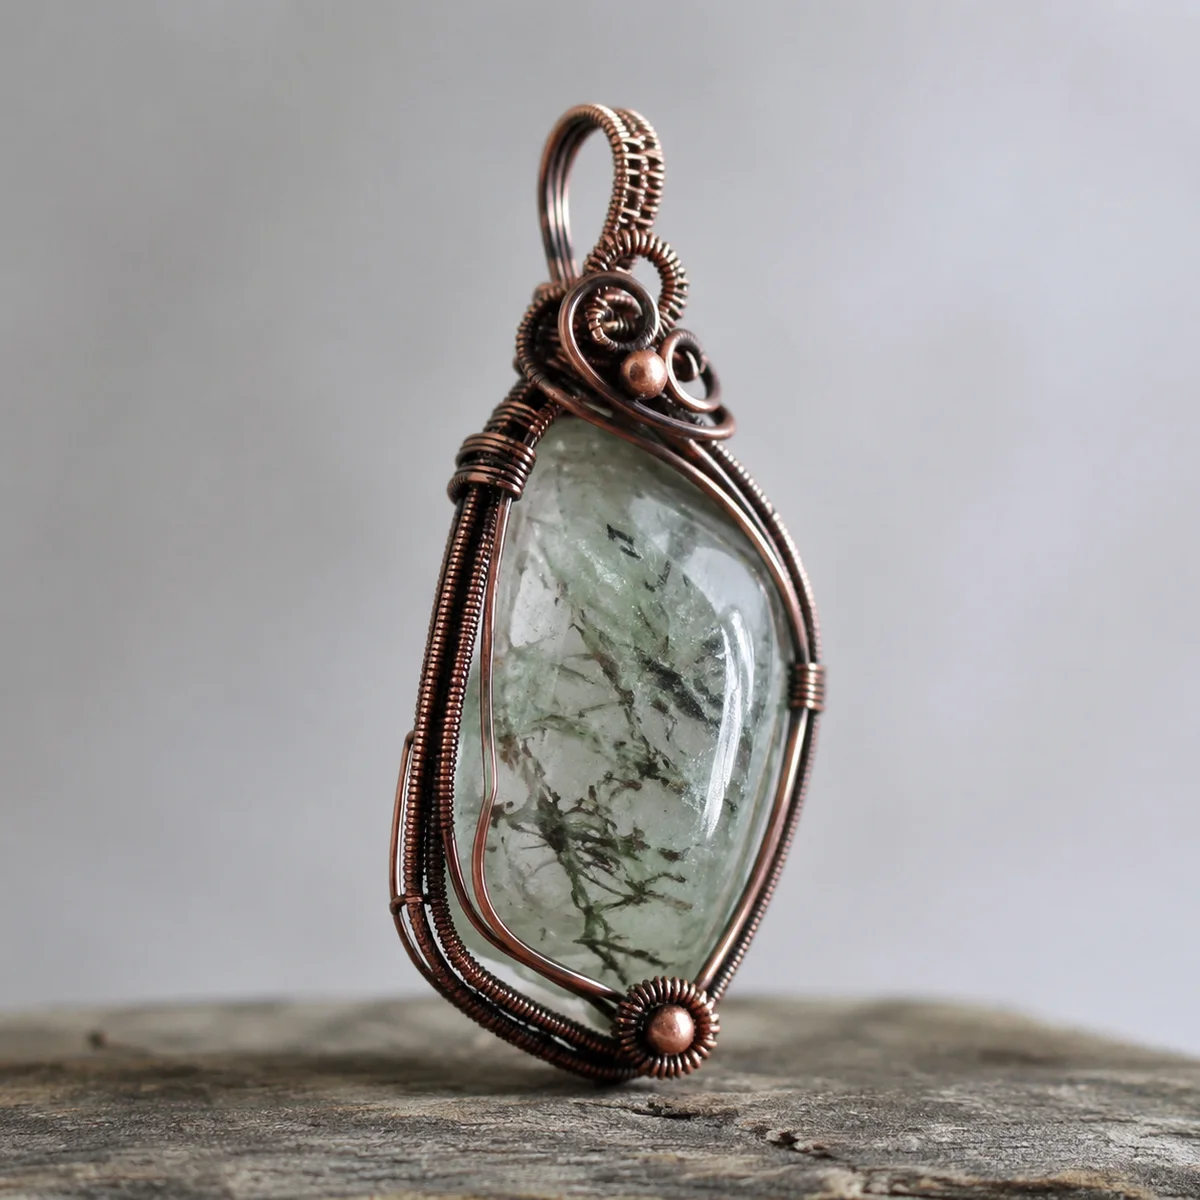
What You Need Before Starting
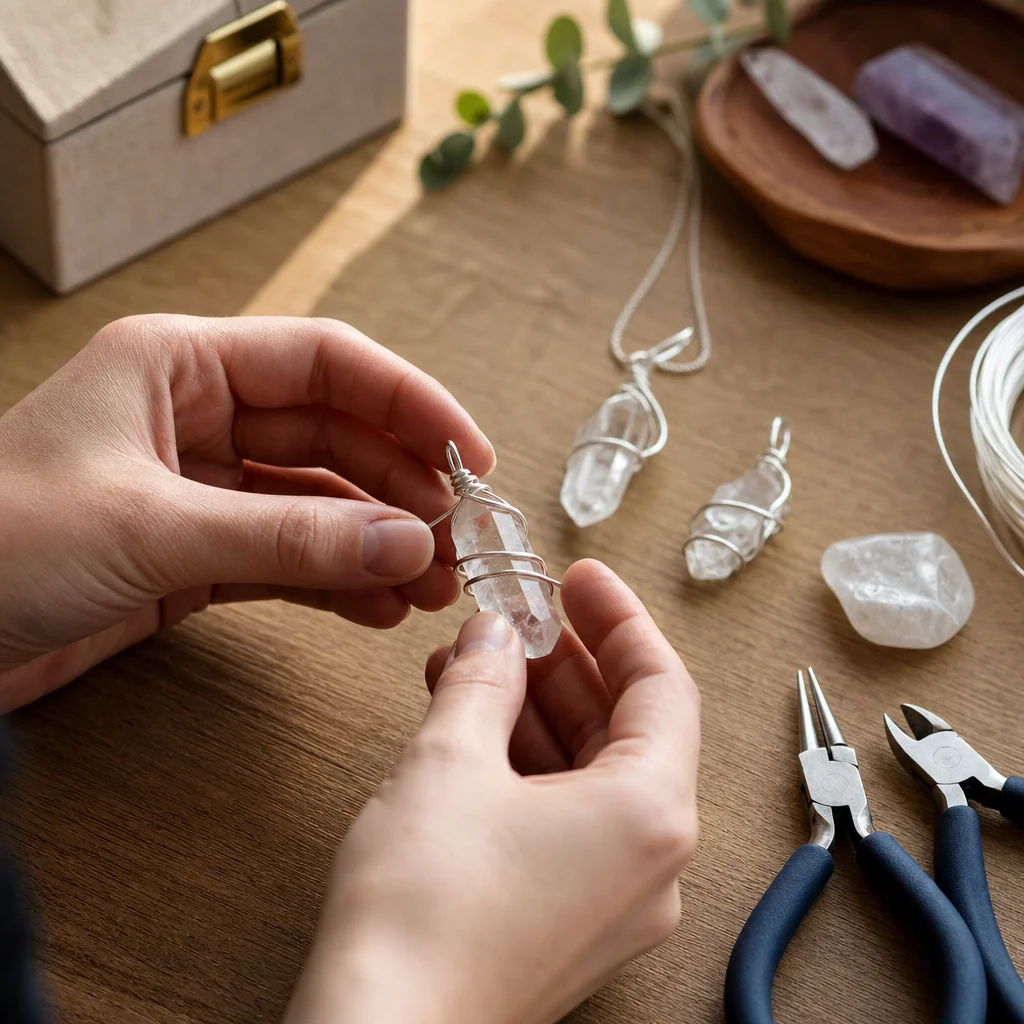
These techniques assume you're comfortable with basic wire wrapping — wrapped loops, simple bails, and basic cuff formation. If you've made a few wire-wrapped pendants and stone rings and feel ready for more complex patterns, you're in the right place. Each technique here builds on fundamentals but introduces new structural approaches that create significantly different visual results.
Tools Required
- Round nose pliers: Standard size for loops and curves. Have both standard and large-jaw versions if possible.
- Flat nose pliers: For flattening wire, gripping work, and creating sharp angles. Smooth-jaw (no serrations) is essential to avoid marring wire.
- Chain nose pliers: Tapered tips for reaching into tight spots in woven work.
- Wire cutters: Flush cutters for clean ends.
- Nylon jaw pliers: For straightening bent wire without scratching — essential when working with long wire lengths for weaving.
- Mandrel: A dowel or cylindrical form (5–10mm diameter for Viking knit, larger for coiling). A knitting needle works well for smaller diameters.
- Ruler and marker: For measuring and marking wire lengths before starting.
- Steel block and hammer: For work hardening finished pieces.
Wire Gauges and Materials
Different techniques require different wire properties:
- 18-gauge (1.0mm): Structural wire — frames, bases, ring shanks. Too thick for most weaving but excellent for the skeleton of a design.
- 20-gauge (0.8mm): Versatile middle ground. Works for both structural elements and some coiling. This is your general-purpose wire for most techniques.
- 22-gauge (0.6mm): Detail wire — wraps, coils, and decorative elements. Flexible enough for weaving but holds shape reasonably well.
- 24-gauge (0.5mm): Fine work — tight coils, delicate weaving, and bead wrapping. Very flexible, needs work hardening for durability.
- 26-gauge (0.4mm): Ultra-fine — wrapping around other wires for texture, binding, and detailed accents.
Half-hard temper is the best starting point for most structural and weaving work. It holds shape while still being workable. Dead-soft wire is too flexible for most advanced techniques unless you plan to hammer-harden it afterward.
Viking Knit Weave
Viking knit is one of the most satisfying wire techniques to learn. The result is a flexible, tubular chain that looks intricate and professional. Despite the name, it's not technically knitting — you're weaving individual wire loops around a central dowel in a spiral pattern.
Step-by-Step Process
Step 1 — Prepare the mandrel: Wrap the first wire (18 or 20-gauge, about 3–4 inches long) around your dowel (5–8mm knitting needle) twice to create two starter loops. These loops sit side by side on the dowel and serve as the base that all subsequent loops will weave through.
Step 2 — Thread your working wire: Cut a long length of 24-gauge wire — at least 3 feet for a bracelet-length Viking knit tube. Thread one end through the first starter loop and bend it over the top of the dowel, creating a bridge between the two starter loops.
Step 3 — Begin weaving: Bring the wire down through the second starter loop, around the back of the dowel, and up through the first loop again. This creates the first woven stitch. Continue this pattern — the wire alternates going down through one starter loop and up through the other, creating an interlocking spiral.
Step 4 — Expand the diameter: After you've created enough stitches to go once around the dowel (typically 4–6 stitches depending on dowel diameter), the pattern shifts. Instead of weaving through just the two starter loops, you now weave through the previous row of stitches. Each new stitch passes through one stitch from the previous row, creating a growing tube.
Step 5 — Continue and finish: Keep weaving until your tube reaches the desired length. For a single-wrap bracelet, you need about 6–7 inches of woven tube. The tube will look loose on the dowel — that's normal. Slide it off the dowel.
Step 6 — Draw the tube: This is the magic step. Thread the starting wire tail through a draw plate (a metal plate with graduated holes) from the largest hole down to your target diameter. Pull the entire tube through, which compacts and rounds it. The loose, wobbly tube transforms into a dense, smooth chain. Draw it down one hole size at a time, pulling firmly and evenly.
Step 7 — Finish the ends: Wire the ends to end caps or fold the wire ends back into the tube and crimp closed. Attach a clasp of your choice.
Viking Knit Tips
The most common beginner mistake is inconsistent tension — some stitches tight, others loose. This creates an uneven tube that doesn't draw smoothly through the draw plate. Focus on making each stitch the same size as you go. If the tube comes out very uneven, it's usually a tension issue, not a technique issue.
Copper wire is the best material for learning Viking knit. It's inexpensive, workable, and develops a beautiful patina over time. Move to sterling silver or gold-filled wire once you're comfortable with the stitch pattern.
Basket Weave Bezel Setting
A basket weave bezel is a wire-wrapped frame where two or more wires are woven together to form a "basket" that holds a stone. This technique creates a more interesting setting than a simple wrapped loop bail, with visible weave texture that's itself a design element.
Step-by-Step Process
Step 1 — Frame wires: Cut three or four pieces of 20-gauge wire, each 3–4 inches longer than the circumference of your cabochon. Bend them into a U-shape around the stone, with the stone sitting in the curve of the U. Hold the wires together at one end.
Step 2 — Start weaving: Cut a length of 26-gauge wire (2–3 feet). Wrap the end around all the frame wires 3–4 times near one end to secure them. Then begin weaving: pass the thin wire over the first frame wire, under the second, over the third (and under the fourth if using four). Bring it back the other way, going over the wires you previously went under. This creates a simple basket weave pattern.
Step 3 — Shape the bezel: Weave about half an inch, then gently curve the woven section around the edge of your stone. Continue weaving and shaping simultaneously, working your way around the stone. The weave should be snug against the stone but not so tight that the stone can't be inserted.
Step 4 — Close the bezel: When you've woven all the way around and met your starting point, wire the frame wires together at the top. Wrap securely with the 26-gauge wire, trim the ends, and tuck sharp ends inward with chain nose pliers.
Step 5 — Create the bail: Take the frame wires extending above the bezel and form them into a bail (loop for hanging). You can braid them, wrap them, or simply curve them into an elegant loop. Secure with additional 26-gauge wrapping at the base of the bail.
Basket Weave Tips
Consistency is the main challenge. Every stitch should be the same width and tension. If your weave looks tight in some spots and loose in others, it usually means you changed the angle or pressure at which you were pulling the wire. Work at a table with good lighting so you can see the pattern clearly.
For larger stones (over 25mm), use four frame wires. For smaller stones (under 15mm), three wires create a more proportional bezel. Two wires work for very small stones but provide less visual impact from the weave itself.
Coiling Techniques for Bead Accents
Decorative coiling adds texture and visual interest to wire-wrapped pieces. Unlike functional wrapping (where wire serves to hold stones in place), coiling is primarily decorative — the coiled wire creates ridges, spirals, and dimensional accents that enhance the overall design.
Basic Tight Coil
Use 24 or 26-gauge wire and wrap it tightly around a section of 18 or 20-gauge wire, creating a spring-like coil. The base wire can be part of your design (a pendant frame, a ring shank) or a temporary mandrel that you'll remove after coiling. Aim for even spacing between each coil turn — this is what makes decorative coiling look professional.
After coiling, the coil can be stretched slightly by pulling its ends apart, creating a more open, airy texture. Or left tight for a dense, rope-like effect. Both styles have their uses depending on the design.
Beaded Coil
Thread small beads (3–4mm) onto your coiling wire before wrapping. Each turn of the coil captures one bead, creating a beaded spiral accent. This works beautifully along ring shanks, pendant edges, or as connector elements between design sections.
The trick is keeping the beads facing outward as you coil. Use round nose pliers to reposition any beads that rotate sideways during the coiling process. After coiling, you can gently adjust individual beads with your fingers.
Cross-Coil Pattern
Create two coils that wrap in opposite directions around the same base wire section. The crossing pattern creates an X-shaped texture that's visually striking. This works well as a focal accent on pendant bails or as decorative sections on bracelet cuffs.
First, coil a section of base wire left-to-right. Then start a second coil at the same point, wrapping right-to-left over the first coil. Alternate between the two coils every 2–3 wraps. This creates an interlocking pattern that holds itself together firmly.
Twisted Wire Techniques
Simple wire twisting creates another texture option. Hold both ends of two or more wire pieces with pliers, put the middle section in a drill chuck (clamp the far end in a vise), and spin. The wires twist together into a rope-like strand.
Two-wire twist: A basic double twist. Use it for pendant bails, decorative elements, or as the structural wire in a wrapped pendant.
Multi-wire twist: Three or more wires twisted together create a heavier, more substantial look. Use 20-gauge for the individual wires when twisting three together — the resulting cable is roughly equivalent to 16-gauge in visual weight but more flexible.
After twisting, the wire is significantly harder (work-hardened by the twisting process). Plan your design around the final hardness — you won't be able to easily re-bend heavily twisted wire.
Common Problems and Solutions
Wire breaking during coiling: You're likely using wire that's too hard, or pulling with too much tension. Switch to dead-soft wire for coiling work, and let the coiling process itself harden it. If you're using half-hard wire and it keeps breaking, anneal it first (heat with a torch until it turns slightly red, then quench) to soften it.
Uneven Viking knit tube: Inconsistent stitch size during weaving. Slow down and pay attention to each stitch. Count your stitches per round and try to keep the count consistent. If the tube is beyond saving, use it as practice material and start fresh.
Weave pattern losing tension: The frame wires are spreading apart as you weave. Use a small piece of masking tape to hold the frame wires in their correct spacing at the far end while you work at the near end. Remove the tape as you approach that section.
Sharp wire ends catching on everything: You're not tucking the cut ends properly. After trimming wire ends, use chain nose pliers to fold the raw end over itself or press it flat against the nearest wire surface. A sharp wire end is a finishing flaw, not a technique problem.
Frequently Asked Questions
Can I use craft wire (copper-plated) for these techniques?
Craft wire works for learning and practice but has limitations. The thin plating wears off at bend points and the core wire may contain nickel (allergy concern for jewelry). Use solid copper for practice pieces and sterling silver or gold-filled wire for finished jewelry you plan to sell or gift.
How do I prevent my woven wire from unraveling?
Work-harden the finished piece by tapping it lightly with a rawhide or nylon hammer on a steel block. This sets the wire in place and prevents movement. For critical structural points, add a drop of jeweler's epoxy at the wire junctions — invisible once cured and adds mechanical security.
What's the difference between weaving and wrapping?
Wrapping is winding wire around another element to secure it (holding a stone, attaching a bead, connecting components). Weaving is passing wire over and under other wires in an alternating pattern to create a fabric-like texture. Weaving creates its own structural elements; wrapping secures existing elements. Many advanced pieces combine both.
How long does it take to become proficient at these techniques?
Viking knit: 3–5 practice attempts to get consistent tension. Basket weave: 5–8 practice bezels before the weave looks even. Coiling: 2–3 attempts for basic coiling, longer for complex patterns. Expect 20–30 hours of practice time across all three techniques before you're producing consistently professional results. Like any manual skill, it's about muscle memory and developing consistent hand pressure.
Frequently Asked Questions
What gauge wire is best for advanced wire weaving and coiling?
For advanced techniques like Viking knit and basket weaves, you need contrasting gauges. Use a thicker 18 to 20 gauge dead-soft wire for your structural frame. For the intricate weaving and coiling, use a thinner 26 to 28 gauge wire. This thinner gauge easily wraps around the frame without breaking, allowing our artisans to create secure, beautiful settings for our natural crystals.

Comments