Wire Wrapped Ring Tutorial
May 28, 2026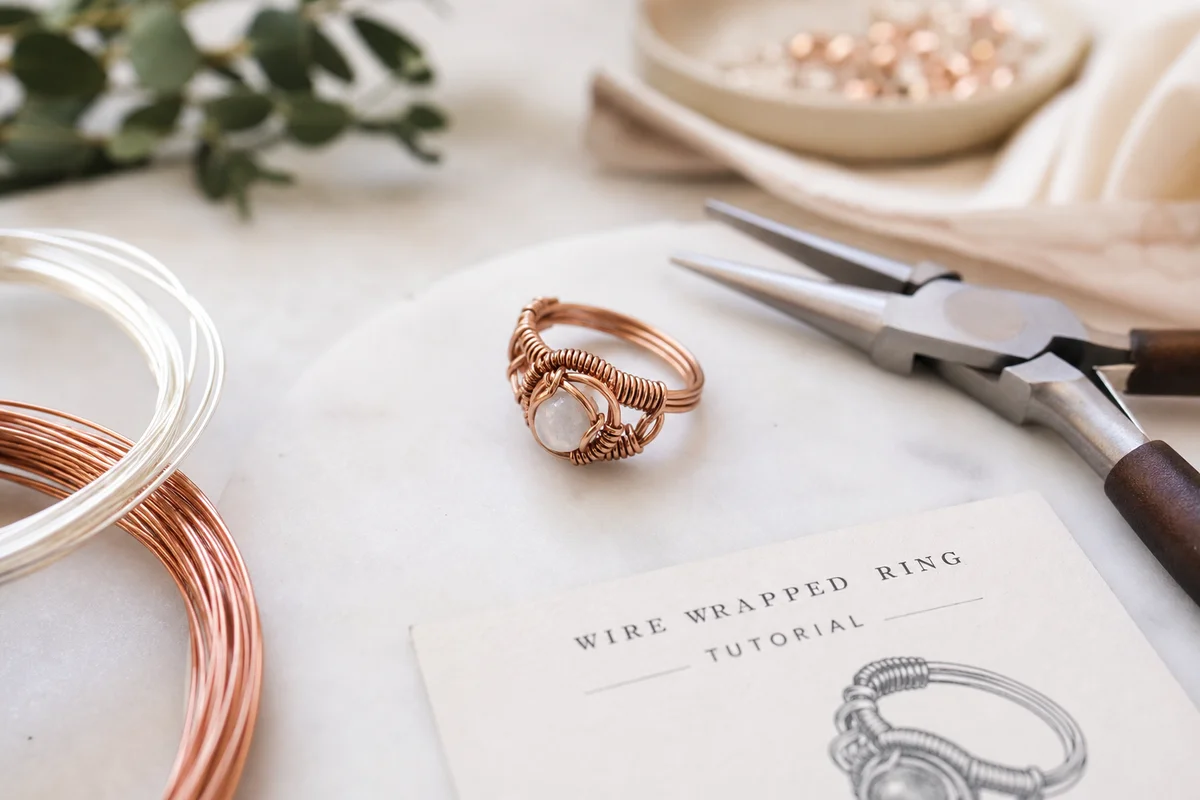
What You Need Before You Start
Wire wrapping a crystal ring is one of the most satisfying jewelry projects you can do — it's fast, doesn't require expensive tools, and produces something you can actually wear. Before you start, gather these supplies:
Tools (the minimum viable set)
- Round-nose pliers — for making loops and curves. If you can only afford one pair of pliers, make it this one.
- Flat-nose pliers — for gripping wire flat and making crisp bends. Chain-nose pliers work too.
- Wire cutters — flush cutters give the cleanest ends. Hardware store cutters work but leave rough edges.
- A ring mandrel or dowel — for sizing. A marker or thick pen works in a pinch. A graduated ring mandrel ($8-12) is worth the investment if you plan to make more than a few rings.
Wire
- 20-gauge (0.8mm) dead-soft wire — the sweet spot for rings. Thinner wire (22ga) is easier to bend but less durable. Thicker wire (18ga) is more durable but harder to work with for beginners.
- Copper wire — practice with this first. It's cheap ($3-5 for a spool), forgiving, and looks great once you develop a patina. Save silver and gold-filled wire for when you're confident in your technique.
- Length per ring: Start with 12 inches (30cm) for a simple band, 18 inches (45cm) for an adjustable wrap ring.
Stones
- Best for beginners: Round or oval tumbled stones, 8-12mm. Think small amethyst points, tumbled rose quartz, or polished moonstone cabochons.
- Avoid for your first attempt: Very thin or flat stones (they slip out of the wrap), very large stones (they overwhelm the ring), or raw crystals with sharp edges (they're harder to secure and uncomfortable against your finger).
- Stone shape matters more than stone type. A well-shaped piece of glass will be easier to wrap than a poorly shaped diamond.
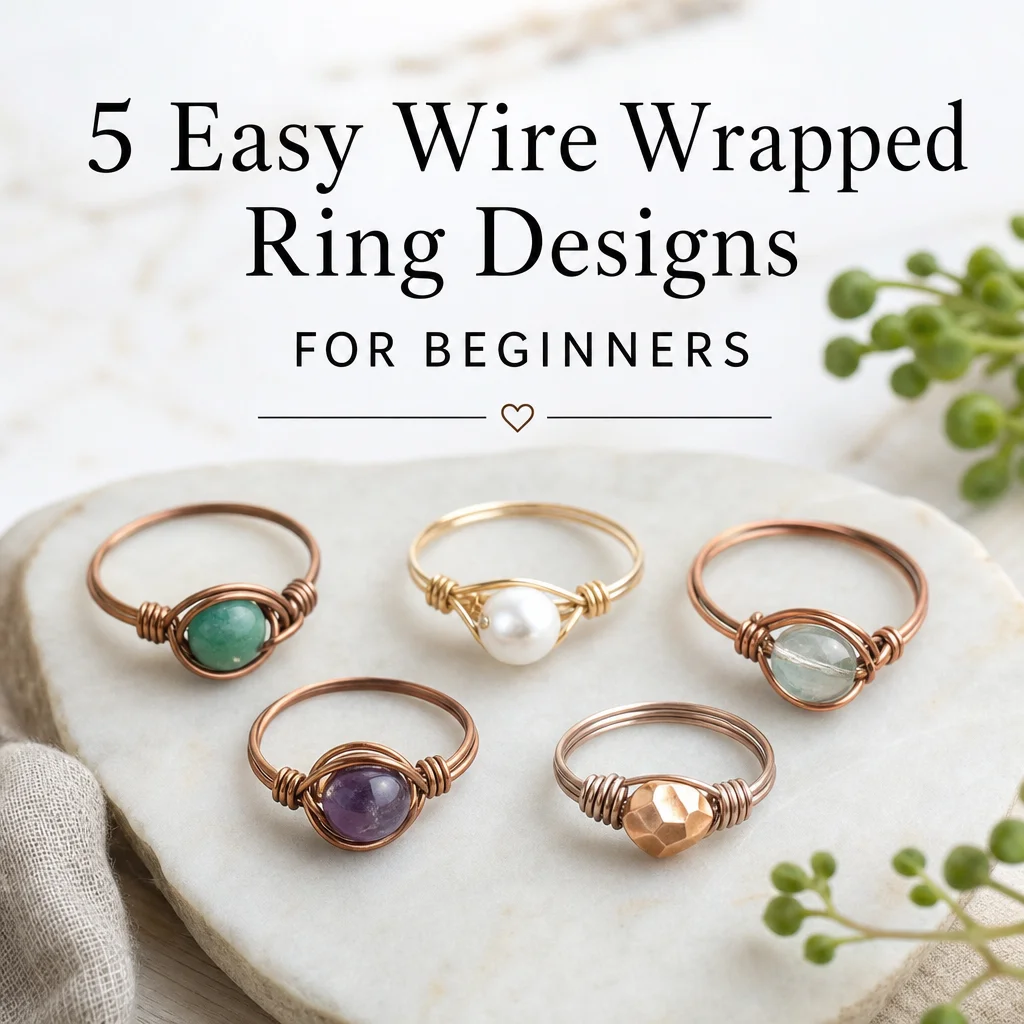
Style 1: Simple Band Ring (Easiest — Start Here)
This is the most basic wire wrapped ring and teaches you the fundamental techniques you'll use for every other style. The stone sits in a simple cradle formed by the wire.
Step 1: Create the Ring Shank
Cut 12 inches of 20-gauge wire. Find your ring size on the mandrel (or wrap a piece of string around your finger and measure it). Wrap the wire around the mandrel at your size, making 2-3 full rotations. Keep the wraps snug against each other — gaps between wraps look messy and feel uncomfortable.
Step 2: Position the Stone
Slide the coiled wire off the mandrel. Hold the coils flat between your thumb and forefinger. Place your stone on top of the coils at the center point. The wire ends should extend upward on both sides of the stone.
Step 3: Create the Stone Cradle
Bring both wire ends up and over the stone, crossing them at the top. Use your flat-nose pliers to press the wire firmly against the stone — you want it snug but not so tight that the stone cracks. Make one wire go clockwise and the other counterclockwise around the stone, creating a cage that holds it in place.
Step 4: Wrap the Securing Band
After wrapping around the stone 2-3 times, bring one wire end down to the ring shank and wrap it tightly around the shank coils 3-4 times. This is what holds everything together. Use flat-nose pliers to press each wrap down tight against the previous one.
Step 5: Finish the Ends
Cut the excess wire, leaving about 2mm. Use your flat-nose pliers to tuck the cut end down firmly against the ring. Run your finger over it — if you feel a sharp point, it needs to be tucked further. This is the most important step for wearability. A beautiful ring that scratches your finger will never be worn.
Step 6: Shape and Size
Put the ring back on the mandrel and gently tap it down to your size. The wrapping process may have slightly distorted the shank, so this step ensures a proper fit. If the ring is too small, gently stretch it on the mandrel. If it's too large, you can squeeze it slightly with your pliers.
Style 2: Adjustable Wrap Ring (Most Popular)
Adjustable wrap rings don't need to be sized precisely because they open and close to fit any finger. This makes them excellent gifts and great for selling (one size fits most).
Step 1: Start at the Stone
Cut 18 inches of 20-gauge wire. Hold your stone in your non-dominant hand. Place the center of the wire behind the stone and bring both ends up and over the front, crossing them. Wrap each end around the stone 2-3 times in opposite directions, creating a secure cage.
Step 2: Form the Adjustable Band
Once the stone is secure, you'll have two wire ends extending from opposite sides. These become your ring band. Take one end and curve it into a gentle arc using your round-nose pliers — this will be the top of the ring that goes over your finger. Do the same with the other end.
Step 3: Create the Curl Ends
Using your round-nose pliers, curl the end of each wire into a small decorative loop. These loops serve two purposes: they look nice, and they prevent the wire ends from scratching your skin. The open design between the two ends allows the ring to adjust — simply gently squeeze or pull the ends closer together or further apart.
Step 4: Refine the Shape
Slip the ring on your finger and adjust the curve of the band so it sits comfortably. The stone should face up, and the band should rest against the sides of your finger without pinching. Make final adjustments to the wire wraps around the stone — tighten any loose sections and ensure the stone doesn't wiggle.
Style 3: Double-Wrap Statement Ring
This style uses more wire and creates a bolder look — the band wraps twice around your finger and the stone is secured with a more elaborate cage. It's worth attempting after you've mastered Styles 1 and 2.
Step 1: Measure for a Double Wrap
You'll need about 24 inches of wire. Start by wrapping the wire around your ring mandrel twice — these two wraps form the visible double band. Keep them close together but not overlapping.
Step 2: Secure and Separate
Bring both wire ends to the top of the ring. Wrap one wire tightly around both bands 3-4 times right at the center — this holds the double band together. Separate the remaining wire ends and position your stone between them.
Step 3: Create an Ornamental Cage
Wrap each wire around the stone, but instead of simple wraps, try adding small loops: wrap once, use your round-nose pliers to create a small loop, wrap again, create another loop. This creates a decorative cage that's both functional and beautiful. 3-4 loops on each side is usually enough.
Step 4: Secure and Finish
Bring both wire ends back down to the double band and wrap them around it tightly. Tuck the cut ends as before. The double band provides a more substantial, jewelry-like feel than a single band.
Common Beginner Mistakes and How to Fix Them
| Problem | Cause | Fix |
|---|---|---|
| Stone falls out | Wraps too loose or too few | Add 1-2 more wraps around the stone. Use flat-nose pliers to tighten existing wraps. |
| Ring is uncomfortable | Wire ends not tucked properly | Run your finger over every wire end. If you feel a poke, tuck it further with flat-nose pliers. |
| Ring doesn't hold its shape | Wire too thin or too soft | Use 20-gauge wire minimum. Half-hard wire holds its shape better than dead-soft. |
| Wraps look messy | Inconsistent tension | Practice wrapping wire around a plain dowel 20 times before working with a stone. |
| Stone cracked during wrapping | Pliers pressed too hard | Use nylon-jaw pliers or wrap your plier tips in tape. Grip firmly but don't squeeze. |
| Ring size is wrong | Measured incorrectly or wire shifted during wrapping | Always re-size on the mandrel after completing the wrap. Adjust before cutting the final ends. |
Upgrading Your Wire and Materials
Once you're comfortable with copper wire, consider these upgrades:
- Sterling silver wire (20-gauge, half-hard): The standard for quality wire-wrapped jewelry. About $8-12 for a 10-foot spool. Half-hard temper holds its shape better than dead-soft, making it ideal for rings.
- Gold-filled wire: More affordable than solid gold but much more durable than gold-plated. About $15-25 for a 10-foot spool. Gold-filled wire has a thick layer of gold that won't wear off with normal use.
- Copper with patina: Don't discard your copper practice pieces. Soak them in a solution of vinegar and salt for 30 minutes, then let them air dry. The resulting patina (blue-green oxidation) gives copper jewelry an organic, artisanal look.
- Colored craft wire: Available in every color. Cheap and fun, but the color coating can chip at bend points. Best for practice pieces, not for jewelry you want to wear long-term.
Stones That Work Best for Wire Wrapped Rings
| Stone | Why It Works | Price Range |
|---|---|---|
| Amethyst points (small) | Natural point shape is easy to secure, purple color is universally loved | $1-3 per stone |
| Rose Quartz tumbled | Smooth, rounded shape fits securely in wraps | $0.50-2 per stone |
| Tiger's Eye oval cabochons | Chatoyant flash looks stunning in wire wraps | $2-5 per stone |
| Lapis Lazuli rounds | Deep blue with gold specks, dramatic in silver wire | $3-8 per stone |
| Moonstone cabochons | Blue flash is visible from every angle when wrapped | $2-6 per stone |
| Raw quartz points | Organic, natural aesthetic. Secure the base and let the point extend upward. | $1-4 per stone |
Safety Tips
- Eye protection: Wire ends can fly when cut. Always point wire cutters away from your face and close your eyes at the moment of cutting. Safety glasses are a good idea.
- File your wire ends: A jeweler's file ($3-5) smooths cut wire ends better than pliers alone. This is especially important for rings, where sharp ends contact your skin.
- Don't force thick wire: If your hands hurt while bending, the wire is too thick or too hard for your skill level. Switch to a thinner gauge until your hands get stronger.
- Take breaks: Wire wrapping is surprisingly hard on your hands. Stop every 20-30 minutes and stretch your fingers, wrists, and forearms.
FAQ
Q: How long does it take to make a wire wrapped ring?
A: Your first ring will take 30-45 minutes as you figure out the technique. After making 5-10 rings, you'll be able to complete one in 10-15 minutes. Experienced wire wrappers can make a simple ring in under 5 minutes.
Q: Will the wire turn my finger green?
A: Copper wire can cause a green mark on some people's skin due to oxidation. This is harmless. To prevent it, coat the inside of the ring band with clear nail polish or jewelry sealant. Silver and gold-filled wire don't cause this reaction.
Q: Can I wash my hands while wearing a wire wrapped ring?
A: It's better to remove it. Water accelerates copper oxidation and can loosen the wire wraps over time. Silver and gold-filled rings are more water-resistant but still shouldn't be worn in chlorinated pools or saltwater.
Q: What's the best wire gauge for someone with weak hands?
A: Start with 22-gauge dead-soft copper wire. It's easier to bend but still sturdy enough for a ring. Move up to 20-gauge once your hands get stronger. Avoid 18-gauge until you're comfortable with the technique — it requires significant hand strength.
Q: Can I sell wire wrapped rings?
A: Absolutely. Wire wrapped crystal rings sell well at craft markets, Etsy, and Instagram for $15-40 depending on materials. Sterling silver wraps with quality stones command $30-60. Copper wraps with tumbled stones are perfect for the $15-25 price point.
Frequently Asked Questions
How long do wire wrapped rings last?
With proper care, a handcrafted wire wrapped ring can last a lifetime. SagStone uses high-quality, tarnish-resistant wire and secure weaving techniques to ensure extreme durability. To prolong its life, avoid pulling the wire ends, keep the metal dry, and store your ring in a separate pouch to prevent the wire from bending or scratching.
Can you shower or wash hands with a wire wrapped ring?
While our artisan rings are crafted for everyday wear, we highly recommend removing them before showering or washing dishes. Constant exposure to water, soap, and harsh chemicals can accelerate tarnishing on the wire and potentially degrade the natural crystal's polish over time. Taking your ring off ensures both the wire tension and the gemstone remain pristine.
Do wire wrapped rings tarnish over time?
Tarnishing depends entirely on the metal material used. Pure copper and sterling silver will naturally oxidize and develop a beautiful vintage patina over time. However, SagStone often utilizes high-grade tarnish-resistant copper and gold-plated alloys to delay this process. To keep your handcrafted jewelry looking brand new, simply polish it gently with a soft jewelry cloth.
Can wire wrapped rings be resized if they don't fit?
Yes, one of the greatest benefits of wire wrapped jewelry is its inherent adjustability! Unlike traditional soldered metal rings, many of our adjustable wrap styles can be gently squeezed or expanded to perfectly fit your finger. However, for fixed-band crystal rings, resizing isn't possible without completely re-wrapping the piece, so always check our sizing guide.
Is wire wrapping secure enough for expensive crystals?
Absolutely. Wire wrapping is an ancient, highly secure metalsmithing technique that requires no glue or heat. At SagStone, our artisans meticulously calculate tension and use specific interlocking weaves to firmly "cage" even your most precious natural crystals. The wire grips the stone securely at multiple pressure points, ensuring it will never fall out.
Comments