Wire Wrapped Crystal Cuff Tutorial
June 10, 2026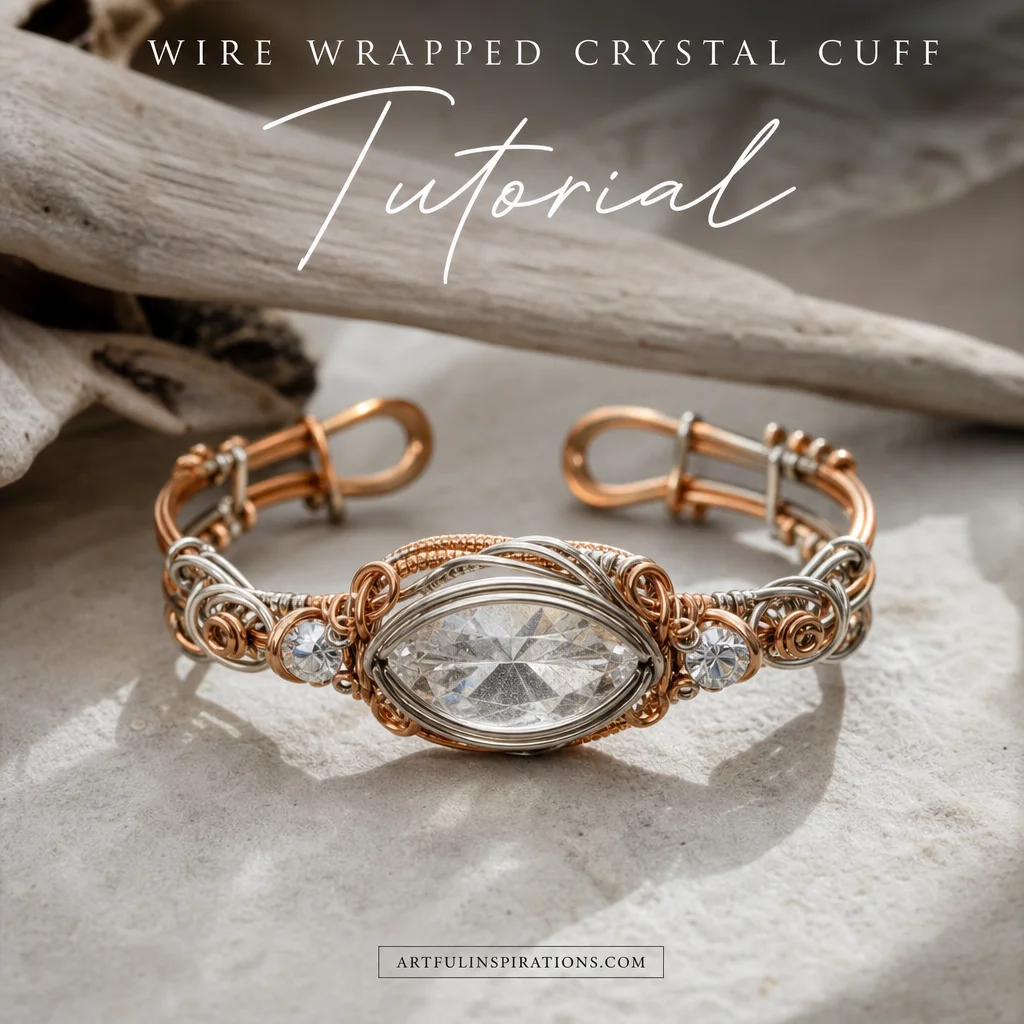
Step-by-Step Wire Wrapped Crystal Cuff Tutorial for Beginners
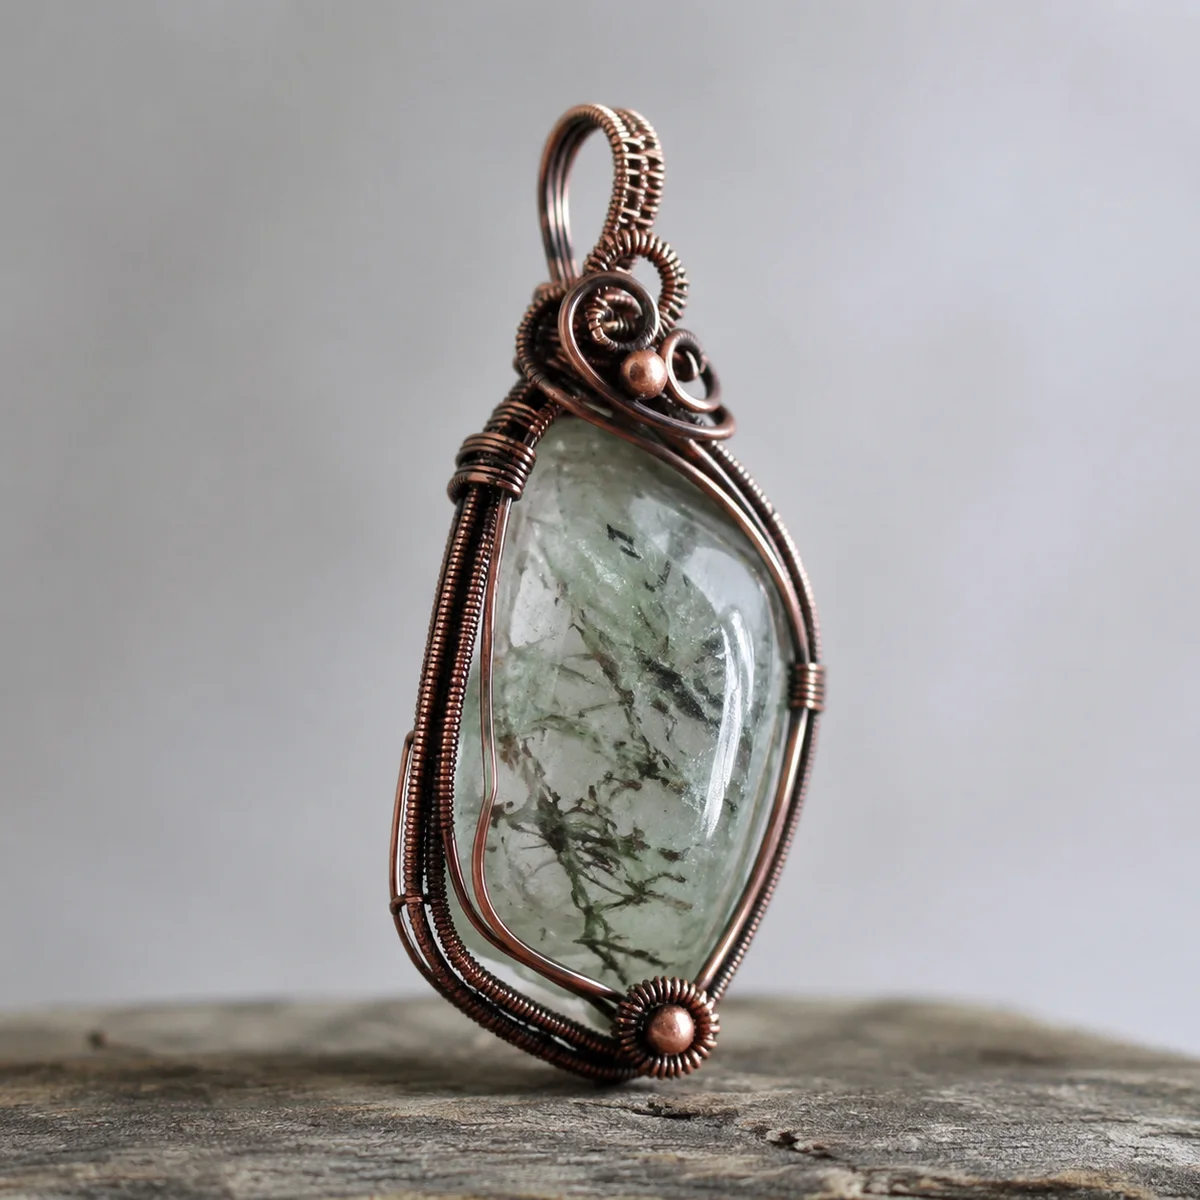
Starting a new jewelry-making project is so thrilling, especially when you're jumping into the enchanting world of crystals. Making a wire-wrapped crystal cuff bracelet is a fantastic way to kick things off—it's adorable and not too challenging for beginners. I'll guide you through it all, step by step, so you can craft your very own piece of wearable art. 🌟 What I love about it is it's not too hard, and it's just so much fun to make!Materials Needed:
Hey there! So, if you're into crafting your own crystal bling, here's the lowdown: - Grab some 16-20 gauge copper wire or go for the gold with some sterling silver wire - snag a brass cuff blank or just use some chunky wire for the frame - Pick up some tiny tumbled crystals or chips. Oh, and what I love about them? Amethyst, rose quartz, and clear quartz - And don't forget your trusty round nose pliers, chain nose pliers, and wire cutters - And nylon jaw pliers? They're a total lifesaver - And hey, if you're feeling extra, throw in some tiny beads too! Just a heads-up, you might want to hit up SageStone.com. They've got everything you need!Step 1: Find Out Your Wrist Size
Alright, here's the deal – you gotta measure your wrist so the bracelet fits just right. Most folks are usually around 6-7 inches, but hey, we're all unique, so it's not one size fits all. Grab a soft tape measure and wrap it around your wrist. And don't forget to give yourself a teeny bit of wiggle room for comfort, 'cause no one likes a bracelet that's either too tight or too loose, you know what I mean?Step 2: Frame It Up, Buddy
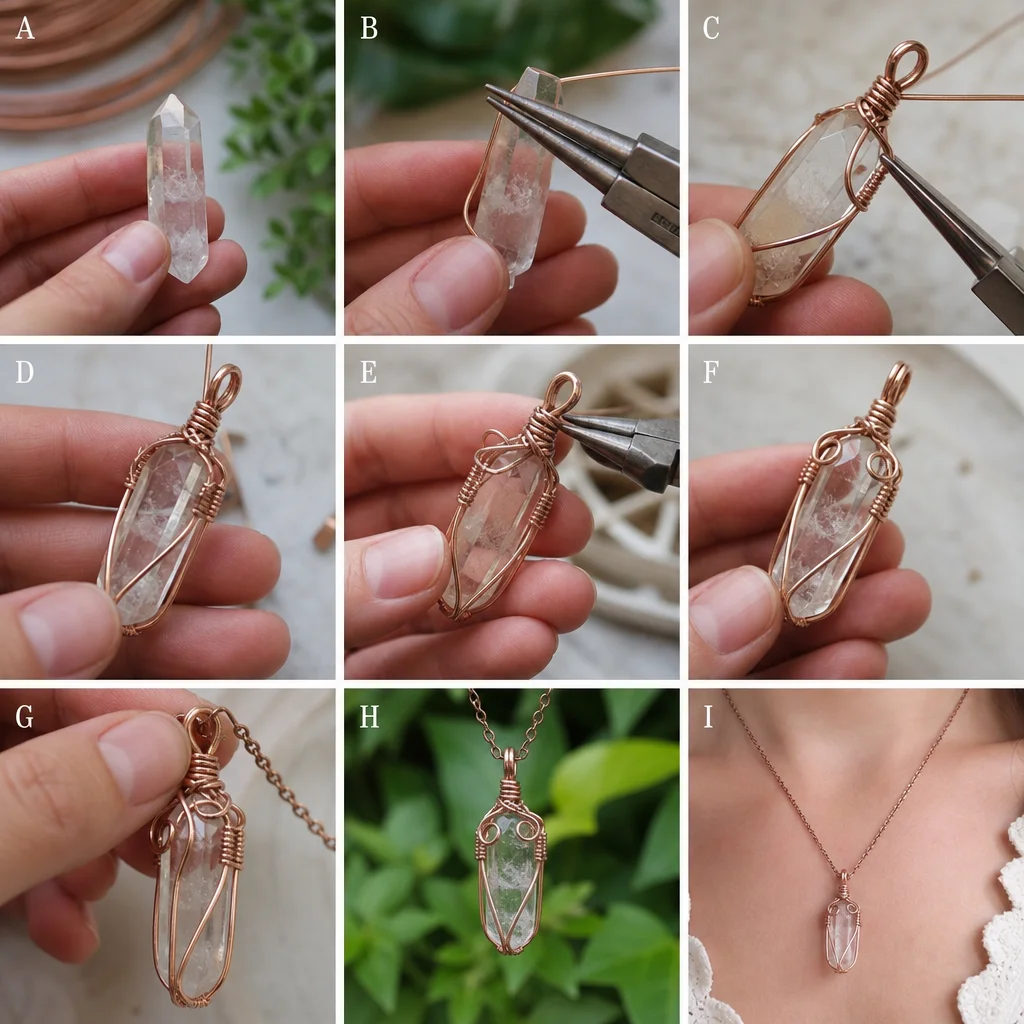
Alright, here we go. First up, we're crafting the frame for your bracelet. So, if you're working with that brass cuff blank, just give it a little snip to fit your wrist. And if you're dealing with thick wire, just bend it into a circle, like a perfect wrist fit. Just make sure you've got those round nose pliers on deck to keep the ends nice and tight.Step 3: Wrap Thinner Wire Around Frame
Alright, so you've got your thinner wire (16-20 gauge) ready to go? Just start wrapping it around the base frame, okay? This is where the magic really kicks in, where your bracelet starts to really come alive. First, just wrap it around the ends to make sure it stays put, then keep wrapping nice and even. Just keep going until it's as chunky as you like for your bracelet.Step 4: Get those Crystals on the Bracelet
Alright, let's rock this out! Grab your favorite crystal, the one you can't live without, and plop it down where you want it on the bracelet. Now, break out those round nose pliers and give that wire a good wrap, make sure it's snug but not too tight, so it doesn't wiggle all over the place. Keep doing this for all your crystals, and hey, why not leave a little space or go for a pattern that totally rocks?Step 5: Add Some Swirls and Loops to Your Bracelet
Alright, so your crystals are all in place now. Want to really make your bracelet stand out? Add some swirls and loops! It's not a deal-breaker, but it's a fun way to level up your bracelet game. To swirl it up, just twist the wire into a little circle, like you're making a mini hoop. And for a loop, just wrap it around those nose pliers and give it a tug.Step 6: Get Those Edges Smooth
Alright, so you've got all the bling on there, right? Grab those nylon jaw pliers, now. Just smooth out those rough edges real quick, okay? It'll make your bracelet way more comfy to wear and give it that sleek finish.Step 7: Give It a Quick Polish with a Jewelry Cloth
Alright, so you're all set, right? Now, just grab a jewelry cloth and give your bracelet a little rub. It's amazing how that quick polish can make those crystals and wire really pop with shine! It's like magic, honestly. 🌟Design Variations:
Choosing Your Crystal Bracelet Style
Hey there! So, you're thinking about snagging a crystal bracelet, huh? There are like a gazillion styles to choose from, it's super hard to decide! I've found what I love about SageStone's collection is that there's something for everyone. And honestly, the style you pick is totally up to you. Like, if you're all about the beach life, something with a boho flair might be your jam. Or if you're more of a city chick, something sleek and chic could be the way to go. Now, let's chat about the materials. I've seen some adorable bracelets with rose gold accents, and I'm obsessed. But, if you're into the classic vibe, silver is a solid choice. And don't forget, the size's a big deal. You want it to fit nice and snug, but not so tight that it jangles all day. So, take your time, and find the one that calls your name!Hey, are you into crystal bracelets? I've got to tell you about these bad boys: we've got these totally rad Single Crystal Focal bracelets. Just pick your favorite crystal and let it take center stage! It's super easy and they really pop. Or, if you're into something a bit more understated, our Multi-Crystal Scatter designs are the way to go. They're all about those teeny tiny gems spread out for a chill vibe. And, if you're looking for something totally different, the Asymmetrical styles are the bomb. It's all about mixing crystals and decorations in a totally cool, off-kilter way. It's like, so unique, like, completely one-of-a-kind. Give 'em a shot, you'll see what I mean!
Frequently Asked Questions
Q: Can I use any type of wire for this project?
A: For sure! You can go with 16-20 gauge copper wire or sterling silver wire—they're both awesome. Copper's really sturdy and it's also way cheaper, which is a total win in my book!Q: What size crystals should I use?
A: Hey, the size totally depends on your vibe! Big crystals are like a statement piece, but tiny ones are just cute and add that extra shimmer. Just make sure they're not too bulky, so they fit okay on the wire.Q: Can I use other types of beads with my crystals?
A: Oh, for sure! I often mix in some little beads between my crystals. It totally ups the ante and the colors really pop, too!Q: How do I know if my bracelet is the right size?
A: Hey, so to make sure your bracelet fits just right, go ahead and measure your wrist and then add a bit of extra space for comfort. The usual wrist size is like, 6-7 inches, but we're all unique, aren't we? And I've found that having a little wiggle room is way better than having it feel too snug. No one likes a bracelet that's too tight, honestly!Q: Can I use this technique to make other types of jewelry?
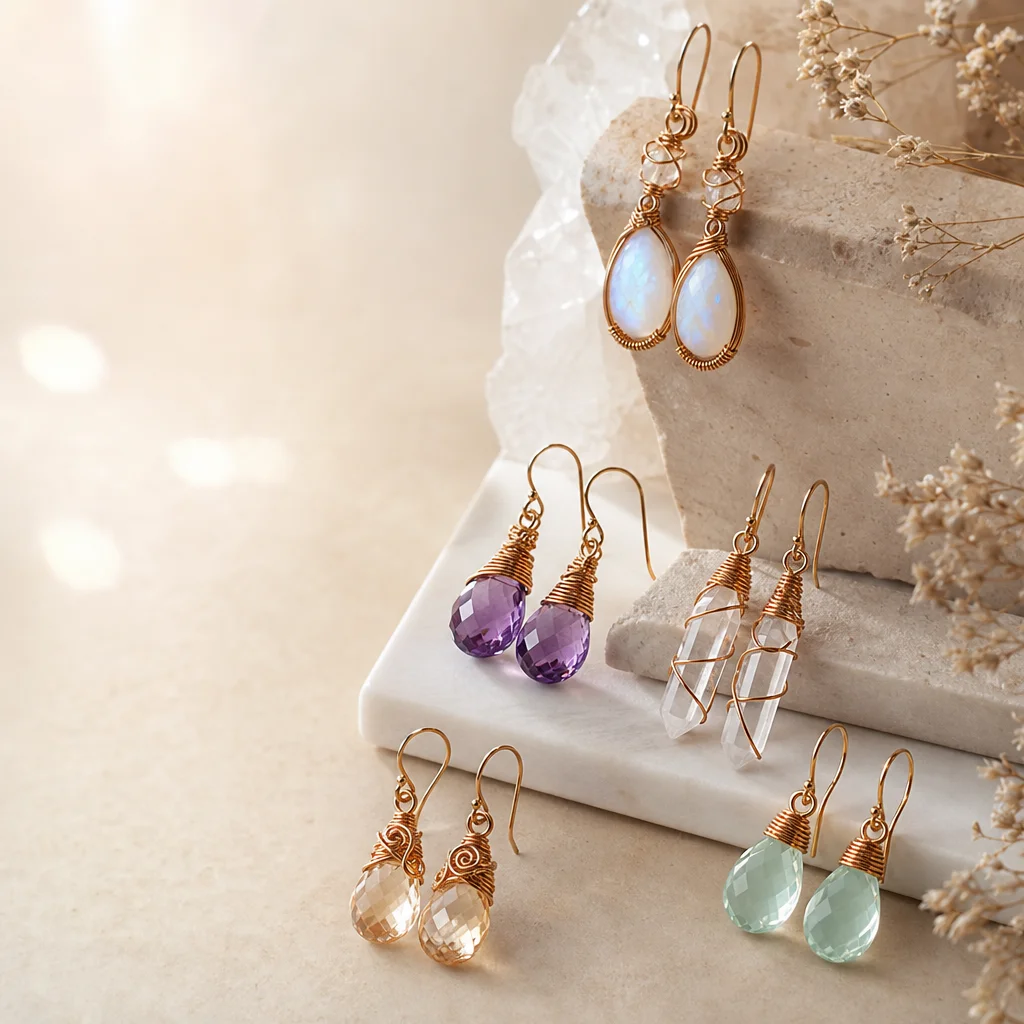
A: Oh, absolutely! The wire-wrapping technique is a total game-changer. It's perfect for making necklaces, earrings, and pendants. It's like having a secret jewelry-making trick up your sleeve! Plus, you can totally let your creativity go wild with all the designs you'll make.Q: Do we talk about crystal healing in this tutorial?
A: Oh yeah, we totally dive into crystals! But let me be clear, I'm not saying they're going to wave a magic wand and make all your problems disappear. It's all about what you believe in and respecting the facts, you know? Just don't go in expecting a miracle cure, alright?Q: Can I make this bracelet with my kids?
A: Oh yeah, totally! It's super fun to do with the little ones, kind of like a mini craft party. They get to get super creative and have a blast making their own stuff. Just keep an eye on them, especially when they're playing with the wire cutters and pliers, okay? They're sharp, you know.Q: What if I make a mistake?
A: Hey, no worries! Everyone messes up now and then. Just snip the wire and try again. It's actually pretty cool because it helps you get better, trust me!Q: Can I sell the bracelets I make?
A: Absolutely! I've found that a lot of crafty folks who love making jewelry end up selling their creations. You could start by selling to friends or even give it a shot online. Just make sure to label them clearly and let people know they're for display, not for wearing.Q: How can I personalize my bracelet even more?
A: Oh, personalizing your bracelet? That's super easy! Just pick out your favorite crystals or throw on a little message with an engraved bead. There are so many options, you can really let your creativity shine and make it your own. Making a wire-wrapped crystal cuff bracelet is super fun and rewarding. It's like a craft project where you get to wear the art you made. Whether you're after a new hobby or just want to jazz up your outfit, this tutorial has all the info you need to start. Happy crafting, my friend! 🌟Understanding the Science Behind Wire Wrapping
Have you ever wondered what makes wire wrapping such a unique and enduring art form? The process itself involves the manipulation of metal, which is an element with its own fascinating properties. Here's a quick look at the science behind wire wrapping:- Metals and their Properties: The metals used in wire wrapping, such as copper and silver, are conductive and malleable. This means they can conduct electricity and be easily bent and shaped.
- Malleability: When you bend and wrap the wire, you're taking advantage of its malleability. This property allows the wire to be reshaped without breaking.
- Ductility: Ductility is the ability of a material to be stretched into a thin wire. This is crucial for wire wrapping as it allows the wire to be pulled through loops and around crystals.
- Hardness: The hardness of the wire determines how easily it can be cut and shaped. Harder wires, like stainless steel, are more difficult to work with but can produce a more durable piece.
Historical Context and Cultural Significance
Wire wrapping has a rich history that spans across different cultures and time periods. Here are a few interesting facts:- Ancient Art: Wire wrapping techniques have been used for thousands of years. In ancient Egypt, goldsmiths used intricate wire wrapping to create jewelry that was worn by pharaohs and elite members of society.
- Medieval Craftsmanship: During the Middle Ages, wire wrapping became a common technique used by goldsmiths and silversmiths to create jewelry and other decorative items.
- Modern Revival: In the 20th century, wire wrapping experienced a revival, particularly in the 1970s and 1980s. This was partly due to the popularity of beadwork and the desire for unique, handmade jewelry.
Practical Usage Scenarios and Tips
Wire wrapping is a versatile technique that can be used to create a wide range of jewelry pieces. Here are some practical usage scenarios and tips:- Layering: To create a layered look, you can wrap multiple wires together or use different gauges of wire for a more textured effect.
- Patterned Wrapping: Experiment with different wrapping patterns to create unique designs. You can use a combination of tight, even wraps and loose, decorative loops.
- Adding Beads: To add extra flair, consider incorporating small beads between the crystals or around the edges of the bracelet.
Related Crystals/Minerals Comparisons
When choosing crystals for your wire-wrapped cuff bracelet, it's helpful to understand the properties of different types of crystals. Here's a comparison of a few popular options:- Amethyst: Known for its purple hue, amethyst is said to promote calm and peace. It's a great choice for those looking to add a touch of serenity to their jewelry.
- Rose Quartz: With its soft pink color, rose quartz is often associated with love and compassion. It's a popular choice for those seeking to enhance their emotional well-being.
- Clear Quartz: Clear quartz is known as the "master healer" and is believed to amplify energy and enhance clarity of thought. It's a versatile choice that can be used in a variety of settings.
Buying Guide Considerations
When purchasing materials for your wire-wrapped crystal cuff bracelet, consider the following:- Quality of Wire: Choose high-quality wire that is durable and easy to work with. Look for wires that are well-stranded and have a smooth finish.
- Crystals: Select crystals that are clean, clear, and free of chips or cracks. The quality of the crystals will greatly impact the overall appearance of your bracelet.
- Tools: Invest in a good set of pliers and wire cutters. These tools will make the process much easier and help you achieve professional-looking results.
Care and Maintenance Details
To keep your wire-wrapped crystal cuff bracelet looking its best, follow these care and maintenance tips:- Avoid Water: Keep your bracelet away from water and chemicals, as they can tarnish the metal and damage the crystals.
- Polish Regularly: Use a jewelry cloth to polish the metal and clean the crystals regularly to maintain their shine.
- Storage: Store your bracelet in a soft cloth or jewelry pouch to prevent scratches and damage.
Common Mistakes to Avoid
When learning wire wrapping, it's easy to make mistakes. Here are a few common ones to avoid:- Over-tightening: Be careful not to over-tighten the wire around the crystals, as this can cause them to crack or break.
- Inconsistent Wrapping: Try to maintain a consistent wrapping pattern to ensure a uniform look.
- Poor Tool Use: Use the right tools for the job. Using the wrong pliers or cutters can make the process more difficult and lead to subpar results.
Additional Design Ideas
If you're looking to add a bit more flair to your wire-wrapped crystal cuff bracelet, consider the following design ideas:- Incorporating Gemstones: Add gemstones such as citrine or lapis lazuli for a pop of color and additional healing properties.
- Creating a Statement Piece: Use larger crystals or a combination of different sizes to create a bold statement piece.
- Embellishing with Beads: Use beads in complementary colors to create a more intricate and colorful design.
Final Thoughts
Creating a wire-wrapped crystal cuff bracelet is a rewarding and enjoyable project that allows you to express your creativity and wear a piece of wearable art. By following this tutorial and incorporating the tips and ideas provided, you'll be well on your way to crafting a beautiful and unique piece of jewelry. Remember to take your time, enjoy the process, and have fun experimenting with different designs and materials. Happy crafting!Frequently Asked Questions
What gauge wire is best for wrapping a crystal cuff bracelet?
For a sturdy handmade crystal cuff, you need a thick base wire, usually 14-gauge or 16-gauge, to maintain the bracelet's shape. For the intricate wrapping and securing the stone, use a softer 22-gauge or 24-gauge wire. This combination ensures your artisan jewelry piece is both structurally sound and beautifully detailed.
How do you keep a raw crystal secure in a wire wrap?
To securely hold a raw or tumbled crystal, start by creating a basket weave or cage pattern with 22-gauge wire. Always anchor the wire tightly at the base of the stone and use your pliers to pinch the loops snug against the crystal's edges. Proper tension is the secret to artisan-quality wire wrapping that lasts.
Can I make a wire wrapped crystal cuff adjustable?
Yes, you can easily make a wire wrapped cuff adjustable! Because copper, sterling silver, and gold-filled wires are naturally malleable, the wearer can gently squeeze or expand the open ends of the bracelet to fit their wrist. Just ensure the base wire is thick enough to withstand gentle bending without breaking over time.
What are the easiest crystals to wire wrap for beginners?
If you are new to making handcrafted jewelry, start with stones that have distinct shapes, such as quartz points, tiger's eye, or raw amethyst. Crystals with flat edges or natural facets are much easier to secure with wire than perfectly smooth, round tumbled stones, which tend to slip out of the wrap easily.
How do I care for my handmade wire wrapped crystal jewelry?
To keep your handcrafted wire wrapped crystal cuff looking beautiful, avoid wearing it while swimming or showering, as water can oxidize certain metals. Store it in a dry place, and gently clean the wire and crystal with a soft, lint-free cloth. Handle the piece by the band rather than pulling on the delicate wirework.
Design and Aesthetics
This section covers important aspects of design and aesthetics. For detailed information, please refer to the FAQ section below.
Materials and Craftsmanship
This section covers important aspects of materials and craftsmanship. For detailed information, please refer to the FAQ section below.
How to Choose the Right Piece
This section covers important aspects of how to choose the right piece. For detailed information, please refer to the FAQ section below.
Styling and Wearing Tips
This section covers important aspects of styling and wearing tips. For detailed information, please refer to the FAQ section below.
Care and Maintenance
This section covers important aspects of care and maintenance. For detailed information, please refer to the FAQ section below.

Comments