Wire Wrapped Copper Ring Tutorial: Crystal Ring
June 3, 2026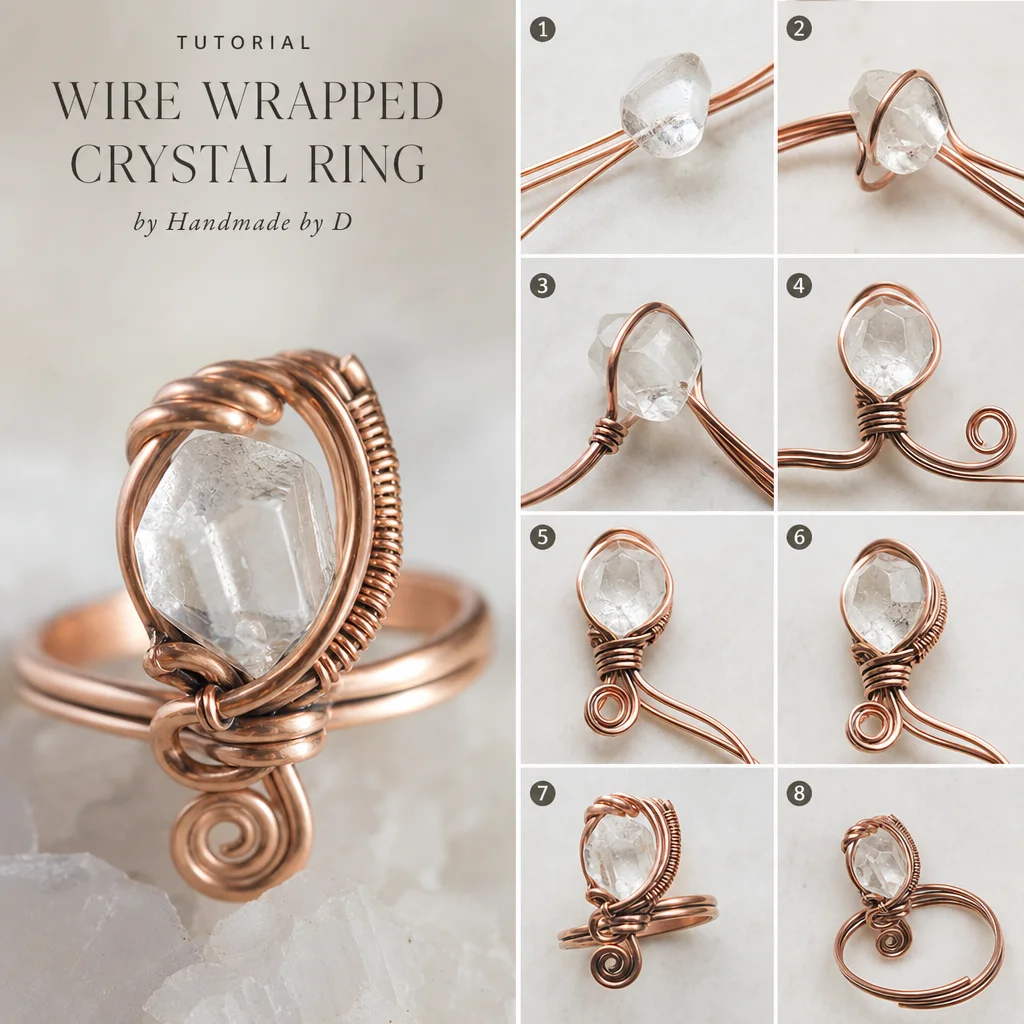
What You Need to Get Started
Before starting this project, gather these materials and tools:
Materials
- Copper wire: 18-gauge (0.8mm) for the ring band and 20-gauge (0.8mm) or 22-gauge (0.6mm) for the crystal wrapping. Dead-soft temper is easier to work with; half-hard holds its shape better for the band.
- A small crystal or tumbled stone: 8-15mm in size works best for a ring. Good choices include amethyst points, small tumbled quartz, rose quartz, citrine, or any stone that is not too fragile.
- Optional: Clear nail polish, Renaissance Wax, or Varathane for sealing the copper against tarnish.
Tools
- Round-nose pliers
- Chain-nose (flat-nose) pliers
- Wire cutters (flush cutters preferred)
- Ring mandrel or a cylindrical object close to your ring size (a marker, thick dowel, or lipstick tube)
- Ruler or measuring tape
- Nail file or fine sandpaper (for smoothing wire ends)
Total material cost for one ring: approximately $3-8 depending on the crystal. The wire is the cheapest component—a spool of copper wire costs $5-10 and makes 15-20 rings.
Understanding Wire Gauge
Wire gauge can be confusing because lower numbers mean thicker wire. For this project:
- 18-gauge: Sturdy enough to form the ring band without bending out of shape during daily wear. This is your structural wire.
- 20-gauge: A good middle ground for wrapping. Flexible enough to wrap around the crystal but strong enough to hold securely. Recommended for most crystals.
- 22-gauge: Very flexible, good for delicate wrapping patterns and decorative work around small or fragile crystals. Too thin for structural support.
- 16-gauge: Too thick for most crystal wrapping work—it is difficult to bend around small stones and will not create smooth, tight wraps.
For your first ring, use 18-gauge for the band and 20-gauge for wrapping. As you gain experience, you can experiment with thinner decorative wraps (22-gauge) for more intricate designs.
Step 1: Measure Your Ring Size
Wrap a piece of string or thin wire around the finger where the ring will sit. Mark where it overlaps, then measure the length in millimeters. This gives you the circumference of your ring.
Convert circumference to the band length by adding approximately 15-20mm for the wire that wraps around the crystal and the overlap at the ends. For example, if your finger circumference is 55mm, cut your 18-gauge wire to about 70-75mm.
Alternatively, use a ring mandrel marked with standard ring sizes. If you are making the ring for someone else, ask for their standard ring size and use the mandrel to form the band to the correct diameter.
Step 2: Form the Ring Band
Take the 18-gauge copper wire and wrap it around your ring mandrel (or cylindrical object) at the correct size. Make one complete loop and let the ends overlap slightly—they will be wrapped later to secure the crystal.
Use your fingers to shape the basic circle, then fine-tune it on the mandrel. The band should be a smooth, even circle with no kinks or flat spots. If the wire develops kinks, straighten them out gently with chain-nose pliers before continuing.
Step 3: Position the Crystal
Place your crystal at the point where the two wire ends overlap. The crystal will sit on top of the band, secured by the wrapping wire. Adjust the position so the crystal is centered and sits flat against the band.
For tumbled stones, the flattest side should face down against the finger side of the band. For crystal points, orient the point upward or outward, depending on the look you prefer. The natural orientation of the stone usually determines the most attractive position.
Step 4: Wrap the Crystal Base (Three Wraps)
Cut about 30-40cm of your 20-gauge wrapping wire. Hold one end against the ring band, then wrap the wire around both the band and the crystal base three times. The first three wraps should be snug against each other, creating a stable anchor point.
Technique: Hold the wrapping wire with your non-dominant hand, keeping gentle tension. Use your dominant hand to rotate the ring slowly while guiding the wire around with your other hand. The motion is similar to wrapping thread around a spool—consistent, even tension produces the cleanest results.
After three wraps, check that the crystal is secure and centered. If it has shifted, adjust it now before adding more wraps—once you have multiple layers of wire, repositioning becomes difficult.
Step 5: Decorative Wrapping
With the base secure, continue wrapping the wire in a pattern that covers the crystal's lower half and the adjacent band. Several approaches work well:
Simple Parallel Wraps
Continue wrapping in even, parallel coils across the crystal's base and up its lower sides. Space each wrap about 1-2mm apart for a clean, minimalist look. This is the easiest technique and produces a professional-looking result.
Cross Wrapping
Wrap the wire across the top of the crystal, then cross underneath and wrap back the other direction. This creates an "X" pattern that is more decorative but slightly less secure. Best for larger crystals with flat surfaces.
Cage Wrap
For irregularly shaped stones, create a loose cage by wrapping the wire in loops that go over the top, under the bottom, and around the sides. Leave the crystal slightly visible between the wires. This works well for natural crystal points and rough stones.
Step 6: Finish the Wire End
Once you have completed your wrapping pattern, use chain-nose pliers to tuck the wire end under an existing wrap. The goal is to hide the cut end so it does not catch on clothing or scratch the skin. Snip the excess with flush cutters and use your pliers to press the cut end flat against the wrap.
Test the ring by running your finger over all wire surfaces. Any sharp points should be smoothed with a nail file or fine sandpaper. The inside of the ring (against your finger) should be completely smooth.
Step 7: Size Adjustment
If the ring is slightly too large, gently squeeze the band at the sides opposite the crystal to reduce the diameter. Work in small adjustments—copper is soft and over-bending causes fatigue that leads to cracking.
If the ring is too small, place it back on the mandrel and gently stretch it by pushing outward from the crystal side. Be careful not to distort the wrapping when adjusting size.
For permanent size adjustments on a finished ring, it is usually easier to start over with a new band cut to the correct length. Copper work-hardens as you bend it, and re-bending the same wire multiple times weakens it.
Preventing Copper Tarnish
Copper naturally oxidizes, developing a dark brown or green patina over time. Some people love this aged look. Others prefer to keep the bright copper shine. If you want to prevent tarnish:
- Clear nail polish: The cheapest and easiest option. Brush a thin coat over the finished ring and let it dry completely. Reapply every few weeks as it wears off.
- Renaissance Wax: A microcrystalline wax used by conservators. Provides a durable, natural-looking protective coating that lasts months.
- Varathane or spray lacquer: Spray the ring from all angles for an even, durable clear coat. Best done before setting the crystal (mask the stone area).
- Embrace the patina: Many wire-wrapping artists actually accelerate the tarnish with a liver of sulfur solution to create an intentional aged look.
Troubleshooting Common Problems
- Wire keeps slipping off the crystal: You may be using wire that is too thin (switch from 22g to 20g) or wrapping too loosely. Increase tension and make the initial three wraps tighter.
- Ring band is not round: Return it to the mandrel and reshape. Use a nylon mallet (not metal) to tap the band into shape if fingers alone are not enough.
- Crystal is too small and falls through the wraps: Use more wraps or switch to a thinner gauge wire (22g) that creates tighter coils around smaller stones.
- Copper is turning my finger green: This is a normal reaction between copper and skin oils, not an allergy. The clear nail polish coating prevents it. Remove the ring and wash your hands—green marks wash off easily.
- Wrapping looks messy: Practice on a piece of scrap wire first. Consistent tension and spacing take time to develop. Even professional wire wrappers practice on test pieces before working on the final version.
Project Ideas to Build Your Skills
Once you master the basic ring, try these variations:
- Double-wrapped band: Use two strands of 18-gauge wire for the band, twisted together, for a more intricate look.
- Multiple small crystals: Use 3-4 small crystals instead of one large one, spaced evenly around the band.
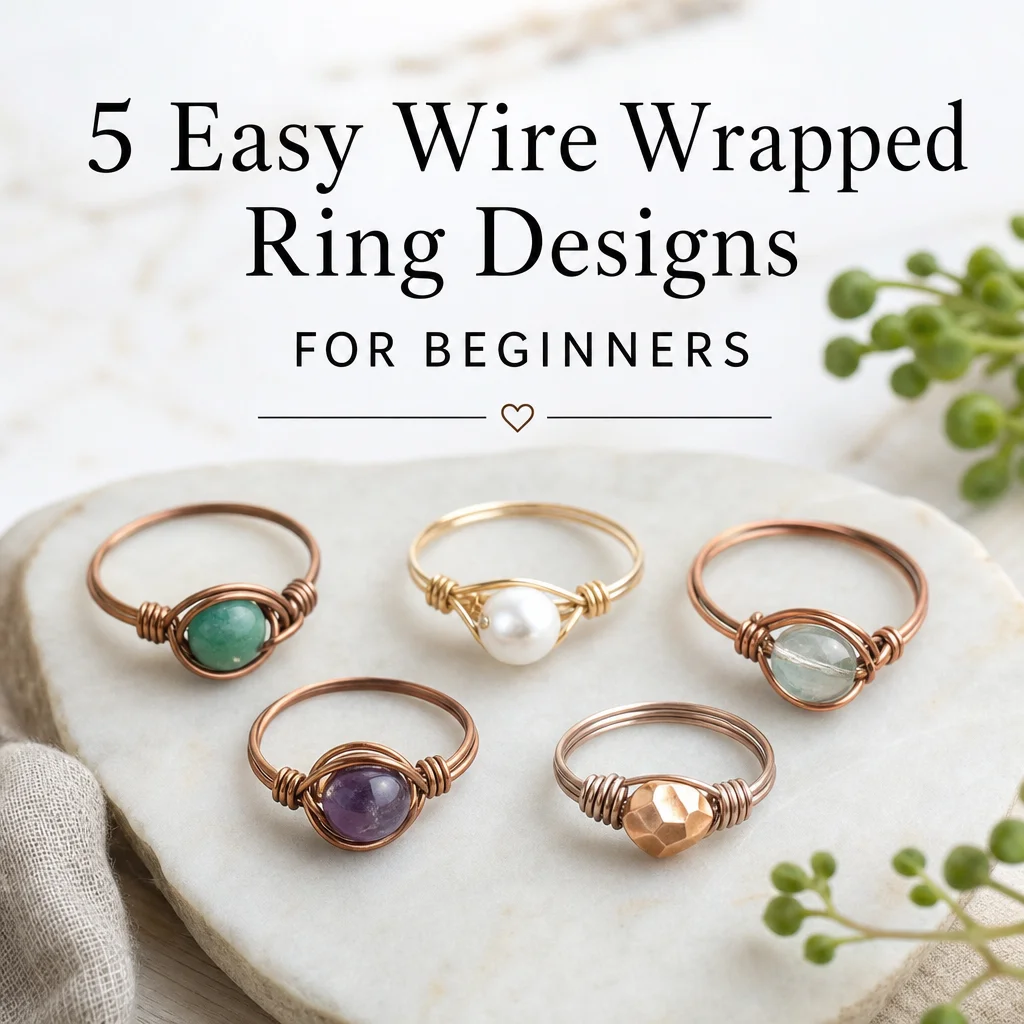
- Wrapped bead ring: Instead of a crystal, wrap a glass bead or pearl for a different aesthetic.
- Antiqued copper: Use liver of sulfur to darken the copper, then polish the high points for a vintage look.
Frequently Asked Questions
How long does a wire-wrapped copper ring last?
With normal daily wear, expect 6 months to 2 years. The copper band may develop bends or shape changes over time. Reshaping on a mandrel every few months extends the life. The wrapping is the most vulnerable part—replace the ring if the crystal becomes loose.
Can I use silver or gold wire instead of copper?
Yes. Sterling silver (20g or 22g) works beautifully and does not tarnish to green. Gold-filled wire is more expensive but very durable. The techniques are identical—only the metal's work-hardening characteristics differ slightly.
What crystals work best for rings?
Hard stones (Mohs 6+) like quartz, amethyst, citrine, and jasper work best. Avoid soft or fragile stones (celestite, calcite, turquoise) that may chip during wrapping or crack under daily wear pressure.
Can I sell these rings?
If you plan to sell, use higher-quality materials (sterling silver or gold-filled wire, natural gemstones), invest in good photography, and price based on materials plus time ($15-45 is a common range for handmade wire-wrapped rings at craft markets and online shops).
Frequently Asked Questions
How do I stop a copper ring from turning my finger green?
Copper
Comments