How to Wire Wrap Sea Glass & Beach Finds: Comp..
June 2, 2026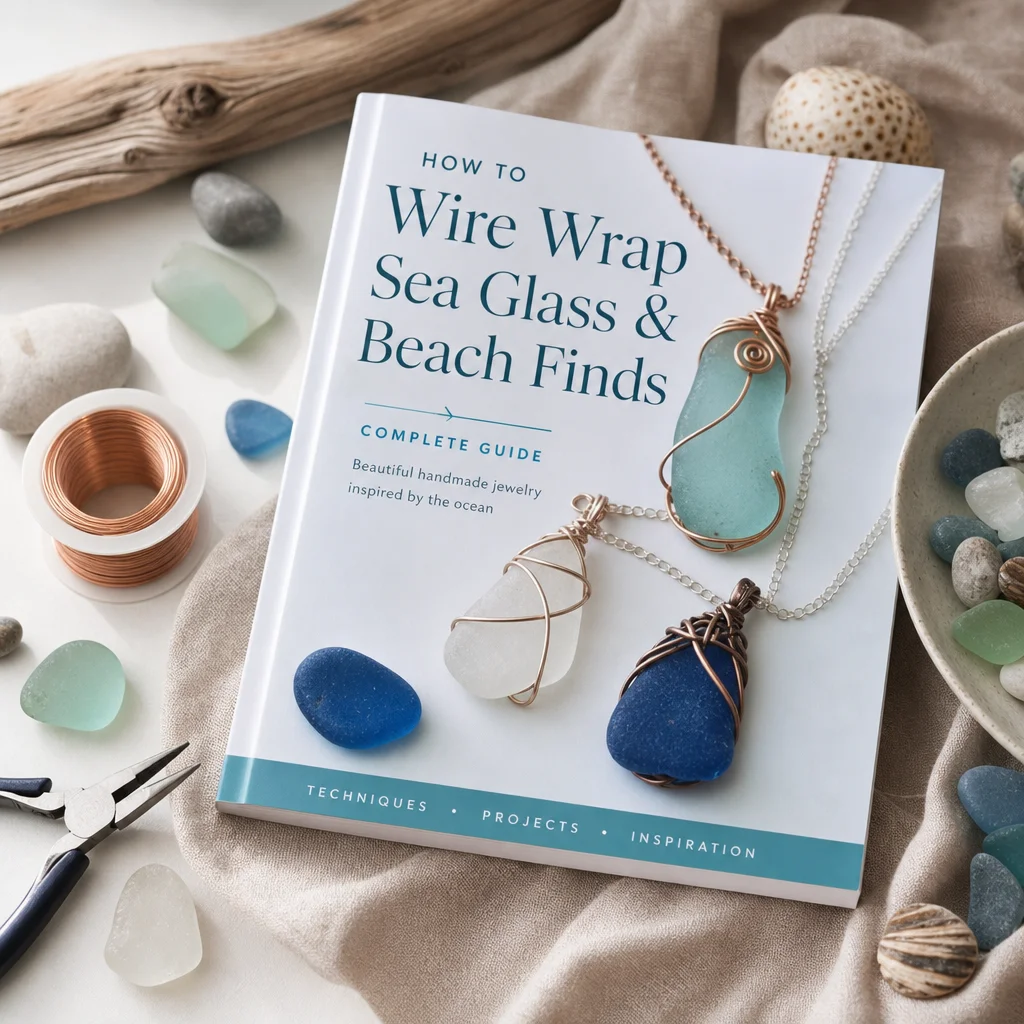
Why Sea Glass Is Perfect for Wire Wrapping
Sea glass has several qualities that make it an ideal wire wrapping material. First, it's already shaped — the ocean has done the formative work, creating smooth, rounded pieces with organic curves that are far more interesting than factory-made cabochons. Second, each piece is completely unique — no two fragments of sea glass have the same combination of color, texture, shape, and frost. Third, the naturally worn edges are gentle on wire, reducing the risk of sharp edges cutting through wrapping wire.
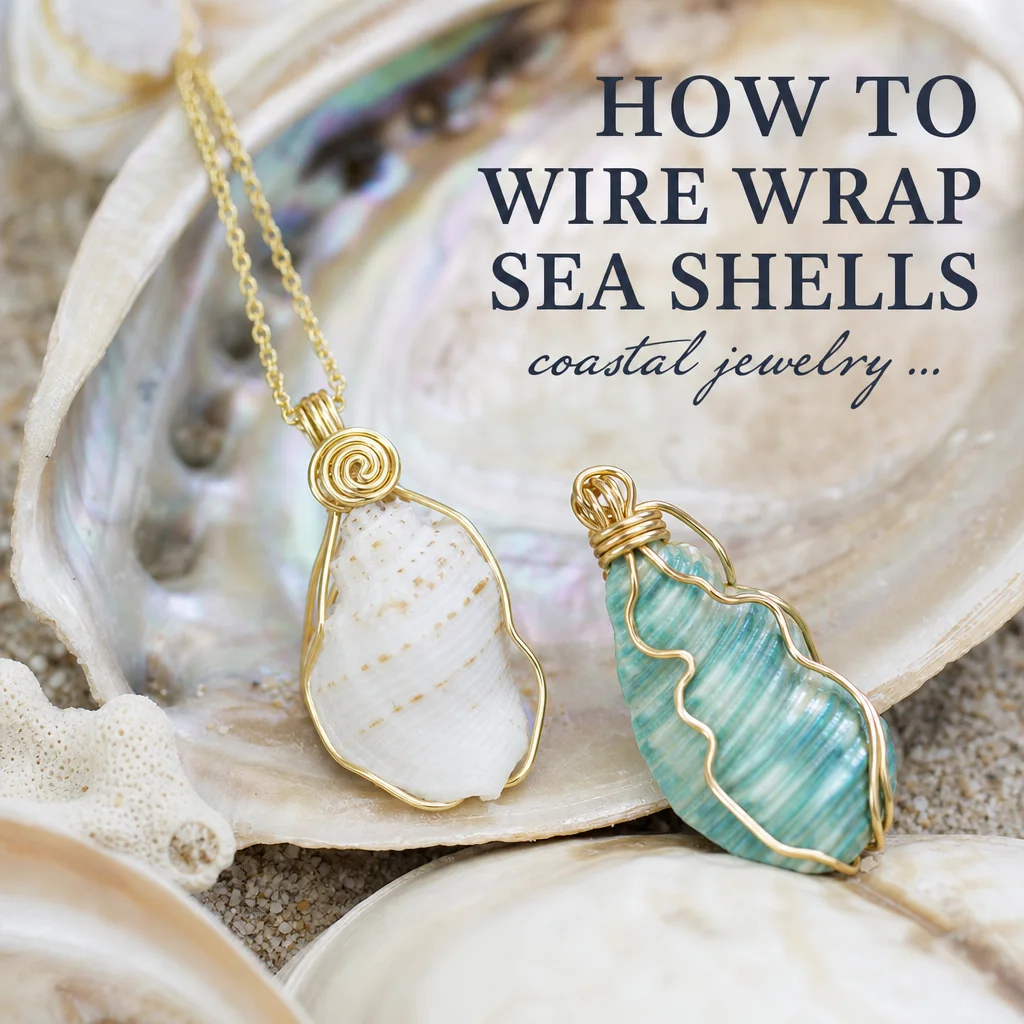
Beach stones, shells, sea pottery fragments, and even driftwood pieces can all be wire wrapped using similar techniques. The fundamental challenge is the same for each: you're working with found objects that have irregular shapes, not calibrated cabochons with even edges.
Understanding Your Material Before Wrapping
The shape and thickness of your sea glass determines which wrapping style works best. Before choosing a technique, examine your piece:
Flat, rounded pieces: The easiest to wrap. These have relatively even thickness and smooth curves that wire follows naturally. Most beginner techniques work well with flat pieces. Think of them as irregular cabochons.
Thick, chunky pieces: Require thicker frame wire (16–18 gauge) and more structural wrapping. The wire needs to grip enough surface area to hold the piece securely. Basket-style wrapping and cage designs work best.
Thin, fragile pieces: Handle with care. Too much wrapping pressure can crack thin sea glass. Use lighter wire (22–24 gauge) and frame wraps rather than tight bezel techniques that squeeze the glass.
Irregular, asymmetric pieces: These are the most challenging and often the most beautiful. You'll need to adapt each wrap to the specific contours of the piece. Prong-style wraps and free-form wire designs work well here.
Color: Sea glass color affects visual impact in finished jewelry. Rare colors (red, orange, turquoise) deserve designs that showcase them prominently. Common colors (white, green, brown) benefit from more elaborate wrapping to add visual interest.
Wire Selection for Sea Glass
The right wire gauge depends on the size and weight of your sea glass piece:
- 14–16 gauge: Heavy-duty structural wire for large, thick pieces (over 30mm). Creates strong frames that won't deform under the weight of chunky glass.
- 18 gauge: The workhorse for most sea glass wrapping. Stiff enough to hold shape around medium pieces (15–30mm), flexible enough to bend into curves and loops.
- 20 gauge: Detail and accent wire for smaller pieces (under 15mm) and for decorative wrapping, coiling, and weaving accents over structural 18-gauge frames.
- 22–24 gauge: Binding wire for securing wraps, creating textures, and wrapping very small or fragile pieces.
Material choice: Copper is the most practical for learning — affordable, easy to work with, and develops an attractive patina that complements sea glass's weathered quality. Sterling silver creates a cleaner, more formal look. Gold-filled wire pairs beautifully with warm-toned sea glass (amber, white) but costs significantly more. Bare copper or bronze wire is a good middle ground for casual, beach-inspired jewelry.
Technique 1: The Simple Wire Frame Wrap
This is the most accessible technique for beginners. It creates a minimalist frame that holds the sea glass with two intersecting wire curves, with a bail loop at the top for hanging.
Steps
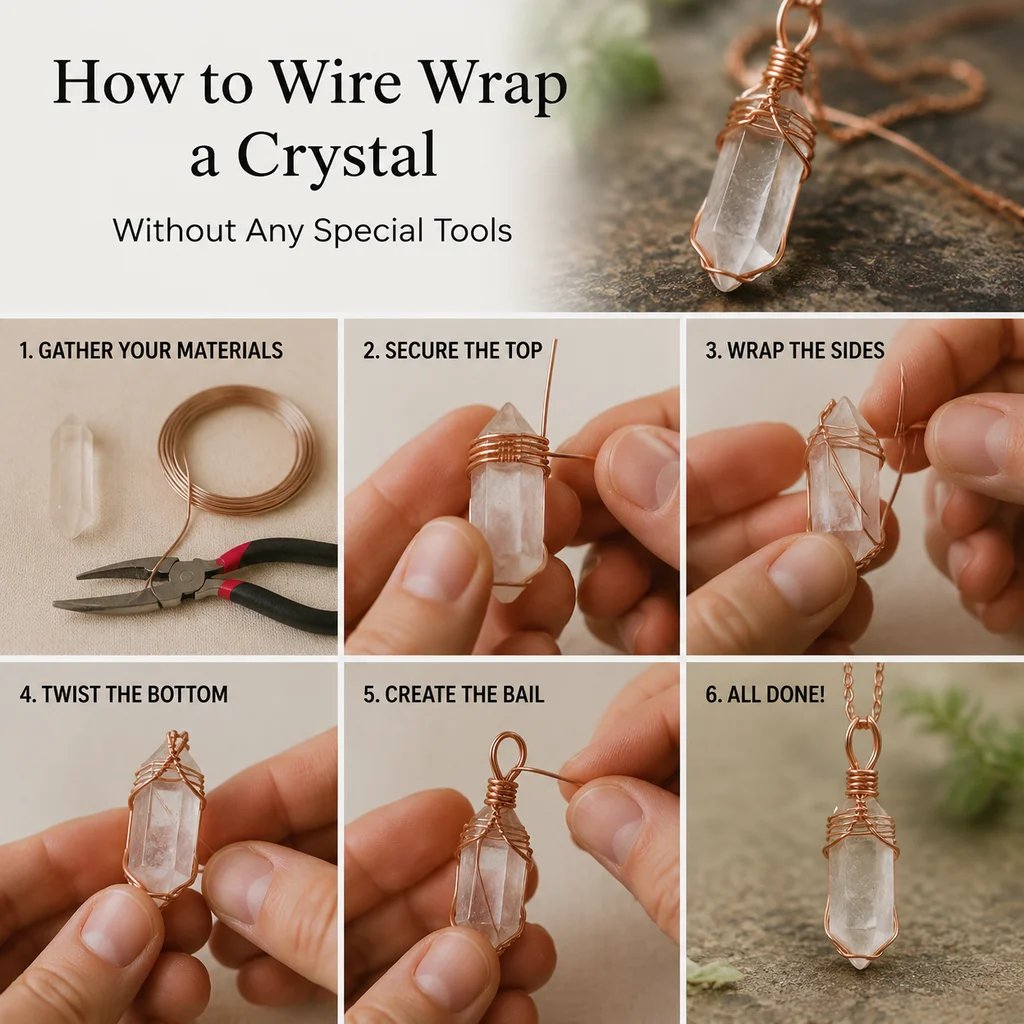
Step 1: Cut two pieces of 18-gauge wire, each about 4 inches long. These will form your frame. Place the sea glass piece on one wire, about 1.5 inches from one end. Bend the wire gently around the widest part of the glass, creating a U-shape that cups the bottom.
Step 2: Take the second wire and do the same from the perpendicular direction — cross it over the first wire at the center of the glass, bending around the sides. The two wires should intersect at the top and bottom of the glass, creating a cradle.
Step 3: At the top, where both wires extend upward, twist them together 3–4 times to secure. Then form them into a bail loop using round nose pliers. Wrap the wire tails back down and around the twist to secure the bail.
Step 4: At the bottom, cross the wire tails and wrap them around each other 2–3 times. Trim excess wire and tuck the cut ends inward with chain nose pliers so they don't scratch the wearer or catch on clothing.
Step 5: Gently adjust the frame wires so they sit snugly against the glass. The wires should hold the piece securely with gentle pressure — not so tight that the glass might crack, not so loose that it rattles.
This technique works best with flat pieces that have a clear top and bottom orientation. It's fast (10–15 minutes once you're comfortable), uses minimal wire, and creates a clean, modern look that lets the sea glass itself be the star.
Technique 2: The Cage Wrap
A cage wrap encloses the sea glass in a protective wire framework with visible gaps showing the glass underneath. This technique works for irregularly shaped pieces that don't have a simple front-back orientation.
Steps
Step 1: Cut a piece of 18-gauge wire about 8–10 inches long (longer for larger pieces). Create a loop at one end using round nose pliers — this will become part of your bail.
Step 2: Bend the wire into a rough spiral or circle that roughly matches the size of your sea glass piece. Hold the glass against this circle and begin shaping the wire around it, following the glass's contours. Don't try to be precise at this stage — you're creating a rough outline.
Step 3: Once the wire has roughly circled the glass once, start working the wire back and forth across the face of the glass, creating a cage pattern. Pass the wire over the glass, around to the back, and over again, at slightly different angles each time. Each pass should follow a different contour of the glass's shape.
Step 4: After 5–8 passes (depending on piece size), the glass should be securely held in the wire cage. End the wire at the top, near your starting loop. Wrap the wire end around the base of the loop 3–4 times, trim, and tuck the end.
Step 5: Adjust the cage wires so the gaps between them are even and the glass doesn't shift within the frame. The wire spacing should be wide enough to clearly see the glass but narrow enough that the glass can't fall through.
This technique is forgiving — uneven wire spacing adds to the organic, handmade look that complements sea glass. It also works for beach stones, shells, and other found objects with irregular shapes.
Technique 3: The Prong Wrap
A prong wrap uses individual wire "prongs" that press against the edges of the sea glass from the front, held in place by a back wire frame. This is the most secure technique for thick pieces and creates a distinctive look that's more jewelry-like than the frame or cage wraps.
Steps
Step 1: Cut one piece of 18-gauge wire about 6 inches long for the back frame. Shape it into a U that follows the bottom curve of your sea glass. This wire sits against the back of the glass and won't be visible from the front.
Step 2: Cut 4–6 pieces of 20-gauge wire, each about 1.5–2 inches long. These are your prongs. Bend each one into an L-shape at one end — the short leg wraps over the back frame wire, the long leg extends forward over the front of the glass.
Step 3: Position the back frame against the glass. Space the prongs evenly around the perimeter, with the short L-legs hooked over the back frame wire. Press each prong's long leg gently against the glass edge. The prongs should curve inward slightly, following the glass's edge contour.
Step 4: Secure each prong's short leg to the back frame wire with 2–3 tight wraps of 24-gauge binding wire. This locks each prong in position.
Step 5: Form the extending back frame wire ends upward and twist together to create the bail. Trim the prong ends so they don't extend past the glass edge, and gently curl the tips inward (away from the wearer's skin) with round nose pliers.
This technique requires the most wire and takes the longest (20–30 minutes) but creates the most secure and jewelry-quality result. It's especially good for valuable sea glass pieces in rare colors that you want to showcase professionally.
Wire Wrapping Beach Stones
Beach stones follow similar wrapping principles but with important differences. Stones are heavier than glass, requiring thicker wire and more secure attachment. Stone surfaces are also rougher, which means wire won't slide around as easily — a mixed blessing that gives better grip but can cause wire wear at contact points.
Use 16 or 18-gauge wire minimum for stones. Thin wire bends under the weight. Frame wraps and prong wraps work best for stones; cage wraps are less secure because the stone's weight can stretch the wire cage over time.
Choose flat or kidney-shaped stones for best results. Perfectly round stones are difficult to wrap securely without drilling. Stones with natural flat spots (where they've rested against other stones) provide wire resting points that improve grip.
Beach pottery fragments wrap like sea glass — they're ceramic with similar smooth, rounded edges. Same techniques, same wire gauges. The visual result is different (opaque pottery vs. translucent glass), but the structural approach is identical.
Finish Options for Your Wraps
How you finish the wire affects both appearance and durability:
Natural copper patina: Let copper wire age naturally. Over weeks to months, it develops brown, green, and blue oxidation that complements the ocean-worn quality of sea glass. Accelerate the patina with a liver of sulfur solution if you don't want to wait.
Polished finish: Use polishing cloths or a tumbler with stainless steel shot to bring back the bright metallic shine. This creates a formal, high-contrast look — bright wire against frosted glass.
Blackened/oxidized: Use liver of sulfur or a commercial oxidizing solution to darken the wire to near-black, then lightly polish the high points. The dark wire recedes visually, making the sea glass color pop.
Clear coat: Spray acrylic clear coat preserves the wire's current finish and prevents further oxidation. Useful if you want to maintain bright copper or prevent silver from tarnishing.
Frequently Asked Questions
Do I need to drill holes in the sea glass?
No. All three techniques in this guide are no-drill methods. The wire holds the glass through tension, framing, and wrapping rather than threading through a hole. Drilling sea glass requires diamond-tipped bits and a water-cooled drill press — it's possible but introduces equipment and skill requirements that these techniques avoid entirely.
What if my sea glass is very thin and fragile?
Use lighter wire (22-gauge) and the frame wrap technique with minimal wire contact. Avoid techniques that squeeze or compress the glass. If the piece is extremely thin (under 2mm), consider gluing it to a backing material (felt or leather) and wrapping the backing instead of the glass directly.
Can I wire wrap whole bottles or large pieces?
Technically yes, but the result is more sculpture than jewelry. Large pieces require 12–14 gauge structural wire and designs more akin to armature than wrapping. For wearable jewelry, stick to pieces under 40mm for the best balance of visual impact and wearability.
How do I know if my wrap is secure enough?
Hold the finished piece at arm's length and give it a firm shake. If the sea glass rattles, shifts, or feels loose, add more wire or tighten the existing wraps. The piece should feel like a single unit — no movement between glass and wire. Test before adding any finishing touches, as re-working a polished piece can mar the finish.
Frequently Asked Questions
How do I clean and polish sea glass before wire wrapping it?
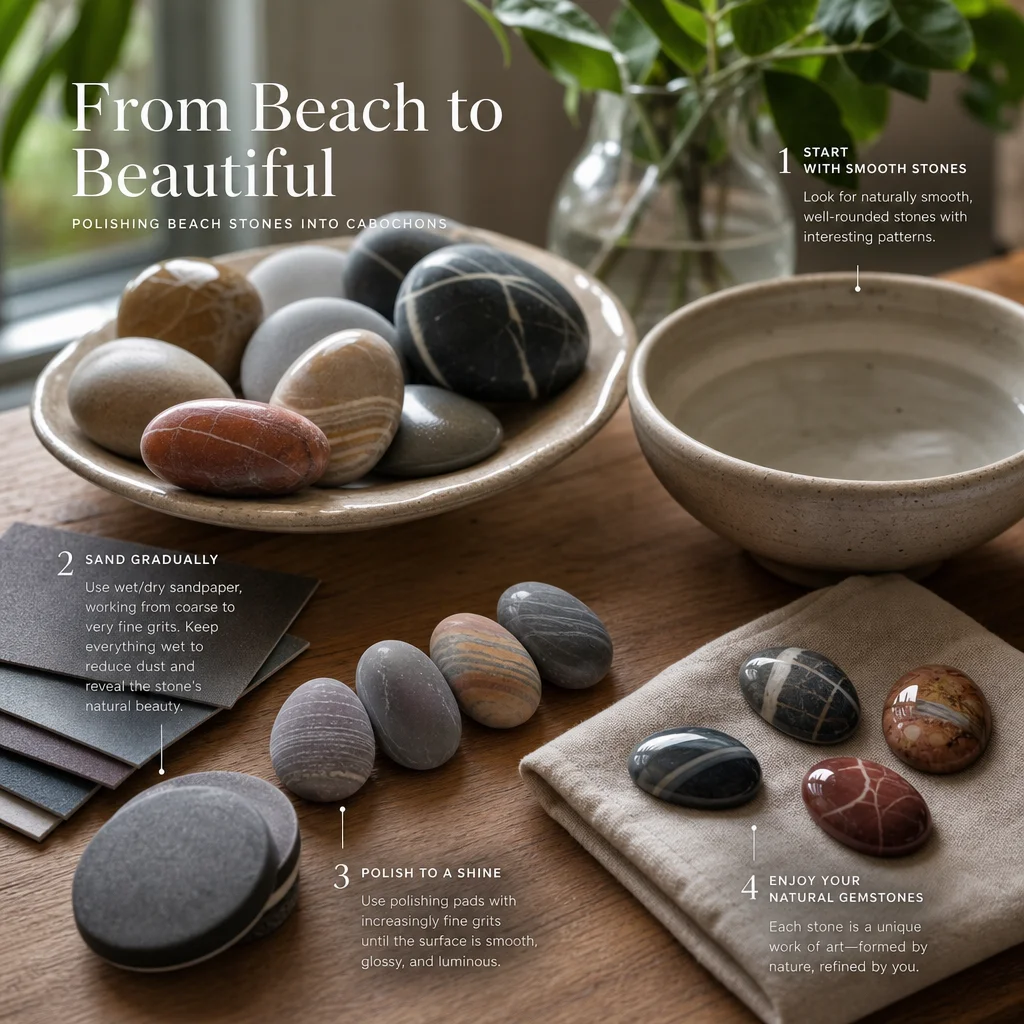
To prepare your beach finds for wire wrapping, start by soaking them in a bowl of warm water mixed with mild dish soap to remove any sand or grime. For a brilliant shine on your sea glass or beach stones, let them dry completely and lightly brush them with a tiny drop of mineral oil. This enhances the natural color and ensures your handcrafted jewelry design looks flawless.
Comments