How to Polish Beach Stones Into Cabochons
May 14, 2026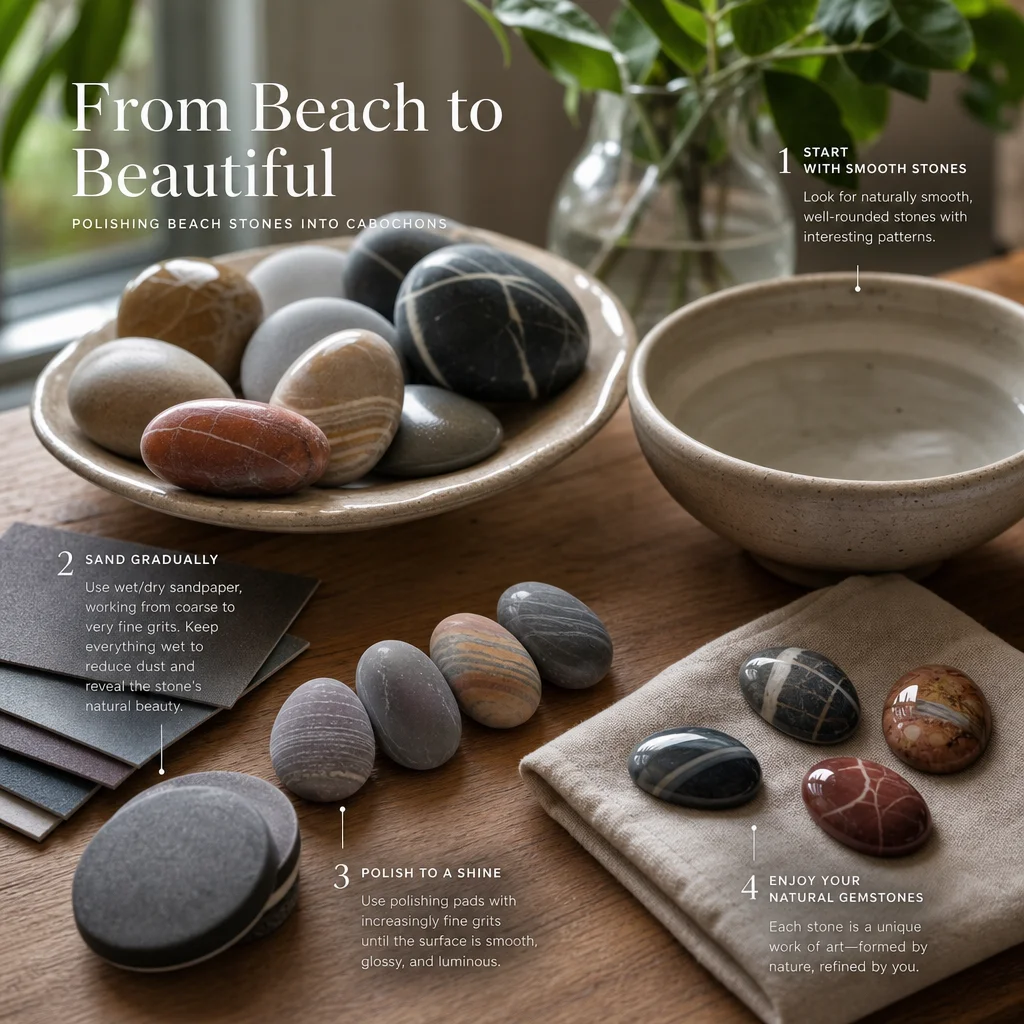
How to Polish Beach Stones Into Cabochons Without a Lap Machine
Lapidary equipment — the grinding wheels, polishing laps, and diamond-encrusted discs that professional stone cutters use — costs hundreds to thousands of dollars. But you can get surprisingly good results polishing beach stones and rough rocks with basic hardware store materials and a few hours of patient work.
I've been doing this for about a year. My results aren't professional-grade — a skilled lapidary can spot the difference immediately — but I've produced cabochons (domed, polished stones) that look genuinely good in silver settings, and the entire process cost me under $40 in materials to get started.
What You Need
Essential ($25-40)
- Wet/dry sandpaper in grits: 80, 120, 220, 400, 600, 1000, 2000, 3000. A pack of assorted grits costs about $10-15 at any hardware store. You'll go through the lower grits faster than the higher ones.
- A flat, hard surface: A piece of glass (an old picture frame works), a ceramic tile, or a thick piece of acrylic. This is your backing for the sandpaper. Must be truly flat.
- Water: A spray bottle or a bowl of water. All sanding is done wet to prevent dust and improve cutting action.
- A Dremel or rotary tool (optional but helpful): With diamond-coated bits for rough shaping. About $20 for a basic model. Not strictly necessary — you can do everything by hand — but it dramatically speeds up the initial shaping.
Nice to Have ($15-30)
- Diamond polishing paste: Available in 50,000 and 100,000 grit from lapidary suppliers online. This is what gives the final mirror polish.
- A felt polishing wheel: For use with the diamond paste. About $5.
- A dop stick: A wooden dowel with wax or adhesive for holding the stone while you work it. You can make one from a pencil and some poster putty.
Step 1: Selecting Stones Worth Polishing
Not every beach stone is worth the effort. You want stones that:
- Are already relatively smooth. Rough, angular stones require too much material removal to be practical with hand tools.
- Have interesting color or pattern. If it's uniformly gray, polishing won't add much appeal.
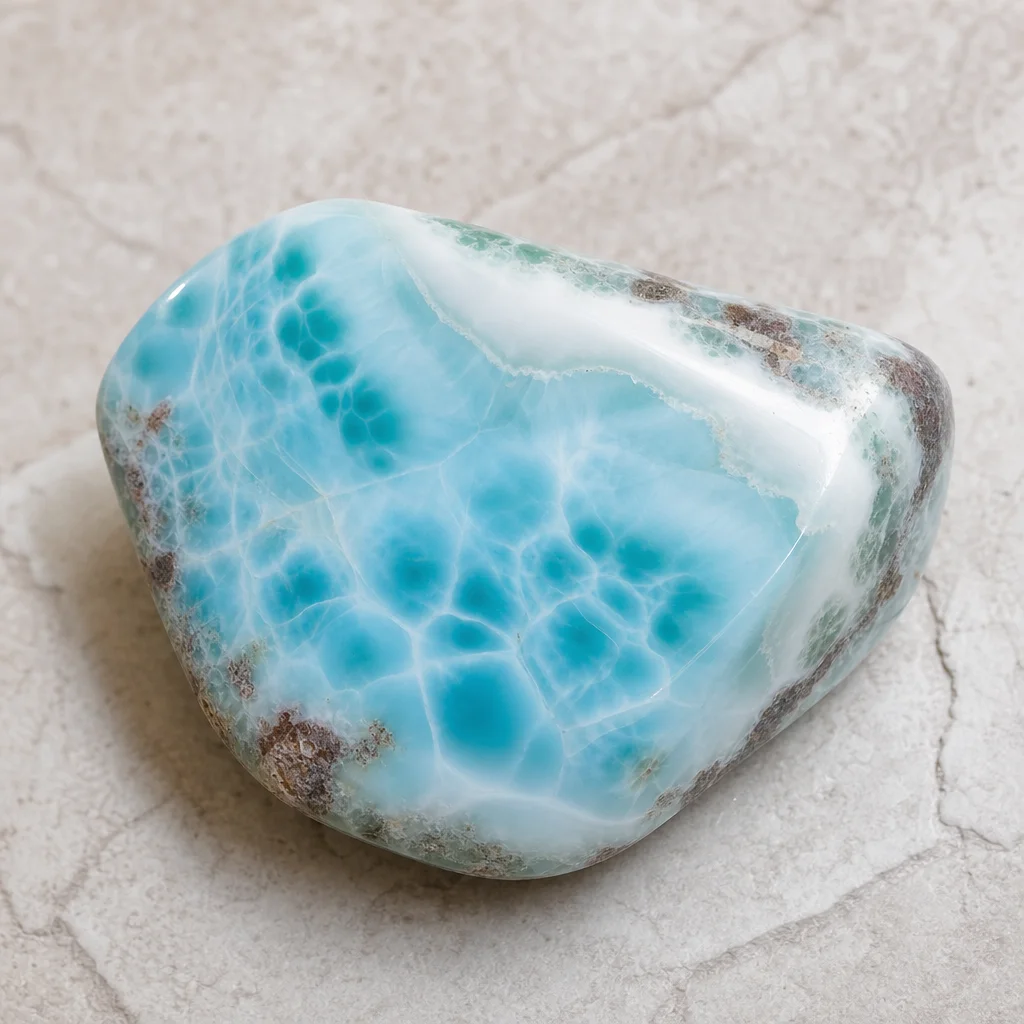
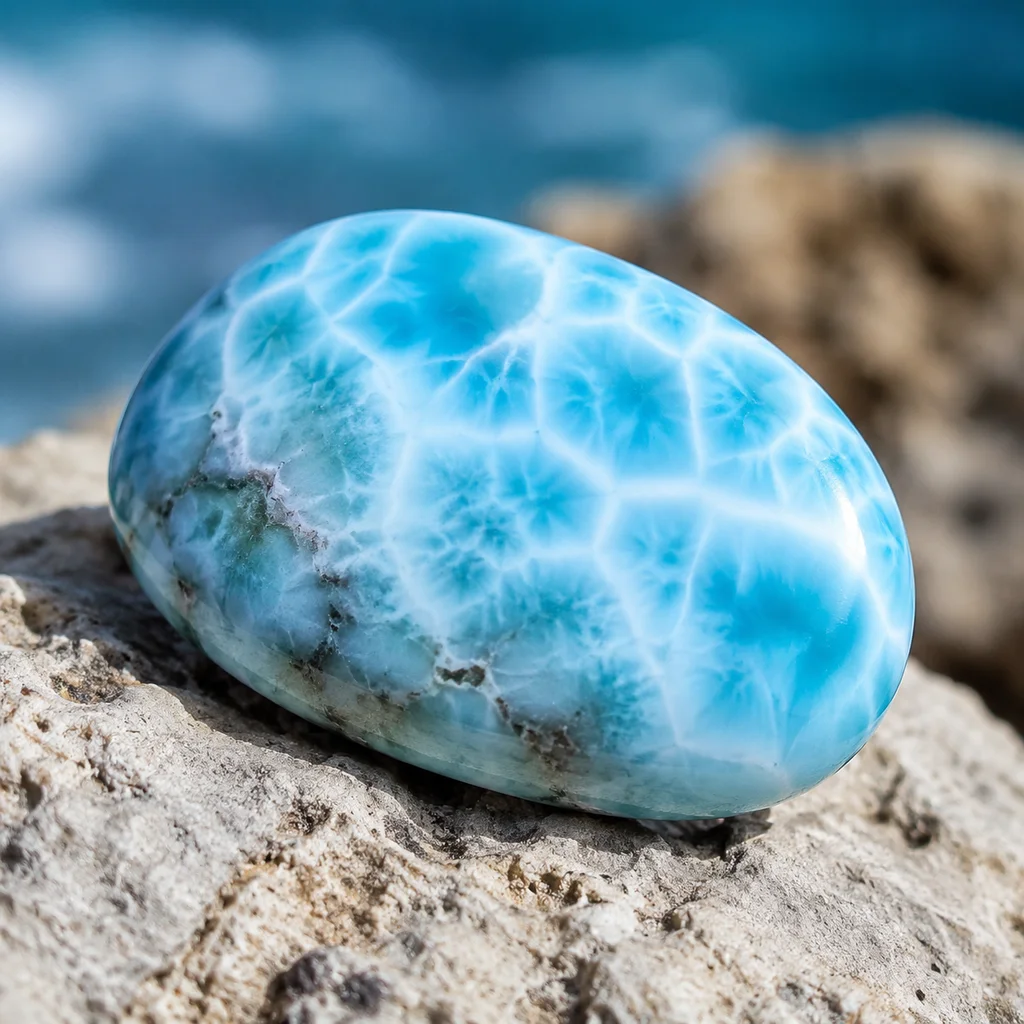
- Show some translucency when held to light. Agate, jasper, chalcedony, and quartz-family stones polish beautifully. Granite and basalt can polish but often look dull.
- Are free of deep cracks. Cracks widen during sanding and create weak points that can cause the stone to break.
Beach agate is the ideal beginner stone — it's hard (Mohs 6.5-7), takes a great polish, and is found on coastlines worldwide. Jasper is another excellent choice.
Step 2: Rough Shaping
Your goal is to create a dome shape (higher in the center, tapering to the edges) with a flat back. This is the classic cabochon form.
With a Dremel
- Put on safety glasses (stone dust in the eye is a real risk)
- Fit a coarse diamond bit to the Dremel
- Hold the stone firmly and work under running water or dip frequently — you're cutting wet
- Remove material from the edges and top to create the dome shape
- Keep the stone moving to avoid cutting too deep in one spot
- Check your progress frequently — you can always remove more material, but you can't put it back
By Hand
- Start with 80-grit wet/dry sandpaper on your flat surface
- Wet the sandpaper thoroughly
- Rub the stone in circular motions, applying firm, even pressure
- Focus on the edges first — round them, then work toward a dome shape
- This takes longer (30-60 minutes for a small stone) but gives you more control
The rough shaping is the most time-consuming step. Expect 30-90 minutes per stone depending on size and how far from the desired shape you're starting.
Step 3: Progressive Sanding
Once you have the basic dome shape, work through the grits in order. Each grit removes the scratches from the previous one. Skipping grits leaves visible scratch marks that become more obvious as you polish.
The Grit Progression
- 80 grit: Shape the stone, remove major irregularities
- 120 grit: Smooth out the 80-grit scratches
- 220 grit: Begin refining the dome shape
- 400 grit: The stone should start to feel smooth
- 600 grit: Surface should feel smooth to the touch
- 1000 grit: Surface appears matte-smooth, no visible scratches
- 2000 grit: Beginning to show slight sheen
- 3000 grit: Almost polished, wet surface looks glossy
Technique for Each Grit
- Wet the sandpaper on your flat surface
- Rub the stone in circular motions, moderate pressure
- Work for 3-5 minutes per grit (less time for higher grits)
- Rinse the stone and inspect before moving to the next grit
- If you see deep scratches, go back one grit and work that area more
Each grit removes the scratch pattern of the previous one. If you see scratches that run in a different direction than your current sanding motion, those are leftover from a coarser grit — keep going or step back.
Total time for progressive sanding: 20-40 minutes for a small cabochon (1-2 cm).
Step 4: Final Polish
Option A: Diamond Paste (Best Results)
- Apply a small amount of 50,000-grit diamond paste to a felt wheel or soft cloth
- Buff the stone in small circles with moderate pressure
- The paste is slightly abrasive and produces a mirror-like finish
- Work for 5-10 minutes, reapplying paste as needed
- Clean the stone thoroughly when done
Option B: Tin Oxide or Cerium Oxide (Budget)
- Mix a small amount of polishing powder with water to form a paste
- Apply to a soft cloth or felt wheel
- Buff the stone as above
- Tin oxide produces a slightly warm-toned polish; cerium oxide is cooler
Option C: Leather and Toothpaste (Emergency)
If you don't have polishing compounds, a piece of smooth leather and a dab of whitening toothpaste (which contains mild abrasives) can produce an acceptable polish. It won't be as glossy as diamond paste, but it's noticeably better than stopping at 3000 grit. Work for 10-15 minutes.
Common Problems and Fixes
Visible Scratches After Polishing
Cause: You skipped a grit or didn't spend enough time on an earlier grit. Go back to the grit that matches the scratch depth and rework forward.
Uneven Dome
Cause: Too much pressure on one side, or not rotating the stone enough during shaping. Go back to 220 grit and rework the shape. It's easier to fix shape issues at medium grits than at high grits.
Stone Feels "Gummy" During Sanding
Cause: The sandpaper is clogged with stone dust. Rinse it or replace it. Wet sanding helps prevent this but doesn't eliminate it entirely.
Polish Won't Take
Cause: Some stones are too soft or too porous to take a high polish. Sandstone, shale, and some types of limestone will never achieve a glossy finish regardless of technique. Stick to hard, dense stones (quartz family, agate, jasper) for best results.
Stone Chips or Cracks During Shaping
Cause: Too much pressure, especially with the Dremel. Reduce pressure and let the abrasive do the work. Some stones have internal fractures that aren't visible until you start cutting — nothing you can do about those.
Setting Your Cabochons
Once polished, you can set your cabochons in simple bezel settings using basic silversmithing tools, or use pre-made settings:
- Glue-in bails: A metal bail with a pad that you epoxy to the back of the stone. Instant pendant. $1-3 each.
- Bezel wire settings: Requires basic soldering skills but gives professional results. The wire wraps around the stone's edge and holds it securely.
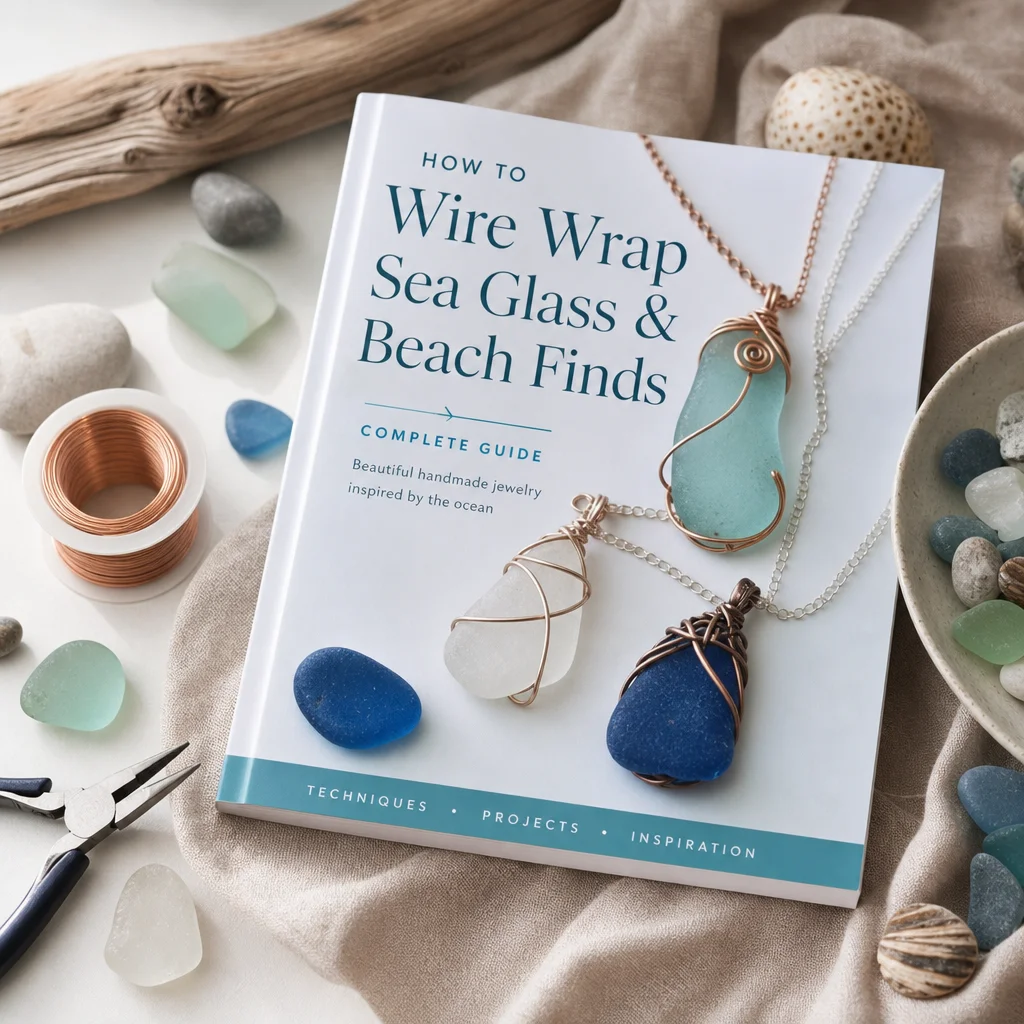
- Wire wrapping: No soldering needed — use square or half-round wire to create a cage setting. My earlier wire-wrapping tutorial covers the basics.
- Prong settings: Pre-made prong settings for calibrated cabochon sizes (standard oval and round dimensions) are available from jewelry supply companies for $2-5.
For a first project, I recommend the glue-in bail approach. It takes two minutes, requires zero specialized skills, and produces a wearable pendant immediately. You can always reset the stone into a nicer setting later.
What I've Learned After a Year
The biggest surprise was how satisfying the process is. There's a particular pleasure in taking a stone you found on a beach, working it by hand, and producing something polished and beautiful. Each stone is different — you have to adapt your approach to its hardness, shape, and natural features.
The second surprise was how quickly the results improve. My first three cabochons were lumpy, uneven, and had visible scratches. By cabochon number ten, I was producing consistently smooth, well-shaped stones. The learning curve is steep but short — most people can produce decent results within a weekend of practice.
Total investment: about $40 in sandpaper, diamond paste, and a basic Dremel. Each stone costs nothing if you collect your own. Compared to buying finished cabochons at $5-15 each, the economics work out after about five stones — and you get to choose exactly which stones to polish and how to shape them.
For a comprehensive overview, see our Ultimate Crystal Guide for Beginners.
Frequently Asked Questions
How long does it take to polish a beach stone by hand?
Hand polishing a beach stone into a cabochon typically takes 3 to 8 hours of active work spread over several days. The exact time depends on the stone's hardness, your experience level, and how smooth you want the final finish. Softer stones like agates polish faster, while harder materials may require extra patience and finer grits.
Can you polish rocks without a tumbler or machine?
Yes, absolutely. You can shape and polish beach stones using only silicon carbide sandpaper, water, and a flat surface. Many artisan jewelers prefer hand polishing because it offers more control over the final shape and dome. While slower than machine methods, hand polishing lets you create truly one-of-a-kind cabochons with personal character.
What grit sandpaper should I use to polish stones?
Start with 80 or 120 grit to rough shape your stone, then progress through 220, 400, 800, 1200, and finally 2000 grit or higher. Each grit removes scratches from the previous one. Skipping grits leaves visible marks that ruin the final polish. Always use wet/dry silicon carbide paper and keep the stone wet throughout sanding.
How do I know if a beach stone will polish well?
Look for stones with uniform texture and no visible cracks or fractures. Agates, jaspers, and quartz are excellent choices because they are hard enough to take a high polish. Test by scratching with a steel knife—if the stone resists scratching, it will likely polish beautifully. Avoid stones with soft spots, pits, or porous areas.
What is the difference between a cabochon and a tumbled stone?
A cabochon has a flat back and domed top, specifically cut and polished for jewelry settings. Tumbled stones are rounded on all sides from tumbling in a machine with abrasive grit. Cabochons require intentional shaping and precision, while tumbled stones form naturally random shapes. For ring or pendant settings, cabochons are the standard choice.

Comments