Why Knotting Matters in Mala Making
June 4, 2026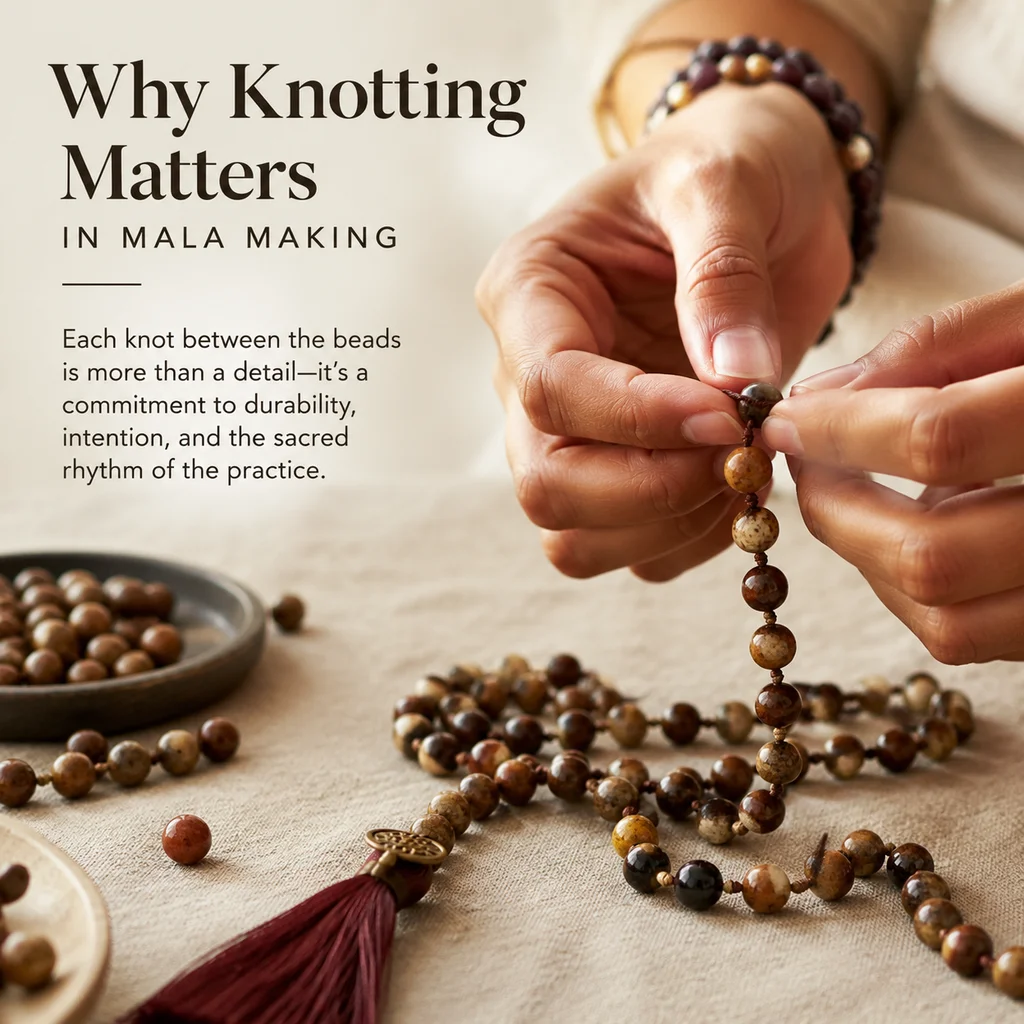
Why Knotting Matters in Mala Making
The single technique that separates a well-made mala from a cheaply assembled one is knotting between each bead. Every traditional mala—from Hindu japa malas to Buddhist zen meditation strings—features a small knot between each of the 108 beads. This is not decorative; it serves three critical functions: it prevents the beads from rubbing against each other (which would chip softer stones like sandalwood, rosewood, and some gemstones over time), it creates a consistent spacing that makes the mala easier to handle during meditation (your fingers can feel the knot between each bead as you count), and it provides a fail-safe—if the string breaks, only one bead falls off instead of the entire strand scattering.
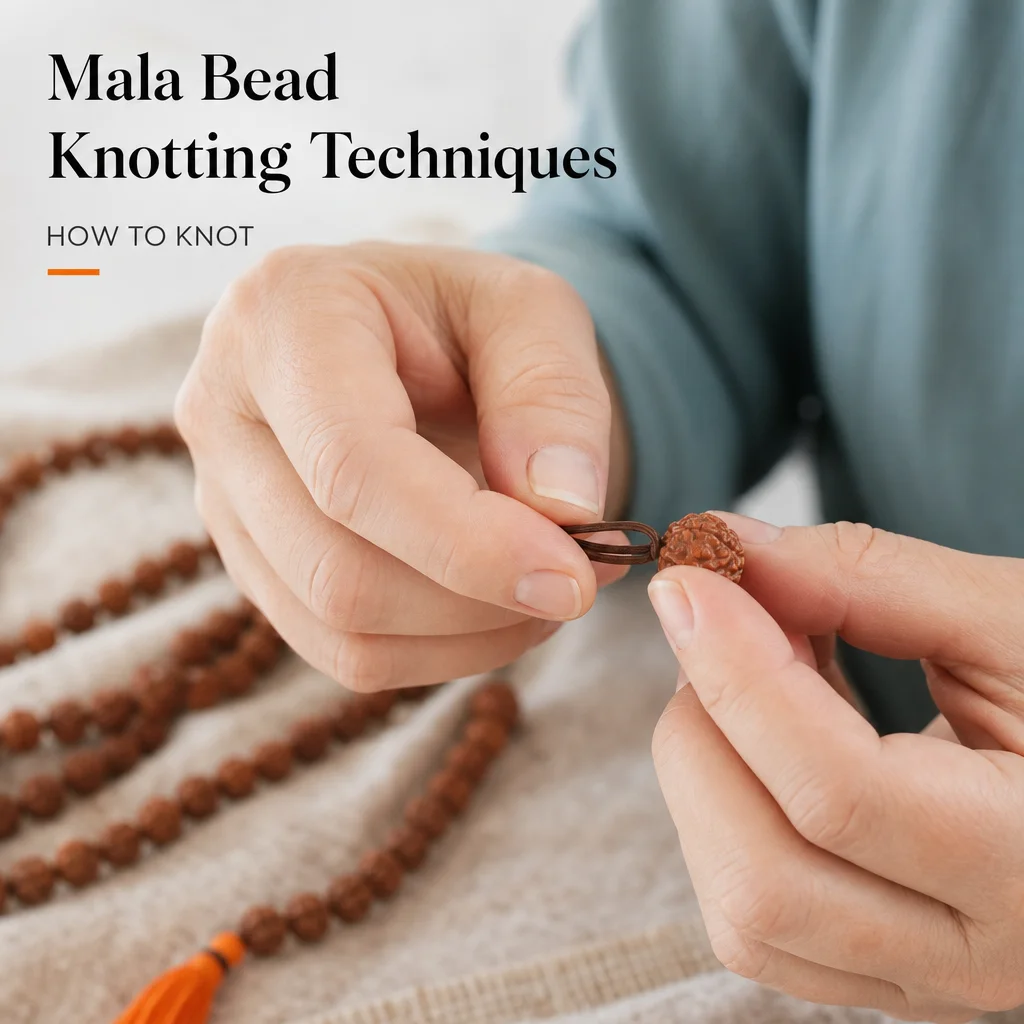
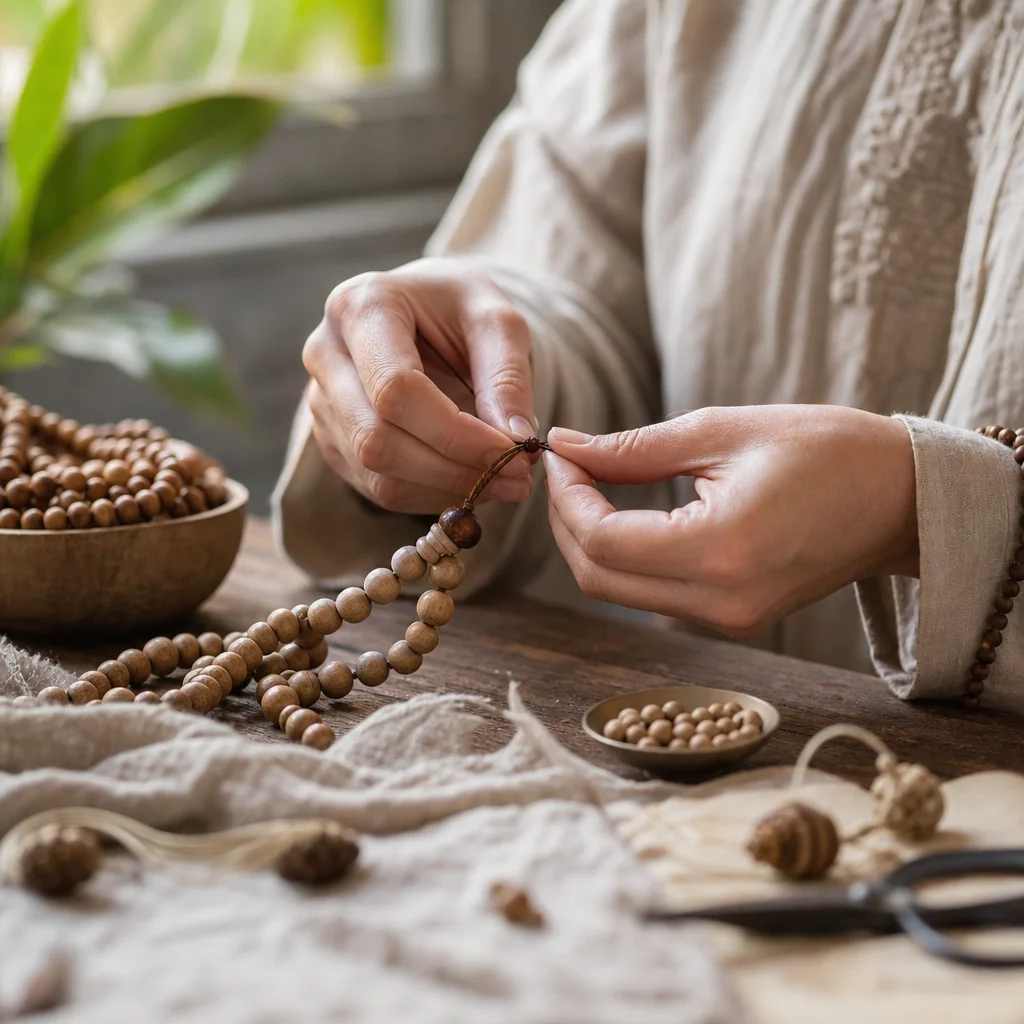
Learning to knot between beads is the foundational skill in mala making, and it is simpler than it looks with the right thread and a bit of practice. The entire process of stringing 108 beads with knots takes about 2-4 hours for a first-time maker and 1-2 hours once you have the muscle memory down.
Choosing the Right Thread
Thread selection affects the durability, drape, and appearance of your finished mala. The three main options are:
Silk Thread
Silk is the traditional choice for high-quality malas and is what you will find in most authentic handmade pieces from India, Nepal, and Tibet. It knots beautifully, has a natural drape that allows the mala to hang gracefully, and is strong enough for daily wear. The downside is that silk degrades with prolonged exposure to sunlight, moisture, and body oils. A silk-strung mala will last years with gentle use but may need restringing every 3-5 years if worn daily.
Beading silk (sold on cards or spools, often pre-threaded with a needle attached) is the easiest option for beginners. It comes in a range of colors, though for most malas, a neutral color (beige, light gray, or black) that blends with the beads is preferable. Use size D or E silk for 8mm beads—thicker for larger beads, thinner for 6mm.
Nylon Thread (Griffin Silk Alternative)
Nylon beading thread (often sold as "Griffin" thread) is a synthetic alternative that is significantly more durable than silk while still knotting well. It is less prone to stretching, more resistant to UV damage and moisture, and generally more affordable. Many modern mala makers prefer nylon for gemstone bead malas because the increased strength is worth the slight aesthetic trade-off (nylon has a slightly stiffer drape than silk).
Use nylon cord for malas that will see heavy use or be worn in variable conditions (outdoor meditation, travel, daily wear). Choose a size that allows you to thread it through your beads twice if possible (double-threading adds strength and redundancy).
Cotton Thread
Cotton is the least common choice for mala making and is generally reserved for inexpensive or traditional Hindu malas where a simple, rustic appearance is desired. Cotton is weaker than both silk and nylon, has poor abrasion resistance, and is prone to breaking at the knot point under tension. It knots well and is very affordable, but a cotton-strung mala will have a shorter lifespan. Use it only if you are making a practice mala or specifically want the traditional cotton look.
Bead Size and Mala Length Calculations
Understanding how bead size translates to finished mala length is essential before you start stringing. The 108 beads plus the guru bead and tassel will produce a full mala of roughly these lengths:
- 6mm beads: approximately 36-40 inches (can wrap 4-5 times around most wrists)
- 8mm beads: approximately 40-48 inches (wraps 3-4 times around most wrists)
- 10mm beads: approximately 48-54 inches (wraps 2-3 times)
- 12mm beads: approximately 54-60 inches (wraps 2 times)
The knots add roughly 1mm of space per bead, so the final length will be slightly longer than bead diameter times 108. This is approximate—the exact length depends on how tightly you pull each knot, the thickness of the thread, and whether you add any marker beads or separator elements.
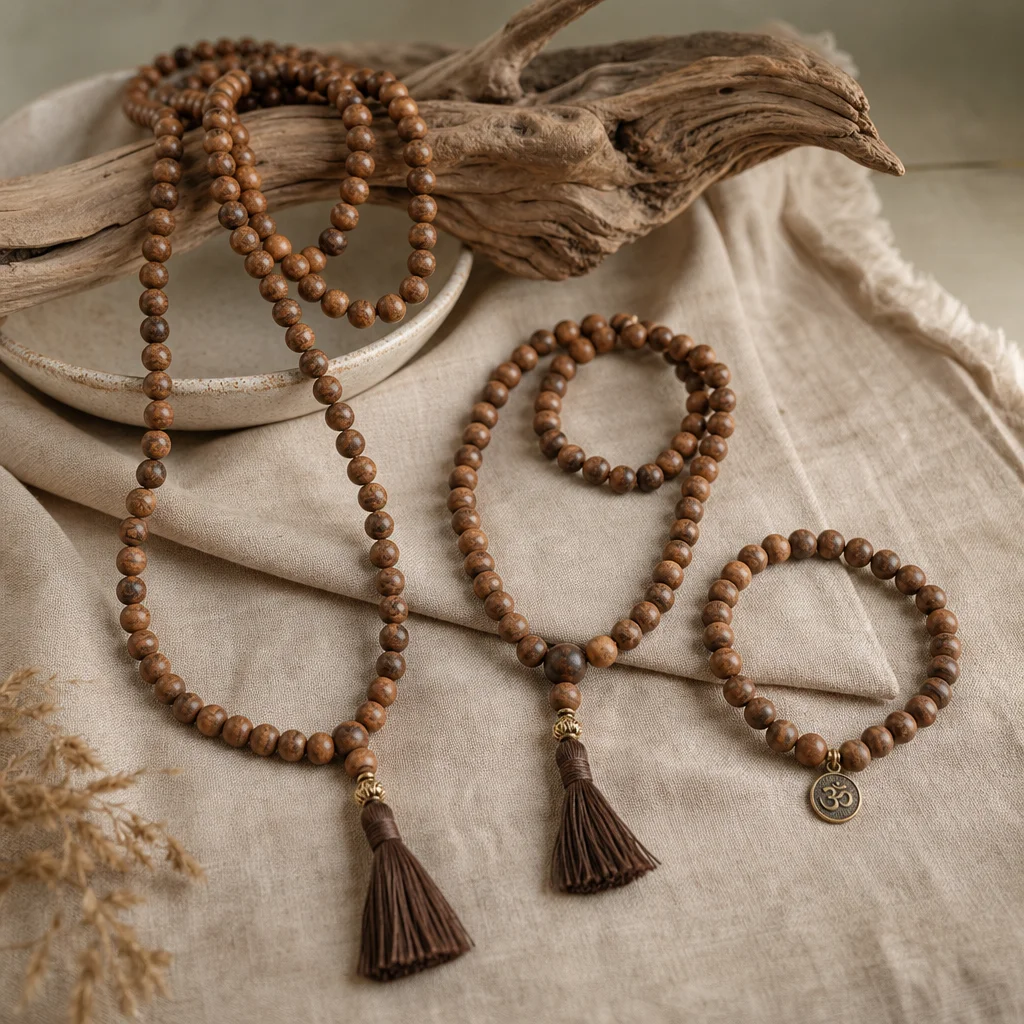
For wrist malas (shorter malas worn as bracelets with 21-27 beads), 8mm beads are the standard. A 27-bead wrist mala at 8mm produces approximately 7-8 inches of strung length, which fits most adult wrists. Count the beads on an existing bracelet that fits you well to determine the right number for your wrist size.
The Knotting Technique: Step by Step
Materials You Need
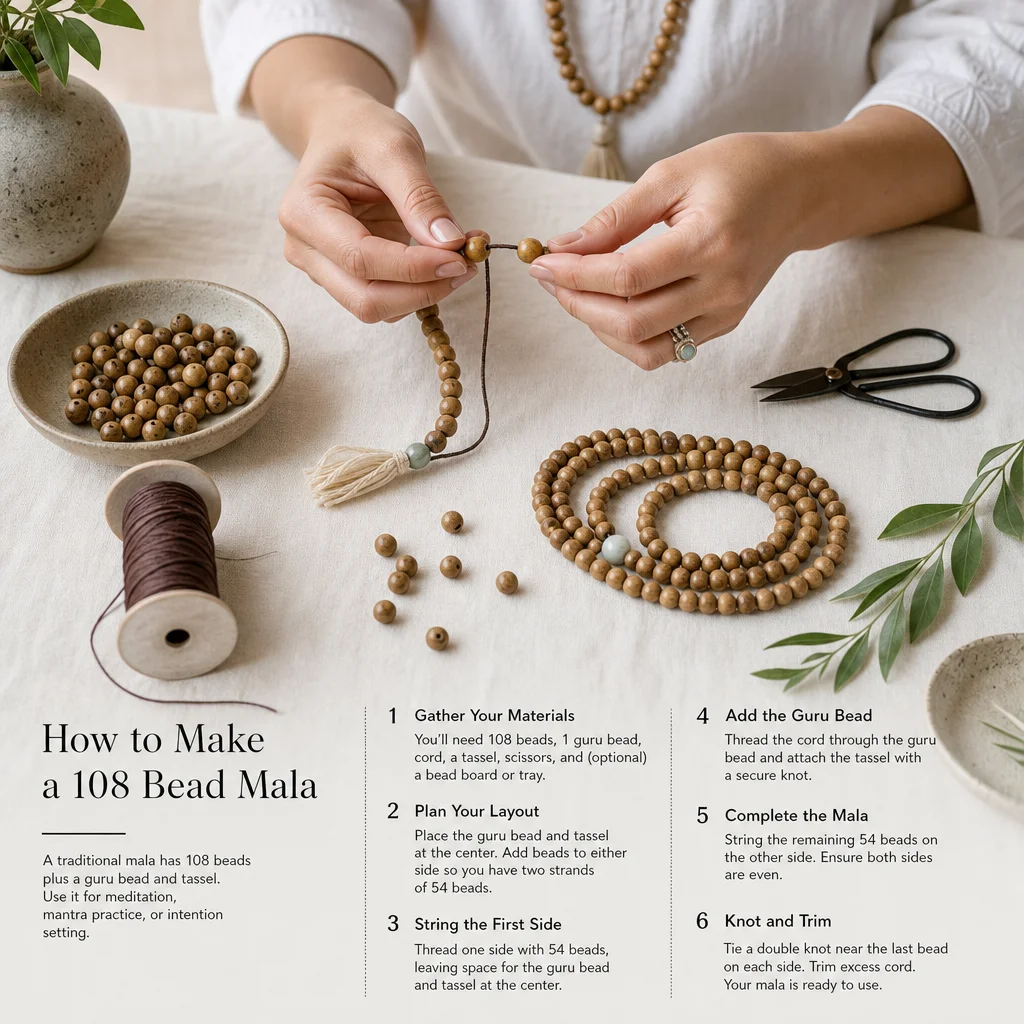
- 108 beads (plus 1 guru bead)
- Thread (silk or nylon, approximately 3-4 times the finished length)
- Bead mat or towel (prevents beads from rolling)
- Awl or large blend needle (for guiding knots)
- Scissors
- Optional: tweezers for tightening knots in tight spaces
Step 1: Thread Preparation
Cut your thread to approximately 5-6 feet (1.5-1.8 meters). Thread your needle if using pre-threaded silk, or thread the end through a beading needle. Tie a temporary overhand knot about 8 inches from one end—this creates a "tail" that you will use to attach the guru bead at the end.
Step 2: String the First Bead
Thread the first bead onto the needle and slide it down to the temporary knot. Hold the thread taut with your non-dominant hand about 1 inch below the bead.
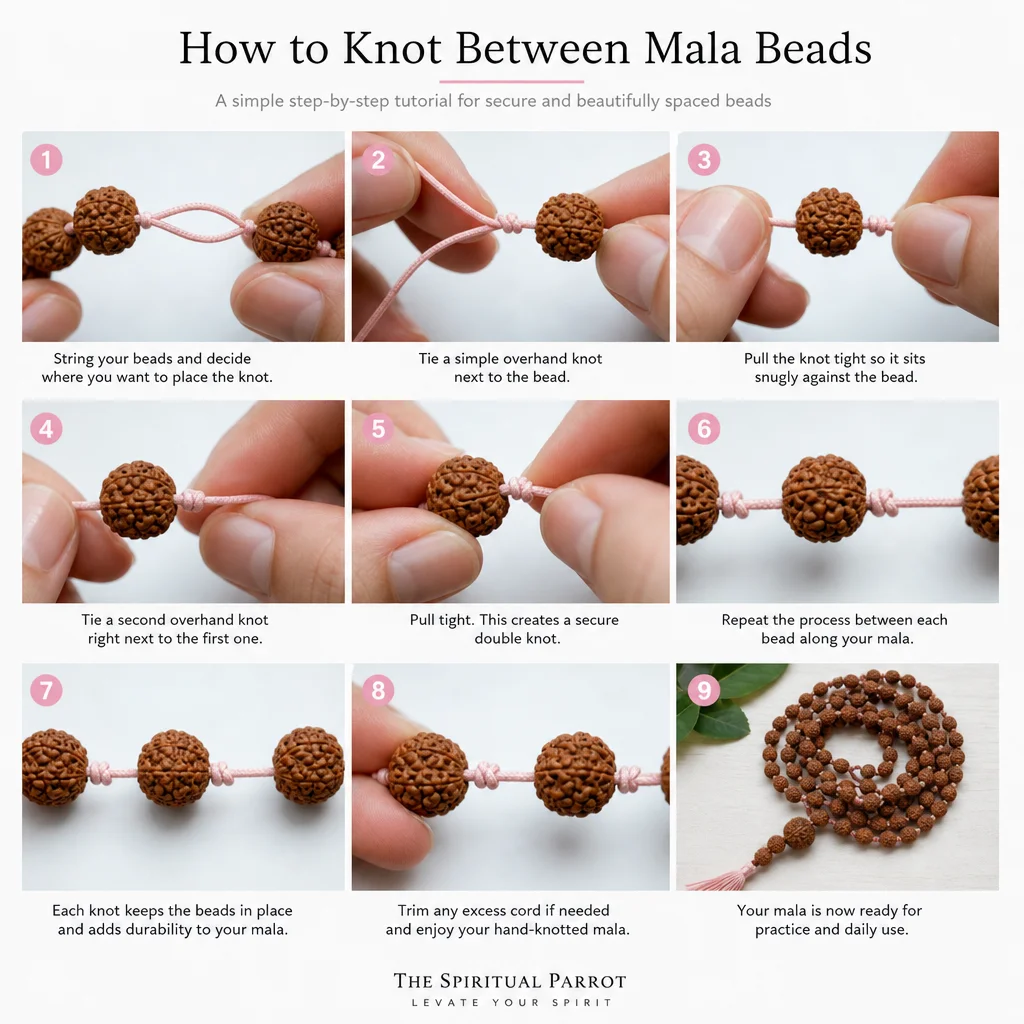
Step 3: Form the Knot
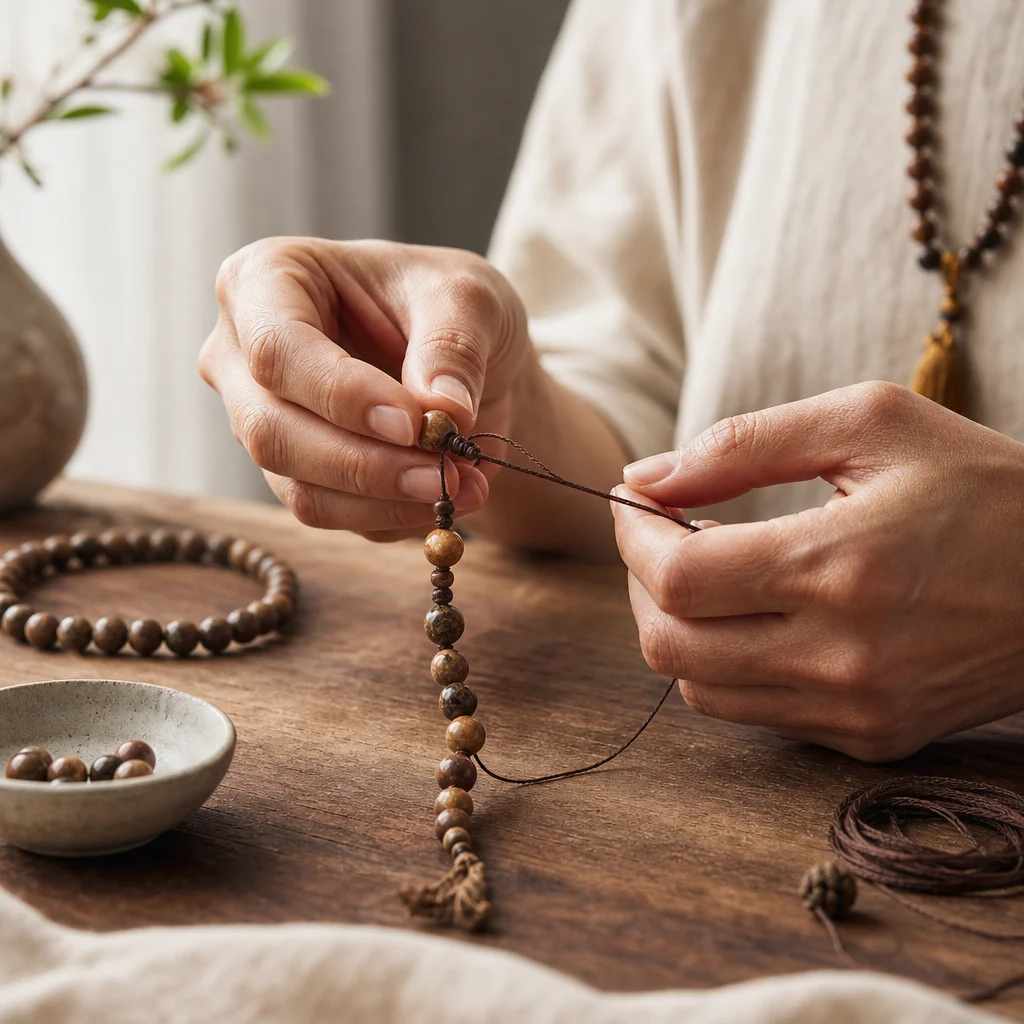
With your dominant hand, form a loose overhand knot in the thread just above the bead. Do not pull it tight yet. Insert your awl or needle into the center of the loose knot, positioning it between the knot and the bead. The awl acts as a spacer that controls how close the knot sits to the bead.
Step 4: Position and Tighten
Push the knot down toward the bead using the awl until it is snugly against the bead surface. Then slide the awl out of the knot while simultaneously pulling the thread to tighten. The knot should seat firmly against the bead with no gap. If the knot is too loose, it will slide; if too tight, it will be difficult to adjust. Practice finding the right tension on a few beads before committing to the full strand.
Step 5: Repeat for All 108 Beads
String the next bead, form the knot, position, tighten, and repeat. This is the bulk of the work and becomes meditative in its own right once you develop a rhythm. Count your beads as you go—losing track of the count is the most common mistake. Some makers lay out all 108 beads in a circle on a bead mat and pick them up one at a time, which provides a built-in counting system (when the mat is empty, you have your 108).
Step 6: Attach the Guru Bead
After the 108th bead and knot, string the guru bead (typically larger than the counting beads, often 10-12mm). The guru bead is the anchoring point and also represents the "109th bead" that you return to when your meditation circuit is complete.
Pass the needle back through the guru bead so that both thread ends emerge from the same side. Tie the two thread ends together with several tight overhand knots, positioned close to the guru bead. Trim the excess thread, leaving about 1/4 inch of tail. Apply a tiny drop of jeweler's glue or clear nail polish to secure the final knot.
Tassel Installation
The tassel hangs from the guru bead and is the finishing element of the mala. Most commercially available tassels come with a loop at the top that can be threaded onto the guru bead before you tie off the final knot. If you are making your own tassel, wrap embroidery thread or silk cord around a cardboard template (about 3 inches wide for a standard tassel length), tie the top securely, cut the bottom loops, and attach it to the guru bead loop.
For a clean attachment, pass the tassel loop through the guru bead, then pass the tassel body through the loop (lark's head knot). This creates a secure, adjustable attachment that will not slip. If the guru bead has a large enough hole, you can also thread the tassel directly through the bead alongside the mala thread.
Broken String Repair
If your mala breaks (and most do eventually, especially silk-strung ones), do not throw it away. Restringing is straightforward: collect all the beads, inspect each one for damage (chipped beads can be replaced or removed from the count), and restring using fresh thread. If you lost beads in the break, you can either replace them with matching beads or adjust the count (some makers add a marker bead or small metal spacer to make up for a missing counting bead). The restringing process is the same as the original making process—it just takes less time because the beads are already selected.
Frequently Asked Questions
Do I really need to knot between every bead?
For traditional practice, yes. Knotting is a defining feature of authentic mala construction. If you skip knots, you have a bead necklace, not a mala. Knots serve the practical functions described above and also slow down the making process in a way that many practitioners find meditative. If you are making a mala specifically for meditation rather than fashion, knot between every bead.
How long does a handmade mala last?
With silk thread and moderate daily use, expect 3-5 years before restringing is needed. Nylon thread extends this to 5-10 years. The beads themselves (assuming they are gemstone or wood with a Mohs hardness of 5+) will last indefinitely. It is the thread that fails, not the beads. Keeping the mala away from water, perfume, and prolonged sunlight will maximize thread lifespan.
Can I make a mala with mixed bead types?
Absolutely. Many makers use a primary bead (e.g., sandalwood or rudraksha) for the 108 counting beads and add metal marker beads at positions 21 and 54 (the traditional counting points in Tibetan Buddhism). You can also alternate between two bead types (e.g., 54 amethyst beads and 54 rose quartz beads) for a visually striking effect. The key constraint is that all beads should have similar hole sizes so the thread passes through consistently.
For further reading, explore How to String Mala Beads: Knotting Guide, Mala Beads for Beginners: Complete Guide, and Chakra Bracelet Sizing: Find Your Perfect Fit.
Frequently Asked Questions
What type of thread is best for knotting a mala necklace?
At SagStone, our artisans prefer using a durable, fray-resistant silk or nylon cord. Silk offers a beautiful, natural drape, while nylon provides extra strength for heavier crystal beads. The key is choosing a thickness that allows the handcrafted beads to rest snugly against the knots without slipping, ensuring your meditation mala withstands daily wear and energetic use.
What size beads are best for a meditation mala?
The ideal bead size depends on your personal comfort. Traditionally, 8mm natural crystal beads are the most popular choice for handcrafted malas because they create a beautifully draped 108-bead necklace. If you prefer a delicate piece, 6mm beads are perfect. For an easier grip during mantra repetition, 10mm artisan gemstone beads offer a substantial, grounding feel for your daily meditation practice.
Comments