How to String and Knot Mala Beads Like a Pro
June 5, 2026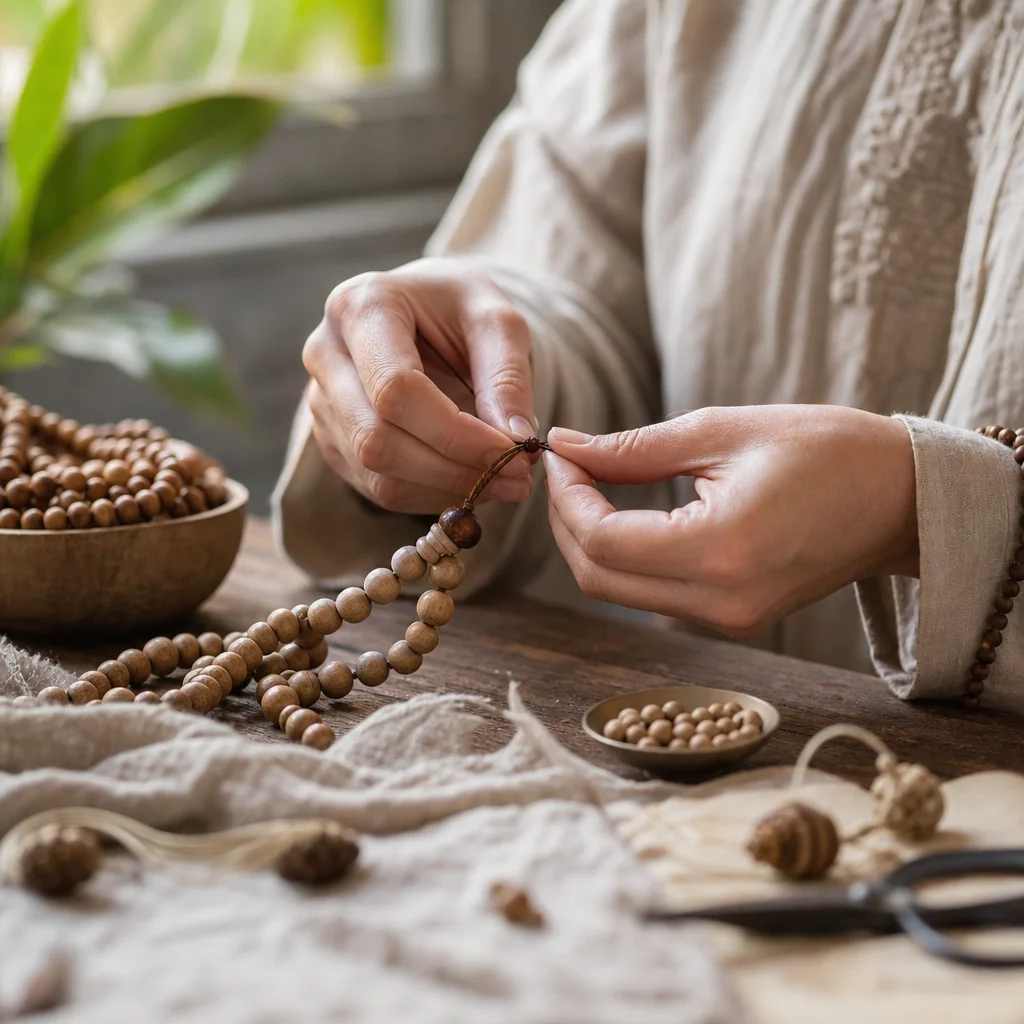
Hey, have you ever tried knotting with beads? It's a big deal in the jewelry world! I've found that it adds this really cool texture and dimension to the pieces. And the thing is, it's not just for looks; it also makes the jewelry more durable. Plus, it's super easy to do. You just need some beads and a few knots, and you're good to go. I love experimenting with different knotting techniques to see what kind of effects I can get. It's honestly so satisfying to see a simple string of beads turn into something so unique and stylish.
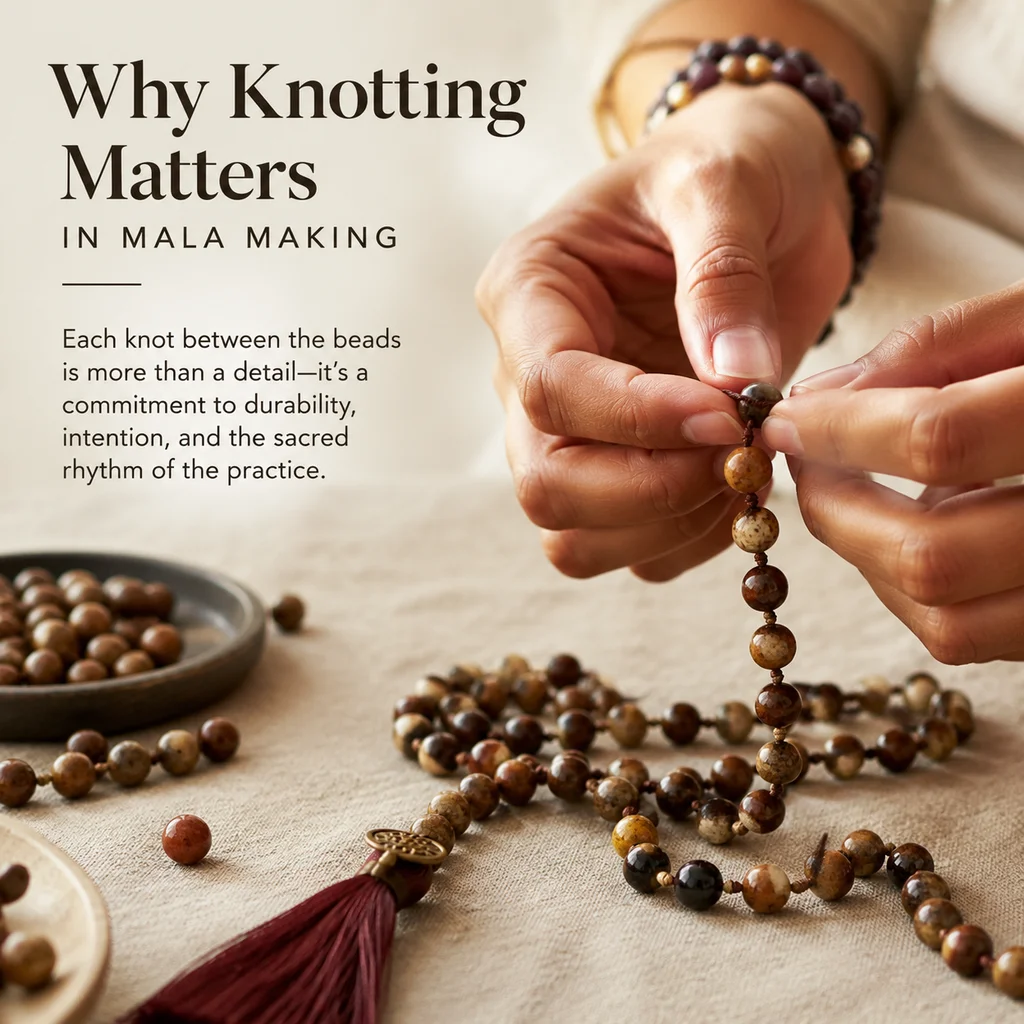
Hey there! So, you're wondering why knotting between beads is such a big deal, huh? Well, I'll tell you what, it's all about keeping your jewelry looking fresh and not getting all tangled up. I've found that when you knot it right, it's like giving your beads a little hug, making sure they stay cozy and don't pull each other apart. Plus, it just looks super cool. And guess what? It's not that hard at all. Just take your time, follow the steps, and you'll be good to go. Now, let's see how we do it!
Hey, have you seen those mala necklaces with the knots? They're not just there for show—they're a big deal. The knots keep the beads from sliding when the string stretches or snaps, so if anything goes wrong with the necklace, it stays in place. Plus, it looks totally cool when you're wearing it! No beads sticking together. And the gaps are awesome for counting beads while you meditate; you can really feel the space between each one.
So, you've seen those malas with the cool knotting, right? It's like a fancy surgeon's knot or just a simple overhand knot for each bead. It looks like a lot of work, but once you get the hang of it, it's chill and almost feels meditative. Pros can whip up a 108-bead mala in about two hours. For newbies like us, it might take three to four hours for the first one, but honestly, you'll get quicker as you keep making them.
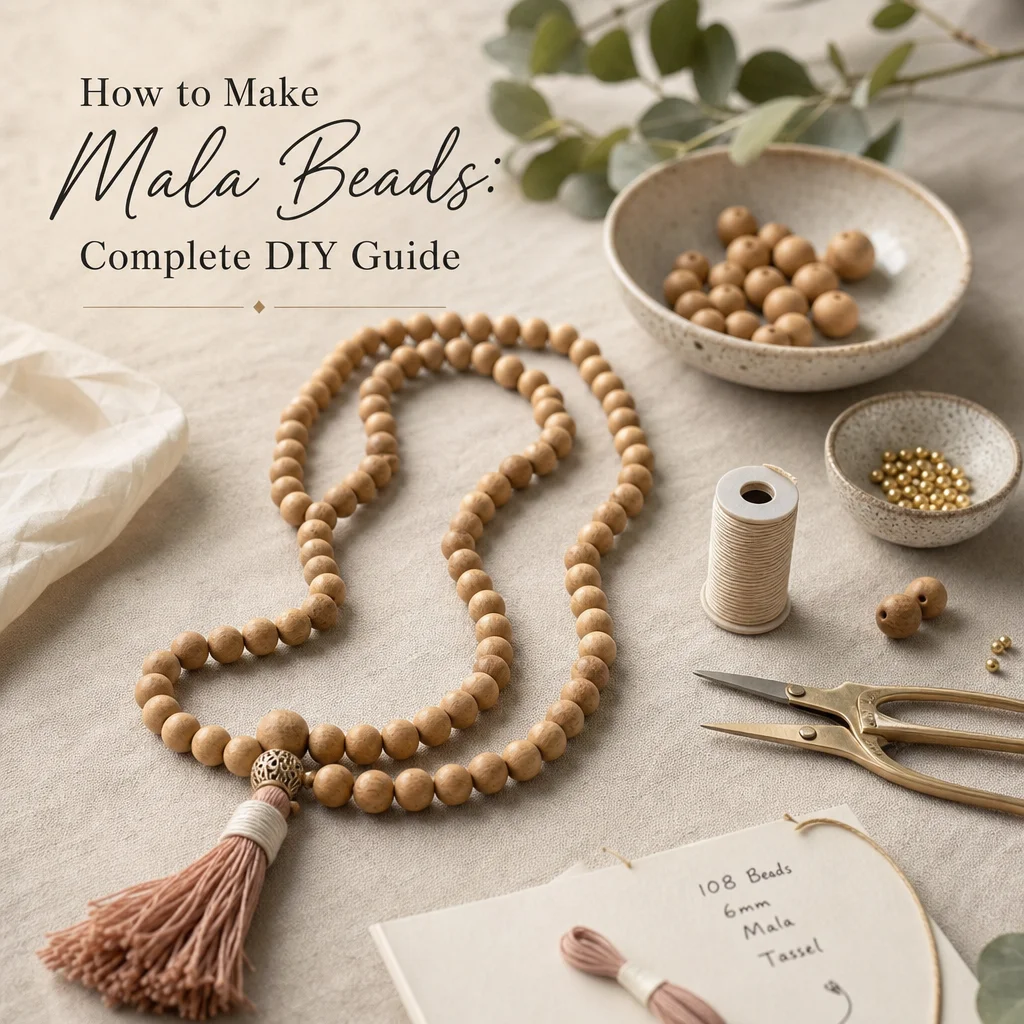
Materials and Tools You Need
Thread: Alright, so finding the perfect thread is a total dealbreaker. Silk, you know, size E or F, has been the classic go-to. It's strong, knots like a pro, hangs really nice, and just gets this chill patina as it ages. But honestly, silk doesn't do water well — it can kind of fall apart if it gets soaked. Now, there's this new buzz about nylon bead cord. Go for 0.5mm or 0.65mm. It's super sturdy and holds up to water better. Plus, for us newbies, nylon is a breeze to work with. It doesn't fray like silk. Polyester is an option, but it doesn't drape as smoothly as silk or nylon.
108 beads: Okay, so when you're picking out beads, just make sure they're the right size for your thread width, okay? For malas, 8mm beads are usually the go-to, but I like to go for the 6mm ones for a lighter, sleeker look. And if you're into something chunkier, the 10mm ones are pretty cool too. But hey, make sure the holes are big enough so you can thread your doubled thread through at least twice. Too tiny? Trust me, it's a total headache!
1 guru bead: So, the guru bead is the boss of the 108 beads, get it? It's usually about 12-15mm, and it needs a big enough hole to thread a few times. Most of them are drilled side to side or top to bottom, which is totally cool. Just grab one that's a total match for those 108 tiny beads in color and all that good stuff.
Needle: Honestly, I've found that a flexible beading needle is a total game-changer—big eye or twisted wire, they make threading a breeze. And you know, if you're playing with silk thread, you've got to get a silk needle with a built-in eye—it's just so smart. Or if you're into that nylon cord, a collapsible eye needle is like a dream come true. It slides right through those tiny bead holes like a tiny wizard!
Scissors: Oh, you know those sharp, fine-point scissors? They're a total game-changer for snipping that pesky thread at the end. Such a lifesaver, honestly!
Tassel materials: You can go for embroidery thread, silk cord, or just grab those ready-made tassels if you're in a rush. If crafting's your thing, a tassel maker or a cardboard template is your BFF. It's actually super easy, I've found!
Optional but helpful: So, I mean, a bead mat or towel is a total game-changer, you know? Keeps those beads from rolling all over the place. Tweezers are a must-have for those tricky spots and knot-tightening. Bead board is awesome for planning out your design. And hey, clear nail polish or glue? They're perfect for securing those last knots. Don't forget 'em!
Planning Your Layout
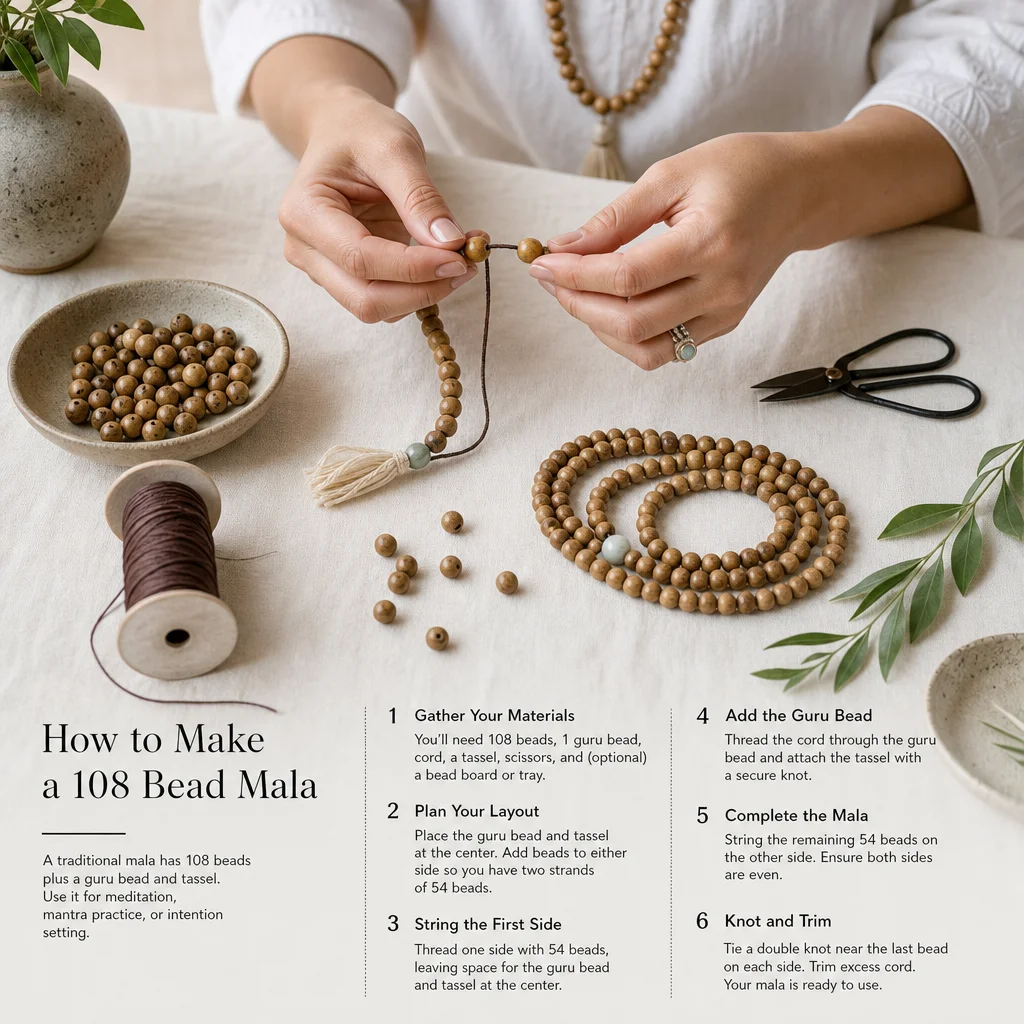
Before we string these bad boys together, let's spread out all 109 beads—108 and a special guru bead too—on a bead mat or just a towel. This little trick does double duty: it helps us spot any size snags or color issues early, and gives us a sneak peek at how the mala's gonna look. Plus, think about the color story—it's like putting together a puzzle. If you're blending different stones, make sure the colors tell a good story—like a row of rose quartz followed by clear quartz, every 10th bead. And hey, some people just stick with one kind for that sleek look, but why not mix it up a bit? It can turn out pretty awesome!
Alright, count those beads one more time. It's way easier to catch a miscount now than deal with having 109 or 107 beads after you've strung half the mala. Don't forget to set the guru bead aside, though — we'll add it in at the end.
Stringing the First Bead
Alright, grab a piece of thread that's about 6 feet long. That's plenty so you've got some extra to play with for tying knots and stuff. Just thread your needle, but don't pull too much through the eye—like, just 12 inches or so. And don't tie a knot at the end, either. The first bead and knot will hold it all in place.
Alright, so you're gonna string all 108 beads onto the thread, right? Just pile 'em all in there at once. It's a bit of a pain, but knotting between them as you go makes it way easier than rethreading the needle for each one. And if your beads have super tight holes, you might need to give 'em a little tweak with a bead reamer or a tiny drill to make 'em fit better.
So, once you've got all 108 beads strung on the thread, just push them down so they're like, 6 inches from the end. Then, grab the little tail and tie a regular knot. Pull the first bead over the knot and snug it up. That's your anchor point, see? The first bead is all set, and the knot keeps the thread ends nice and tight.
The Knotting Technique: Step by Step
Hey there! So, you're into knotting, huh? I've found knotting crystals to be super fun and it's a great way to get creative with your jewelry. What I love about the knotting technique is that it's not just about making something pretty—it's a bit of a mindful process too. Let me walk you through the basics. First, you'll need some string and your favorite crystals. Just grab a few, because the thing is, you can never have too many crystals, right? Now, here's how you do it: 1. Start with a simple overhand knot. It's just like tying your shoes, but with string and crystals! 2. Slide your first crystal onto the string. I like to think of it as giving the crystal a little home. 3. Make another overhand knot right after the crystal. This secures it in place. 4. Repeat steps 2 and 3 with as many crystals as you want. The more, the merrier! 5. Once you're done adding crystals, make a final overhand knot at the end to finish it off. 6. Trim off any excess string and you're all set. Now you've got a beautiful, custom piece of crystal jewelry! And honestly, it's really as simple as that. Give it a try and let me know how it goes! 🌟
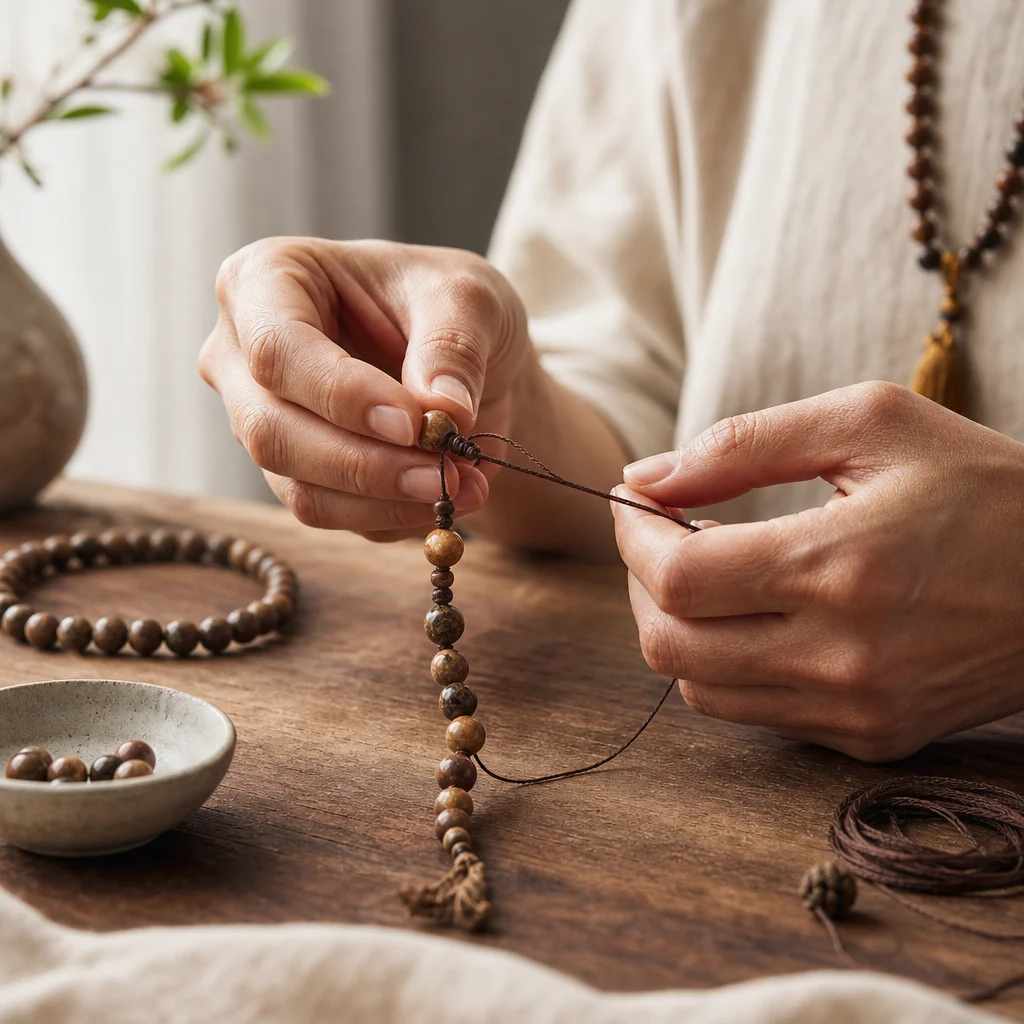
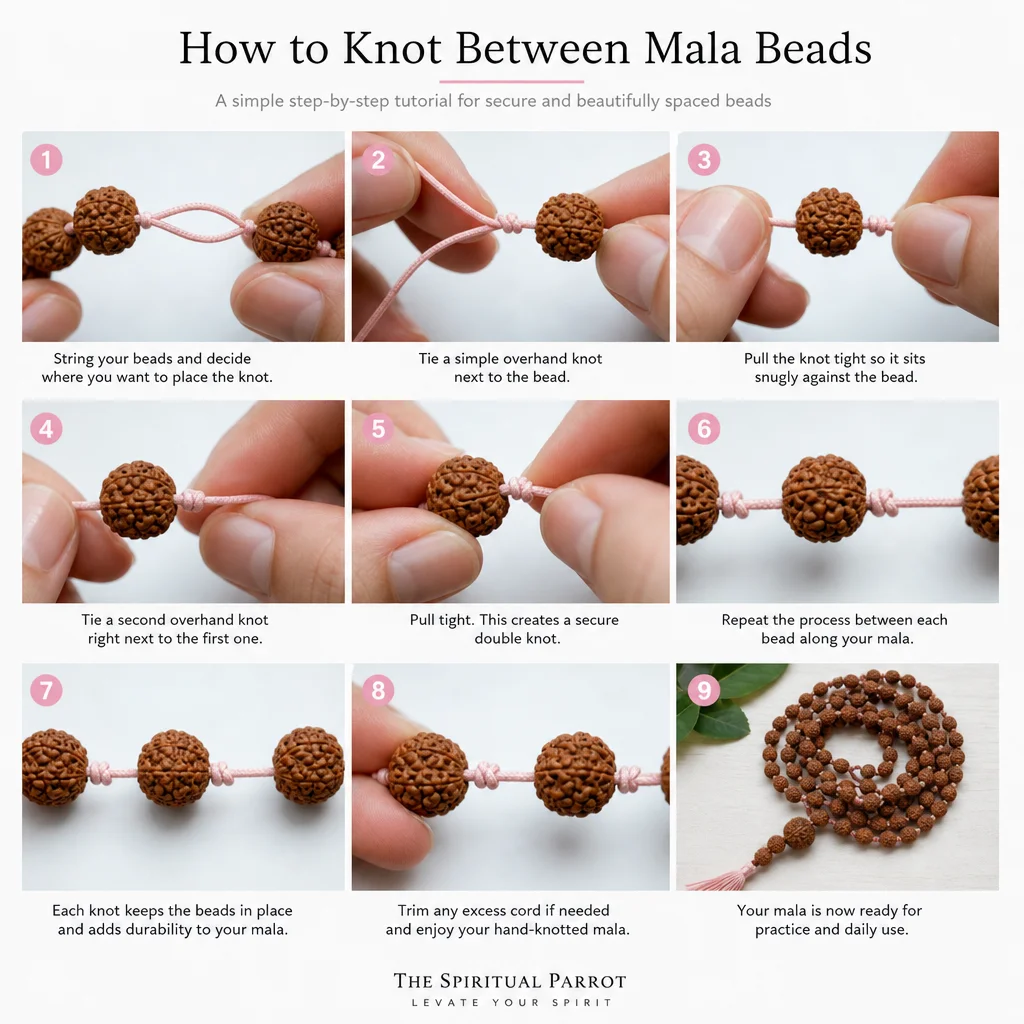
So, the core technique here is all about the way you hold the mala. You gotta grab it with your non-dominant hand and let the beads kind of hang over your fingers. Then, with your dominant hand, you twist the thread to make a loop right under the last bead. Stick the needle through this loop and you'll create an overhand knot. But before you pull it tight, slide the next bead down so it snuggles up against the knot. Then give that knot a good yank to get it right up against the bead.
Oh, the knot tension is a big deal. Too loose, and the beads just slide around. Too tight, and it's like the knot vanishes. You want it to be just right, snug against the bead but not so tight you can't feel it during japa practice. I've found that a knot size about one-third the bead's diameter is perfect. So, on an 8mm bead, aim for a knot that's about 2-3mm across. It's all about that sweet spot!
So, after you tie each knot, just use your thumbnail or the flat part of a needle to push it nice and tight against the bead. Some mala makers like to use a tiny awl or a toothpick to get the knot just right. Consistent knot placement is key for that pro look and even spacing all the way down the mala.
Work bead by bead, knot by knot, until all 108 beads are strung and knotted. The process is repetitive, which is why experienced mala makers describe it as meditative. Put on music or a podcast, find a comfortable position, and let the rhythm take over.
Adding the Guru Bead
After the 108th bead is knotted in place, string the guru bead onto the thread. The guru bead is typically attached differently than the other beads because it's the junction point where the mala loop closes. There are several approaches:
Method 1 — Thread through twice: Pass the needle and thread through the guru bead once, then loop back and pass through again in the same direction. Tie a secure knot at the base of the guru bead on both sides, sandwiching it between two knots. This is the simplest method and works well for guru beads with a single hole.
Method 2 — Wrap around the bead: Pass the thread through the guru bead, then wrap the thread around the bead several times before tying off. This creates a decorative wrap that's visible and adds interest. Use a contrasting color thread for the wrap to make it a design feature.
Method 3 — Hidden knot: Thread both ends of the cord through the guru bead from opposite directions. Tie a secure knot inside the bead hole (if it's large enough) or immediately beneath it. This hides the connection point for the cleanest appearance. This method works only with guru beads that have large enough drill holes to accommodate a knot.
Making the Tassel
The tassel hangs from the guru bead and is the most visually distinctive feature of a mala. You can buy pre-made tassels or create your own from embroidery thread. Making your own allows you to match the tassel color to your bead colors and control the length and fullness.
Quick tassel method: Cut a piece of cardboard about 4 inches long. Wrap embroidery thread around the cardboard 30-40 times (more wraps = fuller tassel). Slide the wrapped thread off the cardboard and tie it tightly at one end with a separate piece of thread. Cut the looped ends at the bottom to create the fringe. Fold the tied end in half over the knot at the guru bead and tie it securely to the mala cord. Wrap the attachment point with thread for a clean finish.
Professional tassel: Follow the same wrapping process but add a tassel "neck" — a wrapped section below the attachment point that gives the tassel structure. Wrap 15-20 times with a contrasting thread, secure with a knot, and tuck the ends inside the wrapping. This extra step elevates the tassel from homemade-looking to boutique quality.
Common Mistakes and How to Avoid Them
Uneven tension: Knots that alternate between tight and loose create wavy, inconsistent spacing. Pull each knot with consistent force. If your hands get tired (and they will), take a 5-minute break rather than letting fatigue affect your knot quality.
Wrong thread size: Thread that's too thin will break under tension; thread that's too thick won't fit through the beads. Test your thread and bead combination with 2-3 beads before committing to the full project.
Forgetting to count: Losing track of your bead count midway through stringing is frustrating but fixable. Lay the mala flat and count the beads from the first knot. If you miscounted, undo the most recent knots and add or remove beads as needed.
Thread showing between beads: If the thread is visible between beads in the finished mala, the knots aren't tight enough or the bead holes are too large. Use slightly thicker thread or add an extra wrap in the knot for beads with oversized holes.
Finishing and Securing the Knots
Once the guru bead and tassel are attached, tie a final secure knot using a surgeon's knot (double overhand). Apply a tiny drop of clear nail polish or fabric glue to the final knot and let it dry completely before trimming the thread ends. Leave about 1/4 inch of thread beyond the knot for security — don't trim flush against the knot, as this risks unraveling over time.
Inspect the entire mala, checking that every knot is secure, every bead is properly seated, and the guru bead hangs correctly. Gently stretch the mala — it should feel secure with no visible gaps between beads. The finished mala should drape evenly when held at both ends.
Frequently Asked Questions
How long does it take to make a mala?
For a beginner, plan on 3-4 hours for the complete process (stringing 108 beads, knotting between each, adding the guru bead, and making the tassel). Experienced mala makers can complete one in 1.5-2 hours. Speed comes with practice — specifically, the knotting becomes much faster once the muscle memory develops.
Can I use elastic cord instead of thread?
Some mala makers use stretchy cord for easy on/off wearing. However, elastic cord doesn't hold knots well between beads, eliminates the tactile knot sensation during japa, and degrades over time. Traditional thread with individual knots is strongly recommended for authentic mala construction.
What size beads should I use?
8mm is the standard mala bead size and produces a necklace that falls to about mid-chest on most adults. 6mm beads create a shorter, lighter mala suitable for women or people who prefer less bulk. 10mm beads make a bold, chunky mala that makes a statement. Choose based on your personal preference and comfort.
Frequently Asked Questions
How tight should I knot my mala beads?
When handcrafting natural crystal malas, your knots should be snug against the beads but not overly tight. Leaving a tiny bit of space prevents the cord from snapping and protects softer gemstones from chipping. Consistent, gentle tension ensures your artisan jewelry drapes beautifully over your hands and remains durable through years of daily meditation and mindful wear.
What is the best thread for making a mala necklace?
For durable handcrafted jewelry, nylon cord or thick silk thread is highly recommended for stringing malas. These materials are incredibly strong, preventing heavy natural crystal beads from cutting through the strand over time. Nylon provides excellent grip for secure knotting, while silk offers a beautiful, traditional drape. Choosing a high-quality cord ensures your artisan necklace lasts a lifetime.
Comments