How to Make Mala Beads: Complete DIY Guide
May 28, 2026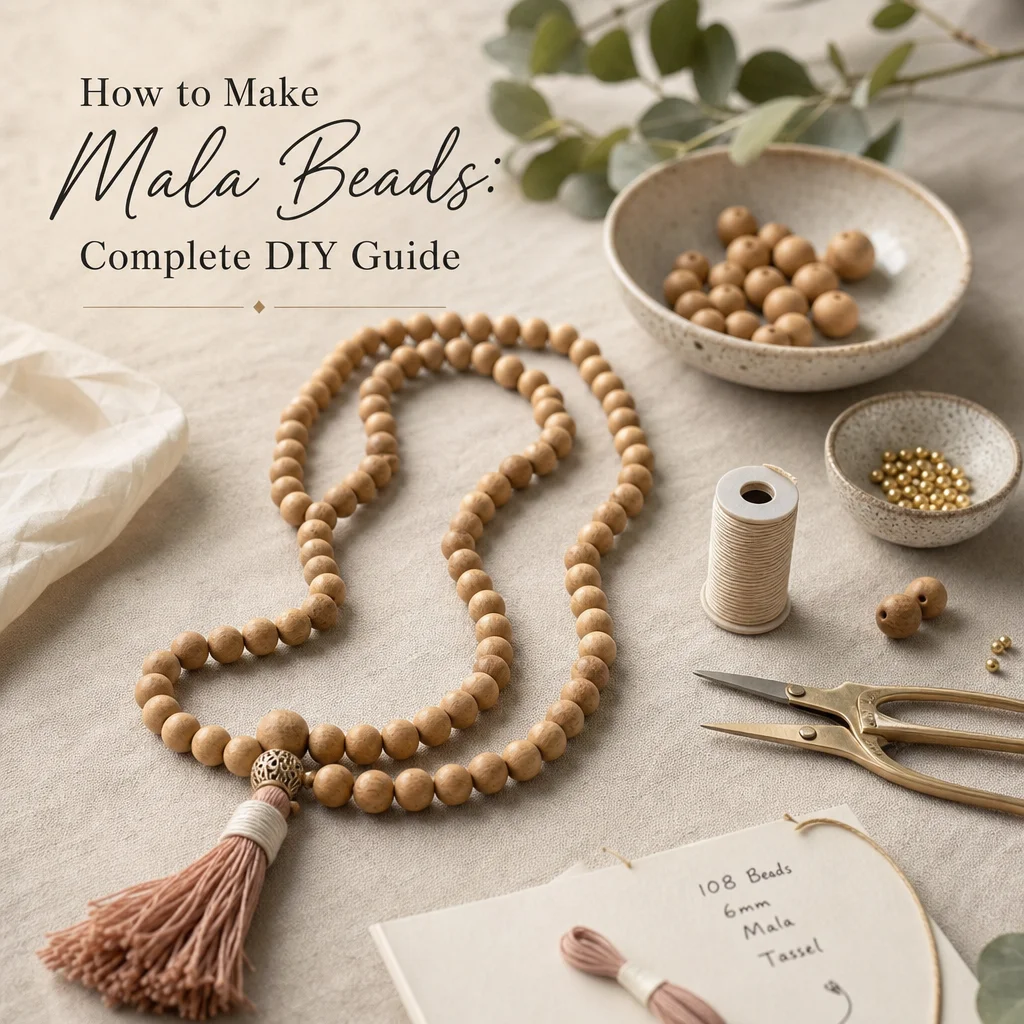
Why Making Your Own Mala Matters
There's a reason traditional mala-making is considered a spiritual practice, not just a craft project. The process of stringing 108 beads, one at a time, while maintaining focus and intention, is itself a form of meditation. By the time you finish your mala, you'll have spent 2-4 hours in a focused, repetitive state that mirrors the meditation practice the mala is designed to support.
Many practitioners believe that a self-made mala carries your personal energy in a way that a purchased one doesn't. Whether or not you accept that framework, there's a practical benefit: the process of making the mala teaches you its structure. You'll understand every knot, every bead, and every spacer in a way that deepens your relationship with the finished piece.
This guide covers the complete process from materials selection to the final tassel. No prior jewelry-making experience is needed.
Materials You'll Need
Beads
- 108 main beads: 8mm or 10mm beads are standard. (6mm is too small for comfortable finger counting; 12mm makes an unwieldy mala.) You'll need exactly 108 — count them twice before starting.
- 3-4 marker beads: Slightly larger or a different color from the main beads. These go at positions 27, 54, and 81 (and optionally at position 7 for very short practices). Markers help you track progress without losing count during meditation.
- 1 guru bead: The largest bead in the mala, where the string closes into a loop. It's not counted among the 108. Choose something distinctive — a different shape, color, or material than the main beads.
Stringing Materials
- Silk thread (size #4-6): Traditional choice. Produces a beautiful drape and is strong enough for daily use. Available in many colors. Nylon-coated silk (like Griffin brand) is the most durable option.
- Nylon cord (0.5mm-0.8mm): More durable than silk but less traditional. Good choice for crystal malas, which are heavier than wooden ones. Clear nylon is nearly invisible between beads.
- Length needed: 3-4 meters for a 108-bead mala with knots. Buy extra — running out of cord halfway through is frustrating.
Tools
- Beading needle (or make one by folding thin wire in half)
- Scissors or thread snips
- Small dish to hold beads while you work
- Beeswax or Thread Heaven (optional — conditions the thread and prevents tangling)
- Tassel cap (optional — a small metal cone that covers the knot at the bottom of the tassel)
Cost Estimate
A complete DIY mala costs $15-40 in materials, depending on your stone choices:
- Wooden bead mala: $5-10 in materials
- Crystal bead mala (common stones like howlite or aventurine): $15-25
- Crystal bead mala (premium stones like lapis or amethyst): $25-50
- Compare to: $40-150 for a pre-made mala of similar quality
The Traditional Knot-Tying Method
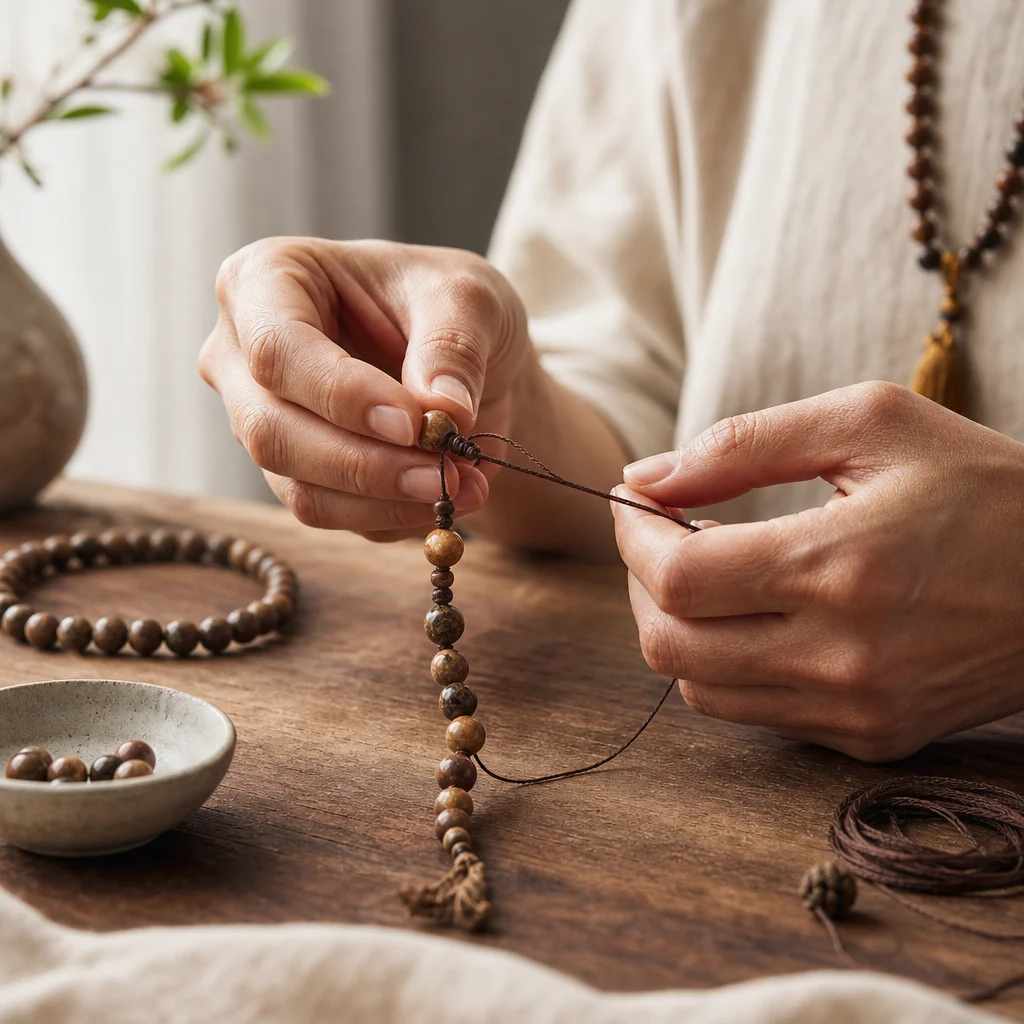
The most common approach is to tie a knot between each bead. This serves three purposes: it keeps the beads from sliding around, it creates a natural spacing that makes the mala comfortable to handle, and each knot is an opportunity to set an intention or recite a mantra.
Step 1: Prepare Your Thread
Cut 3 meters of thread. Thread your beading needle. If using silk, run the thread through beeswax 2-3 times to stiffen it and prevent tangling. Leave a 6-inch tail at the beginning — you'll need this later for tying off.
Step 2: String the Guru Bead
Thread the needle through the guru bead, pulling it to about 8 inches from the end of the thread. Both thread ends should pass through the guru bead. Tie a knot below the guru bead to secure it. This is the center point of your mala — everything else builds from here.
Step 3: Begin Stringing and Knotting
Working from the guru bead outward, string one bead at a time, tying a knot after each one. Here's the basic knot:
- String one bead onto the thread.
- Create a loop in the thread right after the bead.
- Pass the needle through the loop.
- Pull tight. The knot should sit snugly against the bead.
- Repeat 107 more times.
Traditional practice: Many practitioners recite a mantra with each knot. A simple one: "Om" on the inhale (before the bead), "Shanti" on the exhale (as you tie the knot). Or simply hold the intention of peace, clarity, or whatever quality you want your mala to support.
Step 4: Place Marker Beads
At beads 27, 54, and 81 (counting from the guru bead), use your larger or differently colored marker beads instead of the regular beads. These quarter-point markers help you track your meditation progress without counting. Some traditions also add a marker at bead 7 for very short meditation practices.
Step 5: Close the Loop
After stringing all 108 beads, bring both ends of the mala together. Pass both thread ends through the guru bead from opposite sides. This closes the mala into a loop. The guru bead is the one bead that both sides of the string pass through — it's the meeting point.
Step 6: Tie Off and Create the Tassel
After passing both threads through the guru bead, tie a secure knot. Then create the tassel:
- Wrap the remaining thread around two or three fingers 8-10 times to create a bundle of loops.
- Slide the loops off your fingers and tie a knot at the top of the bundle with a separate piece of thread.
- Cut the bottom of the loops to create the tassel fringe.
- Trim the tassel to an even length (typically 1.5-2 inches).
- Optional: thread a tassel cap (a small decorative cone) over the knot for a finished look.
The tassel has symbolic significance in many traditions — it represents the roots of a lotus plant, grounded in the earth while the flower reaches toward the sky. It also represents the connection between the individual practitioner and all beings.
The No-Knot Method (Faster, Modern)
If knot-tying feels tedious or if you're using nylon cord that doesn't knot as cleanly as silk, you can skip the knots entirely:
- String all 108 beads plus markers and guru bead onto the cord in sequence.
- Pass both cord ends through the guru bead to close the loop.
- Tie a secure knot and create the tassel as described above.
- Add a tiny drop of jewelry glue (like E6000 or G-S Hypo Cement) at the knot to prevent it from loosening.
The result looks more like a beaded necklace than a traditional knotted mala. The beads will slide on the cord rather than staying in fixed positions. This isn't traditional, but it's perfectly functional for meditation and looks clean and modern.
Choosing Your Mala Bead Material
Wood and Seed Options (Traditional)
| Material | Properties | Best For |
|---|---|---|
| Sandalwood | Lightweight, natural fragrance, smooth texture | General meditation, calming practices, daily wear |
| Tulsi (Holy Basil) | Very light, sacred in Hindu tradition | Devotional practices, Vishnu/Krishna worship |
| Rudraksha seeds | Textured surface, sacred in Shaivism | Shiva worship, serious meditation practice |
| Bodhi seed | Associated with the Buddha's enlightenment tree | Buddhist practices, wisdom-seeking |
| Lotus seed | Smooth, symbolic of spiritual growth from mud | Transformation practices, general meditation |
Crystal Options
| Crystal | Price Range (108 beads) | Best For |
|---|---|---|
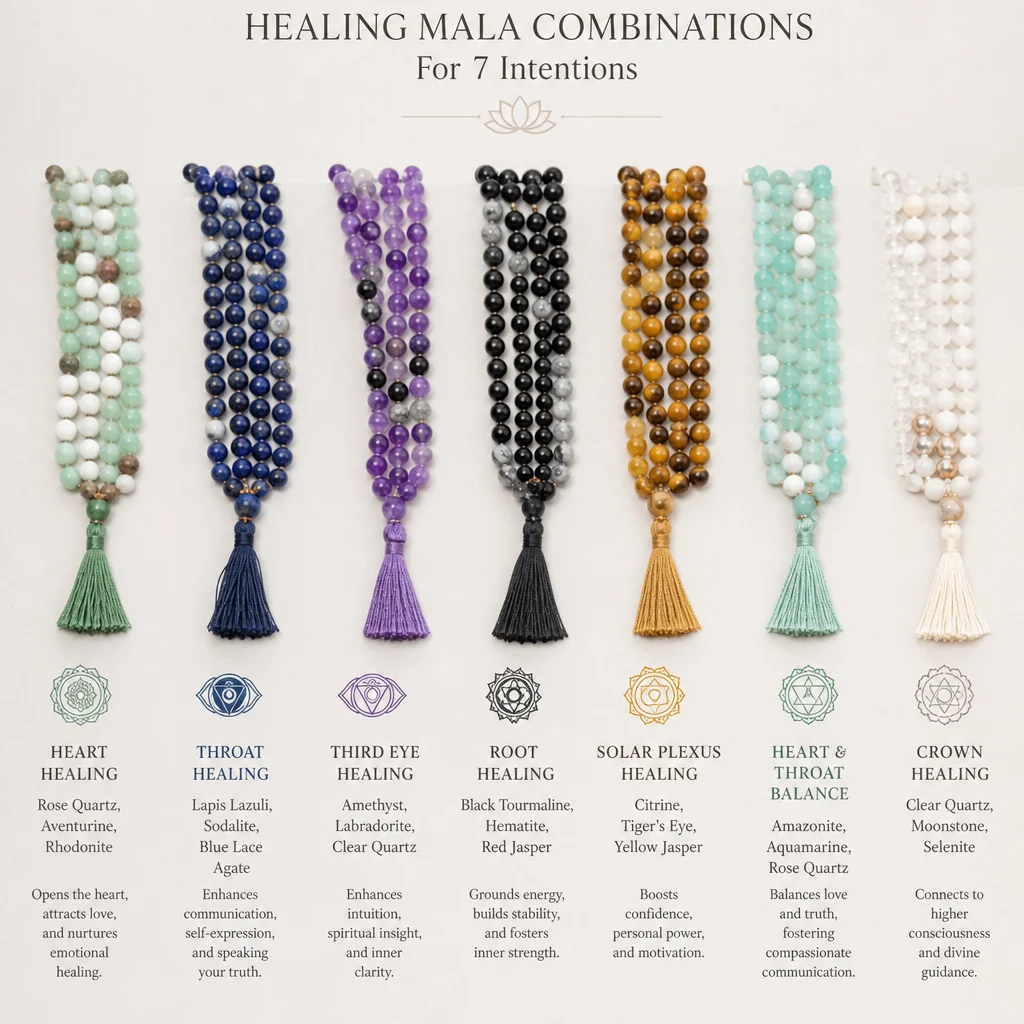
| Clear Quartz | $8-15 | Universal use, amplifying any intention |
| Amethyst | $12-25 | Meditation, spiritual growth, calming |
| Rose Quartz | $10-20 | Love, compassion, self-care practices |
| Howlite (white) | $5-10 | Calming, sleep, stress relief |
| Lapis Lazuli | $20-40 | Truth, communication, insight |
| Black Tourmaline | $15-25 | Protection, grounding, safety |
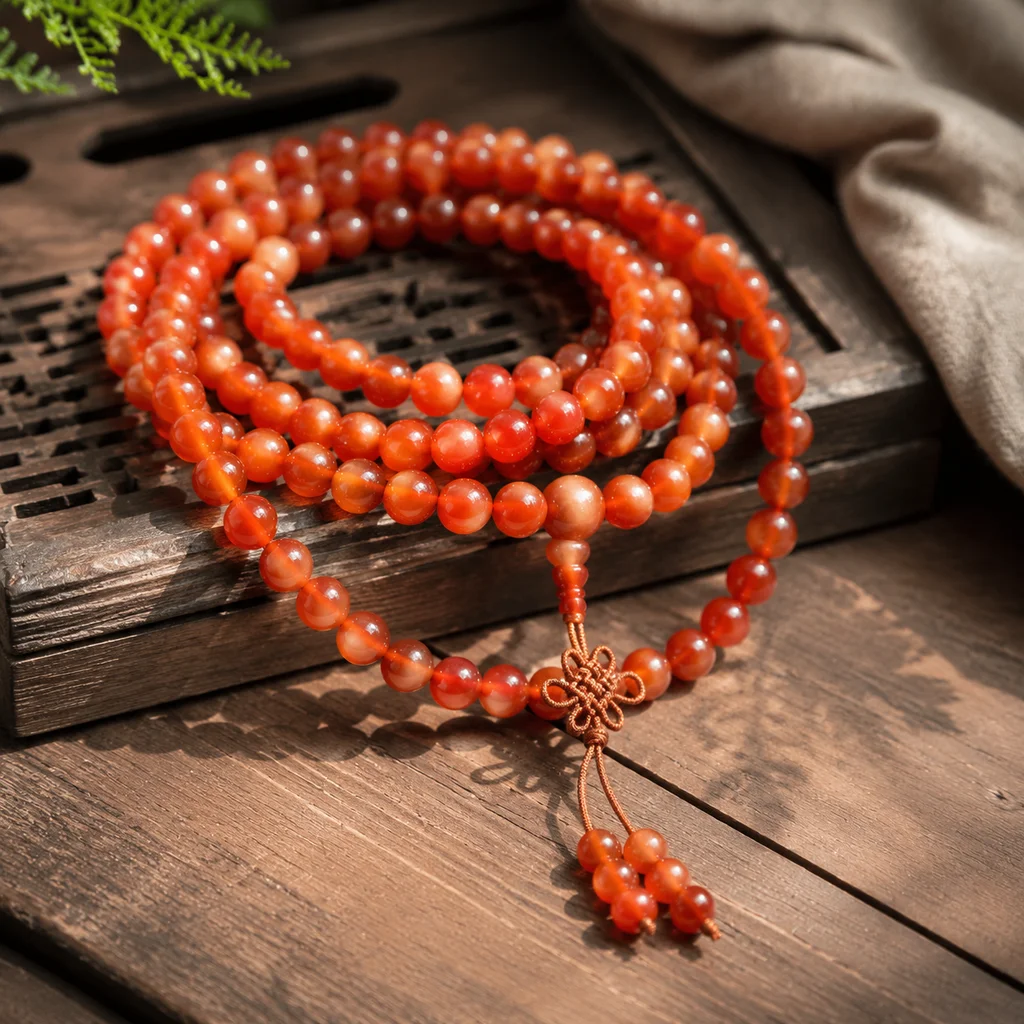
| Carnelian | $8-15 | Creativity, motivation, action |
| Aventurine (green) | $8-15 | Opportunity, openness, optimism |
Mixed Material Malas
You can combine wood and crystal beads for a mala that has both traditional warmth and crystal-specific energy:
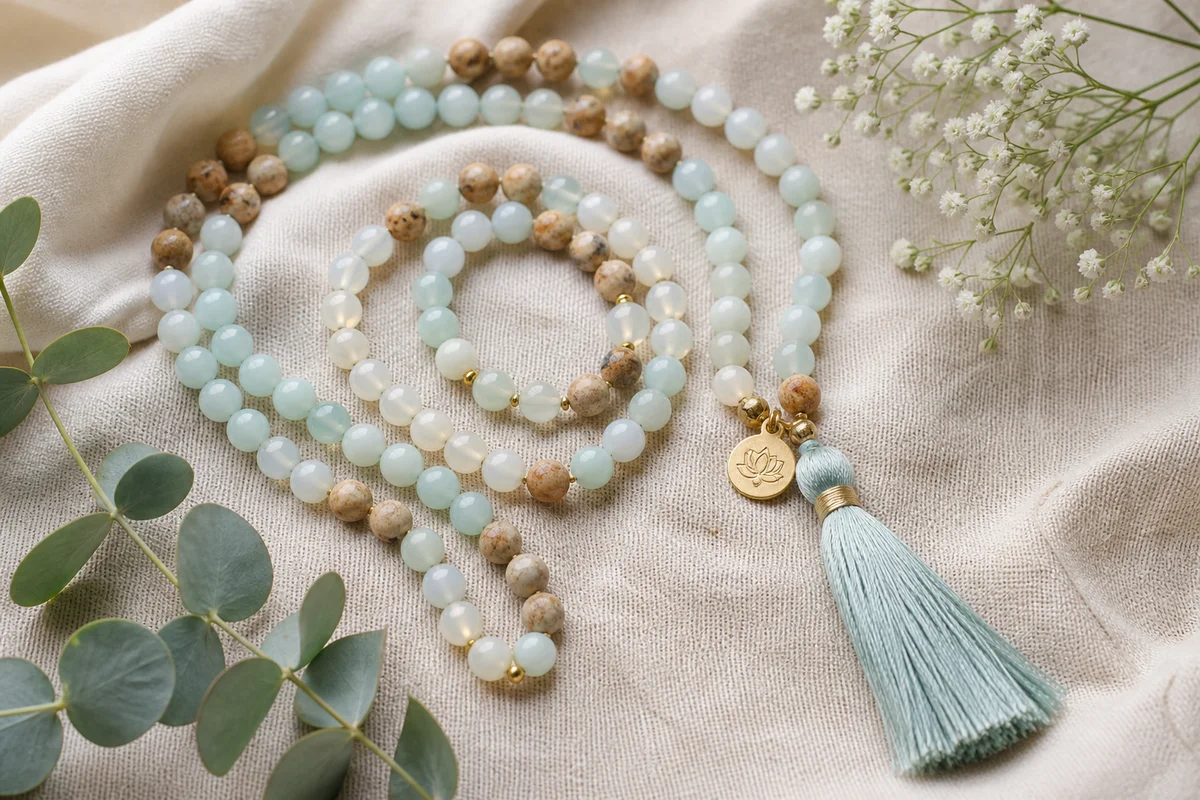
- Wood base + crystal markers: 100 wooden beads + 8 crystal beads at the markers and guru bead. This keeps the mala lightweight and affordable while adding crystal energy at key points.
- Crystal main beads + wooden guru bead: The wooden guru bead provides a tactile contrast that helps you find it quickly during meditation.
- Alternating crystal and wood: Creates a beautiful visual pattern. Be mindful of the weight — crystal beads are significantly heavier than wood.
Troubleshooting Common Problems
The Knots Are Uneven
This is normal for your first mala. With practice, your knots will become consistent. In the meantime, uneven knots don't affect the mala's function — only its appearance. A slightly imperfect handmade mala has more character than a factory-perfect one.
The Thread Broke Midway
Tie a secure knot joining the old and new thread, then continue. Position the joining knot inside a bead if possible to hide it. For silk thread, add beeswax to strengthen it. For nylon, use a slightly thicker cord.
The Mala Is Too Tight or Too Loose
If you knotted too tightly, the mala won't drape properly around your neck. If too loosely, the beads will gap awkwardly. Unfortunately, the fix is to restring. Before starting your final mala, practice knot tension on a 10-bead test section to calibrate your technique.
A Bead Cracked While Stringing
This happens occasionally with natural stone beads that have internal fractures. Replace the cracked bead. Inspect your beads before starting — hold each one up to a light and look for visible cracks or inclusions that might cause breakage.
The Tassel Looks Messy
Trim the tassel with sharp scissors while it's damp (lightly mist with water). Comb through the threads with a fine-tooth comb. Wrap a small piece of thread tightly around the top of the tassel (just below the knot) to gather it neatly. This wrap should be about 1/4 inch wide.
Blessing Your Finished Mala
In many traditions, a finished mala is "activated" through a simple ritual. Here's a non-denominational version:
- Hold the completed mala in both hands, with the guru bead between your palms.
- Set your intention. State silently what you intend to use this mala for: "This mala supports my daily meditation practice" or "This mala helps me cultivate compassion."
- Recite a mantra 108 times while touching each bead once. If you don't have a specific mantra, "Om" works, or simply breathe consciously while moving through each bead.
- After completing all 108 beads, hold the mala at your heart center for a moment of gratitude.
This isn't required, but it transforms the mala from a string of beads into a dedicated meditation tool. The ritual creates a psychological association between the mala and your meditation practice, which makes it easier to settle into a meditative state each time you pick it up.
FAQ
Q: How long does it take to make a mala?
A: Your first mala will take 3-4 hours. With practice, 2-3 hours for a knotted mala, or 30-45 minutes for a no-knot mala. The knot-tying is the most time-consuming part.
Q: Can I make a mala without a guru bead?
A: Technically yes, but the guru bead serves an important function: it marks the end of a 108-bead round and signals you to reverse direction. Without it, you might accidentally continue past 108 or lose your place. The guru bead also provides a natural attachment point for the tassel.
Q: What's the best thread color?
A: Choose a color that either matches your beads (for a seamless look) or contrasts with them (to highlight the knots). For dark beads, use dark thread. For light beads, white or cream thread. Red thread is traditional in Tibetan malas and adds a subtle pop of color.
Q: My mala stretches over time. Is that normal?
A: Yes, especially with silk thread. The knots compress slightly with use. This is normal and doesn't affect the mala's function. If the stretching becomes excessive, it's time to restring — which gives you another opportunity to make a mala as meditation.
Q: Can I sell malas I make?
A: Absolutely. Handmade malas sell well on Etsy ($30-80), at yoga studios, craft markets, and wellness shops. Crystals are generally more expensive to work with than wood or seed malas. This makes them more costly to produce, but they also command a higher price. Crystal malas are increasingly popular and tend to sell faster.
Frequently Asked Questions
How many beads do you need to make a mala necklace?
A traditional mala necklace consists of exactly 108 beads, plus one additional larger bead known as the guru or meru bead. The guru bead serves as a starting and ending point for your meditations. When creating your own handcrafted jewelry, you will also need a tassel and spacer beads if you want a unique design, but the standard spiritual count remains 108.
What kind of string is best for making mala beads?
For a handcrafted mala that lasts, nylon thread, silk cord, or hemp twine are the best options. Silk cord is traditionally used because it creates beautiful, strong knots between natural stones. If you prefer the modern no-knot method, a durable nylon beading wire will ensure your crystals stay securely in place during daily wear and your meditation practice.
Can I use any type of crystal or gemstone to make a mala?
Yes, you can use almost any natural crystal or gemstone bead to make your meditation jewelry. Many artisans choose specific healing stones like amethyst for calm, rose quartz for love, or clear quartz for clarity. Just ensure the holes in your chosen natural beads are large enough to accommodate your chosen stringing material, usually around 0.8mm to 1mm thickness.
How do I attach a tassel to the end of my DIY mala?
To attach a tassel, first thread your stringing material up through the guru bead. Then, loop your tassel cords over the string right beneath the bead. Tie a tight, secure knot to hold the tassel in place, then wrap the excess thread around the top of the tassel head several times before tying it off and hiding the tail for a clean, professional artisanal finish.
What is the purpose of the guru bead on a mala?
The guru bead, also known as the meru or summit bead, is the 109th bead on a traditional mala necklace. It represents the teacher-student relationship, gratitude, and spiritual connection. It also serves a highly practical purpose during meditation by acting as a physical indicator that you have completed one full cycle of 108 mantra repetitions.
Comments