How to String Mala Beads: Knotting Guide
June 10, 2026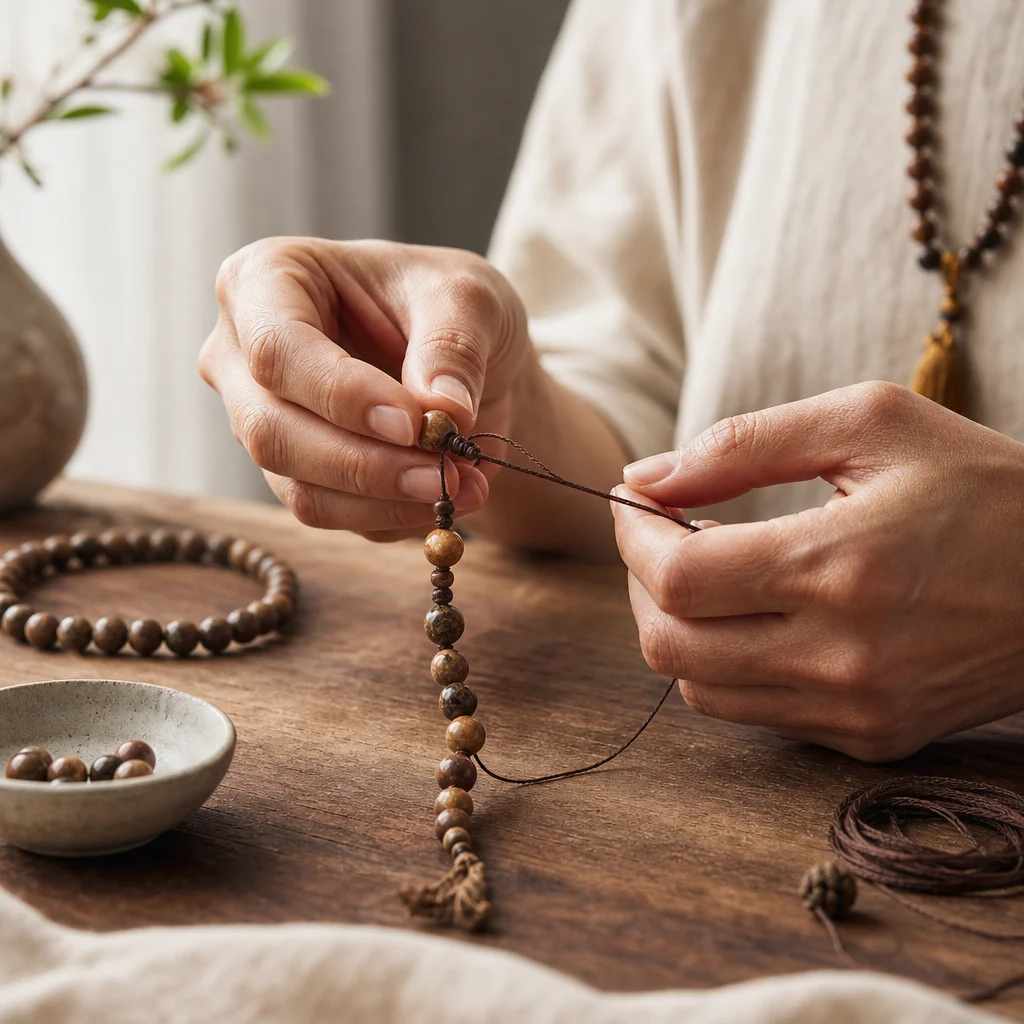
Whoa, making your own mala beads is such a blast! It's like creating a tiny part of yourself as jewelry. I'm going to show you how to string 'em up with the knotting technique—it's a classic move, and it really makes those beads last longer. Ready to give it a shot?
Essential Tools
Hey there! So, if you're all about making your own crystal jewelry, you really need to pick up these basics: bead board, a beading needle, scissors, tweezers, and a bead mat. They're my favorite tools, I mean, I can't survive without 'em!Thread Types Compared
Hey, picking the right thread is a total deal-breaker for your mala beads, you know? So, here's a quick rundown of some popular thread types for you:
Figuring out the perfect thread for your mala can be a bit of a process, honestly. I've found that what I love about it is the variety of options out there. You've got silk, cotton, and even elastic. The thing is, you want something that's not only comfortable to wear but also looks good. And don't get me wrong, the price can vary, but I think it's worth it to find just the right one. So, I usually go for silk because it's so smooth and luxurious. Now, if you're looking for something a bit more durable, cotton might be your best bet. Just make sure it's a good quality one, or else it might get all bunched up. Oh, and if you're into a more understated look, you can't go wrong with elastic. It's super versatile, and it's great for those who might have sensitive skin. Just take your time and try a few different threads until you find the one that feels just right!
Hey, have you ever thought about which thread you'd choose for your mala? Silk thread, oh my! It's so silky smooth and gives this amazing sheen—it's like adding a touch of elegance. And if you're all about that long-lasting vibe, nylon thread is the way to go—it's super sturdy! I'm all about cotton thread for its natural softness, and it's a win for those with sensitive skin. Plus, polyester thread is just a no-brainer—it's super affordable and super easy to work with. It's like the budget BFF for beginners!
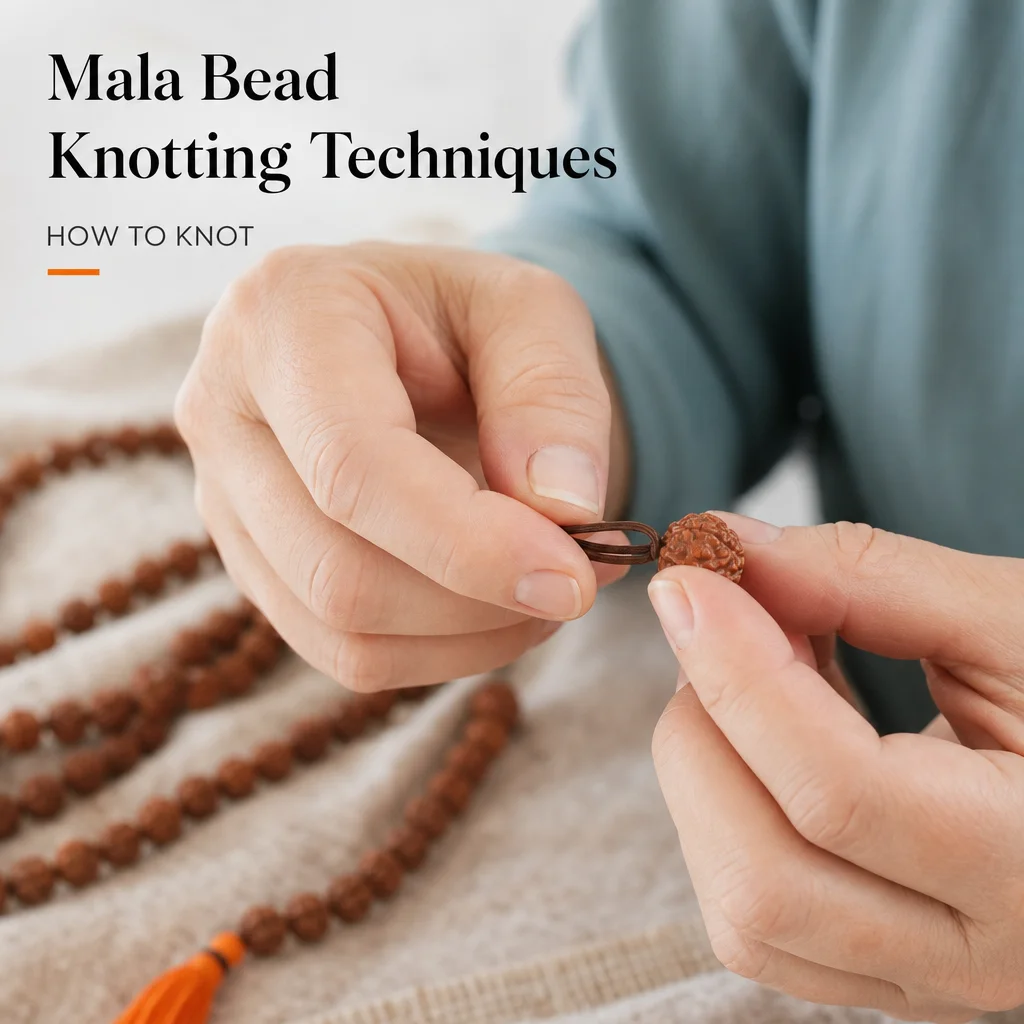
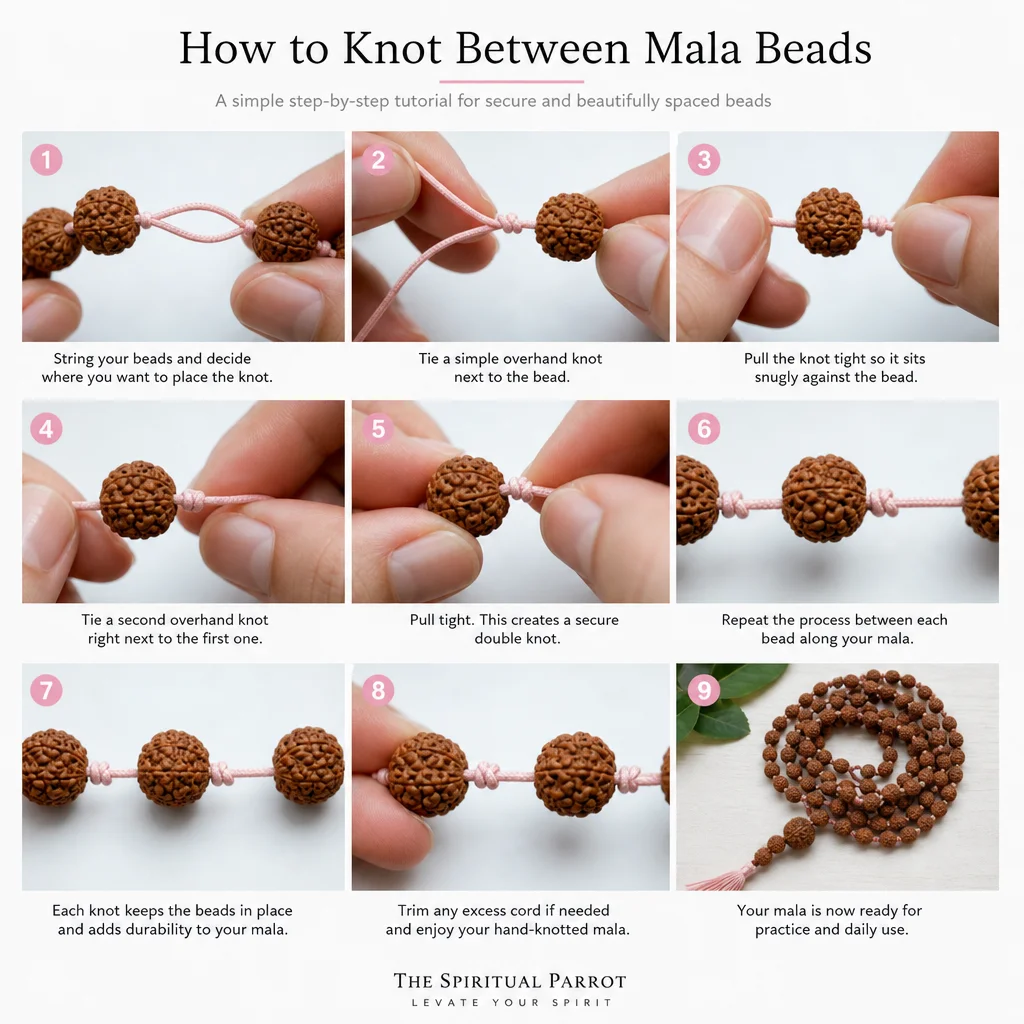
And let me tell you about those adorable knots we use? We go for the surgeon's knot, girl! It's like the rockstar of beading. It's a game-changer, I'm telling you!Hey, the surgeon's knot is a total game-changer for keeping those beads secure. So, let me show you how you tie it:
- Grab your go-to thread, thread that needle, and don't forget to tie a little knot at the end to make a loop.
- Now, plop the first bead on the bead board, and stick the needle through it from the back to the front. Super simple!
- Run the needle through that loop you just tied, and pull the thread tight to make sure the knot's nice and snug around the bead.
- Then, go through the bead from the front to the back and loop it through the knot again. Tie another knot, just like the first one. Easy peasy!
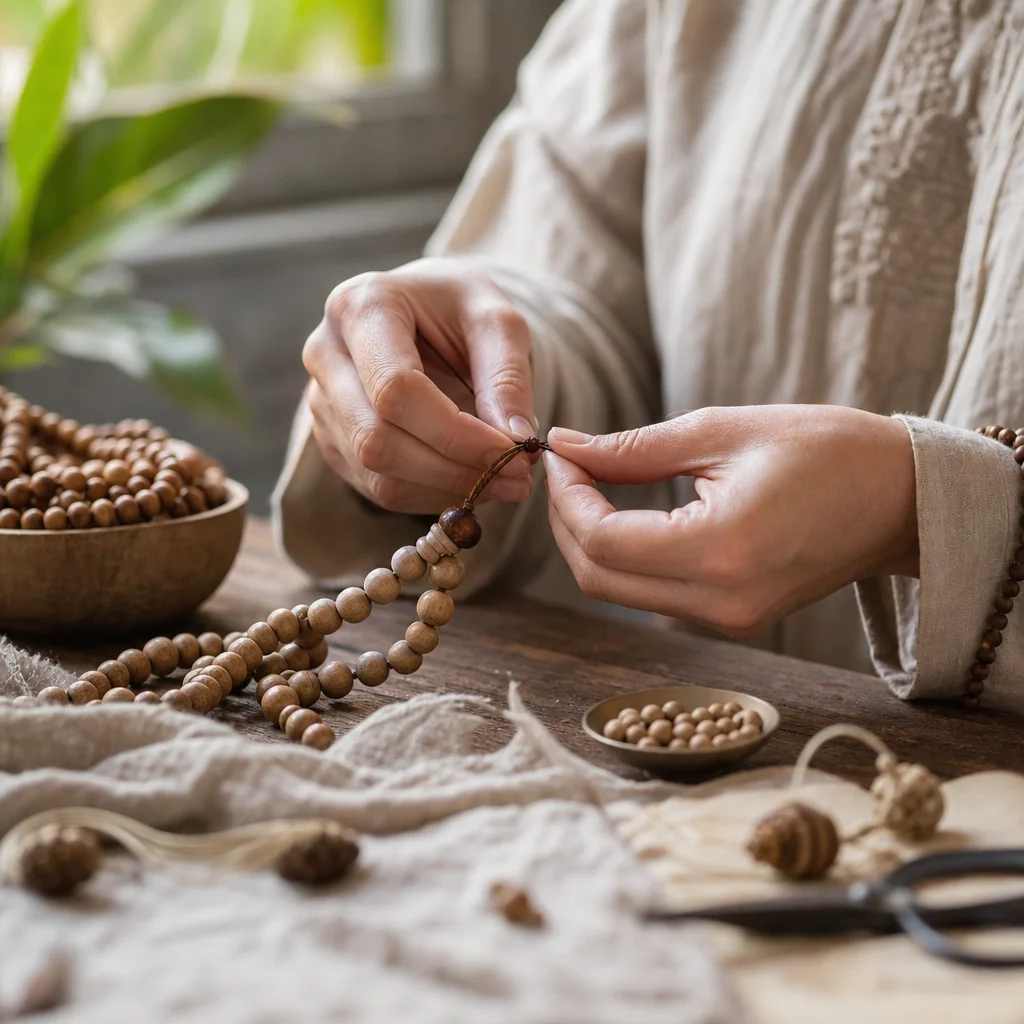
- Keep doing this for every bead, but make sure those knots are good and snug, okay?
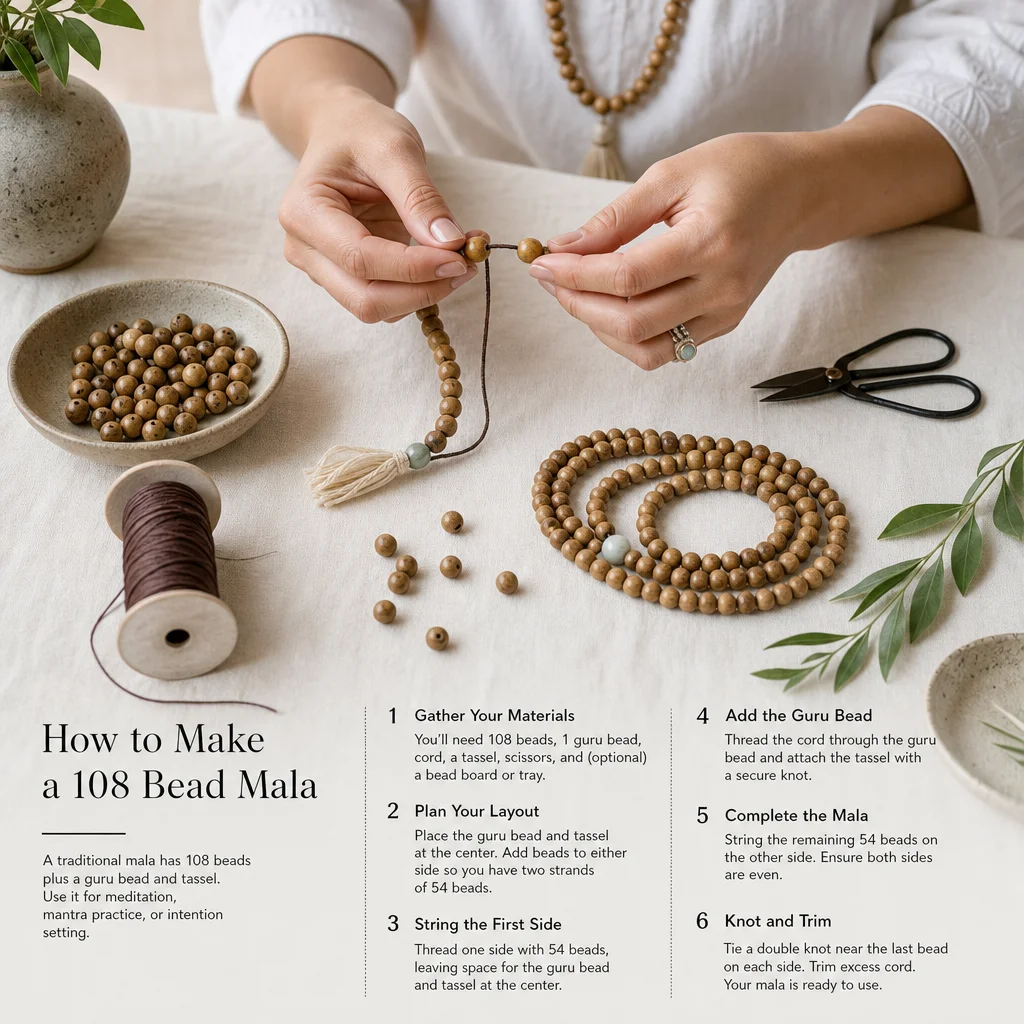
So, I just snagged the Guru Bead for my collection. It's my 109th bead now. It's like, honestly, I've been at this for a while, and it's finally hit a nice, round number!
Hey, have you heard of the guru bead, also known as the mother bead? It's a total big deal in the mala world, like the main character in the meditation show. So, here's the scoop on how to give it a cozy home:- So, once you've strung up those 108 beads, make sure to leave a tail about 6 inches long. That's for the tassel, ya know.
- Now, just push the needle through the 109th bead, the guru bead, from the back to the front. Super easy, I promise.
- Then, pull the tail through the loop you just made. It'll cinch the knot around the guru bead, see? It's a breeze.
- Next, run the needle back through the guru bead from the front to the back, and tie another knot in the loop. Don't forget!
- And hey, don't forget to snip off the extra thread. Just leave a little less than a half-inch so you've got a sturdy knot. Keeps everything nice and secure.
Creating and Attaching a Beautiful Tassel
Hey there! Ready to jump into the DIY jewelry game? Tassels are the bomb; they're the cherry on top for your handmade crystal necklace. They're this tiny detail that really brings the whole look together. What I love about them is how they just burst with color and add that extra zing. And it's not rocket science, I promise. Just follow these steps, and you'll be all set to rock those tassels in no time!Hey, adding a tassel to your mala beads totally rocks! So, here's how you can make and attach one:
- Alright, grab the end of that thread and give it a little fold to make that adorable tassel shape.
- Now, just pop a tiny dot of glue or tie a mini knot to keep everything in place.
- Next up, push the needle through that loop at the end of the thread and then through the bead where the tassel will be.
- Wrap the thread around the bead a couple of times, and make sure to tie it nice and tight so the tassel stays put.
- Then, just snip off any extra thread and give it a quick check to make sure the tassel is all nice and secure.
So, I've been playing around with this bead board layout for 108 beads. It's really neat, right? The thing is, it's super versatile. You can create all kinds of patterns with it. And honestly, I'm pretty impressed with how it turned out. It's like, the possibilities are endless. Now, if you're interested in giving it a shot, you can head over to our website for more details.
Hey, so you're using that 108-bead mala? You've gotta spread 'em out on a bead board. Here's the thing:
- Alright, so you just gotta plop the guru bead right in the middle of the bead board. It's like the main attraction!
- Now, lay out the other 108 beads in a straight line on the board. Just don't pack 'em in too tight, leave some breathing room for threading. Balance is key, you know?
- And don't forget to keep an eye on the spacing! You want 'em even, no gaps, no overlaps. You really don't wanna mess this up, it's pretty crucial.
Tension Control Tips
Oh, you know, getting that thread tension just right is a total game-changer! It makes a mala that's perfectly balanced and super comfy to wear. Here are my top tips:
Alright, so threading beads? It's a total game-changer!
Alright, so make sure you adjust the tension as you go, that way everything stays even. And don't forget to give your ruler or tape a quick glance to keep the beads spaced out right. Plus, keep the thread nice and tight, but not so tight that it's uncomfortable to wear. You know, just right. It's all about finding that sweet spot!
Finishing and Sealing Knots
So once the beads are all threaded up and the tassel is all set, it's time to finish things off and make sure those knots are nice and tight:
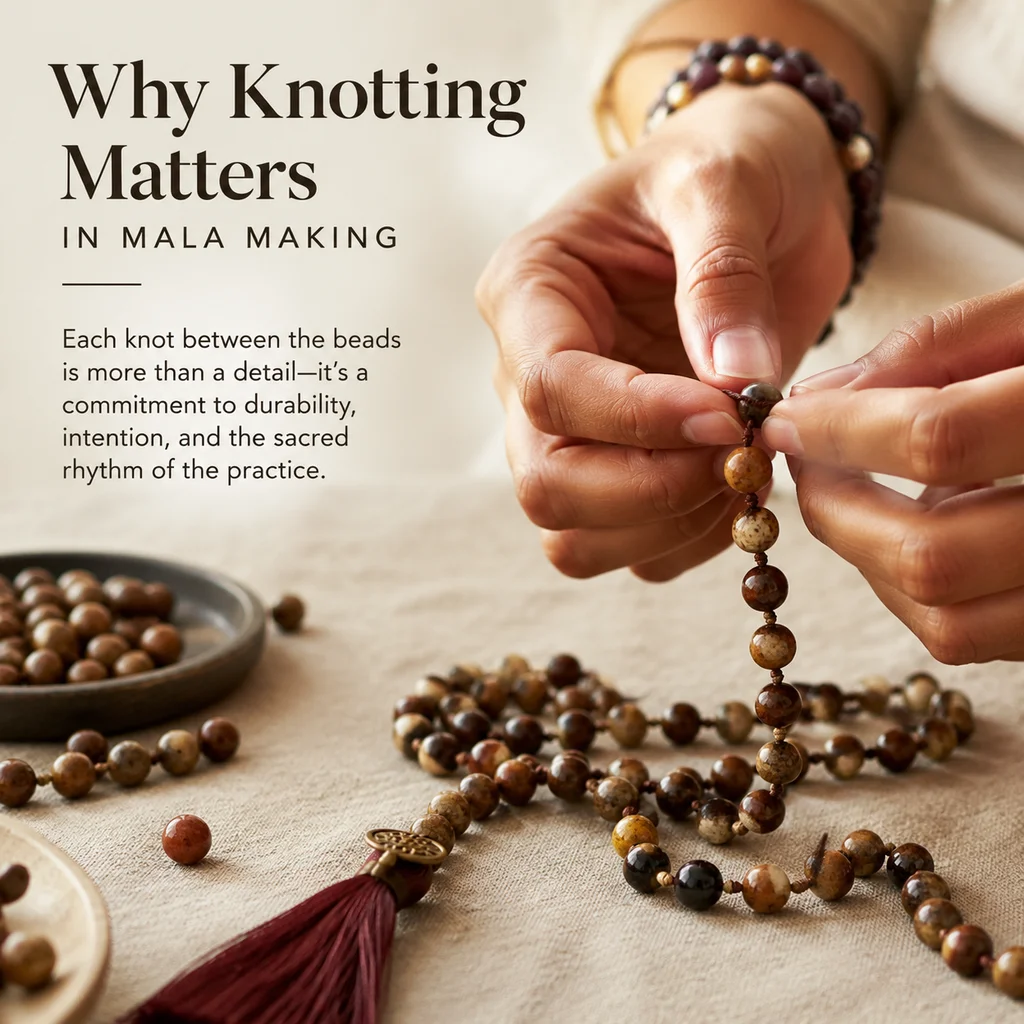
- For each bead, ensure that the knots are tight and secure.
- Trim the excess thread, leaving about 1/2 inch for a secure knot.
- Seal the knots by applying a drop of clear nail polish or beeswax to the ends of the thread.
- Repeat this process for all the knots in your mala.
Frequently Asked Questions
Q: Can I use any type of thread for knotting mala beads?
A: Yes, you can use various types of thread, such as silk, nylon, cotton, or polyester. Each type has its own benefits, so choose the one that best suits your needs and preferences.
Q: How do I know if the tension is correct when threading the beads?
A: You can use a ruler or a measuring tape to check the spacing between beads. The tension should be taut but not too tight to avoid discomfort when wearing the mala.
Q: Can I customize the number of beads in my mala?
A: Absolutely! While a traditional mala has 108 beads, you can customize the number to suit your personal preference or specific meditation practices.
Q: How do I ensure that the knots are secure?
A: After threading each bead, make sure the knots are tight and secure. Trim the excess thread, leaving about 1/2 inch for a secure knot, and seal the knots with clear nail polish or beeswax.
Q: Can I use the same knotting technique for other types of beads?
A: Yes, the surgeon's knot is a versatile technique that can be used for various types of beads. However, be mindful of the size and shape of the beads to ensure that the knots are secure.
Q: Is there a specific order for threading the beads?
A: For a traditional mala, the beads are threaded in a straight line, starting with the guru bead in the center. You can customize the order if you have specific intentions or preferences.
Q: Can I use crystal beads for my mala?
A: Yes, crystal beads are a popular choice for malas due to their healing properties. Just be sure to choose crystals that resonate with your intentions and preferences.
Remember, the process of creating your own mala beads is a meditative and personal path. Take your time, enjoy the process, and let your mala become a cherished companion on your spiritual path.
Disclaimer: While some crystals are believed to have healing properties, these claims are not scientifically proven. The use of crystals for healing purposes is not a substitute for professional medical advice, diagnosis, or treatment.
Practical Tips & Common Mistakes
1. Choose the Right Bead Material Opt for beads that won't tarnish easily and maintain their color. Avoid lead and nickel-plated beads, as they may leach harmful substances over time.
2. Perfect Your Knotting Technique Practice makes perfect. Keep your knots tight but not too tight, to avoid snapping the thread or damaging the beads.
3. Use a Bead Mat Keep your workspace organized with a bead mat to prevent losing beads and to keep the surface free from debris.
4. Be Mindful of Bead Size Consistency Uneven bead sizes can affect the uniformity of your mala and the tension of the knots. Select beads of similar sizes for the best outcome.
5. Consider Your Meditation Practices When designing your mala, think about your meditation goals and how the beads will aid in your practice, such as focusing on a particular mantra or intention.
Care & Maintenance Guide
1. Keep Your Mala Dry Avoid exposing your mala to water or chemicals. Wipe it with a soft, dry cloth if it becomes dirty.
2. Store Properly Keep your mala in a cool, dry place. You can store it in a bead organza bag or a small jewelry box.
3. Avoid Excessive Handling The oils from your skin can dull the finish of your beads. Try to handle your mala with clean hands and store it away after use.
4. Regular Inspections Periodically check the knots and the integrity of the thread to prevent any potential unraveling or breakage.
5. Professional Cleaning If your mala needs a deep cleaning, take it to a professional jeweler or a store specializing in beadwork. They can provide a thorough yet gentle cleaning.
6. Respect Cultural Sensitivity When handling a mala that holds cultural significance, show respect for its origins and use it appropriately within its tradition.
Frequently Asked Questions
How often should I restring my mala?
Every few years or whenever the thread begins to show signs of wear and tear. Regular maintenance ensures your mala stays strong and beautiful.
Can I use any thread to string my mala beads?
Yes, you can use silk, nylon, or even dental floss. Just make sure the thread is durable, smooth, and won't harm the beads.
Is it possible to make a meditation mala with different bead sizes?
Yes, you can mix bead sizes for visual interest and to symbolize different aspects of your meditation practice. Just ensure they're similar in weight and shape.
How can I personalize my meditation mala?
Personalize your mala by selecting beads that have significance to you, whether it's through color, shape, or meaning. You can also add a personal mantra or intention.
Design and Aesthetics
This section covers important aspects of design and aesthetics. For detailed information, please refer to the FAQ section below.
Comments