Rock Polishing Without a Tumbler: 8 Methods That Actually Work
May 14, 2026
Rock Polishing Without a Tumbler: 8 Methods That Actually Work
Not everyone has a rock tumbler sitting in their garage. Maybe you're just getting started with lapidary work, or maybe you found a beautiful piece of rough stone on a hike and want to bring out its shine without waiting six weeks for a tumbler to finish.
I've polished stones using everything from dental tools to denatured alcohol. Some methods work surprisingly well. Others are a waste of time. Here are the ones worth trying, ranked from most to least practical.
1. Sandpaper Progression (The Reliable Workhorse)
This is the most straightforward method and the one I recommend starting with. You'll need wet/dry sandpaper in several grits: 80, 220, 400, 600, 1000, and 2000.
Start with 80-grit to remove major imperfections and shape the stone. Move to 220 to smooth out the scratches from the 80-grit. Then work your way up through the finer grits, spending about 5-10 minutes at each stage. Keep the sandpaper wet — water acts as a lubricant and prevents the stone from overheating.
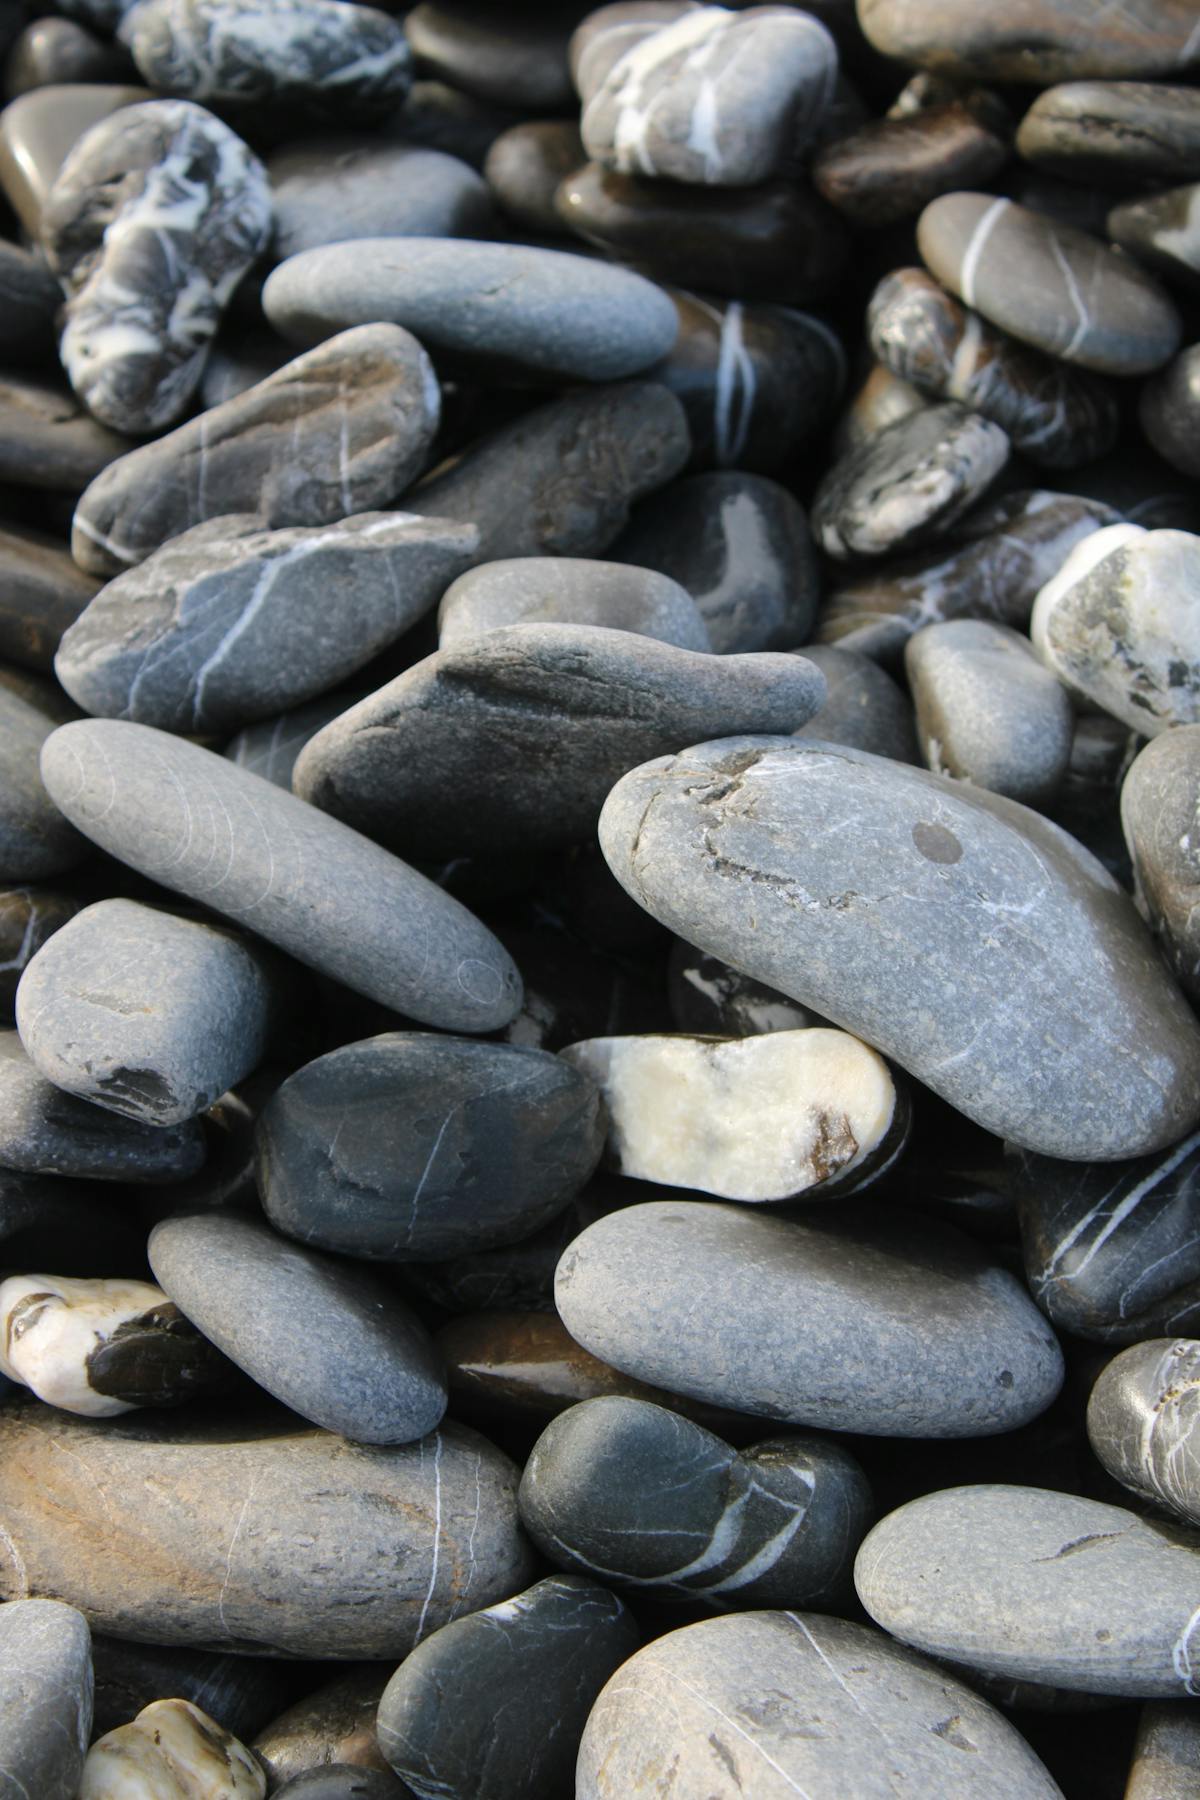
For the final polish, use a piece of leather or felt with cerium oxide or tin oxide compound. Beach stones and cabochons respond particularly well to this method because they often start with a naturally smooth surface.
Time: 1-3 hours depending on stone hardness. Works on: everything Mohs 5 and below easily, harder stones need more patience.
2. Dremel Tool with Polishing Wheels
A rotary tool with felt polishing wheels and diamond paste can produce excellent results on small stones. Start with 600-grit diamond paste on a hard felt wheel, then switch to 3000-grit on a soft felt wheel, and finish with cerium oxide on a muslin buff.
The key is keeping the speed moderate (10,000-15,000 RPM max) and not pressing too hard. Let the abrasive do the work. Overheating will crack some stones, especially those with internal fractures.
Time: 15-45 minutes per stone. Works on: most stones, excellent for small specimens and cabochons.
3. Vibra-lap or Flat Lap
If you have access to a flat lap grinder (many community maker spaces have them), this is faster than hand sanding. The stone sits on a spinning disc coated with abrasive, and you progressively move to finer grits.
The advantage over hand sanding is consistency — it's easier to get a perfectly flat polish. The disadvantage is that you're limited to flat or gently curved surfaces. You can't polish a spherical stone this way.
Time: 30-90 minutes. Works on: flat surfaces, cabochons.
4. The Cement Mixer Method (Batch Processing)
This sounds absurd, but it works for large batches of small stones. Put your rough stones in a small cement mixer (or a large rock tumbler barrel) with coarse grit abrasive and water. Run it for a few days, then switch to finer grits.
It's essentially a giant tumbler. The results won't be as refined as a proper lapidary tumbler, but for garden stones or decorative pieces, it's more than adequate.
Time: 1-4 weeks. Works on: small stones in large quantities.
5. Steel Wool and Patience
For stones that are already relatively smooth (river rocks, tumbled stones that need refreshing), fine steel wool (#0000) with water can restore a dull surface. It won't remove deep scratches, but it's great for maintaining an existing polish.
This is my go-to for refreshing stones that have gotten cloudy from handling. A quick rub with #0000 steel wool under running water, followed by a buff with a soft cloth, takes about two minutes per stone.
Time: 2-5 minutes per stone. Works on: already-polished or naturally smooth stones.
6. Burnishing with Leather and Powder
Before modern abrasives, craftsmen used leather and fine powders to polish stone. You can do the same thing with a piece of thick leather, some cerium oxide powder, and water.
Mix the powder into a paste, apply it to the leather, and rub the stone in circular motions. This won't remove scratches, but it produces an excellent final polish on stones that have already been sanded smooth. The leather acts as a soft abrasive that brings out a mirror-like finish on quartz-family stones.
Time: 10-20 minutes per stone. Works on: pre-sanded stones, especially quartz varieties.
7. The Salt and Vinegar Soak (Limited Use)
Some people recommend soaking rough stones in warm vinegar to dissolve surface minerals and reveal the crystal structure underneath. This works for calcite and other acid-soluble minerals that are encrusting a harder crystal.
Do NOT use this on calcite, malachite, azurite, pearls, or any carbonate mineral — the acid will dissolve the stone itself. Only use this to clean encrustations off harder minerals like quartz.
Time: 1-24 hours soak. Works on: removing calcite crusts from quartz crystals.
8. Flame Polishing (Advanced, Use Caution)
Passing a torch flame quickly over certain materials — particularly amber, some plastics, and specific glass-like minerals — can produce a glossy surface by melting and re-solidifying the outermost layer.
This is a specialized technique that requires practice and should never be used on stones that might contain water inclusions (opal) or that could fracture from thermal shock (most crystals). I'm mentioning it for completeness, but I'd recommend mastering the other methods first.
Which Method Should You Start With?
If you have one stone you want to polish: hand sanding with wet/dry sandpaper. It's cheap, effective, and teaches you the fundamentals of progressive grit refinement that underlies all polishing methods.
If you have a Dremel: skip straight to option 2. If you already use a Dremel for etching, the polishing accessories are a natural next purchase.
If you have a bucket of beach rocks: option 4 or just embrace their natural texture. Not every stone needs a mirror polish to be beautiful.
Comments