Quick Crystal Keychain DIY
May 31, 2026
Why Keychains Are the Perfect Starter Project
Keychains check all the boxes for a beginner resin project: they use minimal materials, take minutes rather than hours, produce a genuinely useful finished product, and the small scale means you can experiment with techniques without committing large amounts of resin or expensive crystals.
More practically, keychains are excellent gifts and craft fair items. They're small enough to be impulse purchases at $8-15, and people genuinely use them. A crystal keychain is a conversation starter—it sits on someone's keys, gets seen dozens of times a day, and serves as a miniature showcase for your work.
UV Resin vs Epoxy for Keychains
For small projects like keychains, UV resin has a significant advantage: it cures in 1-10 minutes under a UV lamp, compared to 24-72 hours for epoxy. This means you can design, pour, cure, demold, and finish a keychain in a single sitting.
UV resin pros: Fast curing (1-10 min per layer), minimal working time waste, good for thin layers, crystal clear when cured properly.
UV resin cons: More expensive per volume ($15-20 for 4oz vs $20-30 for 16oz epoxy), cures in layers of 1-3mm max (thicker pours stay tacky underneath), requires a UV lamp ($8-25), and the cured resin can be more brittle than epoxy. UV resin also yellows faster than quality epoxy when exposed to sunlight long-term.
Epoxy pros: Cheaper per volume, cures in thick pours (up to 10mm+), stronger and more durable, better for larger pieces.
Epoxy cons: 24-72 hour cure time, less convenient for quick projects, more prone to bubble issues in small molds.
For keychains specifically, UV resin is the better choice. The speed advantage is significant when you're making small, flat pieces that only need thin pours.
What You Need
Core Materials
- UV resin — 4oz bottle, $15-20. Brands: Limino, LianCraft, or any well-reviewed UV resin on Amazon
- UV lamp — Small 6W nail curing lamp works perfectly, $8-15
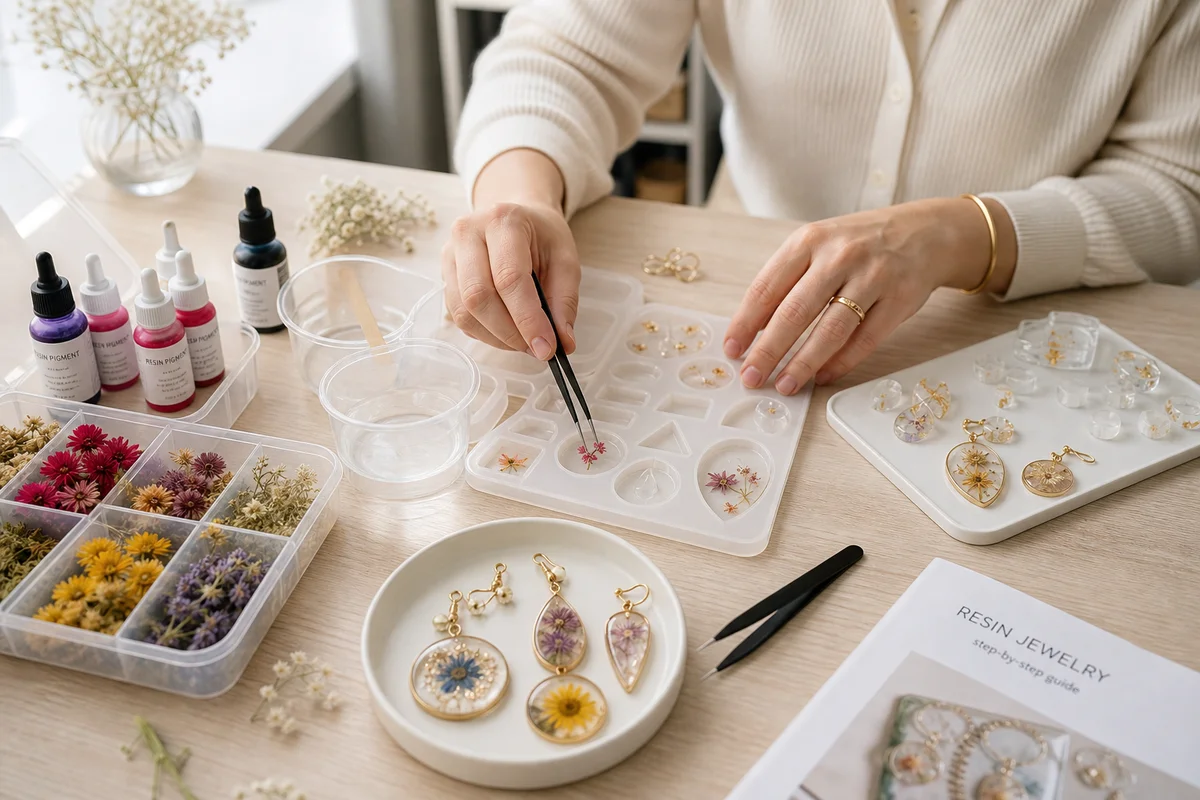
- Silicone keychain molds — Round, rectangular, or geometric shapes, $5-10 per set (usually includes 6-12 cavities)
- Small crystal chips — 3-8mm tumbled stones or rough fragments, $5-15 per mixed assortment
Hardware
- Keychain findings — Split rings (the two-part rings that open and close), jump rings, and lobster clasps. Buy a mixed pack for $5-8
- Flat pad eye pins or glue-on bails — These attach to the back of the resin piece to connect it to the keychain ring. Flat pad bails (small metal plates with a loop) work best—adhere them with a drop of resin. $5 for a pack of 50
Tools
- Toothpicks (for placing crystals and moving resin)
- Mixing cup and stir stick (even UV resin benefits from gentle stirring)
- Tweezers (fine-point, for positioning small crystals)
- Nitrile gloves
- Craft knife or sandpaper (220 and 400 grit)
- UV-blocking or opaque storage for unused resin (UV resin cures when exposed to UV light, including sunlight)
Choosing Your Crystals
For keychains, the ideal crystal size is 3-8mm. This fits comfortably in most keychain molds (typically 20-30mm diameter, 3-5mm deep) without crowding or extending above the resin surface.
Best stone types for keychains:
- Amethyst chips — Deep purple, translucent, catches light. Widely available as chip bead strands
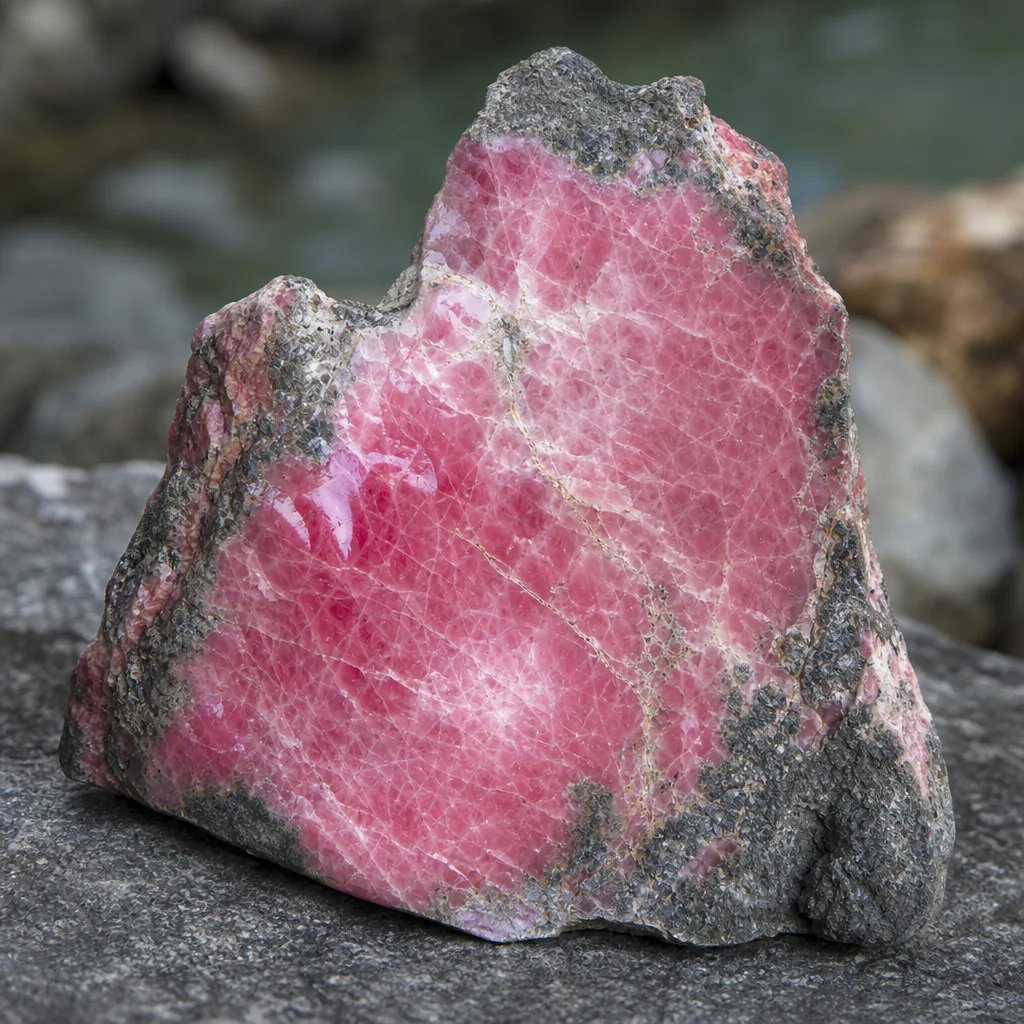
- Rose quartz fragments — Soft pink, affordable, pairs with warm metals
- Black tourmaline chips — Dark, neutral, professional-looking. Goes with any outfit
- Tiger's eye pieces — Golden chatoyancy visible even in small chips
- Clear quartz points — Tiny terminated points create dramatic focal elements
- Lapis lazuli chips — Blue with gold flecks, premium look in a small format
Wash all crystals with warm water and soap, then dry thoroughly. Any moisture on the crystal surface will create micro-bubbles in the resin. Let air-dry for at least 30 minutes after washing, or speed-dry with a hair dryer on low heat.
Step-by-Step: Single Crystal Focal Keychain
This design places one larger crystal (6-8mm) as the centerpiece of a small round or rectangular keychain. Clean, elegant, and fast.
Step 1: Prepare the Mold
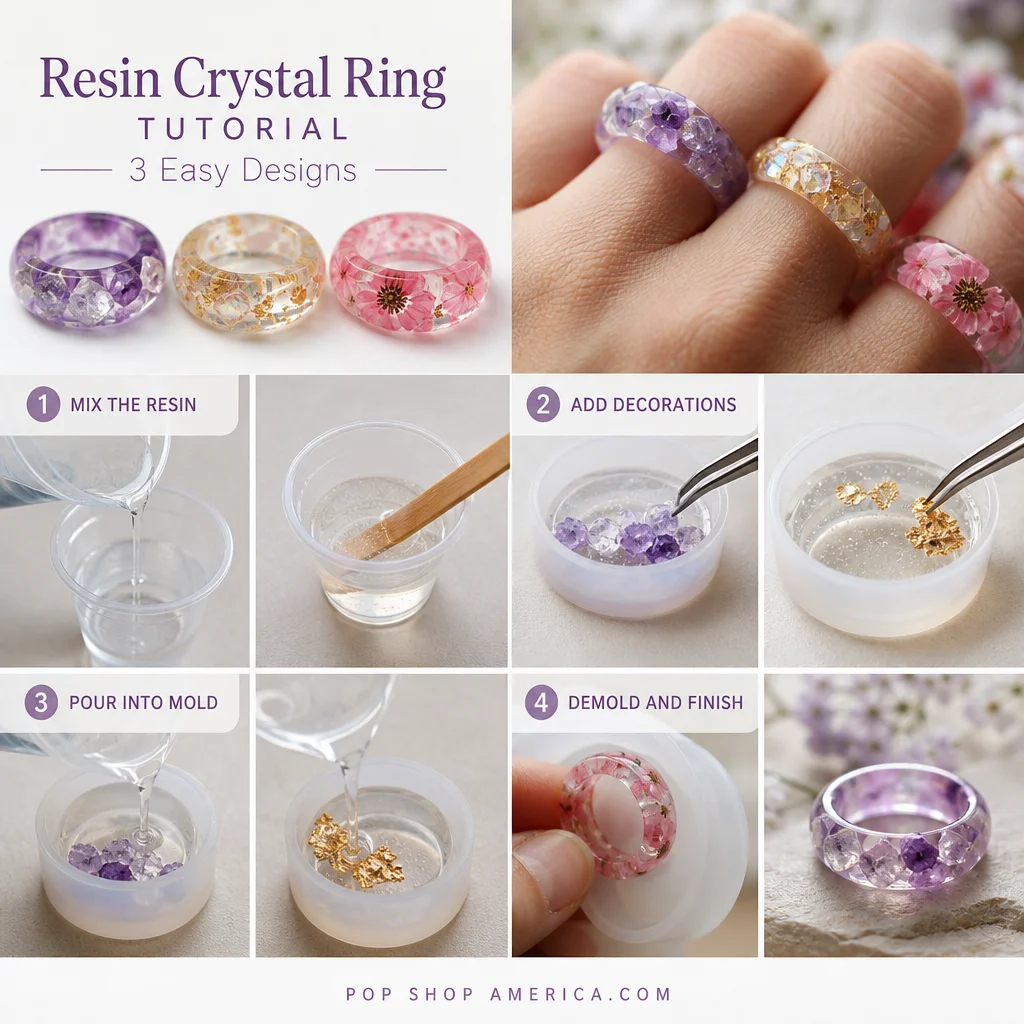
Clean your silicone mold with warm soapy water and dry completely. Place it on a flat, level surface. Most keychain molds have multiple small cavities—fill one or two at a time until you're comfortable with the process.
Step 2: Position the Crystal
Using tweezers, place your crystal in the center of the mold cavity. For a round 25mm mold, a single 7mm stone positioned dead center creates the cleanest look. If using a rectangular mold, position the crystal slightly off-center for visual interest.
The crystal should sit on the flat bottom of the mold. If it's a point or irregular piece that tips over, use a tiny dab of tacky craft putty or a toothpick drop of resin (which you'll cure briefly) to hold it upright while you work.
Step 3: Pour the First Layer
Open your UV resin and pour a small amount into a disposable cup. UV resin is typically ready to use without mixing, but give it a gentle stir to ensure uniform consistency.
Pour carefully into the mold, filling to about half the depth (1.5-2mm). Pour slowly in a thin stream to minimize bubbles. If the crystal shifts during pouring, use a toothpick to reposition it before curing.
Step 4: Cure the First Layer
Place the mold under the UV lamp. Cure for 60-90 seconds. The resin should become hard and clear. If it's still tacky after 90 seconds, cure for another 30 seconds. Different UV resins and lamps vary in strength—test timing on a small sample before your first real piece.
Step 5: Check and Adjust
After the first layer cures, inspect it. Are there bubbles on the surface? Are you happy with the crystal position? If you need to add more crystals or adjust anything, now is the time—the tacky surface of the first layer will bond to the second.
Step 6: Pour the Second Layer
Pour another thin layer of UV resin to fill the mold completely (to the top edge). This should bring the total depth to 3-5mm depending on your mold. Again, pour slowly and check for bubbles.
Step 7: Final Cure
Cure under the UV lamp for another 90-120 seconds. The keychain should now be fully hardened, crystal clear, and ready to demold. If any part feels tacky, give it another 30-60 seconds.
Step 8: Demold and Clean Up
Gently push the cured keychain out of the mold from the back. Silicone molds release UV resin easily. If there's a thin resin flash (excess material at the mold seam), trim it with a craft knife. Sand any rough edges with 220-grit followed by 400-grit sandpaper. Work quickly and lightly—UV resin sands faster than epoxy.
Step 9: Attach Hardware
Place a flat pad bail on the back of the keychain, centered near the top edge. Apply a small drop of UV resin to the pad's flat surface and press it firmly against the keychain back. Cure under the UV lamp for 60 seconds. Once the bail is secure, attach a jump ring and split ring.
Total time: 20-30 minutes including setup and cleanup.
Step-by-Step: Crystal Scatter Keychain
This design uses multiple small chips (3-5mm) scattered across the mold for a colorful, gem-studded look. Slightly more complex but still very fast.
Step 1: Prepare and Arrange
Clean mold. Sort your crystal chips by color and size. Place 5-8 small chips in the mold cavity, arranging them in a visually pleasing pattern. Don't overcrowd—each chip should have space around it so it's fully surrounded by clear resin.
Step 2: Pour and Cure in Two Layers
Pour a thin base layer (1-2mm) that covers the bottom half of the crystals. Cure 60-90 seconds. This locks the crystals in position. Then pour the second layer to fill the mold. Cure another 90-120 seconds.
The two-layer approach prevents crystals from floating to the surface or shifting during the pour. Even though UV resin cures quickly, the uncured resin is liquid enough for dense stones to settle.
Step 3: Finish as Above
Demold, sand edges, attach bail and hardware.
Adding Metallic Accents
For extra visual appeal, consider adding these alongside your crystals:
- Gold leaf flakes — Tiny pieces of genuine gold leaf create sparkle. Available as small flakes in jars for $8-15. Place 2-3 flakes per keychain for a subtle effect
- Mica powder — Brush a tiny amount into the mold before pouring resin for a shimmering background. Pearl white, gold, and rose gold mica work well with crystals
- Small metal charms — Mini moons, stars, or hearts (5-8mm) placed alongside crystals add thematic detail
- Glitter — Fine cosmetic glitter in a matching or contrasting color. Use sparingly—a few specks per keychain are enough
When combining accents with crystals, add the accents first (they settle fastest), then position crystals, then pour resin. The resin will hold everything in place once cured.
Making a Matching Set
Keychains lend themselves to sets. A matching pair (one for the owner, one for a partner/friend) or a themed set (chakra colors, birthstones, same stone in different cuts) makes a cohesive gift.
For sets, use the same mold shape, same resin batch, and matching crystal selections. Pour all pieces in the same session using the same UV lamp and curing time for consistency. Small variations in curing intensity or resin batch can produce slightly different clarity or color.
Common Problems and Fixes
Sticky/Tacky Surface After Curing
This is the most common UV resin problem. Causes: insufficient UV exposure (weak lamp, too short cure time), pouring too thick a layer (UV resin only cures through about 2-3mm per pass), or expired resin. Fix: cure longer in thinner layers. If the surface is tacky after several minutes under the lamp, pour a very thin fresh layer of resin on top and cure again—this "seals" the tacky surface.
Bubbles That Won't Pop
Bubbles trapped against crystal surfaces or mold edges resist the UV cure process. Prevention: warm the resin bottle in warm water for 5 minutes (warm resin flows better and releases bubbles more easily). During pouring, tap the mold gently on the table several times to encourage bubbles to rise. After pouring, pass over the surface with a heat gun for 2-3 seconds (heat makes bubbles expand and rise, but don't overheat UV resin—it can begin to set prematurely).
Resin Pulling Away From the Mold Edge
UV resin can shrink slightly during curing, pulling away from mold edges and creating a slightly concave top surface. This is normal and usually minor. For a perfectly flat surface, slightly overfill the mold (fill slightly above the rim), cure, then sand the excess flat with 220-grit followed by 400-grit.
Crystal Discoloration
Some crystals change color under UV light. Amethyst can fade, some dyed stones can bleed color into the resin. Test your crystals under the UV lamp before embedding—cure a small chip in a drop of resin and check if the color changes. Natural, undyed stones are generally safe.
Packaging and Presentation
If you're making keychains as gifts or to sell, presentation matters:
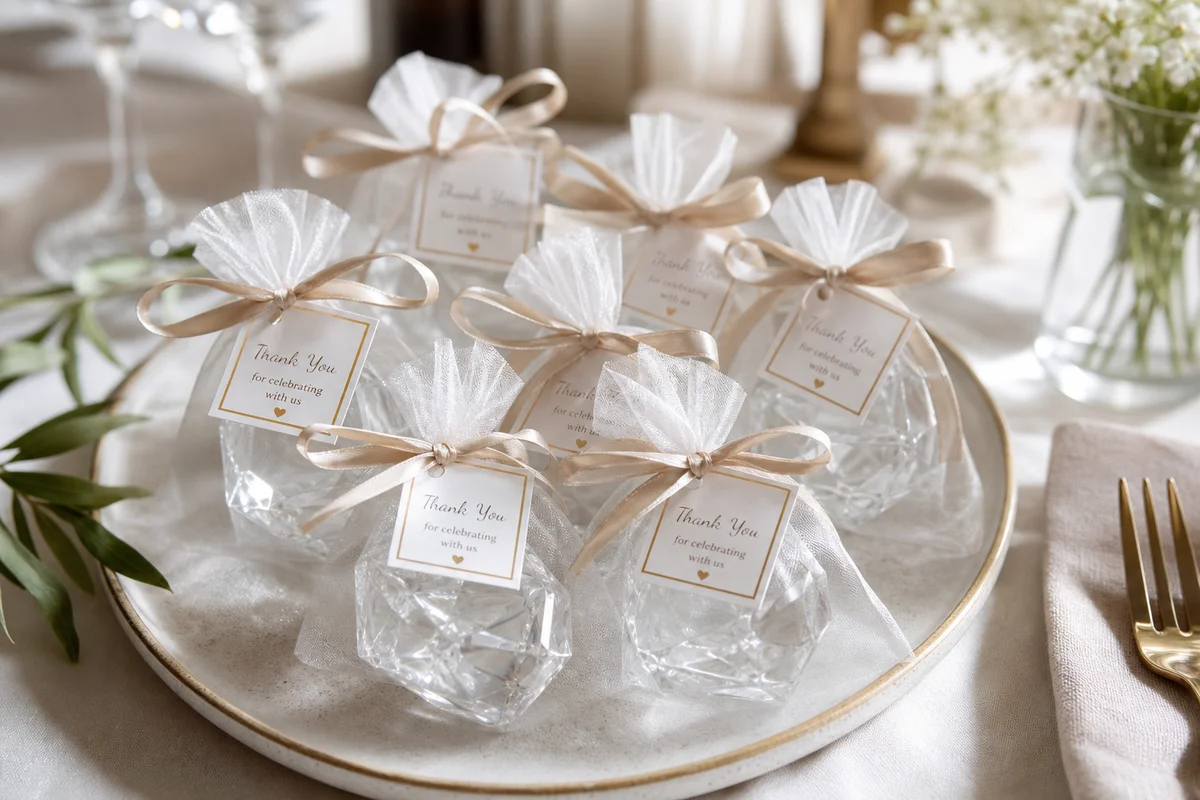
- Organza bags ($0.10-0.30 each) add perceived value and protect the piece
- A small card explaining the crystal type and its traditional meaning adds a personal touch
- Clear cello bags with a custom label look professional for craft fair sales
- Include care instructions: avoid prolonged direct sunlight (UV resin yellows), remove before swimming or bathing
Frequently Asked Questions
How long do UV resin keychains last?
With normal use, UV resin keychains last 1-3 years before showing wear (minor yellowing, small scratches, potential cracking if dropped on hard surfaces). Keys are abrasive—they scratch things. A clear resin surface will eventually accumulate fine scratches from key contact. This is normal wear and part of the handmade aesthetic.
Can I use epoxy instead of UV resin?
Absolutely. The steps are the same, but you'll need to wait 24-72 hours for curing instead of minutes. Epoxy is more durable long-term, so if longevity matters more than speed, epoxy is the better choice. The instructions above translate directly—just replace UV lamp curing with overnight rest on a level surface.
Do I need a special UV lamp?
A nail UV lamp (6-9W) works fine and is the cheapest option. Larger craft UV lamps cure faster but aren't necessary for small keychain molds. Avoid using direct sunlight—it works but is slow (10-20 minutes) and unpredictable (cloud cover, angle of sun, etc.). A dedicated lamp gives you consistent, repeatable results.
Frequently Asked Questions
What are the best crystals to put in DIY keychains?
When crafting your own DIY keychains, durable stones like clear quartz, amethyst, and rose quartz are absolute favorites. Because these natural crystals are relatively hard, they resist scratching and chipping during daily wear. At SagStone, we love using smaller, tumbled stones or crystal chips for scatter designs, while a single, polished point makes a stunning focal piece that catches the light beautifully.
How do you prevent bubbles in UV resin keychains?
To achieve that flawless, glass-like finish on your handcrafted keychains, gently warm your resin bottle in a cup of water before use to naturally release trapped air. When placing your crystals into the mold, pour a thin base layer first and let it partially cure. This prevents the heavy stones from sinking to the bottom and helps push any hidden air bubbles up to the surface where they can easily pop.
Comments