How to Wire Wrap a Cracked or Broken Crystal: Sa
June 3, 2026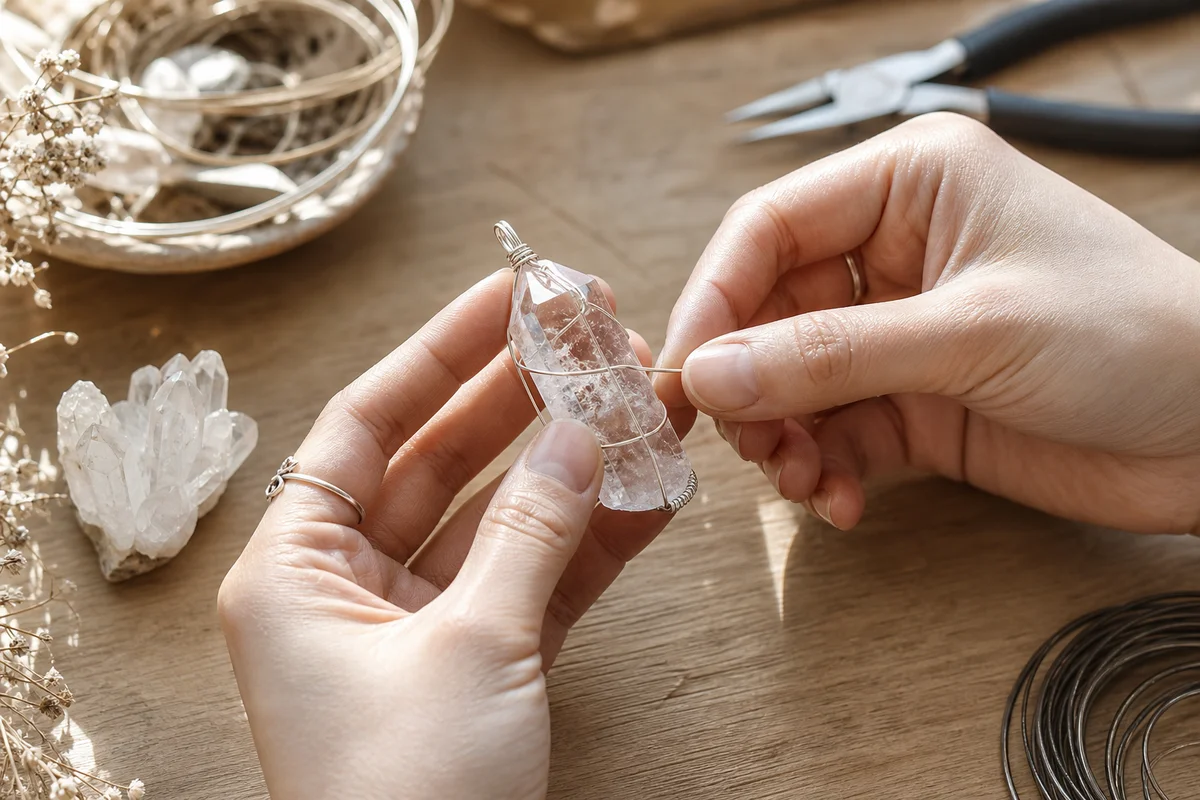
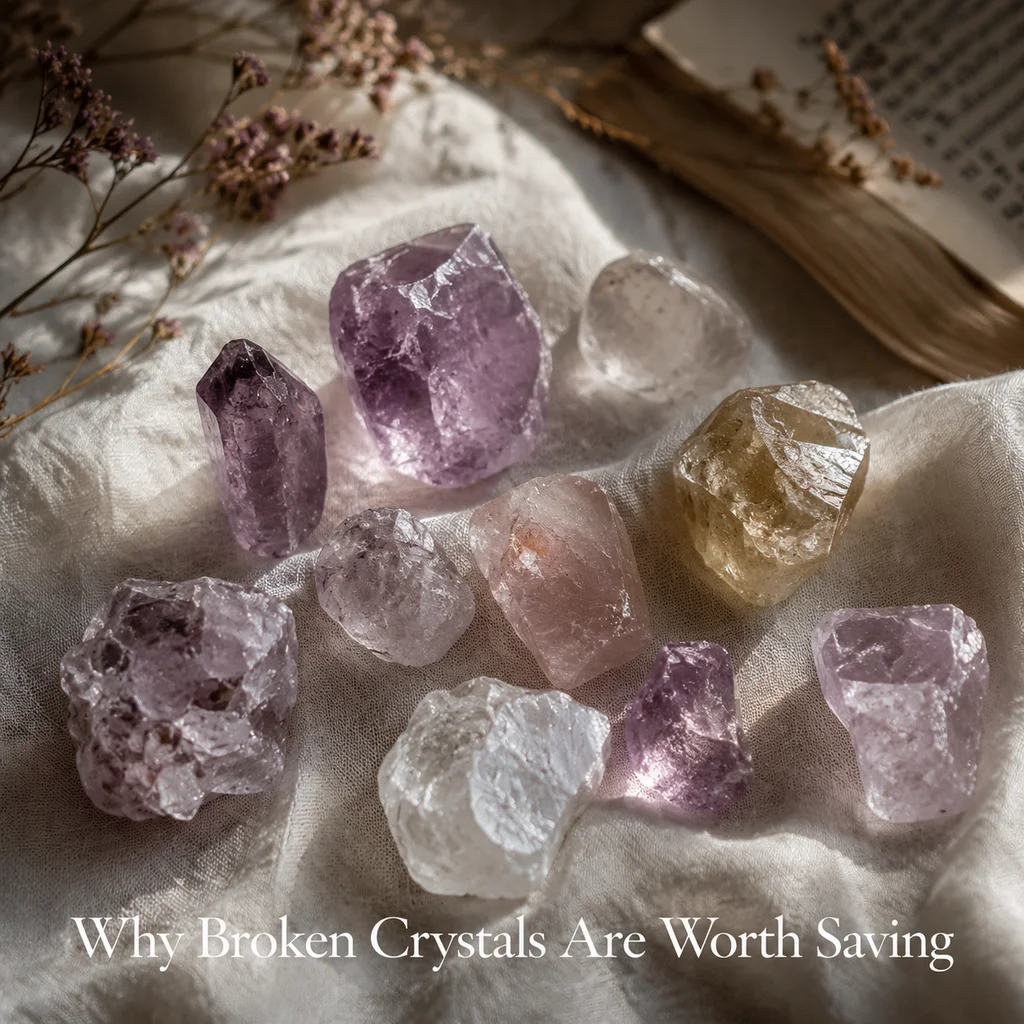
Why Broken Crystals Are Worth Saving
Almost every crystal collector has experienced it: you drop a favorite stone, it chips, cracks, or breaks into pieces, and your first instinct is to throw it away. But broken crystals present a unique opportunity that intact stones do not—specifically, the crack or fracture creates a natural design feature that can be highlighted with wire wrapping rather than hidden. The Japanese concept of kintsugi (repairing broken pottery with gold, making the damage part of the beauty) applies perfectly to crystal wire wrapping: the wire itself becomes part of the aesthetic, and the fact that the stone was broken becomes part of its story.
Practically speaking, wire wrapping a cracked or broken crystal serves a genuine functional purpose: it stabilizes the stone, prevents the crack from propagating further, and creates a wearable piece that would otherwise sit in a drawer or a trash bin. This is not just sentimental—good quality crystals can be expensive, and losing a $20-50 specimen to a small chip that could have been stabilized is a waste.
Assessing the Damage: What Can Be Saved
Not every broken crystal is a candidate for wire wrapping. Here is a quick assessment guide:
- Surface chip or small crack (less than 20% of stone): excellent candidate. The wire can wrap around the intact portion, bypassing the damaged area entirely. The stone retains most of its visual appeal.
- Single clean break into two pieces: good candidate. The two halves can be wrapped together as a single piece (reconstruction) or used separately as matching pendants. Clean breaks are ideal because the fracture surfaces fit back together neatly.
- Multiple cracks or shattered pieces: challenging but possible. Multiple pieces can be wire-wrapped into a cluster pendant or enclosed in a wire cage. This takes more skill and wire but can produce striking results.
- Powdered or crumbled stone: not suitable for wire wrapping. If the stone has broken down into small fragments or dust, there is nothing structurally sound enough to wrap.
The most important factor is structural integrity: the wire needs something solid to grip. Even a badly cracked stone can be wrapped if there are solid sections between the cracks that the wire can anchor to.
Tools and Materials
You will need a slightly different toolkit than for wrapping intact crystals because repair work requires finer wire and more careful technique:
- 18-gauge copper or silver wire: for the main frame and structural elements
- 20-22 gauge wire: for stabilization wraps—this is the critical material. 22-gauge is ideal for wrapping directly around cracks because it is thin enough to nestle into fracture lines without creating bulky bumps.
- 26-gauge wire (optional): for extremely fine stabilization work on thin cracks. This ultra-thin wire can be woven into hairline fractures for maximum hold with minimum visual impact.
- Epoxy resin (optional): for stones with very loose or shifting cracks. A tiny amount of clear epoxy applied to the crack before wrapping can provide additional structural support. Use sparingly—a toothpick tip's worth is usually sufficient.
- Round-nose pliers, chain-nose pliers, flush cutters, nylon-jaw pliers
Technique 1: Stabilization Wrap for a Single Crack
This is the simplest repair technique and works for stones with a single visible crack that does not extend through the entire piece. The goal is to wrap wire across the crack to prevent it from spreading, while making the wire a decorative feature.
Step 1: Examine the crack and determine the best wrapping angle. Wrapping perpendicular to the crack line provides the most structural support. Visualize where the wire will cross the crack and plan 2-3 crossing points.
Step 2: Cut 12-18 inches of 20-gauge wire. Create a small hook or loop at one end and anchor it to the stone by wrapping around a solid section near (but not directly on) the crack. Wrap 3-4 times to secure the anchor.
Step 3: Pass the wire across the crack to the other side, wrapping 3-4 times around a solid section on the opposite side. Pull the wire tight as you cross the crack—the tension is what provides the stabilizing force.
Step 4: Repeat the crossing 2-3 more times at slightly different angles, creating a woven or crossed pattern over the crack. Each crossing point adds structural support and visual interest.
Step 5: Tuck the wire end under the last wrap, flatten with chain-nose pliers, and trim flush. The crack should now be bridged by wire wraps that hold both sides together.
Technique 2: Reconstruction Wrap for a Clean Break
When a crystal breaks cleanly into two pieces, the reconstruction wrap brings both halves back together using wire as the binding agent. This is the most dramatic and satisfying repair technique because it visibly "heals" the break.
Step 1: Clean both fracture surfaces with a dry cloth. Remove any dust or debris from the break—particles between the fracture surfaces will prevent the pieces from fitting back together snugly. Do not use water on porous stones (selenite, calcite, halite).
Step 2: (Optional) Apply a tiny dot of clear epoxy to one fracture surface. Press the two halves together and hold for 1-2 minutes until the epoxy sets. This creates a base level of adhesion that the wire wrap will reinforce. Wipe any excess epoxy immediately. If you prefer not to use adhesive, skip this step—the wire alone can hold the pieces together, but epoxy adds security.
Step 3: Position the rejoined crystal and wrap with 20-gauge wire around the break line. Make 6-8 tight wraps directly across the joint, creating a visible "bandage" effect. This is the structural core of the repair.
Step 4: Add a second set of wraps at a 90-degree angle to the first, creating a cross-hatch pattern over the break. This prevents the pieces from separating in any direction.
Step 5: Extend the wire wraps upward from the repair area to create a bail loop at the top, transforming the repaired stone into a pendant. The repair becomes an integrated part of the jewelry design rather than a visible fix.
Technique 3: Wire Cage for Severely Damaged Stones
For stones with multiple cracks, partial breaks, or unstable structures, a wire cage provides complete encasement. The stone is essentially held within a wire framework that prevents any pieces from separating.
Step 1: Measure the stone's dimensions (height and width at the widest point). Cut 24-30 inches of 18-gauge wire for the cage frame.
Step 2: Create a bail loop at the center of the wire. Bend both wire ends down to form two parallel sides of the cage, then cross them at the bottom to form a point. The shape should roughly follow the stone's outline—think of it as a wire outline that the stone sits inside.
Step 3: Add horizontal wraps using 20-gauge wire, spacing them every 0.5-1 inch along the cage frame. These horizontal bands are what hold the stone securely within the frame. Each band should wrap around both side wires, pulled tight enough to press gently against the stone surface.
Step 4: The wire cage can be left open (showing the stone through the gaps) or more densely wrapped depending on the level of damage. For severely fragmented stones, a denser wrap provides more security but also hides more of the stone—a trade-off between visibility and stability.
Technique 4: Fragment Pendant from Broken Pieces
When a crystal shatters beyond reconstruction, the individual fragments can become separate pendants. This works particularly well with translucent stones (quartz, amethyst, citrine) where the irregular broken faces catch light in interesting ways that polished stones do not.
Select the largest or most interesting fragment and wrap it as you would a raw stone—a simple wrapped loop at the top for a pendant bail. The broken face becomes a design feature: its irregular surface catches light differently from the polished or natural faces, creating a pendant that is genuinely unique and impossible to replicate with an intact stone.
Safety Considerations
Broken crystals create sharp edges that intact stones do not have. Before wrapping, inspect all broken surfaces for sharp points or edges that could cut your fingers during the wrapping process. You can dull sharp edges with fine-grit sandpaper (220-400 grit) or a nail file—this does not significantly change the stone's appearance but makes handling much safer.
Also check for loose fragments that could detach during wrapping. If a small piece is barely attached, it may fall off while you are working with the stone. Either remove it intentionally or stabilize it with a drop of epoxy before wrapping.
Design Philosophy: Embracing Imperfection
The most compelling aspect of wire-wrapping broken crystals is the narrative it creates. A pendant made from a cracked amethyst wrapped in copper wire has a story that a perfect, intact crystal does not: "this stone broke, and I repaired it, and now it is more interesting than it was before." This philosophy—central to kintsugi—transforms what would be a loss into a creative opportunity.
When you wrap a broken crystal, resist the urge to disguise the damage. Instead, highlight it. Use contrasting wire (copper wire on a clear crystal, silver wire on a dark stone) at the repair point. Make the wrap band wider or more decorative than the surrounding wraps. The break should be visible and acknowledged as part of the piece's character.
Frequently Asked Questions
Will wire wrapping actually prevent a cracked crystal from breaking further?
Yes, within limits. Wire wrapping provides mechanical stabilization by distributing stress across a larger area and holding the crack edges together. However, if the crystal is subjected to significant force (dropped on a hard surface, stepped on), the crack can still propagate despite the wire. Wire wrapping reduces the risk but does not make the stone indestructible.
Can I use this technique for expensive gemstones?
For valuable gemstones (diamonds, sapphires, emeralds), professional stone setting and repair by a jeweler is recommended over DIY wire wrapping. Wire wrapping is best suited for semi-precious stones in the $5-100 range where the cost of professional repair exceeds the stone's value. The techniques described here are reliable for quartz-family stones, jasper, agate, and similar materials.
What if the crack is too thin to wrap with wire?
For hairline cracks that are too thin for 20-gauge wire, use 26-gauge wire. This ultra-thin wire can be woven directly into the crack line, providing stabilization with minimal visual impact. Alternatively, a thin application of cyanoacrylate (super glue) along the crack line can provide stabilization if you prefer not to have visible wire on the stone's surface.
Frequently Asked Questions
What type of wire is best for wrapping broken or cracked crystals?
Copper and solid sterling silver are excellent choices for securing damaged stones. At SagStone, our artisans prefer using a combination of 20-gauge wire for a sturdy structural base and 26-gauge dead-soft wire for intricate weaving. The thicker base wire holds the fractured pieces tightly together, while the thinner weaving wire ensures no small fragments can slip through the setting during everyday wear.
Should I use glue or epoxy when wire wrapping a cracked gemstone?
While you can use a tiny drop of clear epoxy before wrapping, it is generally unnecessary if your wire cage is structured correctly. We recommend relying purely on mechanical tension to hold the fractured pieces intact. This preserves the natural beauty of the crystal and maintains the artisanal integrity of the jewelry, whereas glue can sometimes cloud the stone's surface or degrade over time.


Comments