Resin Crystal Pendant: Preserve Your Favorite...
May 29, 2026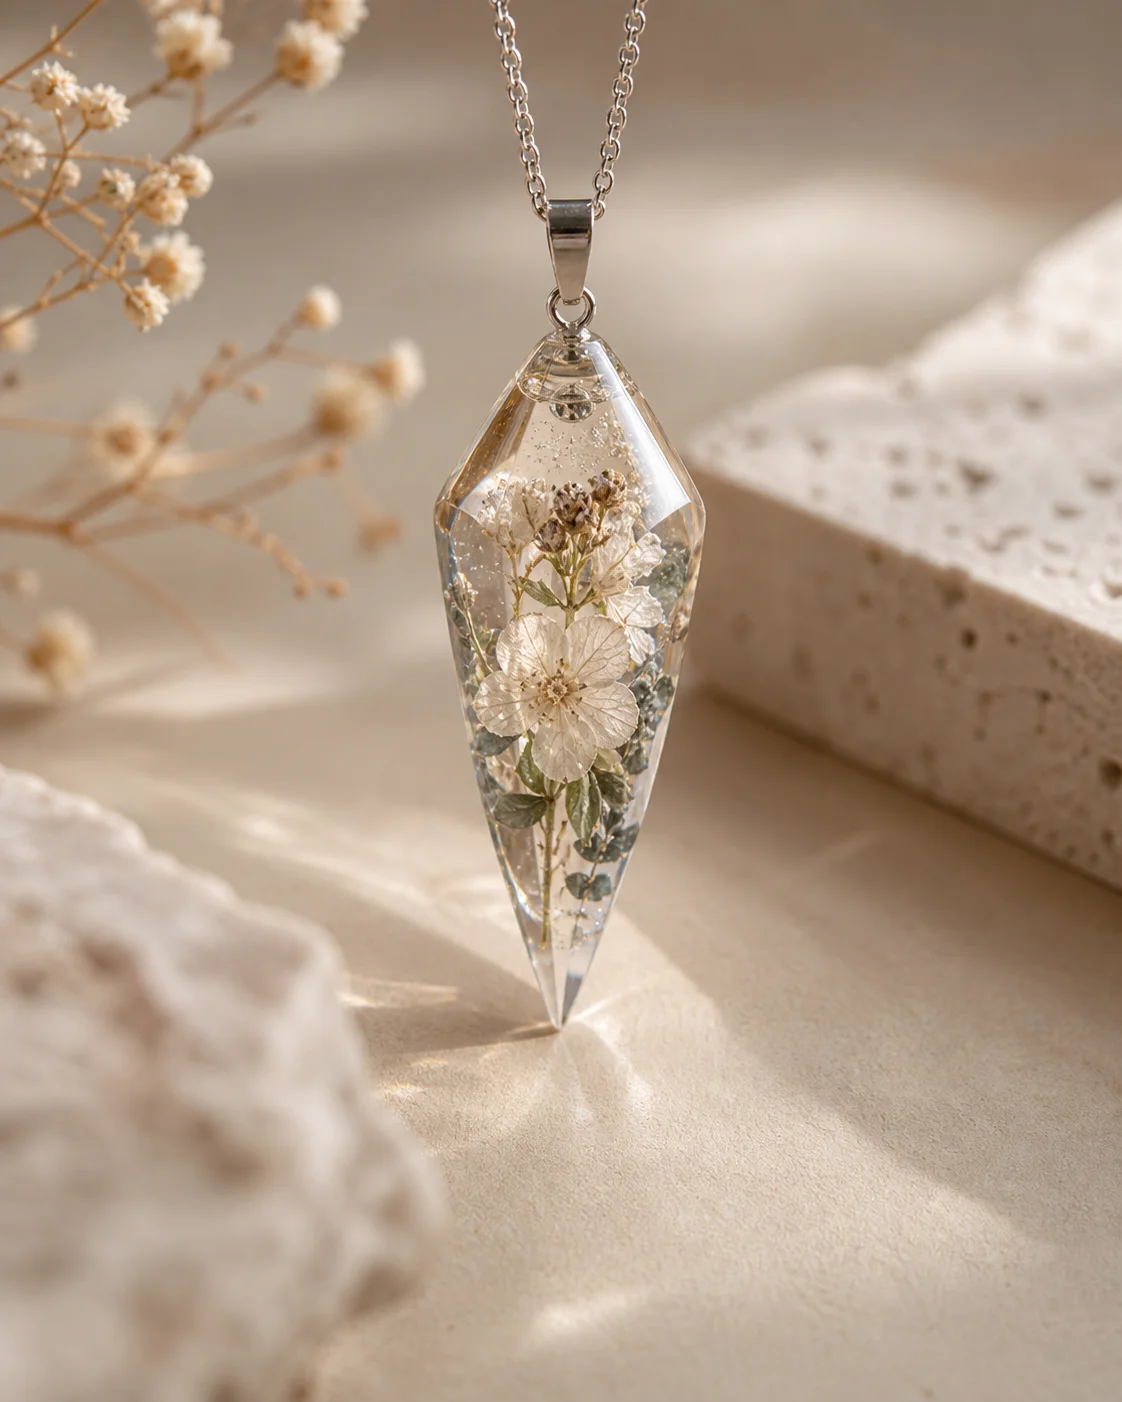
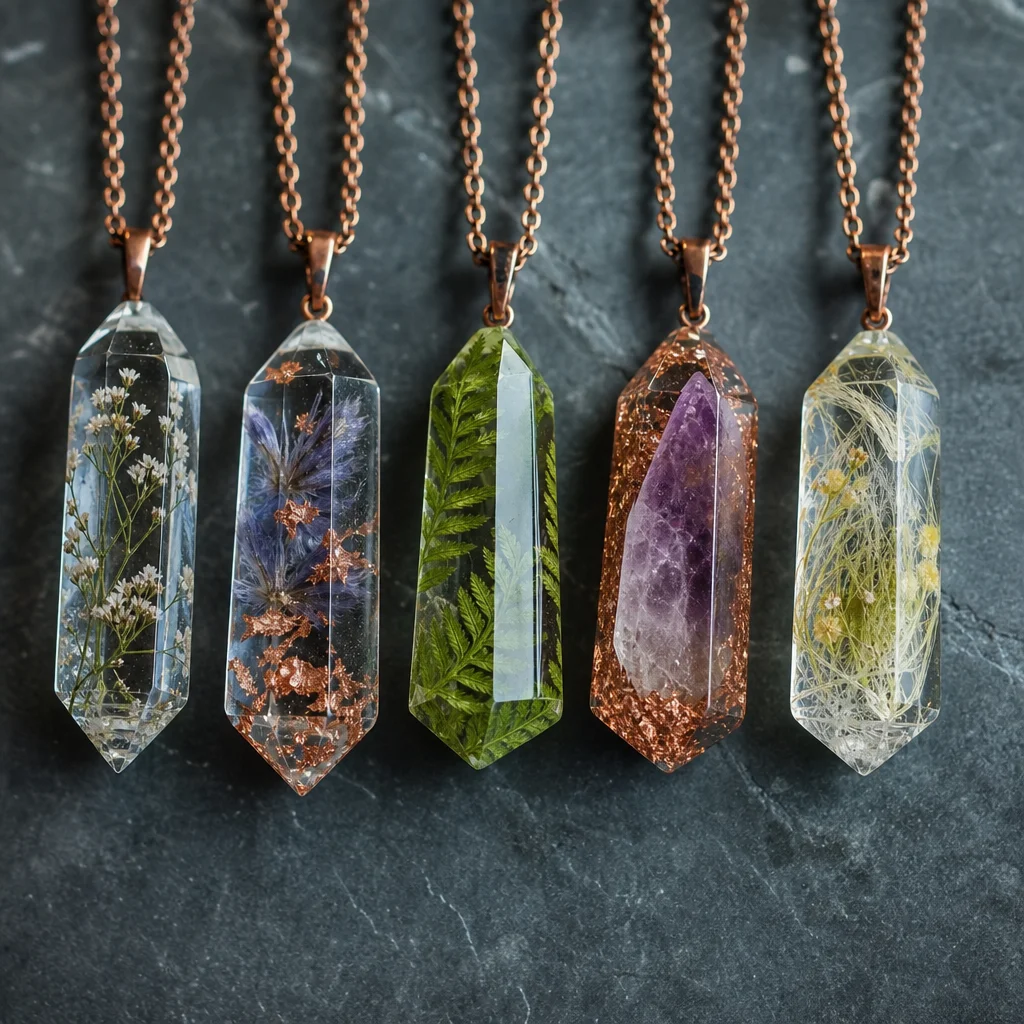
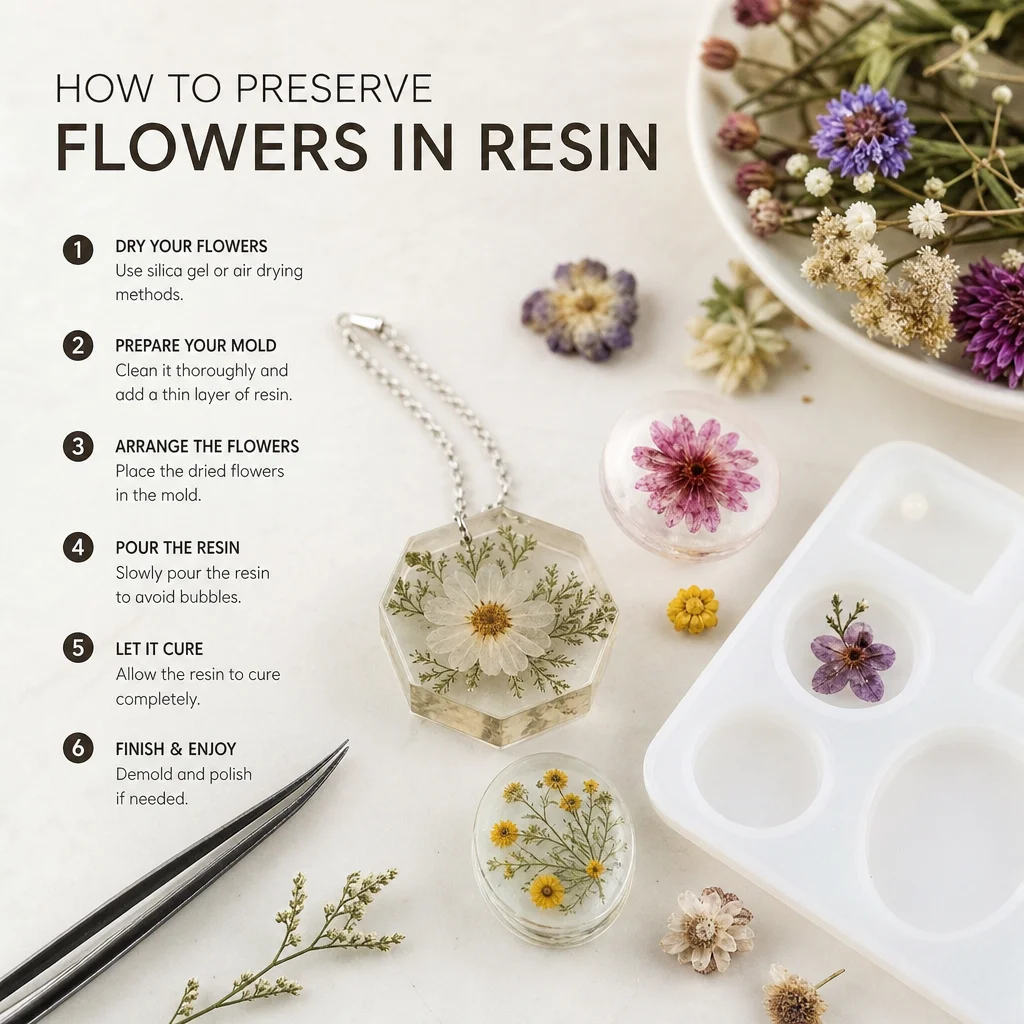
Resin jewelry gets a bad reputation because so much of it looks like someone poured glue into a mold and called it a day. But when you do it right — using the right resin, proper preparation, and careful finishing — the result is a crystal-clear piece that genuinely looks like the stone is frozen in ice. A well-made resin crystal pendant protects fragile stones from damage, preserves small specimens that would otherwise sit in a drawer, and creates lightweight jewelry from stones that are too soft or brittle to wear on their own.
Choosing Your Resin: UV vs Epoxy
There are two types of resin suitable for jewelry, and they work very differently.
UV Resin
How it works: UV resin cures when exposed to ultraviolet light. You pour it, hit it with a UV lamp (or strong sunlight), and it hardens in 2-5 minutes.
Pros: Fast curing, no mixing required, easy to work in layers, great for small pieces.
Cons: Expensive per ounce ($15-25 for 100ml), only cures in thin layers (3-4mm max per pour), can yellow over time with UV exposure (ironic, given the name).
Best for: Small pendants, quick projects, beginners who want immediate results.
Epoxy Resin
How it works: Two-part resin (resin + hardener) that cures through a chemical reaction. You mix them in a specific ratio, pour, and wait 24-72 hours.
Pros: Crystal clear, resists yellowing better than UV resin, can pour thick layers, cheaper per ounce ($20-35 for 500ml).
Cons: Long curing time, requires precise measuring, bubbles are harder to remove, more waste from mixing.
Best for: Larger pendants, production batches, professional-quality pieces.
Recommendation
For your first few pendants, use UV resin. It is forgiving — if something goes wrong, you can fix it in minutes rather than waiting a day. Once you are confident in the process, switch to epoxy for better clarity and lower cost per piece.
Selecting Stones for Resin Encapsulation
Not every crystal works well in resin. Here is what to consider:
Size: Stones should be 5-15mm for standard pendant molds. Larger stones work but require bigger molds and more resin, which increases the chance of bubbles and uneven curing.
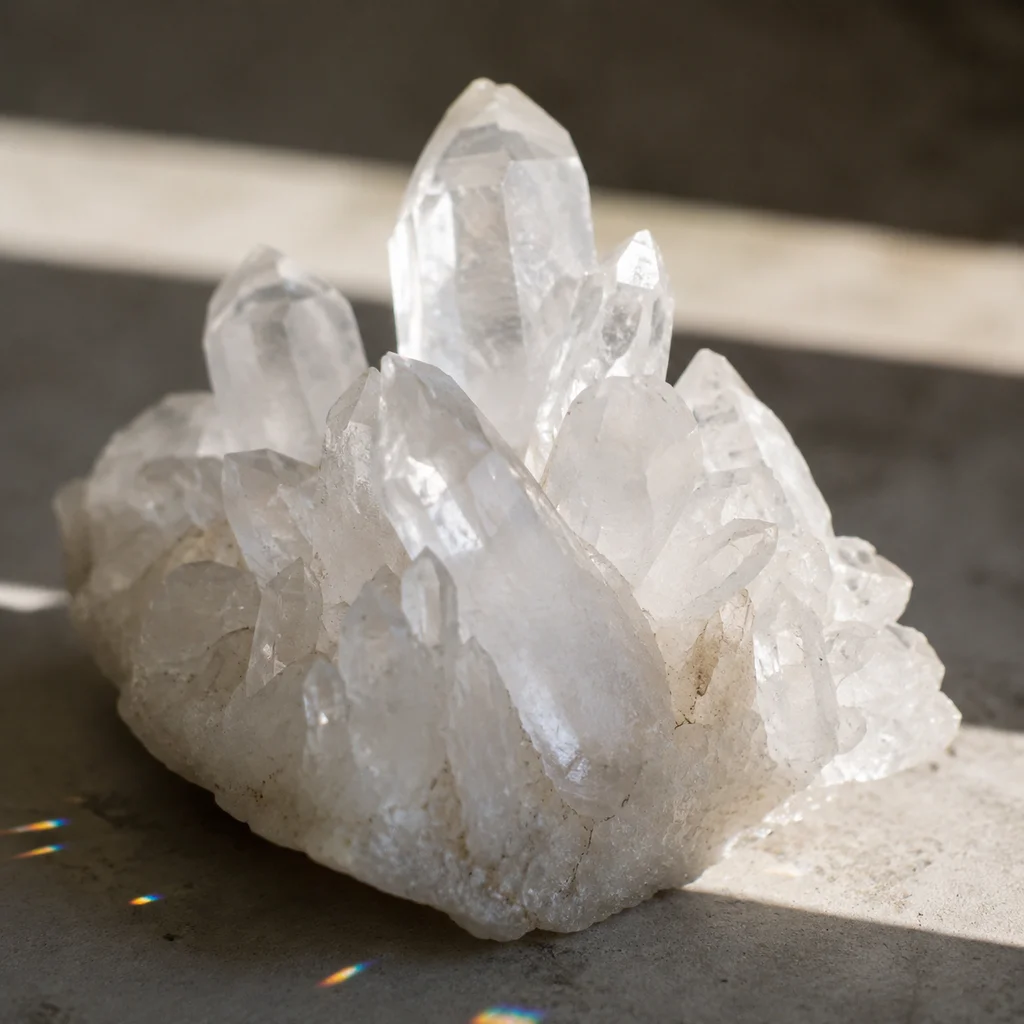
Type: Small crystal chips, rough fragments, tumbled mini stones, and crystal slices all work. Transparent and translucent stones (quartz, amethyst, fluorite, calcite) create the most striking effects because light passes through them inside the clear resin.
Preparation: Clean your stones with rubbing alcohol and let them dry completely. Any dust, oil, or moisture will create cloudy spots in the resin. For porous stones (turquoise, malachite, raw specimens), seal them first with a thin coat of resin or clear nail polish. Unsealed porous stones can absorb resin and turn dark or cloudy.
Stones that work especially well: Clear quartz chips, amethyst fragments, rose quartz tumbled mini stones, fluorite pieces (any color), tiny raw citrine points, peridot chips, small garnet fragments.
Mold Selection
| Mold Shape | Best For | Size ||------------|----------|------|| Sphere (20mm) | Single stone, minimalist | Small || Sphere (30mm) | Multiple small stones, layered look | Medium || Teardrop (25x35mm) | Crystal points, elegant pendants | Medium || Rectangle (15x30mm) | Flat stone slices, modern look | Small-Medium || Diamond (25mm) | Statement pieces | Medium |
Material: Use silicone molds. They are flexible, which makes demolding easy, and they create a glossy surface on the resin that reduces the amount of sanding you need later. Cheap molds from craft stores work fine for practice; higher-quality molds with smoother interiors give better results.
The Floating Stone Technique (Two-Pour Method)
The most common problem with resin crystal pendants is that the stone sinks to the bottom. The two-pour method solves this.
Pour 1: The Base
Pour 2: The Stone Layer
Pour 3: The Top
Adding the Bail
The bail is the loop that your chain passes through. You have two options:
Embedded bail: Before the final pour, position a metal bail (available at any craft store for $2-4 per pack of 20) at the top of the mold with the loop sticking just above the resin line. The final pour will seal the base of the bail into the resin. This is the strongest and cleanest method.
Drilled bail: After the pendant is fully cured and demolded, drill a small hole (2mm) through the top using a rotary tool. Thread a jump ring through the hole. This works but is more labor-intensive and can crack the resin if you are not careful.
Sanding and Polishing: The Difference Between Amateur and Professional
Demolded resin almost always has rough edges, a matte finish on some surfaces, and possibly small surface bubbles. The sanding and polishing process transforms this into a crystal-clear, professionally finished piece.
Sanding Progression
Time Investment
Sanding and polishing takes 10-15 minutes per pendant. It is tedious but non-negotiable. The difference between a polished piece and an unpolished one is the difference between "I made this at home" and "Where did you buy this?"
Safety
- Ventilation: Work in a well-ventilated area or wear a respirator. Resin fumes are not acutely toxic but cause headaches and throat irritation with prolonged exposure.
- Gloves: Wear nitrile gloves (not latex — resin can penetrate latex). Skin contact with uncured resin causes contact dermatitis in some people.
- Eye protection: Safety glasses when sanding. Resin dust is an irritant.
- Storage: Keep resin away from heat sources and direct sunlight. Epoxy resin is flammable before curing.
Troubleshooting
Cloudy resin: Usually caused by moisture. Make sure stones are completely dry and the resin has not absorbed humidity. In humid climates, work with a dehumidifier running.
Bubbles that will not leave: Warm the resin slightly before pouring (place the bottle in warm water for 5 minutes). This reduces viscosity and makes bubbles rise faster. For stubborn bubbles, use a heat gun on low setting for 2-3 seconds.
Soft or sticky resin after curing: Incorrect mixing ratio (epoxy) or insufficient UV exposure (UV resin). For UV resin, cure for longer — the lamp needs to penetrate all layers. For epoxy, measure precisely with graduated cups, not by eyeballing.
Yellowing: UV resin yellows with sun exposure over months. Epoxy resists yellowing better but is not immune. Store finished pieces away from direct sunlight when not being worn.
Cost Breakdown
| Item | Cost Per Pendant ||------|-----------------|| Resin (UV) | $0.50-1.00 || Silicone mold (amortized) | $0.25 || Metal bail | $0.10 || Stone | $0.25-0.50 || Sandpaper (amortized) | $0.10 || Polish (amortized) | $0.05 || Total | $1.25-2.00 |
Comparable pendants sell for $15-35 on Etsy. The margin is significant, making this a viable small business product if you are willing to invest time in the finishing process.
Customizing Your Resin Crystal Pendant
Once you've mastered the basics of resin crystal pendant making, the real fun begins: customization. Here are some ideas to make your pendant truly unique.
Adding Inclusions
For an extra touch, consider adding inclusions to your resin. These can be tiny glitter particles, metal filings, or even small stones. Just be sure they're small enough not to obstruct the view of your main crystal.
Layering Techniques
Layering resin can create a stunning effect. You can pour different colors or thicknesses to create depth and texture. This technique is more advanced and requires careful planning and patience.
Personalized Engraving
Engraving your pendant with a special message or design can make it truly one-of-a-kind. Use a laser engraver for precise, permanent engravings.
Finishing Touches
After your pendant is cured, you can add a chain, a bail, or even a protective coating to prevent future yellowing. The possibilities are endless!
Resin Crystal Pendant Care and Maintenance
Your resin crystal pendant is a delicate piece of art, so it needs to be cared for properly.
Storing Your Pendant
Keep your pendant in a cool, dry place away from direct sunlight. This will help prevent yellowing and keep the resin clear.
Cleaning Your Pendant
Use a soft cloth and mild soap to gently wipe down your pendant. Avoid using harsh chemicals or abrasive materials, as these can damage the resin and the stone.
Handling Your Pendant
When wearing your pendant, be mindful of its delicate nature. Avoid exposing it to extreme temperatures or chemicals, and try not to scratch it against hard surfaces.
DIY Resin Crystal Pendant vs. Store-Bought Pendant
Now that you know how to make your own resin crystal pendant, you might be wondering how it compares to store-bought ones.
| Aspect | DIY Resin Crystal Pendant | Store-Bought Resin Crystal Pendant |
|---|---|---|
| Customization | Highly customizable | Minimal to no customization |
| Cost | Can be more affordable | Can be more expensive |
| Quality | High quality if made correctly | High quality, but may vary |
| Time and Effort | Time-consuming | Quick and easy |
Ultimately, the choice between making your own pendant and buying one comes down to your personal preferences and needs.
Common Mistakes to Avoid When Making Resin Crystal Pendants
As with any craft, there are common mistakes that can be easily avoided. Here are a few to keep in mind:
- Not Measuring Properly: Accurate measurements are crucial for a successful pour. Always measure your resin and hardener to the specified ratio.
- Not Removing Bubbles: Bubbles can be a real buzzkill when it comes to resin jewelry. Use a bubble pin or a hair dryer to remove them before the resin cures.
- Using the Wrong Resin: Make sure you're using the right type of resin for your project. UV resin is great for small, quick projects, while epoxy is better for larger, more durable pieces.
- Not Preparing Your Stones: Clean and dry your stones thoroughly to prevent any dust or moisture from causing imperfections in the resin.
- Ignoring the Curing Time: Be patient and give your resin enough time to cure. Rushing the process can lead to a weak, brittle pendant.
FAQ
What is the best way to remove bubbles from my resin?
What is the best way to remove bubbles from my resin?
Use a bubble pin to gently push the bubbles to the surface, then use a toothpick or the end of a pin to pop them. Alternatively, you can use a hair dryer to gently warm the resin and allow the bubbles to rise to the surface.
Can I use any type of stone in a resin pendant?
Can I use any type of stone in a resin pendant?
Yes, you can use a variety of stones, but it's best to use small, flat stones that won't obstruct the view of the main crystal. Avoid using porous stones, as they can absorb resin and become cloudy.
How do I know when my resin is cured?
How do I know when my resin is cured?
Resin is fully cured when it's no longer sticky to the touch and has reached its final hardness. This can take anywhere from 24 to 72 hours, depending on the type of resin you're using.
Can I make a resin crystal pendant without a mold?
Can I make a resin crystal pendant without a mold?
Yes, you can make a pendant without a mold by using a flat surface and creating a negative space for the stone. Just be sure to create a smooth, even surface to prevent any uneven curing.
How do I prevent my resin pendant from yellowing over time?
How do I prevent my resin pendant from yellowing over time?
Yellowing can be caused by UV exposure and poor-quality resin. To prevent yellowing, store your pendant in a cool, dark place and use a high-quality resin that is known for its clarity and resistance to yellowing.
Comments