Resin Crystal Paperweight: Preserving Specimen..
June 2, 2026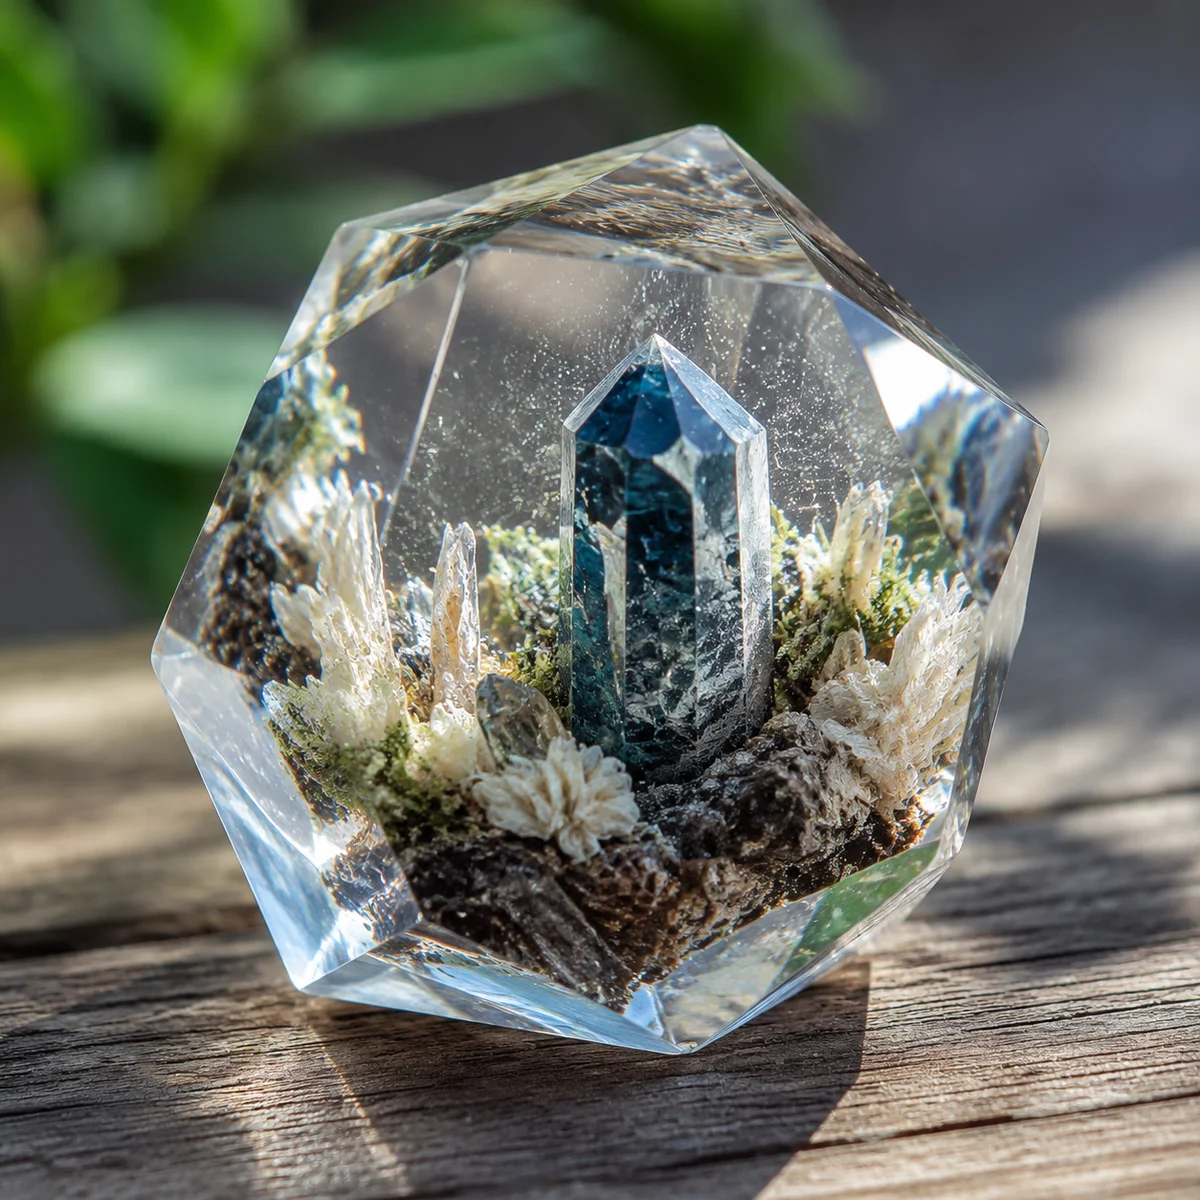
Why Make Resin Crystal Paperweights?
If you collect crystals and minerals, you've probably encountered the display problem: loose specimens rattle around in drawers, get dusty on shelves, or look underwhelming sitting flat on a surface where you can only see the top. A resin paperweight solves all of these issues by suspending your specimens in crystal-clear resin, creating a permanent display that shows the specimen from every angle while protecting it from damage and dust.
Beyond the practical benefits, resin crystal paperweights are genuinely beautiful objects. A well-made paperweight with a well-chosen specimen suspended in optically clear resin looks like a museum piece or a piece of contemporary art. The resin magnifies and refracts light through the crystal, often enhancing the specimen's color and internal features in ways that wouldn't be visible otherwise.
This project is suitable for beginners with no prior resin experience, though it does require patience and attention to detail. The materials are affordable, the techniques are straightforward, and the results — when done right — are stunning.
Materials You'll Need
Resin
You need a clear, high-quality epoxy resin specifically designed for casting. Not all epoxy resins are created equal — art and craft epoxy is formulated for thin layers (coatings, paintings) and will yellow, crack, or develop bubbles in thick pours. Look for a resin labeled as "casting resin," "deep pour resin," or "paperweight resin" with a maximum pour depth of at least 1-2 inches per layer.
Popular options for paperweight projects include:
Epoxy resin (2-part): The standard choice. Mix resin and hardener in equal parts, pour into your mold. Cures in 24-48 hours. Produces excellent clarity and durability. Brands like ArtResin, ProMarine, and Ice Resin are popular for craft use.
Polyester resin: Cheaper and pours deeper in a single layer, but produces more fumes and is more prone to yellowing over time. Not recommended for paperweights you want to look clear for years.
UV resin: Cures quickly under a UV lamp, but only suitable for very thin layers (under 1/4 inch). Not practical for paperweights unless you're building up many thin layers over many sessions.
For this project, a quality two-part epoxy casting resin is the best choice. Plan to use about 4-8 ounces of mixed resin for a standard 3-inch paperweight.
Molds
Silicone molds are the way to go. They're flexible enough to release the cured resin without sticking, they're reusable, and they come in a variety of shapes. For paperweights, half-sphere (dome) molds and cylinder molds in the 3-4 inch diameter range work best. Dome molds produce the classic paperweight shape with a flat bottom and curved top.
Make sure your silicone mold is rated for resin use — some molds are designed for soap or chocolate and may react with epoxy chemicals. Check the product description before buying.
Specimens
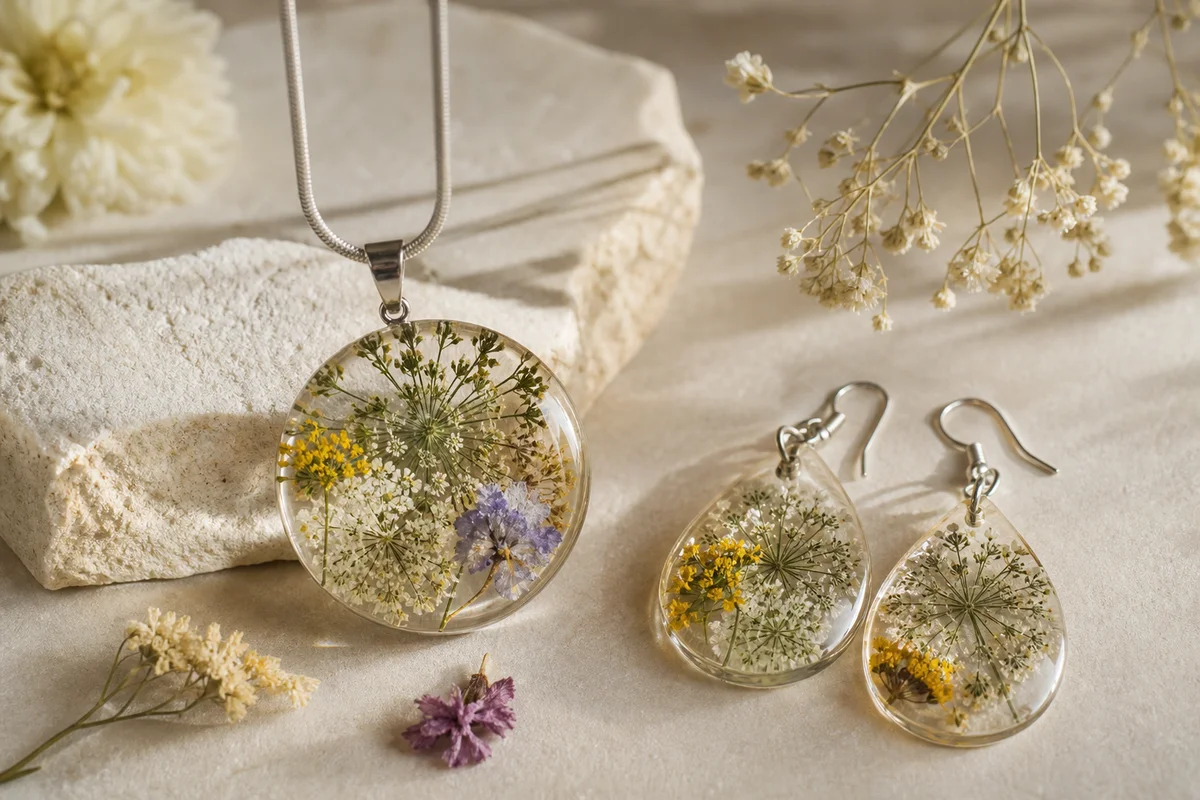
The crystals or minerals you want to preserve. Almost any small specimen works: tumbled stones, rough crystal pieces, small geode fragments, druzy pieces, crystal points, small fossils, or even shells, dried flowers, or botanical specimens alongside crystals.
Size your specimen to fit comfortably within your mold with at least 1/2 inch of resin on all sides. A specimen that's too large for the mold will poke through the resin surface, which looks amateurish and weakens the paperweight structurally.
Other Supplies
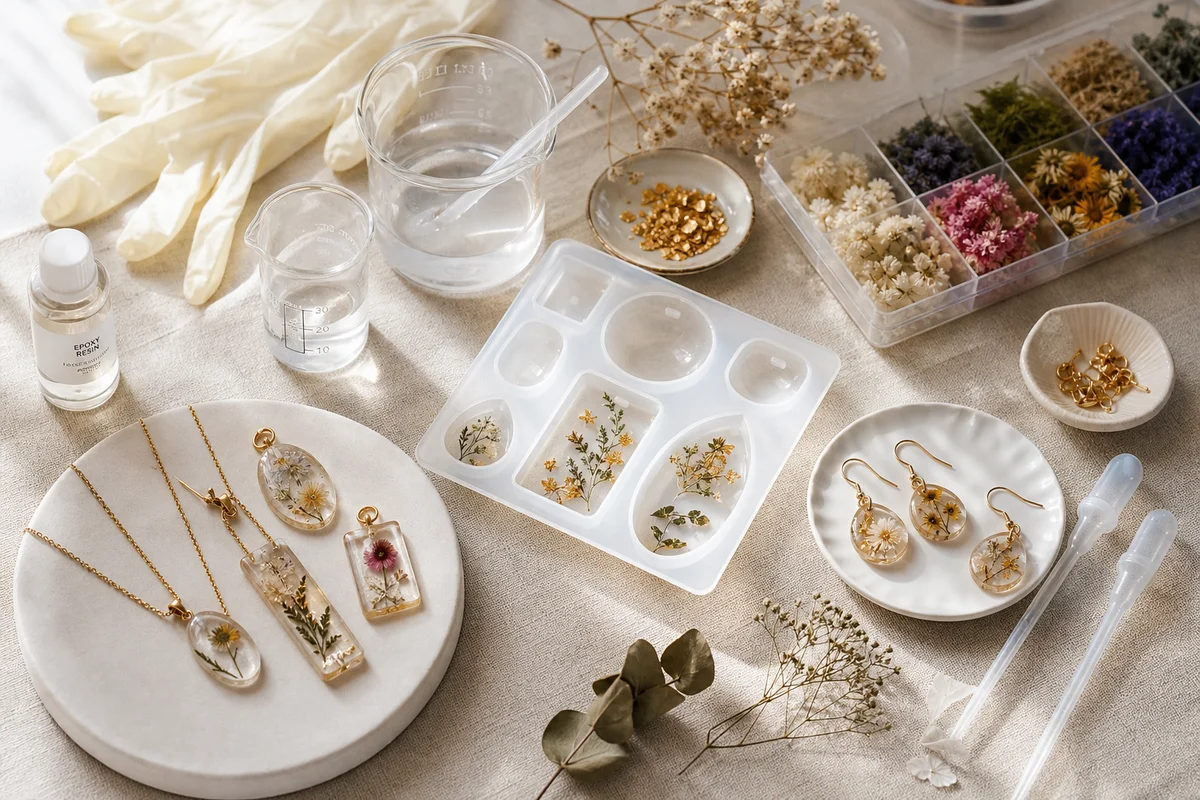
- Mixing cups (disposable plastic cups, several)
- Stirring sticks (plastic or wooden craft sticks)
- Heat gun or kitchen torch (for removing bubbles)
- Toothpicks (for positioning specimens)
- Rubbing alcohol (for cleaning specimens)
- Gloves (nitrile, not latex — latex can react with some resins)
- Covered workspace (resin drips are nearly impossible to clean from furniture)
- Packing tape or plastic sheeting to protect surfaces
- Fine sandpaper (400, 600, 800, 1000 grit) for finishing
- Polishing compound and soft cloth for final polish
Preparing Your Specimen
Before embedding anything in resin, it needs to be clean. Resin amplifies everything — every speck of dust, every fingerprint, every oily residue. Wash your specimen in warm soapy water, rinse thoroughly, and let it dry completely. For especially dusty specimens, a quick soak in rubbing alcohol followed by air drying works well.
Plan your specimen's orientation before you start pouring. Decide which side or angle you want facing "up" in the finished paperweight. Some specimens look best viewed from the side, others from the top. A crystal cluster might look most dramatic at a slight angle, with one face catching the light.
For multiple specimens in one paperweight, arrange them on a flat surface in the configuration you want before pouring. Take a photo with your phone so you can reference it when placing specimens in the wet resin.
The Pouring Process
Step 1: Mix the Resin
Read your resin's instructions carefully — different brands have different mixing ratios, and getting this wrong ruins the batch. Most epoxy resins mix 1:1 by volume (equal parts resin and hardener). Measure accurately — don't eyeball it. Pour both parts into your mixing cup and stir slowly and thoroughly for at least 2-3 minutes.
Scrape the sides and bottom of the cup as you stir. Incomplete mixing leaves soft, uncured spots in your finished paperweight. Stir slowly to minimize air bubbles — vigorous whipping incorporates hundreds of tiny bubbles that you'll then need to remove.
The mixed resin should be clear and bubble-free (or nearly so). If it looks cloudy or milky, you've either under-mixed or the resin has started reacting — stop and evaluate before proceeding.
Step 2: Pour the First Layer (Base)
Pour about 1/4 to 1/3 inch of resin into the bottom of your silicone mold. This is your base layer — the foundation that your specimen will sit on. The base layer needs to be deep enough to hold the specimen in place but not so deep that the specimen floats or sinks out of your desired position.
After pouring, check for bubbles. Large bubbles rise to the surface and pop on their own within a few minutes. Small bubbles clinging to the mold walls can be removed by passing a heat gun or kitchen torch briefly over the surface — the heat expands the air in the bubbles, causing them to rise and pop. Keep the heat source moving and don't linger on any spot — overheating can damage the resin or the mold.
Wait for this base layer to become tacky but not fully cured — usually 30-60 minutes depending on your resin and room temperature. The specimen needs to sit in resin that's firm enough to hold it in place but soft enough that you can still adjust its position with a toothpick.
Step 3: Position Your Specimen
When the base layer is tacky, place your specimen onto it. Use tweezers or your gloved fingers for the initial placement, then use a toothpick to fine-tune the position. The specimen may want to sink or float depending on its density relative to the resin — heavier mineral specimens tend to sink, lighter botanical specimens tend to float.
If your specimen sinks too deep, wait for the base to become firmer before placing it. If it floats, you may need to hold it in place with a toothpick until the resin firms up enough, or place a small weight (another stone or metal finding) nearby to anchor it.
Don't touch the specimen's visible faces with your fingers — oils from your skin will create a hazy, fingerprint-shaped area in the cured resin. Use tools for all adjustments.
Step 4: Pour the Remaining Resin
Once the specimen is positioned and the base is tacky enough to hold it, mix a fresh batch of resin (or use remaining resin from step 1 if it hasn't started to thicken). Pour slowly over the specimen, starting at one edge of the mold and letting the resin flow around and over the specimen. Pour slowly to avoid splashing and to minimize new bubbles.
The resin level should come to within about 1/8 inch of the top of the mold. Don't overfill — the mold needs a small lip of silicone to contain the resin while it's still liquid. If you overfill, the resin will seep out from under the mold and create a messy base.
After the second pour, check for bubbles again and use the heat gun to pop any that appear. Bubbles are most likely to form around the specimen where resin meets the stone surface — watch these areas especially carefully.
Step 5: Cure
Cover your mold with a lid, box, or inverted cup to keep dust and debris out while the resin cures. Even in a relatively clean room, airborne dust particles will settle into uncured resin and become permanently embedded in your paperweight. Curing time varies by resin brand but typically ranges from 24 to 72 hours at room temperature.
Don't move the mold during curing. Jostling can disturb the specimen position and create internal waves in the resin. Set it in a safe, level spot and leave it alone.
Demolding and Finishing
Once the resin is fully cured (hard to the touch with no tackiness), gently peel the silicone mold away from the paperweight. Silicone molds release easily — you shouldn't need to force or pry the paperweight out. If it sticks, flex the mold gently to break the seal.
The bottom of the paperweight (the surface that was against the mold base) will be smooth. The top surface may have a slight dome shape from surface tension, which is fine and expected for a paperweight. If the top has drips or uneven spots, these can be sanded flat.
Use increasingly fine sandpaper to smooth any rough edges — start with 400 grit, progress through 600, 800, and finish with 1000 or 2000 grit. Sand in one direction, then the perpendicular direction, to create a cross-hatch pattern that removes scratches evenly. Finish with polishing compound on a soft cloth to restore the optical clarity.
The base can be left as-is (slightly rough from the sanding) for stability on a desk, or you can attach a small felt pad or cork base with a dot of epoxy for a more finished look.
Common Problems and Solutions
Bubbles in the Resin
The most common issue. Prevention is better than cure: mix slowly, pour slowly, and use the heat gun technique after each pour. For stubborn bubbles trapped against the specimen, try exhaling (not inhaling — the CO2 in your breath helps break surface tension) close to the bubble, or use a toothpick to gently pull the bubble to the surface.
Cloudy or Milky Resin
This usually means under-mixed resin or moisture contamination. Make sure you stir for the full recommended time. Also ensure your specimen is completely dry — even slightly damp stones can cause clouding in the resin immediately surrounding them.
Yellowing Over Time
All resins yellow to some degree over time when exposed to UV light. This is accelerated by direct sunlight. Display your paperweights away from windows and use a UV-resistant resin if available. Some premium casting resins are formulated with UV inhibitors that significantly slow yellowing.
Specimen Floating or Shifting
If your specimen is lighter than resin (happens with porous stones, pumice, and organic materials), it will try to float to the top. Solutions: wait longer for the base layer to firm up before placing, use a thin wire or toothpick to anchor the specimen to the base, or coat the specimen bottom with a thin layer of resin and let it cure before placing it in the main pour (creates a heavier base that resists floating).
Cracks in Cured Resin
Caused by pouring too thick in a single layer (exothermic reaction generates heat that cracks the resin) or by rapid temperature changes. Follow your resin's maximum pour depth recommendation — if you need more depth than allowed per pour, do it in two layers with curing time between.
Creative Ideas Beyond the Basic Paperweight
Once you're comfortable with the basic technique, try these variations: layer multiple specimens at different depths for a 3D underwater reef effect; add mica powder or metallic pigment to the resin for a galaxy or aurora background; embed small LED lights in the base for a light-up paperweight; use a rectangular mold for a desk block rather than a dome shape; or create a series of paperweights with specimens from a specific geological location or theme.
Frequently Asked Questions
Can I use real crystals or will resin damage them?
Most crystals and minerals are completely unaffected by epoxy resin. The resin is inert once cured and won't react with stone surfaces. Avoid putting specimens that are water-soluble (halite/salt, selenite) or particularly fragile (thin crystal plates, delicate druzy) directly in wet resin — the wetting can damage very fragile specimens.
How deep can I pour resin at once?
It depends entirely on the resin brand. Standard craft epoxies are limited to 1/4-1/2 inch per pour. Casting resins can handle 1-2 inches per pour. Some "deep pour" resins handle up to 4-6 inches. Exceeding the maximum pour depth causes excessive heat (exothermic reaction) that can crack, bubble, or yellow the resin.
Is resin safe to use at home?
Epoxy resin is generally safe for home use with proper precautions. Work in a well-ventilated area, wear nitrile gloves, and avoid skin contact. Some people develop sensitivity to epoxy over time with repeated exposure. If you have respiratory sensitivities, consider wearing a mask during mixing and pouring, especially when using polyester resin which produces more fumes.
How do I clean resin off my tools?
Wipe tools with rubbing alcohol while the resin is still uncured. Once cured, resin is nearly impossible to remove from tools — this is why disposable cups and sticks are recommended. For reusable tools, wipe them immediately and thoroughly with alcohol before the resin sets.
Frequently Asked Questions
How long does resin take to fully cure before I can use my crystal paperweight?
Most epoxy resin takes 24 to 72 hours to fully cure, depending on the brand and pour thickness. Surface drying may happen within 12 hours, but wait the complete curing time before demolding or handling your crystal paperweight. Thicker pours cure more slowly, and high humidity can extend drying time. Always follow your specific resin kit instructions for best results and a durable, crystal-clear finish.




Comments