Crystal Scavenger Hunt for Kids
May 14, 2026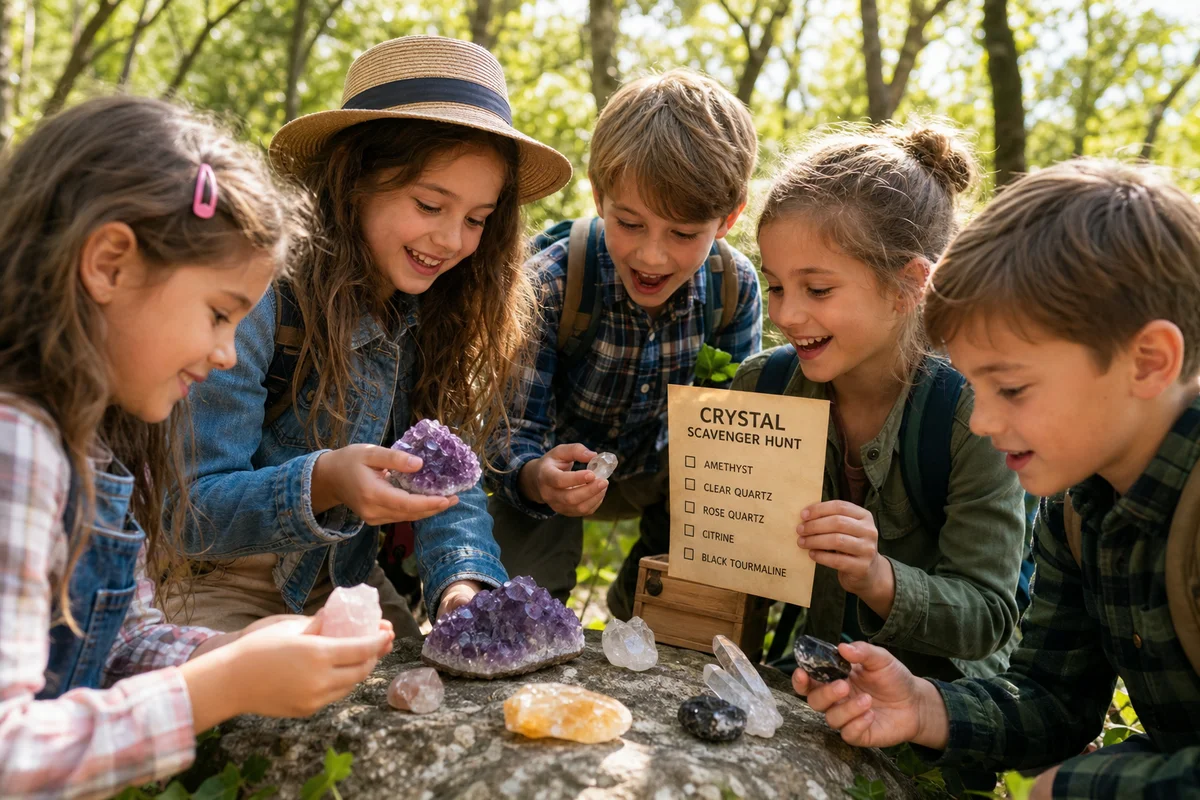
Crystal Scavenger Hunt for Kids: A Free Outdoor Activity That Teaches Real Science
Most kids' activities involving rocks amount to "paint a rock and hide it." Fun, sure, but it doesn't teach much. A crystal scavenger hunt is different — it gets kids outside, looking closely at the ground, and actually learning to identify real minerals they can find in their own neighborhood.
You don't need to live near a mine or a mountain. Gravel driveways, river banks, garden centers, and even parking lots contain identifiable minerals if you know what to look for. This guide gives you everything you need to set up a scavenger hunt for kids ages 5-12.
What Kids Can Actually Find Outside
Before planning the hunt, it helps to know what's realistic. These are the most common minerals kids can find without special equipment:
Quartz — By far the most common. Clear, white, or slightly pink. Look in gravel, stream beds, and sandy soil. Kids love finding quartz because it's often translucent and "looks like glass." Explain that quartz is made of silicon and oxygen, the two most common elements in the Earth's crust.
Mica — Thin, flaky sheets that peel apart. Usually black (biotite) or silvery-white (muscovite). Kids find this fascinating because they can actually peel layers off with their fingernails. It's Mohs 2-2.5, which makes it a great teaching moment about hardness.
Feldspar — Pink, white, or gray blocky crystals. Extremely common in gravel and exposed rock. If you see pink speckles in a rock, that's usually feldspar.
Calcite — White or clear, often with a rhombus shape. You can test it with vinegar — calcite fizzes because it reacts with acid. This makes for a great "kitchen science" moment after the hunt.
Hematite — Dark red-brown streaks on rocks. Kids can test for it by rubbing the rock on unglazed porcelain (the bottom of a coffee mug works) — hematite leaves a red streak.
Obsidian and flint/chert — If you live near volcanic areas, obsidian (black glass) is possible. Flint and chert (gray-brown, breaks with sharp edges) are found in limestone areas. Both were used by humans for tools for millions of years — kids love that connection.
Setting Up the Scavenger Hunt
Age 5-7 (Simple Version):
Create a picture-based checklist with 5-6 items:
- Something clear or translucent (quartz)
- Something shiny like metal (mica)
- Something pink or peach (feldspar)
- A rock with stripes or layers
- The smoothest rock you can find
- The most interesting-shaped rock
At this age, the goal is observation, not identification. The checklist uses descriptions rather than mineral names.
Age 8-10 (Intermediate Version):
Add actual mineral names and simple tests:
- Find quartz (clue: looks like cloudy glass)
- Find mica (clue: peels into thin sheets)
- Find a rock that fizzes in vinegar (calcite)
- Find a rock with visible crystal shape (not just round)
- Find the hardest rock — can it scratch a penny? (copper = Mohs 3)
Include small zip bags for collecting and a magnifying glass. Teach them the Mohs scale with the fingernail (2.5) and penny (3) tests.
Age 11-12 (Advanced Version):
Full mineral identification with streak testing:
- Identify 5 different minerals by name
- Test hardness using fingernail, penny, and steel nail (5.5)
- Do a streak test (rub rock on unglazed porcelain)
- Sort collected specimens by hardness
- Write a field note for each specimen: color, hardness, where found, guess at identity
What to Bring
- Magnifying glass ($3-5 at any drugstore)
- Small zip-lock bags for specimens
- Permanent marker to label bags
- Vinegar in a small dropper bottle for calcite testing
- Unglazed porcelain for streak testing (bottom of a white coffee mug works)
- Penny and steel nail for hardness testing
- Printed checklist
Total cost: under $10 if you need to buy everything. Most of it you already have at home.
Good Locations for Crystal Hunting With Kids
Gravel driveways and parking lots: The gravel used in landscaping is often river rock that contains quartz, feldspar, and sometimes granite with visible crystal inclusions. Not glamorous, but surprisingly productive.
Stream and river banks: Moving water sorts minerals by weight and hardness. Look in the gravel bars where the water slows down — heavier minerals accumulate there. Some public mining sites are specifically set up for families.
Garden centers and rock yards: Many sell "river rock" or "decoration stone" by the pound. For a few dollars, kids can sort through a bucket and find identifiable specimens. Call ahead — some places will let you look through their stock before buying.
Construction sites (from the outside): Exposed soil and gravel often contain minerals not usually visible at the surface. Obviously, don't enter active construction sites, but the gravel piles near the fence line are fair game.
After the Hunt: Lab Work at the Kitchen Table
The hunt is only half the activity. Back home, set up a "lab station" for testing and identification:
Test 1: Hardness
Can your fingernail scratch it? (Mohs 2.5) Can a penny scratch it? (Mohs 3) Can a steel nail scratch it? (Mohs 5.5) This immediately narrows down possibilities.
Test 2: Streak
Rub the rock on unglazed porcelain. The streak color is often different from the surface color. Hematite looks silver-black but streaks red-brown. Pyrite looks gold but streaks greenish-black.
Test 3: Vinegar
Drop vinegar on the rock. If it fizzes, it contains calcite. This test alone identifies a huge category of rocks.
Test 4: Magnetism
Hold a magnet near the rock. Most minerals are not magnetic. If your rock is attracted to a magnet, it likely contains magnetite.
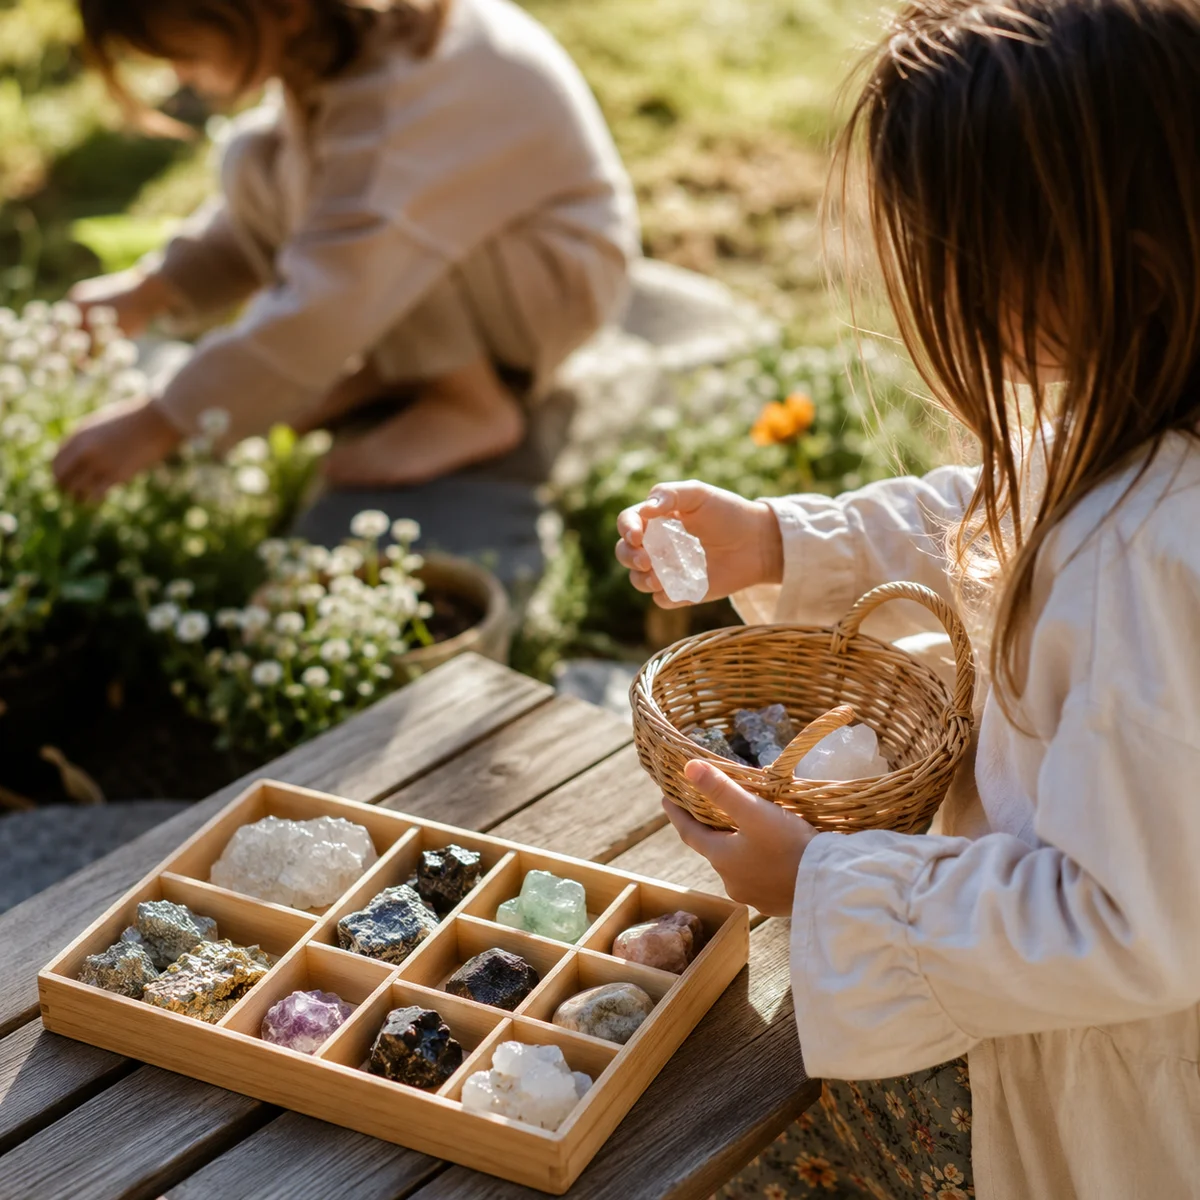
Turning It Into a Collection
After identification, kids can start a collection. Starting a crystal collection is rewarding for kids because they can display their own finds alongside purchased specimens.
Simple storage ideas:
- An egg carton with each specimen in its own compartment, labeled with the mineral name and where it was found
- A tackle box (cheaper than a "rock collection box" and works just as well)
- A shoebox with dividers made from cardboard
Safety Notes
- Wash hands after handling rocks (some contain lead, arsenic, or other elements you don't want kids ingesting)
- Don't let kids taste or lick rocks (yes, some old identification methods involved tasting — don't do this)
- Wear safety glasses if hammering rocks to look at fresh surfaces
- Check for ticks after outdoor hunts in grassy or wooded areas
- Supervise the vinegar test — it's a weak acid but still an acid
Common Questions Kids Ask
"Is this a diamond?"
Almost certainly no. But you can explain why: diamonds form deep in the Earth under extreme pressure and are brought to the surface by specific geological processes. The odds of finding one in a driveway are essentially zero. The one exception in the US is Crater of Diamonds State Park in Arkansas, where kids can actually dig for real diamonds.
"How much is this worth?"
Most common minerals (quartz, feldspar, calcite) have no commercial value. But that's not the point — the value is in finding it yourself and learning what it is. Some kids find this answer disappointing, so frame it as: "You found this yourself, you identified it yourself, and nobody can buy that experience."
"Can I make jewelry with it?"
Yes! Wire wrapping is the easiest way to turn a found stone into wearable jewelry. A tumbled quartz piece from the driveway, wrapped in copper wire, makes a genuinely nice pendant.
Taking It Further
If your kid gets hooked, here are natural next steps:
- Crystal bingo — another printable game for learning mineral names
- Age-appropriate crystal gifts for birthdays and holidays
- Rock tumbling — turns rough finds into polished stones
- Join a local rock and mineral club (most have kid-friendly meetings and field trips)
A crystal scavenger hunt costs almost nothing, gets kids outside, and introduces real earth science. It's one of those rare activities that's genuinely educational without feeling like school. Grab a bag, print a checklist, and head to the nearest gravel pile.
Enhancing the Scavenger Hunt Experience
Once you've got the basics down for your crystal scavenger hunt, there are plenty of ways to enhance the experience for the kids. Here are some ideas to make it more interactive and educational:
Interactive Maps
Before heading out, create an interactive map of the area you're exploring. Use a simple app or software to add markers for potential mineral spots. Kids can follow the map to find their treasures, and it adds a sense of adventure.
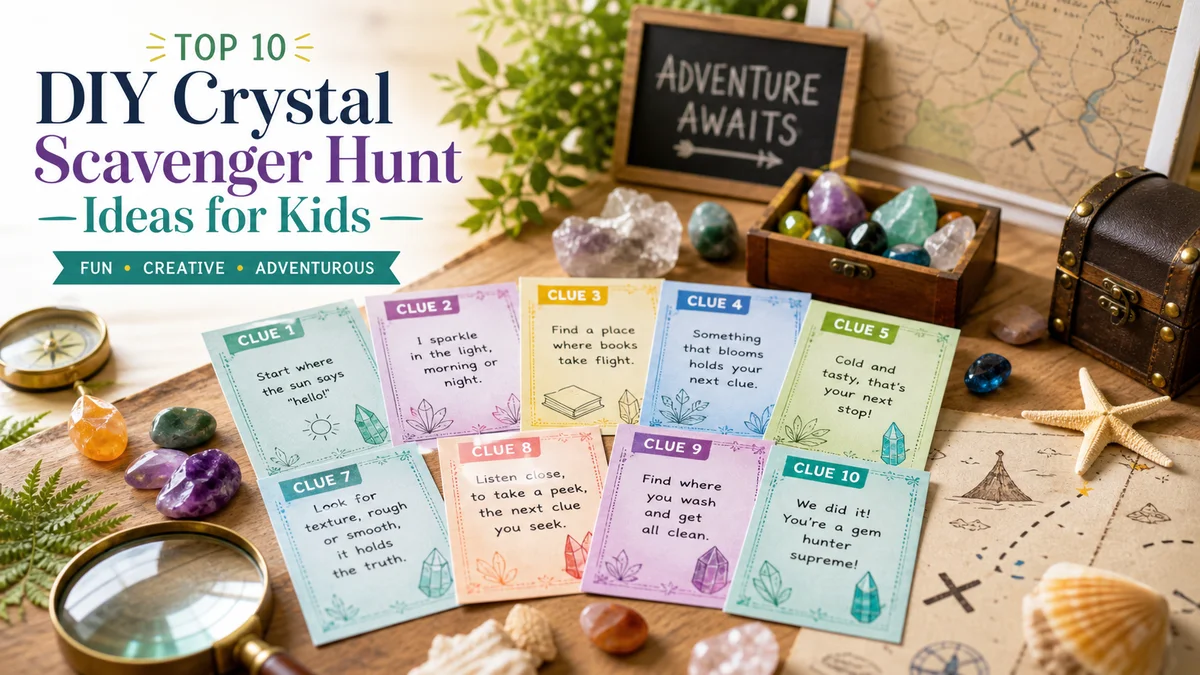
Crystal Identification Cards
Print out cards with photos and descriptions of common minerals. As kids find them, they can check off which ones they've found. This is a great way to reinforce their identification skills and keep track of their findings.
Crystal Sketching
Encourage the kids to sketch the crystals they find. It's a creative way to document their discoveries and learn about the shapes and textures of different minerals. Plus, it's a fun way to practice drawing skills.
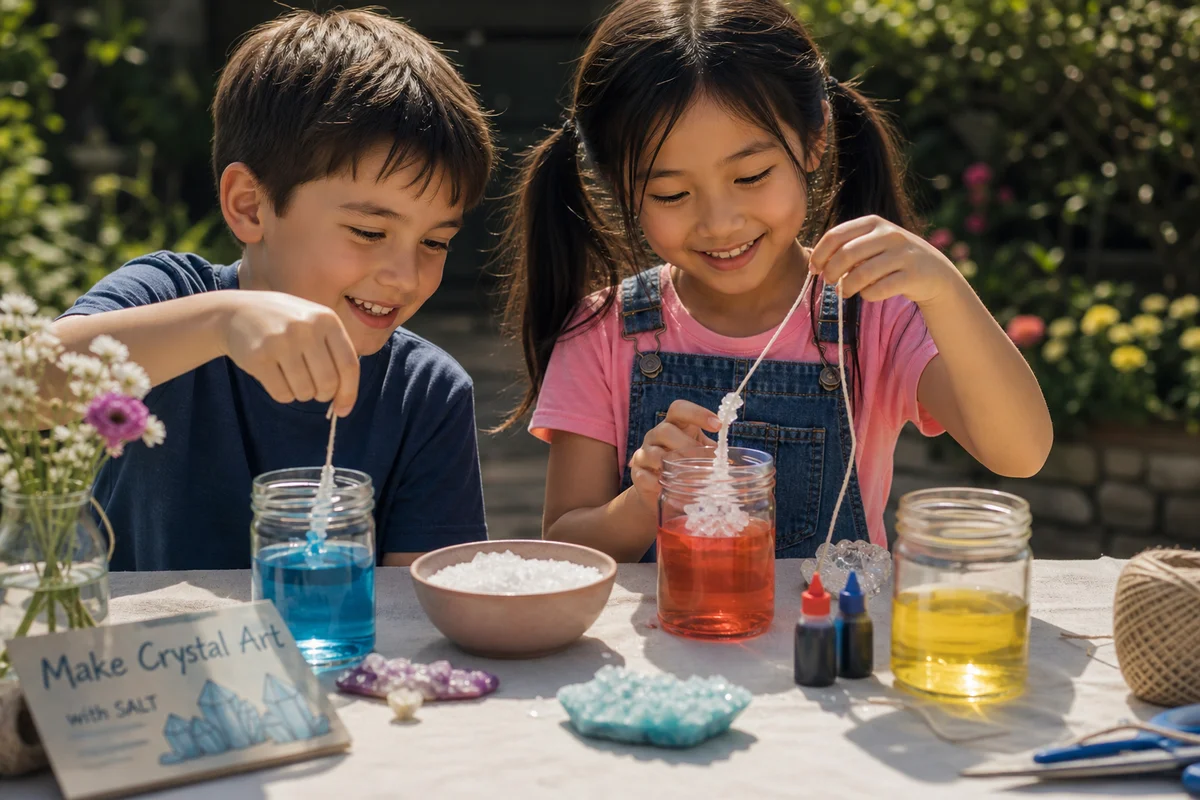
Crystal Compounds and Reactions
After the hunt, have a little lab session. You can mix different minerals with water to see if they dissolve, or test their reaction to vinegar (like calcite). This is a hands-on way to learn about chemical reactions and the properties of different minerals.
Crystal Stories and Myths
Teach the kids a bit of the history and mythology behind crystals. For example, quartz was once thought to have magical properties and was used in amulets. Hematite was believed to bring courage. This can make the hunt more engaging and give it a bit of a mystical twist.
Scavenger Hunt Safety Tips
While a crystal scavenger hunt can be a fun and educational experience, it's important to keep safety in mind:
- Stay on Trails: Stick to established trails to avoid getting lost or stepping on fragile plants.
- Respect the Environment: Teach kids to leave no trace. They should collect rocks but not plants or other natural materials.
- Wear Appropriate Clothing: Dress for the weather and wear sturdy shoes. Sunscreen and hats are also important if you're in a sunny area.
- Stay Hydrated: Bring water and snacks, especially on hot days.
- Supervision: Always have an adult present, especially if the kids are young.
Crystal Scavenger Hunt FAQ
Do I need any special equipment for the hunt?
Do I need any special equipment for the hunt?
No special equipment is needed. Just a keen eye and curiosity!
Can I do this hunt in urban areas?
Can I do this hunt in urban areas?
Absolutely! You can find minerals in parks, city gardens, and even in parking lots.
How do I keep the kids interested if they're not finding anything?
How do I keep the kids interested if they're not finding anything?
Keep the focus on exploration and learning. Encourage them to observe their surroundings and ask questions.
Is it safe to let kids handle rocks they find?
Is it safe to let kids handle rocks they find?
Yes, as long as they're supervised and the rocks are not sharp or too heavy. Teach them to handle rocks carefully.
Can I use this activity as a school project?
Can I use this activity as a school project?
Definitely! It's a great way to combine outdoor learning with science education.
Comparison: Crystal Scavenger Hunt vs. Traditional Scavenger Hunt
| Feature | Crystal Scavenger Hunt | Traditional Scavenger Hunt |
|---|---|---|
| Objective | Identify and collect minerals | Find and collect items based on a list |
| Skills Developed | Observation, science knowledge, identification | Problem-solving, memory, physical activity |
| Duration | Can be longer due to identification process | Typically shorter, more focused on collecting items |
| Cost | Low, only requires materials to identify minerals | Varies depending on items listed, can be low to high |
| Environmental Impact | Low, encourages respect for the environment | Depends on items collected, some items may be less environmentally friendly |
As you can see, a crystal scavenger hunt offers a unique educational experience that complements a traditional scavenger hunt. It's a great way to mix fun with learning, especially for kids who are interested in science and nature.
Next Steps
Now that you've read through all the tips and information, it's time to plan your crystal scavenger hunt. Remember, the key is to keep it fun and educational. Happy hunting!
Comments