Crystal Fairy Garden Tutorial: Kids Craft
May 16, 2026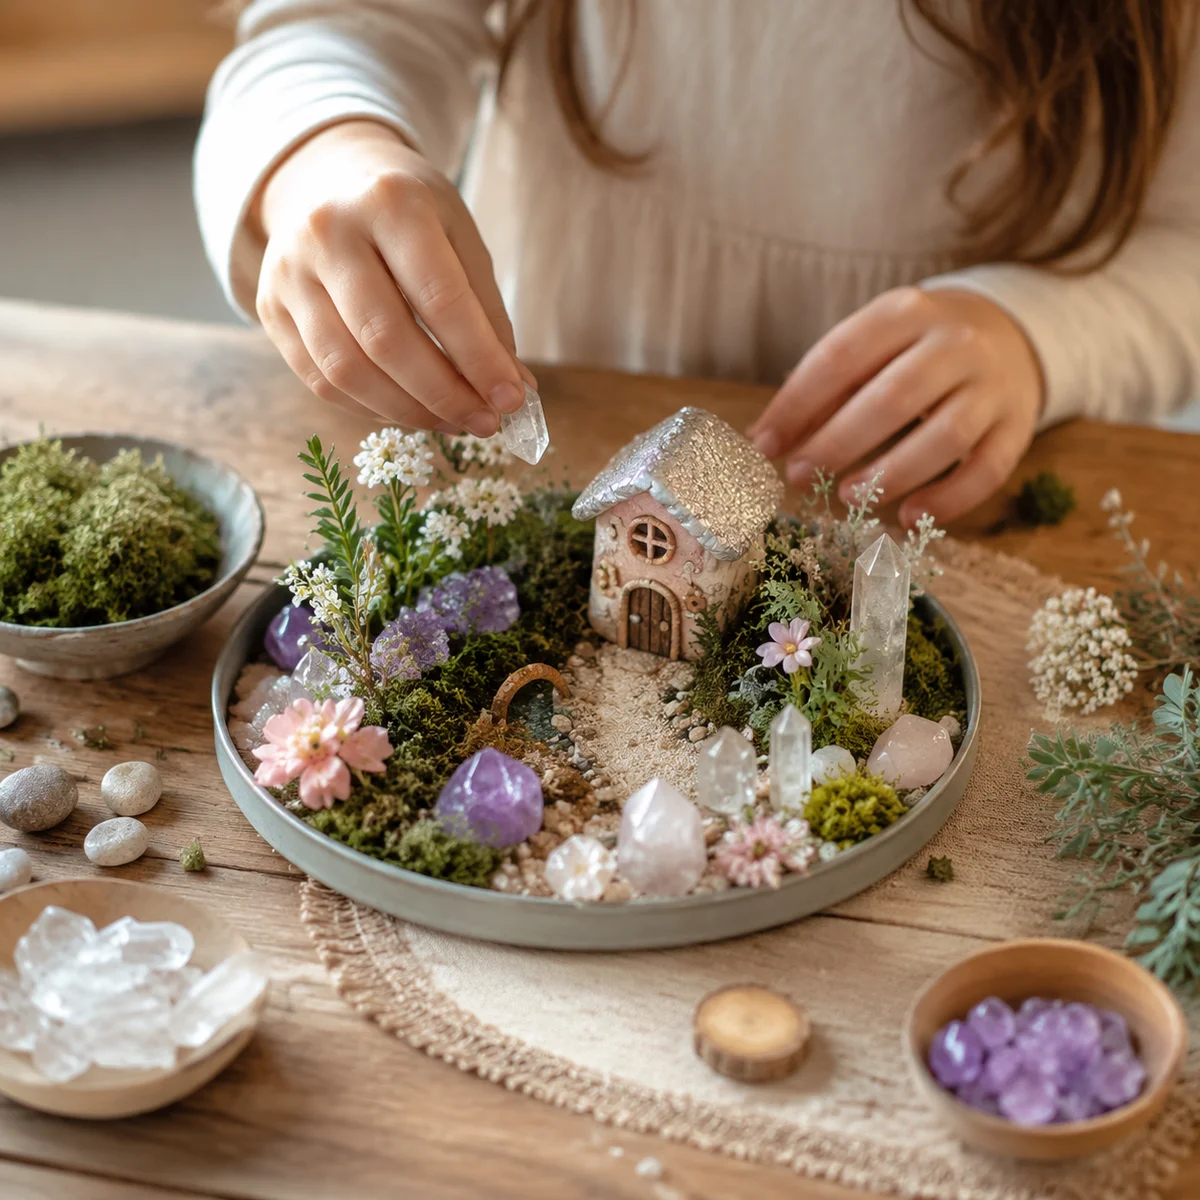
My Daughter's Crystal Fairy Garden Turned Out Better Than the Pinterest Version
I'll be honest — I saw the Pinterest pin and thought, "How hard can a little fairy garden be?" Famous last words. Three trips to the craft store, one minor meltdown over glitter glue, and two evenings later, we had something genuinely beautiful sitting in our backyard. And the funny part? It actually looked better than that perfectly lit, heavily filtered Pinterest photo.
My daughter Emma is seven and currently obsessed with two things: crystals and fairies. When she stumbled across a crystal fairy garden idea online, she practically vibrated with excitement. I looked at the supply list on the original post and winced — $60+ for something that would probably get rained on. So we improvised. The whole thing cost us $22.47, and I'm going to walk you through exactly how we did it, what went wrong, and why our version ended up being the one I'd actually recommend.
What You'll Need (And What It Actually Costs)
Before we dive in, let me say this: you do not need to buy everything new. We raided our garage, the backyard, and the bottom of Emma's craft bin. Here's the full breakdown, though, if you're starting from scratch.
Materials List:
- Shallow container or garden bed border — $0 (we used an old wooden crate from the garage) or $3-5 at a thrift store
- Potting soil (one small bag) — $4
- Small succulents or moss (3-4 pieces) — $6 at the garden center
- Tumbled crystals (assorted, kid-safe varieties) — $5-8 for a mixed bag at a rock shop or online
- Miniature fairy accessories (tiny house, bridge, fence) — $0 (we made these from twigs and hot glue) or $5 for a set
- Decorative gravel or small pebbles — $0 (collected from the driveway) or $2
- Optional: solar-powered fairy lights — $3
Total: $18-29 — we came in at $22.47 because Emma talked me into the fairy lights at the checkout. Best $3 I spent all month.
One quick note on sourcing crystals: if you're looking for affordable tumbled stones to start with, check out our guide to getting kids into crystal collecting — it has specific recommendations for starter kits that won't break the bank.
Which Crystals Are Safe for Kids Outdoors (And Which to Skip)
This part matters more than you'd think. Not all crystals belong in a garden where curious little hands — and paws, and rain — will be all over them. Here's what we learned after some research and a few conversations with our local rock shop owner.
Safe and garden-friendly:
- Rose quartz — hard, stable, non-toxic. The pink tones look gorgeous against green moss. Our favorite.
- Clear quartz — practically indestructible, catches sunlight beautifully. Emma called these "fairy windows."
- Amethyst — safe to handle, the purple pops in any garden setting. Just know it can fade slightly in direct sun over months.
- Tiger's eye — durable, warm golden-brown tones. Great for pathways in the garden.
- Carnelian — orangey-red, hard enough for outdoor use, kid-safe.
- Aventurine — green varieties blend with plants beautifully. Safe and affordable.
- Agate slices — thin, translucent, and they look like tiny fairy windows when light hits them. A huge hit.
Avoid these outdoors with kids:
- Selenite — it dissolves in water. Rain + selenite = sad mush. Keep this one inside.
- Malachite — contains copper, which can be toxic if ingested or if dust is inhaled. Not worth the risk with kids who still put fingers in their mouths.
- Pyrite (fool's gold) — can oxidize and create sulfuric acid when wet. Cool to look at, bad for a garden.
- Fluorite — relatively soft (Mohs 4), chips easily, and some specimens contain trace elements you don't want kids handling regularly outdoors.
- Any raw, unpolished specimen with sharp edges — stick to tumbled stones for kids' projects.
The general rule: if it's tumbled, rated 6+ on the Mohs hardness scale, and doesn't contain toxic minerals, you're good. When in doubt, ask your local rock shop — they're almost always happy to help with kid-safe recommendations.
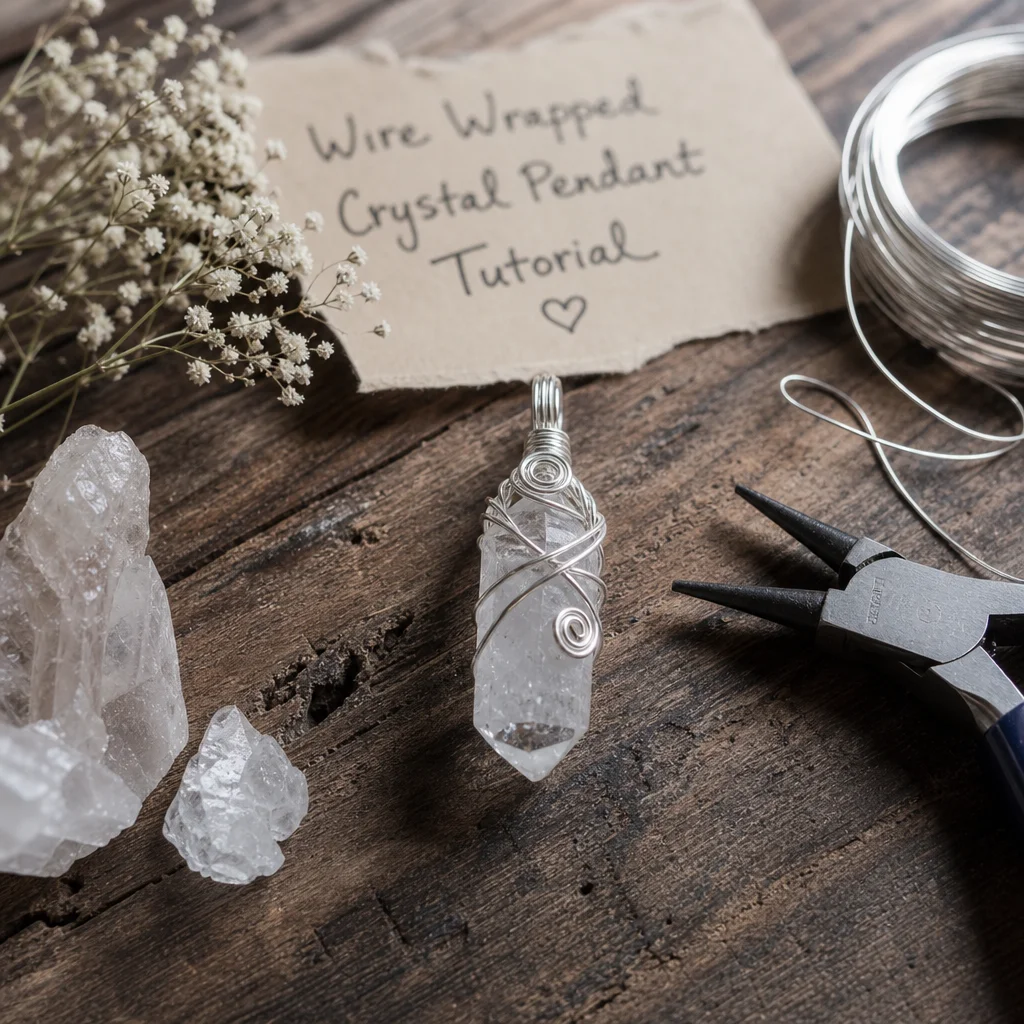
We used a mix of rose quartz, clear quartz, amethyst, and agate slices. Emma picked each one herself at the shop, and honestly, her color combinations were better than what I would have planned. If you want more ideas for displaying crystals creatively (indoors or out), our crystal display ideas article has some good inspiration.
Step 1: Prep Your Container
We used an old wooden wine crate — the kind that's maybe 18 inches long and 6 inches deep. You can use literally anything: a large terra cotta pot, a plastic bin with drainage holes drilled in the bottom, a sectioned-off corner of your actual garden, or even a big baking pan if you're keeping it on a balcony.
The Pinterest version used an expensive ceramic planter that cost $35 alone. Our free crate? Way more charming. The weathered wood gives it a rustic fairy-village feel that you just can't buy.
If your container doesn't have drainage, drill or punch a few holes in the bottom. This is the step the original tutorial glossed over, and it's the reason half the comments complained about their garden turning into a swamp after the first rain. Ask me how I know.
Actually, I'll tell you — we forgot drainage on our first attempt. Two days later, Emma's fairy garden was a fairy swamp. We poked holes, replanted everything, and it was fine. Learn from our mistake.
Step 2: Layer the Base
Start with a thin layer of gravel or small pebbles at the bottom — maybe half an inch. This helps with drainage and keeps the soil from washing out. Then add potting soil on top, filling to about an inch below the rim of your container.
Here's where Emma took over and I learned to let go of my perfectionism. She wanted "hills" and "valleys" in the soil, which I thought would look messy. It actually looked like a tiny rolling landscape. Kids have instincts for this stuff — trust them.
We patted the soil down gently but didn't pack it hard. You want it firm enough that your crystals and accessories won't sink, but loose enough that plants can root.
Step 3: Place Your Plants
We went with three small succulents (a hen-and-chicks, a tiny echeveria, and something called "string of pearls" that Emma picked because of the name) and a handful of moss from our backyard. Succulents are perfect for this because they need very little water and they stay small.
Plant them toward the back and sides of your container, leaving the front and center open for your crystal features. You want the plants to frame the crystals, not compete with them.
The moss went in patches between the plants, filling in the bare spots. Emma pressed it into the soil with the seriousness of a surgeon. It was pretty cute.
If you're doing an indoor version instead, our indoor crystal garden project guide has plant recommendations that work better for inside your home.
Step 4: Design Your Crystal Layout
Okay, this is the fun part. Dump out your crystals and let your kid go wild — but with a little structure.
We started with a "crystal pathway" made of small tumbled tiger's eye stones leading from the front of the garden to the fairy house. Then Emma placed the bigger pieces: a chunky rose quartz cluster became a "fairy mountain," two amethyst points flanked the miniature house like guard towers, and the agate slices got propped up behind the house as a glowing back wall.
The clear quartz pieces went throughout the garden, half-buried in the soil so they caught the light. At sunset, those little "fairy windows" genuinely sparkle. It's the one thing the Pinterest photo couldn't capture — the way the garden changes throughout the day as the light moves.
A word of advice: push crystals about a third of the way into the soil. Don't just set them on top. They'll stay put better, look more natural, and survive wind and curious pet investigations much longer.
Step 5: Build (or Place) Your Fairy Accessories
The original tutorial linked to a $25 set of resin fairy garden accessories. We made our own instead, and I actually prefer how they turned out.
The fairy house: We glued small twigs together into a lean-to shape against one of the larger rose quartz pieces. A flat piece of bark became the roof. Total cost: $0. Total time: 20 minutes. It looks like something a fairy actually built, which is way more magical than a mass-produced resin cottage.
The bridge: Two bent twigs with smaller twigs glued across them, spanning a tiny "creek" made of blue-tinted gravel. Emma insisted the creek needed a name. It's now called "Crystal Creek." Sure, kid.
The fence: Broken toothpicks. I am not even kidding. She lined them up in a little row, glued them to a twig base, and it looks like a rustic picket fence. I was genuinely impressed.
If crafting isn't your thing, those $5 accessory sets from the craft store are totally fine. But if you have 30 minutes and a hot glue gun, the handmade version is worth it.
Step 6: Add the Finishing Touches
This is where the fairy lights come in. We wove a string of solar-powered fairy lights through the garden, wrapping them around the larger crystals and tucking them under the agate slices. At night, the whole thing glows. Emma's bedtime routine now includes saying goodnight to the fairies, which is... honestly, kind of wonderful.
We also sprinkled a few extra-small tumbled stones along the pathways and tucked some into the moss. Little details like this make it feel finished.
One more thing: if you're using crystals from an existing collection, you might want to give them a quick cleanse before putting them in the garden — especially if they've been sitting in a drawer for a while. Our beginner's guide to cleansing crystals covers seven simple methods; for garden crystals, a quick rinse under cool water (for hard, non-water-soluble stones only) works great.
The Pinterest vs. Reality Gap (What Went Wrong)
I want to be real about the hiccups, because every tutorial shows you the highlight reel and nobody talks about the glue gun burns.
Problem #1: The swamp situation. Already covered — no drainage holes. Fixed in 10 minutes, lost two days of progress while we replanted. Irritating but survivable.
Problem #2: The wind event. Three days after we finished, a gusty evening blew our agate slices over and scattered the pathway stones. Solution: we pressed everything deeper into the soil and added a few dabs of hot glue under the agate slices to anchor them. Hasn't moved since.
Problem #3: The cat. Our cat, Moose, treated the garden like a luxury litter box for about a week. We stuck a few bamboo skewers pointing up through the soil (hidden among the plants) to make it uncomfortable for him. Problem solved. He now sits next to the garden and glares at it, which honestly adds to the ambiance.
Problem #4: Pinterest lighting is a lie. The original pin was photographed during golden hour with what was clearly a ring light. Our garden looks good, but it doesn't look like that. Then again, ours looks good all the time, not just for the 15 minutes of perfect light. Trade-off I'll take.
Two Weeks Later: The Durability Report
As I write this, the garden has been sitting in our backyard for exactly 14 days. Here's the honest assessment:
Weather: We've had two rainstorms, several hot sunny afternoons, and one weird hail incident. The crystals look exactly the same. The succulents are thriving (they love the neglect). The moss has actually spread a little. The twig house has weathered nicely — it's gone from "freshly made" to "looks like it's been there for years," which is perfect for a fairy house.
The cat: Moose has given up. The bamboo skewer defense works. He now uses the garden as a sitting spot at sunset, which Emma says means he's "guarding the fairies." I'm not going to argue with that narrative.
Emma: She's rearranged the crystals three times. The agate slices have moved from the back wall to a leaning position near the bridge. Two new tiny crystals from her collection have appeared. The fairy garden is, apparently, an evolving art installation. I think that's great — it keeps her engaged with it rather than losing interest after two days like most craft projects.
What I'd do differently: I'd skip the "string of pearls" succulent. It's delicate and Emma has knocked pieces off it twice. Stick to hardy succulents like hen-and-chicks and echeveria. Also, I'd add the drainage holes from the start, obviously.
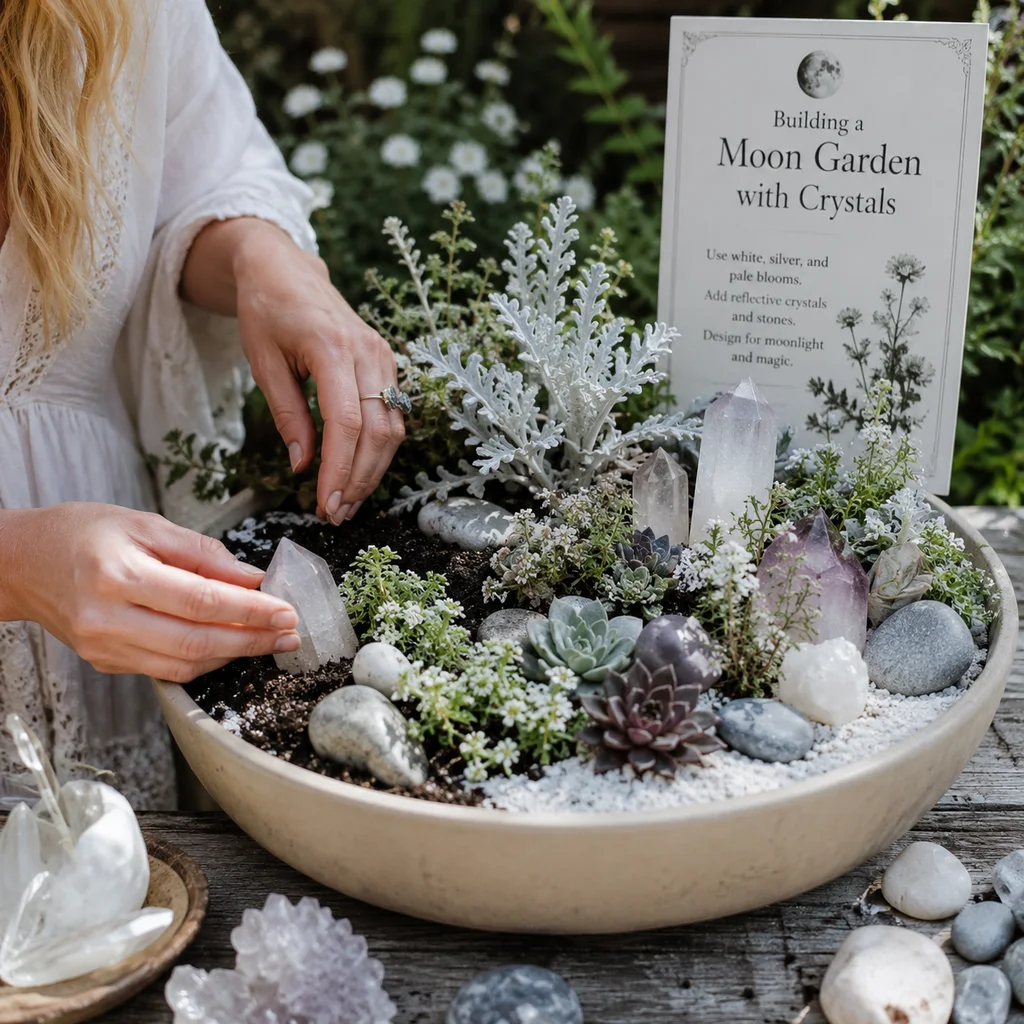
Variations: Four Ways to Take This in a Different Direction
The crystal garden concept is endlessly adaptable. Here are four variations we've either tried or have planned:
1. Crystal Fairy Garden (what we did)
Pastel crystals (rose quartz, amethyst, aventurine), moss, tiny houses, and fairy lights. Whimsical and magical. Best for the 5-10 age range.
2. Dinosaur Crystal Garden
Swap the fairy house for plastic dinosaurs. Use darker crystals — obsidian, hematite, smoky quartz — and create "volcanic" mounds with red jasper and carnelian. Emma's friend Leo made one of these and it looks incredible. Add a tiny pond (a shallow dish of water with quartz around the edges) and you've got a prehistoric crystal landscape. This is a great option if your kid isn't into fairies but still loves the idea. You could even make this the activity at a crystal-themed birthday party — set up stations with different themes and let kids pick.
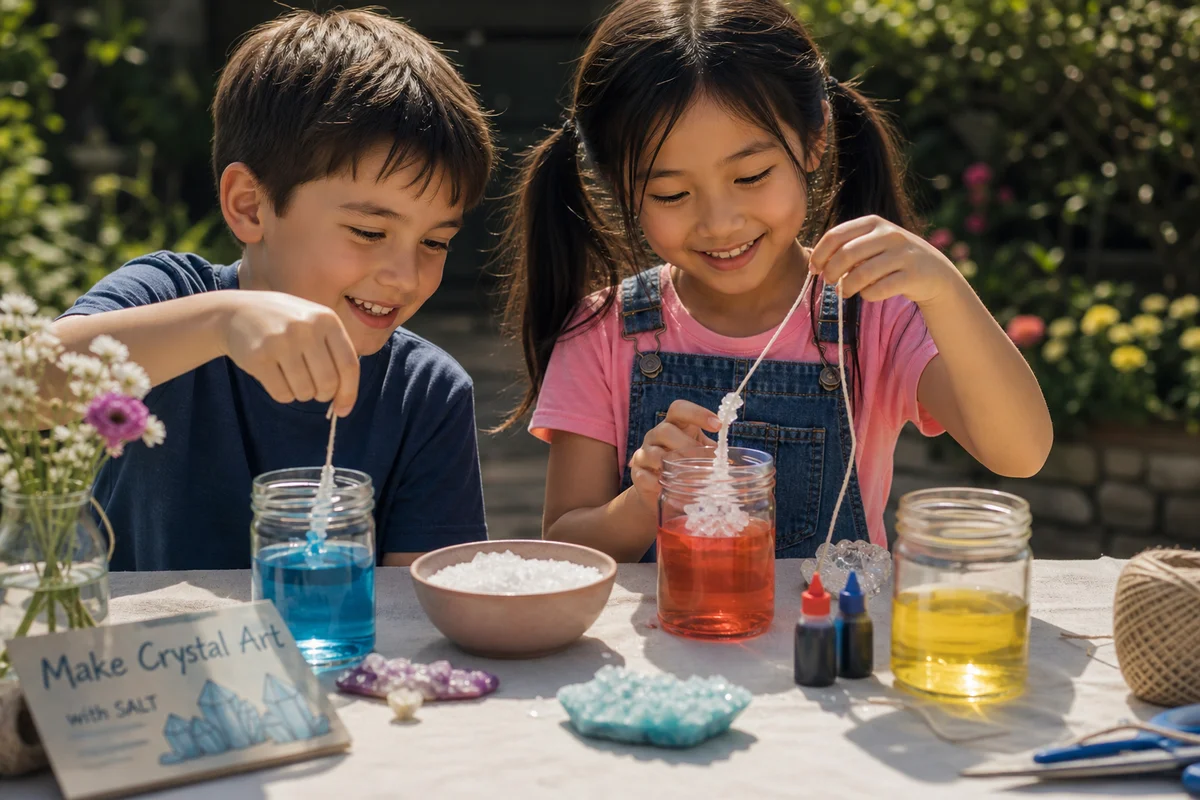
3. Crystal Zen Garden
Minimalist approach: a shallow tray of sand, a few carefully placed larger crystals, and a tiny rake for making patterns in the sand. Use selenite for this one since it's an indoor-only garden (remember, selenite dissolves in water, so no rain). This is surprisingly calming for kids who get overwhelmed or anxious. My friend's son uses his zen garden as a quiet-time activity after school.
4. Alien Planet Crystal Garden
This is Emma's next project. Black sand or dark soil, fluorescent minerals under a UV flashlight, weirdly shaped crystals (selenite wands indoors, or apophyllite if you can find it), and tiny alien figurines. The idea is to create something that looks like another planet. Pro tip: hack the crystal rainbow challenge activities and use the color-day structure to collect crystals for different alien planet zones — the blue zone, the red zone, the green zone. It's educational and absurdly fun.
A Few Tips I Wish Someone Had Told Me
- Let your kid lead the design. I had a "vision." Emma had a different one. Hers was better. Every time I tried to impose my layout, it looked worse.
- Tumbled stones only. Raw crystals look cool but they have sharp edges, they're harder to clean, and kids will chip them. Tumbled stones are smoother, safer, and they weather better outdoors.
- Take a photo on day one. The garden will change as your kid rearranges things. You'll want the "before" picture.
- Don't overwater. The succulents need almost nothing. The moss can handle dry spells. The crystals certainly don't care. Water once a week, maybe less.
- Make it portable if you rent. Use a container you can pick up and move. Our crate sits on the patio and comes inside during severe weather.
- Hot glue is your best friend. Twig house, agate slice anchors, fence posts — nearly everything got a dab of hot glue. It's not visible and it keeps things stable.
The Real Reason This Project Is Worth Your Weekend
Sure, the garden is pretty. Yes, it costs almost nothing. But here's what actually matters: Emma and I spent two evenings working on this together. No screens. No rushing. Just us, a pile of rocks, some dirt, and a hot glue gun. She told me about her day at school while she arranged crystals. I taught her about Mohs hardness while we picked which stones could go outside. She named the fairy house "Rose Cottage" after the rose quartz, and she checks on it every single morning.
That's worth a lot more than $22.47.
The garden is still out there, right now, catching the late afternoon light through those clear quartz pieces. Moose is sitting next to it. Emma is at school but will undoubtedly rearrange something when she gets home. And I'm sitting here writing this instead of scrolling Pinterest for more project ideas I'll never actually do.
Actually, wait. Emma just texted me from her friend's phone. She wants to make a second one — the alien planet version — this weekend. Guess I know what I'm doing on Saturday.
Related Guides
- Amethyst Crystal Guide: Meaning and Properties
- Essential Jewelry Storage Tips
- Clear Quartz: The Universal Crystal Guide
- Hematite: Why I Stopped Wearing My Hematite Ring
- Complete Crystal Guide: Identification and Meanings
- How to Cleanse and Charge Your Crystals: Methods That Actually Work
- How to Clean Crystals Without Ruining Them
Frequently Asked Questions
Can children's hands make fairies with their names inscribed in them?
Yes, many kids love to personalize their fairies by inscribing their names using gentle stone tools. It's an enchanting way to personalize the craft.
Which crystal types are best for making fairy garden elements?
Amber, citrine, and rose quartz are great for crafting as they offer a soft, magical look ideal for fairy gardens.
Do fairy gardens made by children have specific cleaning routines?
Mild soaps and soft cloth should be used to gently clean handcrafted fairy gardens. It's important to keep them dry after washing.
Can crystals be used to repel insects from kids' outdoor fairy gardens?
Crystals like clear quartz and citrine can repel negative energies that could attract pests. However, they are not a direct insect repellent but can contribute to a healthier environment.
What size of crystals is appropriate for making fairy garden houses for children's hands?
Small to medium-sized crystals, like tumbled stones, are perfect for children's hands. They should fit comfortably in their palms without being too large or heavy.
Understanding the Basics
This section covers important aspects of understanding the basics. For detailed information, please refer to the FAQ section below.
Key Factors to Consider
This section covers important aspects of key factors to consider. For detailed information, please refer to the FAQ section below.
Step-by-Step Instructions
This section covers important aspects of step-by-step instructions. For detailed information, please refer to the FAQ section below.
Common Mistakes to Avoid
This section covers important aspects of common mistakes to avoid. For detailed information, please refer to the FAQ section below.

Comments