Wire Wrapping Crystals: Your Very First Project Guide
Why Wire Wrapping Is the Perfect Starting Point
There's something genuinely satisfying about taking a raw stone and turning it into something wearable with nothing but wire and your hands. No torch required, no chemicals, no studio setup — just a pair of pliers and some patience. That's what makes wire wrapping such an approachable entry point for anyone curious about jewelry making.
The technique has been around for a remarkably long time. Artisans in the British Isles were creating twisted wire ornaments as far back as the Bronze Age, and the tradition continued through Roman and medieval European metalwork. What started as a purely functional way to hold stones evolved into an art form in its own right, with each culture adding its own decorative flourishes.
Today, wire wrapping remains one of the most accessible jewelry-making methods. You can start with a basic pendant and work your way up to intricate cage designs, tree-of-life pendants, and elaborate multi-stone pieces. The learning curve is gentle, and the cost of entry is low — which is exactly why it's the ideal first project for anyone new to handmade jewelry.
What You Actually Need to Get Started
Let's talk tools. You don't need a lot, but you do need the right things. A cheap pair of craft-store pliers will leave marks on your wire and frustrate you before you even finish your first wrap.
The Essential Three
Round-nose pliers are non-negotiable. These are the ones with tapered, cone-shaped jaws that let you create loops of different sizes depending on where on the jaw you place the wire. Spend a little more here — smooth, well-machined jaws make a visible difference in your finished work.
Chain-nose pliers (flat on the inside, tapered to a point) are your all-purpose workhorse. You'll use them for gripping wire, flattening crimps, opening and closing jump rings, and tucking in sharp wire ends. Look for ones with smooth inner jaws — serrated versions will scratch soft wire.
Wire cutters — flush cutters specifically — give you a clean, flat cut instead of a pinched point. The difference matters. A flush-cut end sits neatly against your work, while a pointed cut can snag on clothing or skin. Xuron makes reliable budget-friendly flush cutters that will last through hundreds of projects.
Wire Choices That Won't Trip You Up
For your very first project, use dead-soft copper wire in 20 or 22 gauge. Copper is affordable, easy to bend, and forgiving of mistakes. Dead-soft means it hasn't been hardened — it wraps smoothly and holds its shape once you've worked it a bit. Twenty-gauge is sturdy enough to hold its form as a pendant frame, while 22-gauge is better for the wrapping details.
Half-hard wire is another option — it's been partially stiffened, which can be helpful for structural elements like bails and frames. But for learning the basic wrapping motions, dead-soft is more forgiving. You can always work-harden your wire later by tapping it lightly with a nylon mallet or rubbing it with a cloth.
Avoid coated craft wire for your first real project. The coating can chip during wrapping, revealing bare metal underneath. Solid copper, brass, or sterling silver wire gives you a cleaner result.
Picking Your First Stone
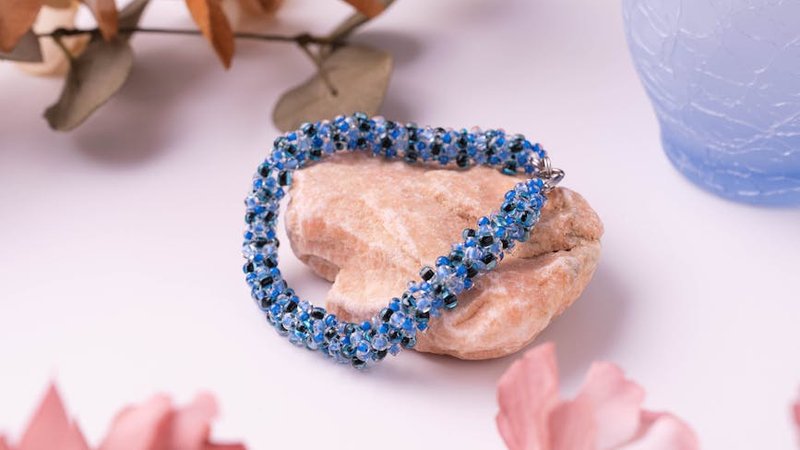
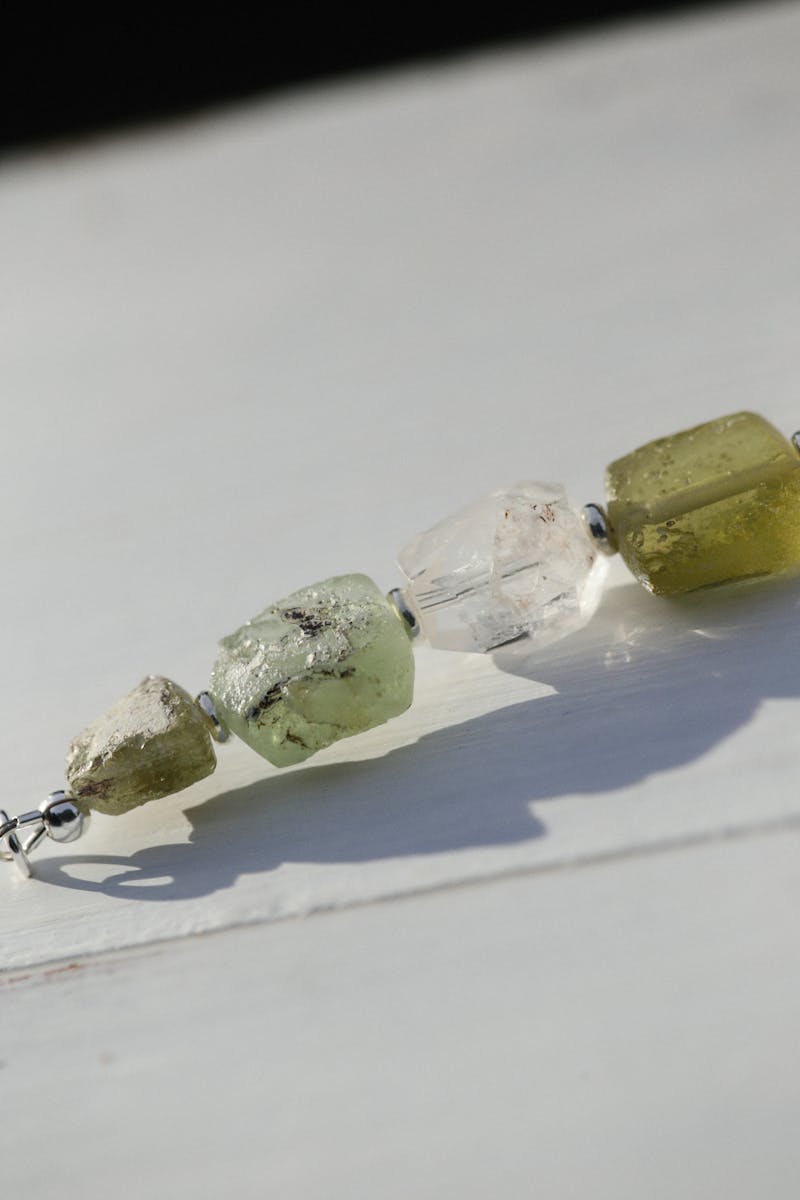
Flat or slightly rounded stones are the easiest to wrap. Tumbled stones with a broad face work beautifully — think agate slices, polished quartz, or river rocks. Avoid very small stones (hard to grip) and very large ones (need thicker wire and more experience).
Irregular shapes are actually easier than perfectly round ones for your first project, because the wire has natural anchor points to wrap around. A stone with a slightly asymmetric shape gives you something to work with.
Your First Wrap: A Basic Wrapped Pendant
Here's the project we'll walk through: a simple but elegant pendant where the stone sits in a wire frame with decorative wrapping holding it in place. This design takes most beginners about 30–45 minutes on their first attempt, and the result looks genuinely good — not "craft-project" good, but something you'd actually wear.
Step 1: Measure and Cut
Cut roughly 18–20 inches of your main wire (20-gauge dead-soft copper). This gives you enough length to form the frame, create the bail, and do the decorative wrapping with some margin for error. It's always better to have a few extra inches than to run short halfway through.
Also cut a separate piece of 24- or 26-gauge wire — about 12 inches — for the wrapping detail. The thinner gauge is easier to manipulate for tight coils and won't overwhelm the design.
Step 2: Form the Frame
Find the center of your 20-gauge wire. Place your stone against it and bend the wire gently around the stone's widest point, creating a U-shape that cups the bottom. Don't try to make it tight yet — you're just establishing the basic curve.
Now take both wire ends and bring them up along the sides of the stone, crossing them over the top. This creates a triangular frame with the stone sitting in the bottom. Use your fingers first to shape the curve, then refine with round-nose pliers for the top loop.
Step 3: Create the Bail
At the point where the two wires cross at the top, use your round-nose pliers to form a loop. This is your bail — the part the chain passes through. Make it large enough for your chain but not so large that the pendant sits awkwardly. A loop made near the tip of your round-nose pliers is usually about right.
Wrap one wire end around the base of the loop two or three times to secure it, then use your flush cutters to trim the excess. Tuck the cut end flat against the wrap with your chain-nose pliers so there are no sharp points.
Step 4: The Decorative Wrapping
Now take your thinner wire (24- or 26-gauge). Starting near one side of the frame, wrap it tightly around both the frame wire and the stone edge three to four times. This anchors the stone in place.
Continue wrapping across the front of the stone in whatever pattern appeals to you — tight parallel wraps, loose spirals, or even a simple zigzag. There's no single correct way to do this. The wrapping serves both a functional purpose (holding the stone) and a decorative one (adding visual interest).
Work across to the other side, keeping the wraps snug but not so tight that they cut into the stone or distort your frame. When you reach the opposite side, wrap around the frame wire a few times to secure, trim the excess, and tuck the end.
Step 5: Shape and Finish
Gently reshape the frame with your fingers if anything shifted during wrapping. Check that the stone sits securely and the bail loop is centered. Run your finger along all wire ends to make sure nothing is sharp.
If you're using copper and want to preserve the shiny look, give it a quick wipe with a jewelry polishing cloth. Some people prefer the look of copper as it naturally darkens over time — that patina is part of the charm of handmade pieces.
Common Mistakes That Aren't Failures
Wire kinks are probably the most common frustration for beginners. When you bend wire in one direction and then try to bend it back the opposite way, it creates a weak point that shows as a sharp kink. The fix is simple: plan your bends. If you need to change direction, make a small loop or curve instead of a sharp back-and-forth bend.
Wire marks from pliers happen when you grip too hard or use pliers with rough jaws. You can minimize this by wrapping a small piece of tape around the plier jaws, or by placing a scrap piece of cloth between the pliers and your work wire. Better tools also help — well-polished jaws leave fewer marks.
Gaps between the wire and stone are normal on your first few attempts. The stone doesn't need to be clamped in place — a small amount of movement is acceptable and even adds to the organic, handmade feel. If the gap bothers you, try using a slightly thinner gauge for the wrapping wire, which lets you make more wraps in the same space for a tighter hold.
Three Ways to Level Up After Your First Piece
Once you've completed a basic wrapped pendant, try these variations to build your skills progressively.
The cage wrap involves creating a full wire framework around the stone — front and back — with the wrapping visible on all sides. It's a more complex version of what you just did and produces a dramatic, statement-piece result. Start with larger stones for cage wraps, since they're easier to work around.
The woven wrap uses two wires worked together in a braiding or coiling pattern before being shaped around the stone. It takes more planning and patience, but the texture it creates is genuinely eye-catching. This is a good technique to try once you're comfortable handling wire and can make consistent wraps.
The tree-of-life pendant is a popular design where the wire is shaped into a tree silhouette with the stone representing roots or foliage. It requires good wire control and the ability to create multiple small branches from a single frame. It's more advanced, but if you've made two or three basic wrapped pendants, you likely have the skills to attempt a simplified version.
Building a Practice Habit That Sticks
The biggest advantage wire wrapping has over other jewelry techniques is that you can practice anywhere. Keep a small kit — a few pieces of wire, a pair of pliers, and a pocket full of tumbled stones — in your bag or on your desk. Five or ten minutes of wrapping during a lunch break or while watching something adds up fast.
Most people find that their first five to ten pieces look noticeably rougher than what they produce after a few weeks of regular practice. The muscle memory for consistent loops, even wraps, and clean wire finishing develops surprisingly quickly. The key isn't marathon sessions — it's short, frequent practice.
Keep your early pieces. They're a record of your progress, and many wire wrappers find that they actually prefer the organic, slightly imperfect quality of their first attempts once they've been making jewelry for a while. That handmade character is something mass-produced jewelry can never replicate.

Comments