Wire Wrapping Crystals: Your First Real Project
The Real Problem With Most Wire Wrapping Tutorials
Most wire wrapping guides start with "gather your supplies" and end with a photo of something that looks nothing like what you just made. The steps skip over the parts where your wire kinks, your crystal spins around, and the whole thing ends up in a tangled lump on your desk. This guide doesn't do that.
Wire wrapping crystals is one of those skills where the first 20 minutes feel hopeless, then something clicks around attempt number three. You don't need expensive tools. You don't need years of practice. You need someone to tell you what actually goes wrong and how to fix it before you throw the pliers across the room.
What You Actually Need (and What You Don't)
A lot of tutorials list 15 tools. You need four things:
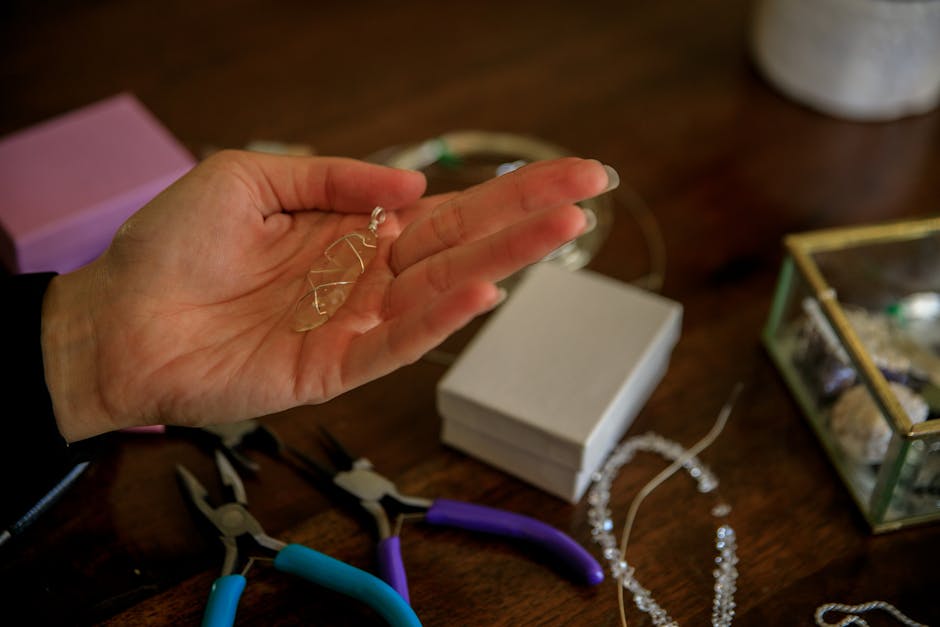
Round-nose pliers — These make the loops and curves. The tapered jaws let you control the size of your loops. Cheap ones work fine for learning; just make sure the jaws are smooth inside or they'll leave marks on your wire.
Chain-nose (flat) pliers — For flattening wire, tucking ends, and making sharp bends. Again, smooth jaws matter.
Wire cutters — Flush cutters are worth the extra dollar. They cut flat on one side, so you don't have sharp wire ends poking out.
Wire — Start with 20-gauge copper or brass. It's stiff enough to hold shape but soft enough to bend without tools breaking. Dead-soft temper bends easily; half-hard holds its shape better. For your first project, dead-soft 20-gauge copper costs about $8 for a 30-foot spool and gives you enough wire to make 10-15 pendants.
The crystal — Tumbled stones with an interesting shape work best for beginners. Avoid perfectly round beads (they slip out) and extremely thin crystal points (they snap). Something roughly the size of your thumbnail is ideal.
Understanding How Wire Actually Behaves
Before you touch the crystal, spend five minutes just bending wire. Seriously. Cut a 6-inch piece and make loops, coils, and random bends. You need to feel how the wire responds to pressure, how it work-hardens (gets stiffer as you bend it), and when it's about to snap.
Work hardening is the reason your wire suddenly becomes impossible to bend. Every time you bend metal, the internal structure gets more rigid. After 4-5 bends in the same spot, 20-gauge copper will feel like steel. If you need to bend it more, anneal it (heat it with a lighter until it glows dull red, then let it cool). Most beginners never anneal, which is fine — just cut fresh wire instead of fighting a piece that's been bent too many times.
The other thing wire does that nobody mentions: it has a "grain." Bend with the natural curve of the wire (unspool it first and notice which direction it wants to curl). Fighting the grain makes everything harder.
The Basic Wrap: Not a Pendant, Just a Grip
Forget about making something pretty for now. Your first goal is to make wire hold a crystal securely. That's it.
Cut about 18 inches of 20-gauge dead-soft copper. Find the middle of the wire and bend it into a V-shape. Place your crystal in the V so the wire sits against the widest part of the stone. Now pinch the two wire ends together above the crystal with your fingers.
Here's where most people mess up: they try to twist the wires together by rotating their wrist. That creates an uneven spiral. Instead, hold one wire steady with your flat pliers and wrap the other wire around it by pushing with your thumb. Three tight wraps, and the crystal should be caught in the loop below.
The crystal will probably spin or fall out. That's normal. Readjust and try again. This isn't failure — it's how you learn where the wire needs to sit against the stone's shape.
Building the Cage: A Practical Approach
Once you have the basic grip, you're going to build a simple cage. The concept is straightforward: create a frame that follows the crystal's contours, then use thinner wire to bind the frame together.
Switch to 24-gauge wire for the wrapping part. It's thin enough to wrap easily but strong enough to hold. Cut about 24 inches.
Take your 20-gauge frame wires (the V-shape you already made) and cross them at the top to form a bail (the loop that a chain goes through). Use your round-nose pliers to make a small loop at the crossing point. Wrap the tail of your 24-gauge wire around this loop 3-4 times to secure it.
Now work your way down. Wrap the 24-gauge wire around both frame wires, spiraling down toward the crystal. When you reach the stone, continue wrapping around it, spacing your wraps about 1/4 inch apart. At the bottom, cross the wrapping wire between the frame wires and spiral back up on the other side.
This creates a figure-eight pattern that's the backbone of most wire-wrapped pendants. Don't worry about it looking perfect. The organic, slightly messy look is actually the style — and it's much more forgiving than trying to make everything symmetrical.
The Bail: Where Function Meets Design
The bail is the part most beginners rush through, and it shows. A bad bail means your pendant hangs crooked, the wire digs into your chain, or the whole thing falls off.
After you've wrapped down to the bottom of the crystal and back up, both ends of your frame wire should be at the top. Take both wires and wrap them together 3-4 times just above the crystal. Then separate them and use your round-nose pliers to bend each one into a loop on opposite sides.
Use your 24-gauge wrapping wire to bind these loops together. The result is a double-loop bail that's centered and secure. Trim any excess wire with your flush cutters and use the flat side of your chain-nose pliers to crimp the cut end down so it doesn't snag.
The finished bail should be large enough to fit a 2mm chain but small enough that the pendant doesn't slide around too much. If you're making this to sell, 4-5mm internal diameter is a good standard.
Three Mistakes That Ruin Otherwise Good Wraps
Scratches on the crystal. Wire is harder than most tumbled stones. If you pull the wire tight across the crystal's surface, you'll leave marks. The fix is simple: place your wraps where the crystal's natural shape creates gaps, not across flat polished surfaces. If you can't avoid it, put a small piece of masking tape on the crystal where the wire crosses it.
Wire ends that poke out. This is both an aesthetic and safety problem. Always cut wire ends with flush cutters (flat side toward the piece), then use chain-nose pliers to press the cut end flush against the nearest wrap. Run your finger over the area — if you can feel a sharp point, it's not done.
Wrapping too tight or too loose. Too tight and the wire digs into the stone or warps under tension. Too loose and the crystal rattles around. The sweet spot is snug enough that you can't spin the crystal with your fingers, but not so tight the wire is visibly stressed. If the wire looks like it's being pulled apart at any point, loosen it slightly.
What to Make After Your First Successful Wrap
Once you've made one pendant that holds together and looks decent, you've passed the hardest part of the learning curve. From here, the skills build on each other naturally.
Try a wrapped loop pendant next — instead of a cage, you make a single wrapped loop at the top of the crystal and add a decorative spiral or bead cap. Then move on to a herringbone wrap, which uses multiple wires woven together for a braided look. Each new technique adds one or two moves to your repertoire, and within a couple of weeks you'll have a vocabulary of 8-10 wrapping patterns to combine however you want.
Wire wrapping rewards stubbornness more than talent. Keep the wire scraps from your failed attempts in a jar — they're proof of progress, and sometimes the tangled mess you almost threw away looks better than the thing you spent an hour on.

Comments