How to Wire Wrap a Crystal Point: Complete Beginner Tutorial
Wire wrapping is one of those jewelry-making techniques that looks insanely complicated until you actually try it — and then it clicks. No soldering, no glue, no fancy equipment. Just wire, your hands, and a crystal. That's the beauty of it. For irregularly shaped stones like crystal points, wire wrapping isn't just a creative choice — it's practically the only option. You can't bezel-set a raw quartz point the way you'd set a cabochon. The tapering shape, the uneven edges, the random width — traditional settings would cost a fortune to custom-make. Wire wrapping lets you work with the stone exactly as it is.
I picked up wire wrapping about two years ago, mostly because I kept buying raw crystals at gem shows and had absolutely no idea what to do with them. They sat in a drawer for months. Then I watched a five-minute tutorial and thought, "Wait, that's it?" It really is that accessible. But there's a big difference between a passable wrap and one that looks professional and holds up over time. That's what I'm going to walk you through here.
What You Need to Get Started
The biggest mistake beginners make is buying the wrong wire. Seriously — I once bought a spool of aluminum craft wire from a dollar store thinking I was being thrifty. It was so soft that my pendant bent into a sad little rainbow shape the first time I wore it. Lesson learned. Here's what actually works:
Wire
Dead-soft copper wire is your best friend as a beginner. Copper is affordable, malleable, and looks gorgeous when it oxidizes to that warm bronze tone. You want dead-soft temper (not half-hard) because it's easier to shape and manipulate. Here are the gauges you'll need:
• 20-gauge round copper wire — This is your structural wire, the bones of the pendant. It holds the crystal in place and forms the bail (the loop that goes through your chain). You'll need about 15-20 inches per pendant depending on the crystal size. A 30-foot spool costs around $8-12 on Amazon.
• 26-gauge round copper wire — This is your wrapping wire, used for all the decorative spirals and coils that secure everything. A 50-foot spool runs about $5-8.
• Optional: 18-gauge copper wire — If you're wrapping a larger, heavier crystal (over 2 inches), bump up to 18-gauge for the frame. It costs roughly the same as 20-gauge.
Brands I trust: Beadsmith and ParaWire are both solid choices. Beadsmith is easier to find locally. ParaWire has more color options if you want to get fancy later.
Tools
You don't need much, but the right tools make a huge difference in how clean your finished piece looks:
• Round-nose pliers ($8-15) — For making loops and curves. The tapered jaws give you different size options depending on where you grip. Beadsmith makes a decent budget pair.
• Chain-nose pliers ($8-15) — Flat on the inside, tapered. Use these for gripping wire flat, tucking in sharp ends, and making crisp bends. Xuron 4-in-1 pliers ($20) combine chain-nose, round-nose, and cutter in one tool — great if you're traveling or working in a small space.
• Wire cutters ($7-12) — Flush cutters are ideal. They cut flat on one side so you don't have ragged wire ends poking out. Xuron or Beadsmith both work.
• Nylon-jaw pliers ($10-14) — Optional but amazing for straightening bent wire without scratching it. I didn't buy these until my third project and immediately regretted waiting.
Total startup cost: roughly $35-60 for everything, and most of it will last years.
The Crystal
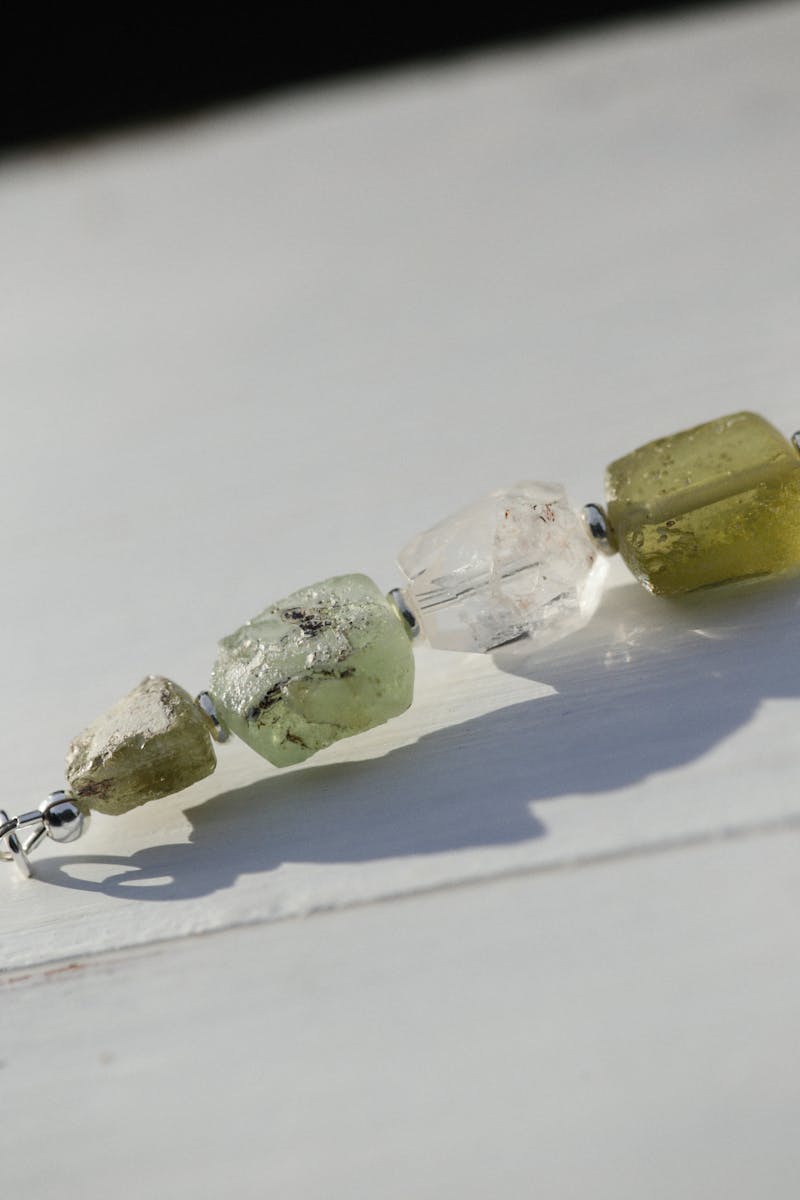
Any crystal point works — quartz, amethyst, citrine, tourmaline. The ideal size for a first project is 1 to 1.5 inches long. Anything bigger gets unwieldy while you're learning, and anything smaller is fiddly. Look for a point that's roughly symmetrical when viewed from the front, with a natural taper. You can find tumbled points at craft stores for $3-8, or raw points online for $5-15.
Step-by-Step: How to Wire Wrap a Crystal Point
Step 1: Cut and Straighten Your Wire
Cut about 18 inches of your 20-gauge copper wire using flush cutters. Copper wire comes coiled, so it'll be curvy. Hold one end with your chain-nose pliers and gently pull the wire through nylon-jaw pliers (or just between your fingers) a few times until it's reasonably straight. It doesn't need to be ruler-perfect — a slight curve actually looks organic and nice in the final piece.
Now cut about 3-4 feet of your 26-gauge wrapping wire. You'll go through more wrapping wire than you'd expect. Don't skimp here; running out mid-wrap and having to start a new piece is annoying and leaves a visible joint.
Step 2: Create the Frame and Bail
Take your 18-inch piece of 20-gauge wire and find the center point. Grip it with round-nose pliers about 1 inch from the center and bend both sides upward to form a U shape. This U will cradle the bottom of your crystal point.
Now take the two wire ends and cross them at the top, forming an X. Use your round-nose pliers to grab the crossing point and wrap one end around the other 2-3 times to secure it. Then use your round-nose pliers to bend the longer remaining wire into a loop (the bail). Wrap the tail around the base of the loop 2-3 times to close it. Snip the excess tail and use chain-nose pliers to tuck the sharp end flat against the wrap.
What you should have now: a U-shaped frame with a closed loop at the top. The opening of the U should be wide enough to slide your crystal point into — roughly 60-70% of the crystal's width at its widest point. The wire will spread a bit when you start wrapping, so start slightly narrower than you think you need.
Step 3: Position the Crystal
Slide your crystal point into the U-shaped frame, point facing up. The bottom of the crystal should sit in the curve of the U, and the frame wires should come up along both sides. Hold everything together with your non-dominant hand. This is where it gets a little awkward — you're basically holding a crystal between two wire prongs while trying to wrap with your other hand. It feels clumsy at first. It gets better.
Position the crystal so there's about 1/4 to 1/2 inch of wire extending above the tip of the crystal. This extra wire will get folded over to lock the crystal in place.
Step 4: Start Wrapping — The Base
Take your 26-gauge wrapping wire and make a small hook at one end (just bend the last 1/4 inch back on itself with chain-nose pliers). Hook it around one of the frame wires just below where the crystal's widest point is, then wrap it around that frame wire 3-4 times, working upward. The little hook prevents the wrapping wire from sliding off while you work.
After your initial wraps, cross the wrapping wire to the other frame wire and wrap 3-4 times there. Keep your wraps tight and close together — gaps between wraps look messy and don't hold as securely. Aim for wraps that are roughly touching each other, like coils on a spring.
Step 5: Secure the Top — Fold and Wrap
Once you've wrapped up past the crystal's widest point and the stone feels stable, take both frame wires and bend them over the top of the crystal point. Use your chain-nose pliers to crimp them down snug against the crystal's surface. Don't just lay them on top — press them into any natural grooves or facets of the crystal so they grip.
Now continue wrapping with your 26-gauge wire, working over the folded frame wires. This locks the crystal from the top. Wrap 5-6 times, then spiral your way back down, crossing between the frame wires every 3-4 wraps. Keep going until you've covered the area from about 1/3 inch above the widest point to 1/3 inch below it.
When you're happy with the coverage, snip the wrapping wire and use chain-nose pliers to tuck the end under the last wrap so nothing pokes out. This is important — a stray wire end will catch on your sweater and eventually unravel the whole thing. Ask me how I know.
Step 6: Shape the Bottom and Finish
The bottom of the U-frame probably has two wire tails sticking out below the crystal. You have options here: twist them together for a decorative spiral, curl them outward into small scrolls, or just trim them short and tuck them in. For a clean first attempt, I'd suggest twisting them together 2-3 times, then curling the end into a small flat spiral using round-nose pliers. It looks intentional and adds visual weight to the bottom of the pendant.
Give the whole piece a gentle squeeze with nylon-jaw pliers to snug everything up. Check that the crystal doesn't rattle or shift. If it does, add a few more wraps at the loose spot. Thread a chain through the bail and hold it up — you just made a wire wrapped crystal pendant.
Common Mistakes That Will Make You Want to Throw Your Pliers
After making probably 40 or 50 of these (no, seriously, I got a little obsessed), I've made every mistake in the book. Here are the ones I see most often, including the ones I learned the hard way:
Using wire that's too hard. Half-hard temper sounds like it'd be better because "hard" seems more durable, right? Wrong. Half-hard wire fights you every step of the way. Your wraps won't sit flat, your loops will be lopsided, and your hands will cramp. Dead-soft is the move. It work-hardens naturally as you bend and wrap it, so by the time you're done, it's plenty sturdy.
Wrapping too tight. Yes, there is such a thing. If you pull your wrapping wire with too much tension, it'll actually cut into softer stones (selenite, calcite) and even dent the copper frame wire. You want firm contact, not wire-strangling-rock contact. Think "gentle hug," not "python squeeze." I cracked a beautiful piece of rose quartz this way and I'm still not over it.
Not leaving enough wire for the bail. If your loop at the top is too small, you can't fit a chain through it. Too big, and it looks disproportionate. Aim for a loop that's about 1/4 inch in diameter — big enough for a standard chain but not floppy. Also, make sure the bail is centered over the crystal. An off-center bail makes the pendant hang crooked when you wear it, which drives me absolutely insane.
Running out of wrapping wire mid-project. This always happens right at the most visible part of the pendant, and the join where you start a new piece of wire is always noticeable. Cut generously — a 3-4 foot piece of 26-gauge per pendant. If you have some left over, that's fine. Better to waste 6 inches of wire than have an ugly splice in the middle of your wrap.
Ignoring sharp ends. Every time you cut wire, there's a sharp tail. Tuck it. Every single time. I once wore a pendant to a concert and spent the entire evening with a tiny copper wire slowly jabbing into my collarbone. Not fun. Chain-nose pliers and a firm press will flatten the end against an adjacent wrap. Done.
Once You're Comfortable: Level Up Your Wire Wrapping
After you've made a few basic wraps and feel like you've got the hang of it, there are some really fun ways to make your wire wrapped pendants more interesting:
Add small beads. Before you start wrapping, thread 2-3 small beads (4mm or 6mm) onto your wrapping wire. As you wrap, position the beads at intervals along the frame — maybe one on each side of the crystal, or a cluster at the bottom. Copper beads, tiny glass seed beads, or even chip beads look amazing. The beads get locked in place by the wrapping wire, so no glue needed. I love using tiny turquoise chip beads with clear quartz points — the color pop is incredible.
Double-wrap technique. Instead of using two frame wires and one wrapping wire, use four frame wires (two pairs) and weave them together as you wrap. This creates a braided, basket-like effect that's much more visually complex. It's not as hard as it sounds — you're essentially alternating which pair of wires you wrap around every few coils. It does eat through wrapping wire faster, so budget about 5-6 feet of 26-gauge for this style.
Play with patina. Raw copper oxidizes on its own over time, but you can speed up the process and get a more controlled result using liver of sulfur ($6-8 for a small container). Dip your finished pendant in a solution, let it darken, then polish the high spots with fine steel wool. The dark patina settles into the crevices of the wire wraps and makes all the texture really pop. It's the difference between "nice homemade jewelry" and "wait, you made this?"
The First One Always Looks Weird (And That's Okay)
My very first wire wrapped pendant was, to put it charitably, a disaster. I used 24-gauge wire that was way too thin, so the whole thing flopped around like a wet noodle. My wraps were uneven — some tight, some with visible gaps. The bail was off-center. The crystal sat crooked. I wrapped it with aluminum wire from a craft store that turned my neck green within an hour of wearing it. It was objectively terrible.
But I was so proud of that ugly little thing. Because I made it. With my hands. From a piece of wire and a rock. There's something genuinely satisfying about that.
The second one was better. The third one was decent. By the fifth, someone actually complimented it and asked where I bought it. That was a pretty great feeling. Wire wrapping has a surprisingly fast learning curve — most people get to "looks genuinely good" territory within 3-5 attempts. The fundamentals (frame, bail, wrap, tuck) are simple. It's the small details — consistent wrap spacing, smooth curves, clean wire ends — that separate okay from impressive, and those come with repetition.
Set aside an afternoon, grab some cheap copper wire and a crystal you don't mind "practicing" on, and just go for it. The worst that happens is you unwind it and try again. Copper wire is incredibly forgiving — you can straighten and reuse it multiple times before it gets too work-hardened and brittle. There's really no way to fail at this. You just get better.

Comments