Why Does Sterling Silver Turn Black, Anyway?
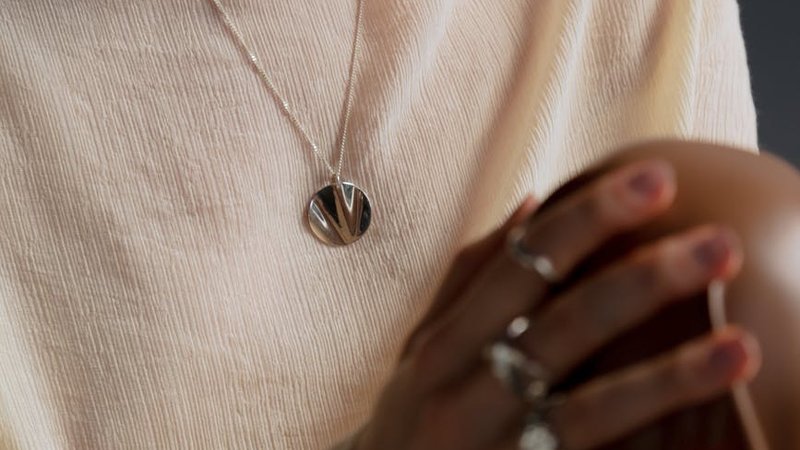
A few months ago, I pulled my favorite sterling silver chain out of my jewelry box and it looked awful — dark, dull, almost black in some spots. I'd been meaning to clean it for weeks, and in a moment of internet-fueled confidence, I grabbed a tube of whitening toothpaste and went to town. Big mistake. What came out of that session was a necklace covered in tiny micro-scratches, catching light in all the wrong ways. The tarnish was gone, sure, but the surface was permanently damaged. I learned the hard way that not all "life hacks" for cleaning silver are created equal, and I'm writing this so you don't make the same expensive mistake.
Why Does Sterling Silver Turn Black, Anyway?
Before we get into how to fix tarnished silver, it helps to understand why it happens in the first place. Spoiler: it's not a defect. Your jewelry isn't falling apart.
Sterling silver is 92.5% pure silver mixed with 7.5% other metals (usually copper). The copper makes the silver durable enough for everyday wear, but it's also the reason your jewelry darkens over time. When silver comes into contact with sulfur compounds in the air — and trust me, they're everywhere — a chemical reaction happens. The sulfur bonds with the silver to form silver sulfide, and that dark layer on your necklace? That's exactly what it is. It's called tarnish, and it's a completely natural process.
Sweat, lotions, perfume, and even some foods accelerate the reaction. If you wear your silver bracelet to the gym or sleep with it on, it's going to tarnish faster. That's just chemistry doing its thing. The good news is that tarnish is surface-level. It's not eating through your metal. With the right techniques, you can bring your pieces back to life without damaging them.
Method 1: Silver Polishing Cloth — The Daily Maintenance Workhorse
If I could only keep one silver-cleaning tool, it would be a good silver polishing cloth. No question.
A silver cloth is exactly what it sounds like — a soft cloth impregnated with polishing compounds and anti-tarnish agents. You just rub your jewelry with it, and the tarnish comes off. No water, no chemicals, no mess. I keep one in my nightstand and another in my bag, and I give my rings a quick wipe every few days after taking them off.
This is the safest method by far. There's no risk of scratching, no harsh chemicals involved, and it's perfect for pieces with light tarnish — that slightly yellowish or dull look that develops after a week or two of wear. For jewelry with gemstones, enamel, or delicate details, a silver cloth should be your go-to. It won't loosen settings or damage softer stones.
One thing to know: these cloths do get dirty over time. Once the polishing compound is used up (usually after several months of regular use), the cloth stops working as well. Don't wash it — that removes the active ingredients. Just replace it. They're inexpensive, and a good one will last through hundreds of cleanings.
Method 2: Warm Soapy Water — For That Medium-Level Dullness
When your silver has moved past "slightly dull" into "definitely discolored" territory, warm soapy water is your next step. This is what I use on my rings and earrings every couple of weeks, and it handles moderate tarnish beautifully.
Here's how to do it right: fill a bowl with warm (not hot) water, add a few drops of mild dish soap — nothing with citrus or heavy degreasers — and let your jewelry soak for about five minutes. Then take a soft-bristled toothbrush (a baby toothbrush works great) and gently scrub the surface, paying extra attention to crevices, chain links, and around any stone settings. Rinse thoroughly under running water and dry immediately with a soft, lint-free cloth.
The key word here is gently. You're not trying to scrub away the metal. The soap helps break down oils and grime that contribute to tarnish, and the soft bristles can reach spots that a cloth can't. I've found this method works especially well on textured pieces like hammered silver or rope chains where tarnish loves to hide in the grooves.
For pieces with pearls or opals, skip the soaking and just dip briefly — these stones are porous and don't like prolonged water exposure. Everything else, though, is fair game.
Method 3: The Baking Soda and Aluminum Foil Trick — Heavy Duty Restoration
Okay, this is the method that blew my mind the first time I tried it. If you've got a piece of silver that's basically black — maybe an old bracelet you found in a drawer, or a ring you haven't worn in a year — this is the nuclear option. And it actually works through real chemistry, not just elbow grease.
Line a glass or ceramic bowl with aluminum foil (shiny side up). Place your tarnished silver jewelry directly on the foil. Pour in boiling water — enough to submerge the pieces. Add one tablespoon of baking soda and a pinch of salt. You'll probably see some fizzing and bubbling. That's the reaction happening. Let it sit for five to ten minutes.
Here's what's going on: the baking soda creates an alkaline solution that, combined with the aluminum and salt, triggers an electrochemical reaction. The silver sulfide (the black tarnish) transfers from your jewelry onto the aluminum foil. When you pull your piece out, it should look dramatically different — like someone hit a reset button. Rinse it clean, dry it off, and give it a quick buff with your silver cloth.
This method works surprisingly well on heavily tarnished pieces, and it's satisfying to watch the tarnish literally migrate to the foil. A few caveats, though: don't use this on pieces with soft gemstones (turquoise, amber, coral) because the boiling water can damage them. And if your jewelry has an intentional patina or oxidized finish (like a lot of artisan silver), this will strip that right off too.
Method 4: Commercial Silver Cleaner — Fast but Use with Caution
There's no denying it — commercial silver cleaning dips and creams are the fastest way to clean silver. You dunk your jewelry in the liquid for a few seconds, pull it out, rinse, and it looks like new. I keep a bottle around for emergencies (like when I need to wear a piece tonight and don't have time for the baking soda method), but I don't use it as my regular go-to.
These products work because they contain strong chemicals — usually some form of acid or thiourea — that dissolve silver sulfide on contact. The problem is that they don't discriminate. They'll remove tarnish, but they can also strip microscopic layers of silver over time, and they can damage certain stones, especially porous ones like turquoise, lapis, and pearls. Some dips will also eat away at any patina or antique finish.
If you do use a commercial cleaner, follow the instructions exactly. Don't leave your jewelry soaking longer than recommended. Rinse it thoroughly — and I mean really thoroughly — under running water. Any chemical residue left on the surface will actually make your jewelry tarnish faster next time. Then dry and polish with a soft cloth.
I'd recommend silver dip for solid sterling silver pieces without stones, or with hard stones like diamonds and sapphires. For anything delicate, vintage, or with soft stones, stick to the gentler methods above.
What You Should Never, Ever Do to Silver Jewelry
After my toothpaste disaster, I did a deep dive into silver care and found out that a lot of the "tips" floating around online are genuinely harmful. Here's what you need to avoid:
Toothpaste
I know, I know — every blog says "just use toothpaste." Don't. Toothpaste contains abrasive particles (silica, baking soda, or aluminum oxide depending on the brand) designed to scrub plaque off teeth. Those same particles will leave microscopic scratches all over your silver. On polished pieces, it creates a dull, hazy finish. On pieces with a mirror finish, the damage is even more obvious. It might look okay under bathroom lighting, but take that piece outside into natural light and you'll see what I mean. Please, learn from my mistake.
Ultrasonic Cleaners
Ultrasonic cleaners use high-frequency sound waves to agitate a cleaning solution. They're great for gold and diamonds, but they can be dangerous for silver jewelry with set stones. The vibration can loosen prongs, shift stones, and even crack fragile gems over repeated use. If your silver ring has a diamond, it might be okay occasionally — but for anything with softer stones, glue-set pieces, or vintage jewelry, I'd skip it entirely.
Bleach
This one should be obvious, but I've seen people suggest it in forums. Bleach will literally corrode silver. It attacks the copper in the alloy, causing pitting, discoloration, and structural weakness. A single exposure can permanently damage a piece. Keep your silver far away from bleach, chlorine (including swimming pools), and any harsh household chemicals.
How to Prevent Tarnish in the First Place
Cleaning tarnished silver is satisfying, but preventing it in the first place is even better. After years of trial and error, here's what actually makes a difference:
Wipe after wearing. This is the single most effective thing you can do. When you take your jewelry off at the end of the day, give it a quick rub with a soft, dry cloth. You're removing the oils, sweat, and residue that fuel the tarnishing process before they have time to react with the silver. It takes ten seconds and dramatically extends the time between deep cleanings.
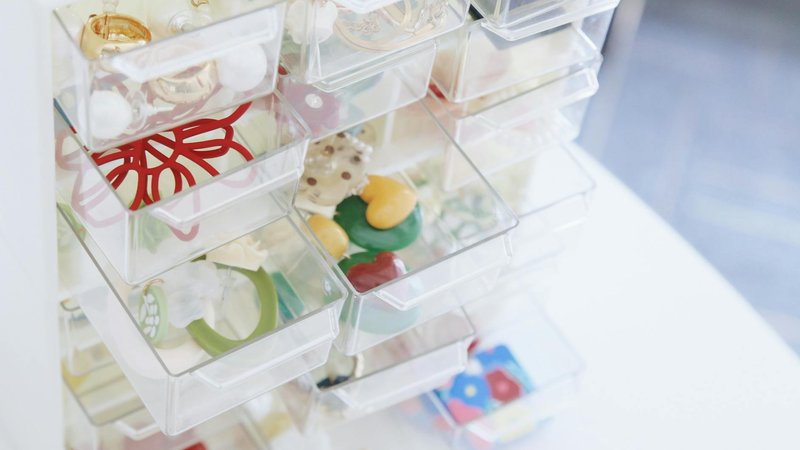
Store in airtight bags. Tarnish needs sulfur and moisture to form. Cut off its air supply and you cut off the tarnish. I keep my silver pieces in individual ziplock bags with the air squeezed out. It's not glamorous, but it works. Anti-tarnish bags are even better — they're lined with materials that actively absorb sulfur compounds.
Add anti-tarnish strips or silica packets. Those little silica gel packets that come in shoe boxes and pill bottles? Keep them. Toss them into your jewelry box or storage bags. They absorb moisture, which slows down tarnish. Anti-tarnish paper strips work even better — they're treated with compounds that neutralize sulfur gases in the air. Both are cheap and last for months.
Keep it out of the bathroom. I know it's convenient to take your jewelry off by the sink, but bathrooms are humidity nightmares. All that steam from showers creates the perfect environment for tarnish. Store your silver in a dry area — a bedroom drawer, a dedicated jewelry box on your dresser, anywhere that isn't basically a sauna.
Put jewelry on last. Perfume, hairspray, lotion, and makeup all contain chemicals that accelerate tarnishing. Make putting on your silver the last step before you walk out the door, and take it off first when you get home.
Silver-Plated vs. Sterling Silver — Why It Matters for Cleaning
This is a critical distinction that a lot of people miss. If you're cleaning silver-plated jewelry, you need to be extra careful.
Sterling silver (usually stamped "925" or "Sterling") is solid silver alloy through and through. You can polish it, scrub it (gently), and use the baking soda method without worrying about wearing through the metal. It's durable.
Silver-plated jewelry, on the other hand, is just a thin layer of silver over a base metal (often brass or copper). That silver layer can be incredibly thin — sometimes just a few microns. Aggressive cleaning, especially with polishing compounds or the baking soda method, can wear right through the plating and expose the base metal underneath. Once that happens, the piece is basically ruined. There's no way to re-plate it at home.
For plated pieces, stick to the gentlest methods only: a soft cloth and warm soapy water. Don't scrub. Don't use chemical dips. And honestly, if your plated jewelry is heavily tarnished, it might be time to replace it rather than trying to restore it. Sterling silver is worth investing in proper care. Plated pieces have a shorter lifespan by nature — and that's okay.
The Bottom Line
Taking care of sterling silver isn't complicated, but it does require knowing what to do — and more importantly, what not to do. A silver polishing cloth for daily touch-ups, warm soapy water for regular maintenance, baking soda and foil for the heavy jobs, and commercial cleaner for emergencies. That's really all you need.
Avoid toothpaste, ultrasonic cleaners, and bleach at all costs. Prevent tarnish by wiping your pieces after wearing, storing them properly, and keeping them dry. And always check whether you're dealing with sterling silver or silver plate before you start cleaning — the right technique on the wrong type of jewelry can do more harm than good.
Your silver jewelry can last a lifetime if you treat it right. And unlike my poor scratched-up necklace (which I still wear, by the way — the scratches remind me to do my research first), yours can stay looking beautiful for years to come.

Comments