How to String Beads Like a Pro: Essential Techniques
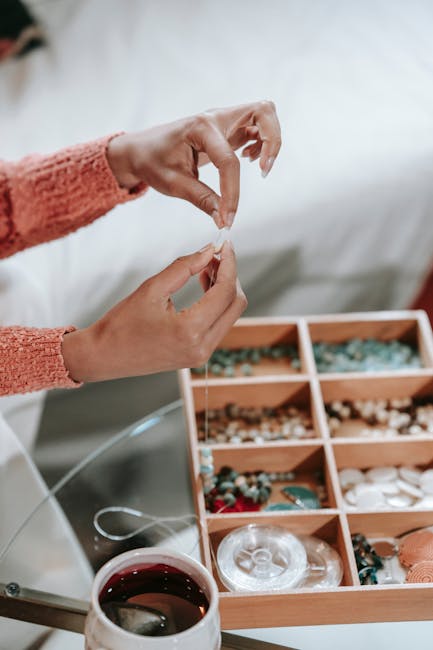
Why Your Strung Jewelry Falls Apart (and How to Stop It)
There's a specific kind of frustration that hits when you finish a bracelet, put it on, and the clasp gives way an hour later. Or worse — you give it to someone and it breaks while they're wearing it. The problem usually isn't your design sense. It's one of three things: wrong thread, wrong finishing, or wrong tension.
This guide covers the stringing techniques that hold up to actual wear, not just Instagram photos. I've broken it down by project type because the right method for a chunky gemstone necklace isn't the same as what you need for a multi-strand seed bead bracelet.
Picking the Right Stringing Material
This is the decision that determines whether your jewelry lasts a month or a decade. Here's the practical breakdown:
Beading wire (49-strand) — The default choice for most projects. It's actually dozens of tiny stainless steel wires braided together inside a nylon coating. The "49-strand" part matters: 7-strand wire is cheaper but kinks permanently. 49-strand flexes and recovers. Use 0.018-inch diameter for most bead sizes (4-8mm). Use 0.024-inch for anything heavier than 10mm or if you're making something that needs to drape (long necklaces). A 30-foot spool of good 49-strand wire runs about $12-15.
Nylon thread (size D or E) — The traditional choice for pearl knotting and seed bead work. Size D handles beads with 1mm+ holes; size E is thinner for smaller beads. Nylon stretches over time, which is why you always leave it to rest overnight before finishing the piece (more on this later). Cost: about $4 for a 100-yard spool.
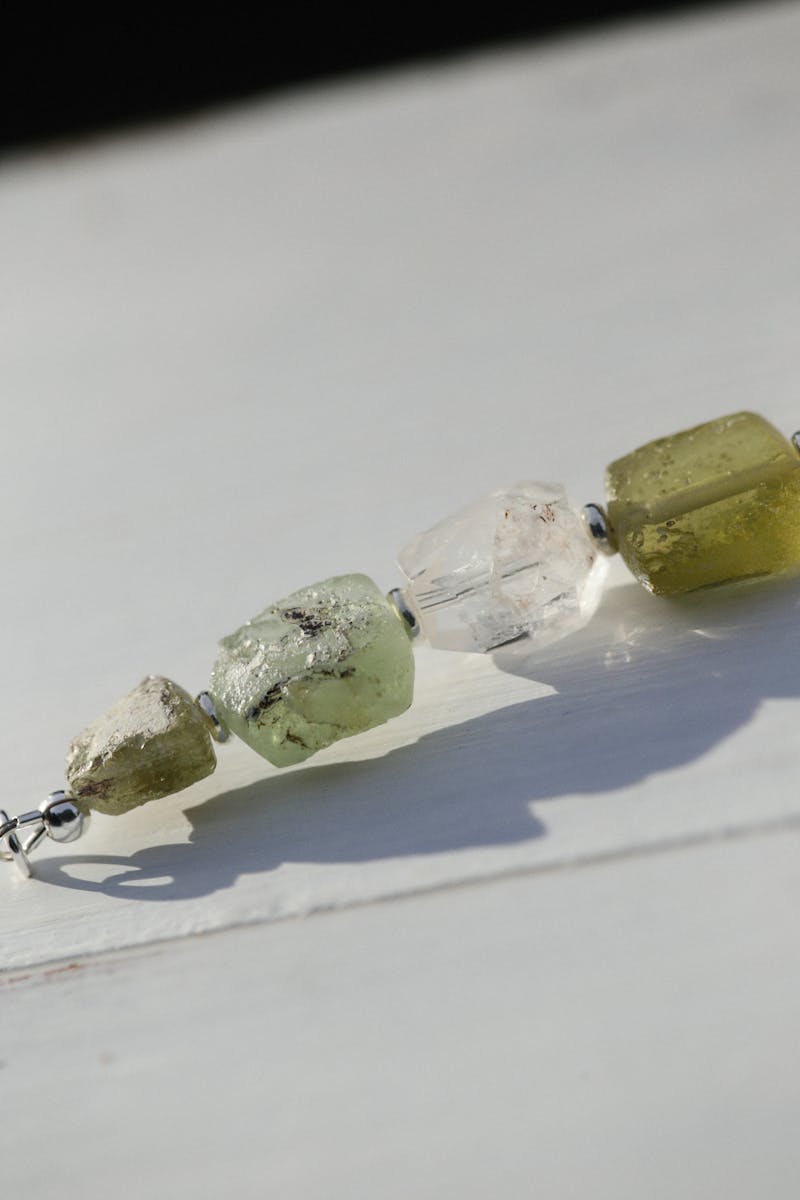
Silkon thread — A nylon-coated multifilament that knots like thread but has the abrasion resistance of wire. Good for heavy glass beads and natural stone. About $6 for a 50-yard spool.
Elastic cord (1mm stretch) — Only for stretchy bracelets. Use the 1mm size, not the 0.5mm stuff that snaps if you look at it wrong. Pre-stretch it by pulling it taut 10 times before stringing, then use a surgeon's knot with a drop of superglue on the knot. Elastic has a shelf life of about 2-3 years before the rubber degrades, so it's not ideal for heirloom pieces.
Waxed linen cord — For macrame, wrapping, and anything where the cord is part of the design. It comes in a range of thicknesses from 0.5mm to 2mm. The wax coating helps it grip itself, which is useful for knot-based closures. About $8-10 for a 100-yard roll.
The Crimp: The Most Important 10 Seconds of Your Project
A crimp bead is a tiny metal tube that you squash flat to secure the wire to a clasp. Done right, it holds permanently. Done wrong, it's a time bomb.
Use crimp tubes, not crimp beads. Tubes are cylinders; beads are round. Tubes distribute pressure evenly when you squash them, so they hold better. Size 2x2mm works with 0.018-inch wire; size 2x3mm for 0.024-inch.
The actual crimping process takes three steps: string the wire through the crimp tube, through the clasp loop, and back through the crimp tube so you have a small loop. Position the crimp tube about 1-2mm from the clasp — any gap bigger than that looks sloppy and puts stress on the wire. Use crimping pliers (not regular flat pliers) to compress the tube into a U-shape with the inner jaw, then fold it over with the outer jaw.
A properly crimped connection should survive 15-20 pounds of pull force. If you don't have crimping pliers, you can use chain-nose pliers in a pinch, but the connection will be weaker and the crimp will look squashed rather than folded.
Tension: The Silent Killer of Good Stringing
Here's what almost nobody tells you about tension: it changes after you finish the piece. Beading wire relaxes by about 2-3% over the first 24 hours. Nylon thread can stretch up to 5%. If you string everything tight and finish immediately, you'll end up with a bracelet that was snug when you made it and loose the next day.
The workaround: string your beads, add the second crimp but don't crimp it yet. Let the piece sit for a few hours (overnight is ideal). Then hold the piece at the tension you want, pull the wire taut through the loose crimp, and crimp it. This takes patience but it's the difference between "fits perfectly" and "falls off."
For pieces you need to finish immediately (because you're making them to sell at a market today, for instance), pre-stretch nylon thread by pulling it between your hands until it stops elongating — usually 8-10 firm pulls. Beading wire doesn't need pre-stretching but does benefit from the rest period.
Knotting Between Beads: The Traditional Method
Knotting serves two purposes: it keeps beads from rubbing against each other (important for pearls and soft stones like turquoise), and it means if the string breaks, you only lose one bead instead of the whole strand.
You can knot with a tool called an awl (or a tweezers, or a specially designed knotting tool), or you can use the two-needle method which is faster once you learn it. The tool method goes like this: string a bead, make a loose overhand knot, insert the awl into the knot, push the knot down until it's snug against the bead, remove the awl while tightening the knot. Repeat for every bead.
The two-needle method threads both ends of a long piece of cord through each bead, then ties a knot between beads using the two tails. It's faster and produces more consistent knots, but it's harder to learn from text. Look for a video on "pearl knotting two needle method" — the visual makes it click immediately.
Knot size matters more than you'd think. Too small and the bead slides over it. Too big and it looks sloppy. The knot should be large enough that you can feel a slight bump when you run your finger along the strand, but not so large it creates visible gaps between beads.
Multi-Strand Stringing: Keeping Things Aligned
Multi-strand necklaces look impressive but they introduce a new problem: the strands need to lie flat against each other. If one strand is even 1/4 inch longer than the others, the piece won't drape properly.
String all strands on the same day, using the same tension. Measure each strand by draping it over your intended clasp and marking the length with a binder clip before you start stringing beads. Use bead boards with graduated channels to keep track of your layout.
For 3-5 strands, use a multi-strand clasp or a cone finding that gathers all the strands into a single point. For more than 5 strands, consider using a bead-weaving technique like peyote stitch instead — it produces a similar visual effect with a single thread.
Finishing Techniques That Actually Last
The weakest point in any strung piece is the connection between the stringing material and the clasp. Beyond basic crimping, there are two methods worth learning:
French wire (gimp) — A tiny coiled wire that covers the stringing material where it meets the clasp. It protects the wire from abrasion at the stress point and looks finished. Thread your stringing wire through the French wire, then through the crimp and clasp. The coil should sit between the last bead and the crimp.
Crimp covers — Small metal beads that snap over a finished crimp tube to disguise it. They make the crimp look like a regular metal bead. Use them when the crimp would otherwise be visible in the design. Size them to match your crimp tube (3mm cover for a 2x2mm crimp).
For thread-based projects, finish with a bead tip: a small metal cup with a hook that covers your knot. Tie the knot inside the cup, add a drop of glue (G-S Hypo Cement works well), and close the cup with chain-nose pliers.
A Quick Quality Checklist Before You Call It Done
Run through this before you wear or sell any strung piece: Can you pull gently on both ends of the clasp without the crimp slipping? Does the piece drape without kinking? Are there any sharp wire ends? Does each bead sit where you want it, or has something shifted during finishing? Is the knot (if any) snug against the bead on both sides?
If all of those pass, you've made something that'll hold up to real wear. That's the bar. Everything else is aesthetics.
Comments