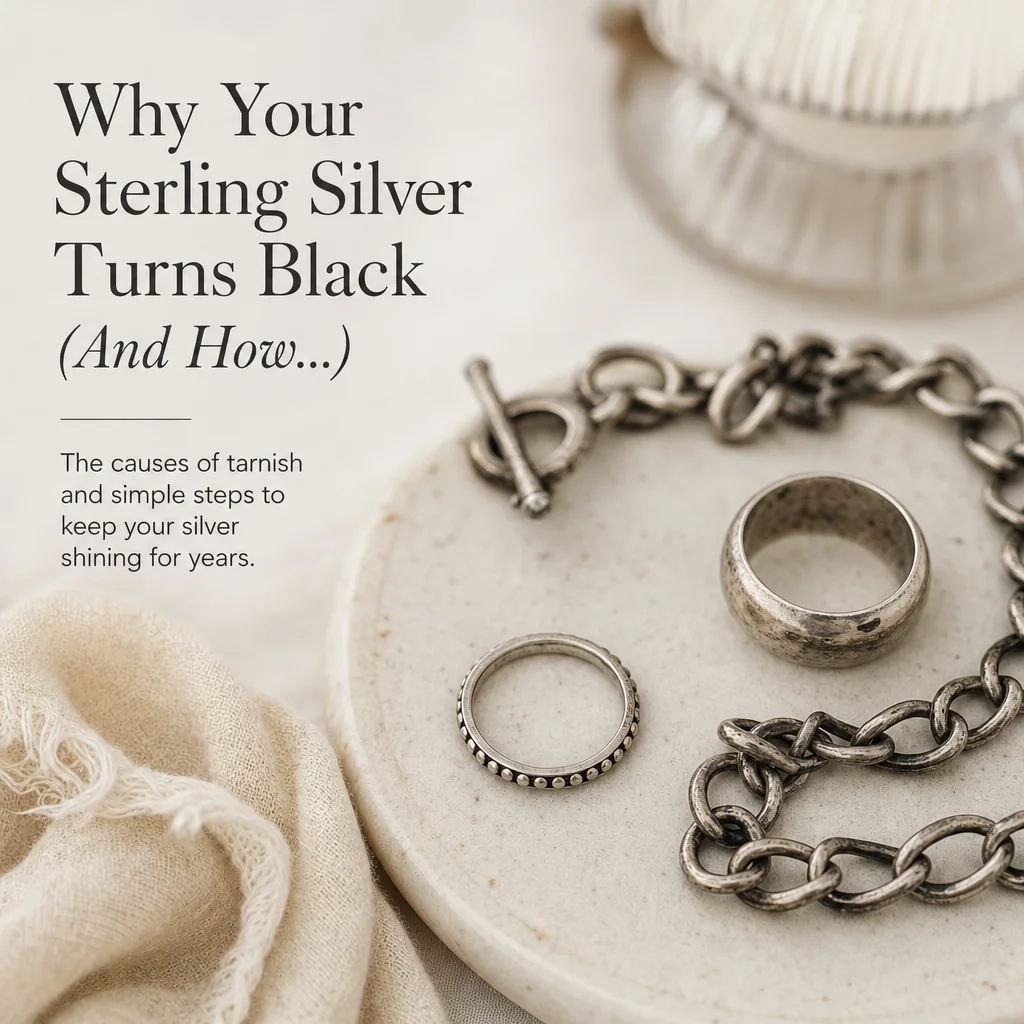
Why Your Sterling Silver Turns Black (And 3
May 16, 2026
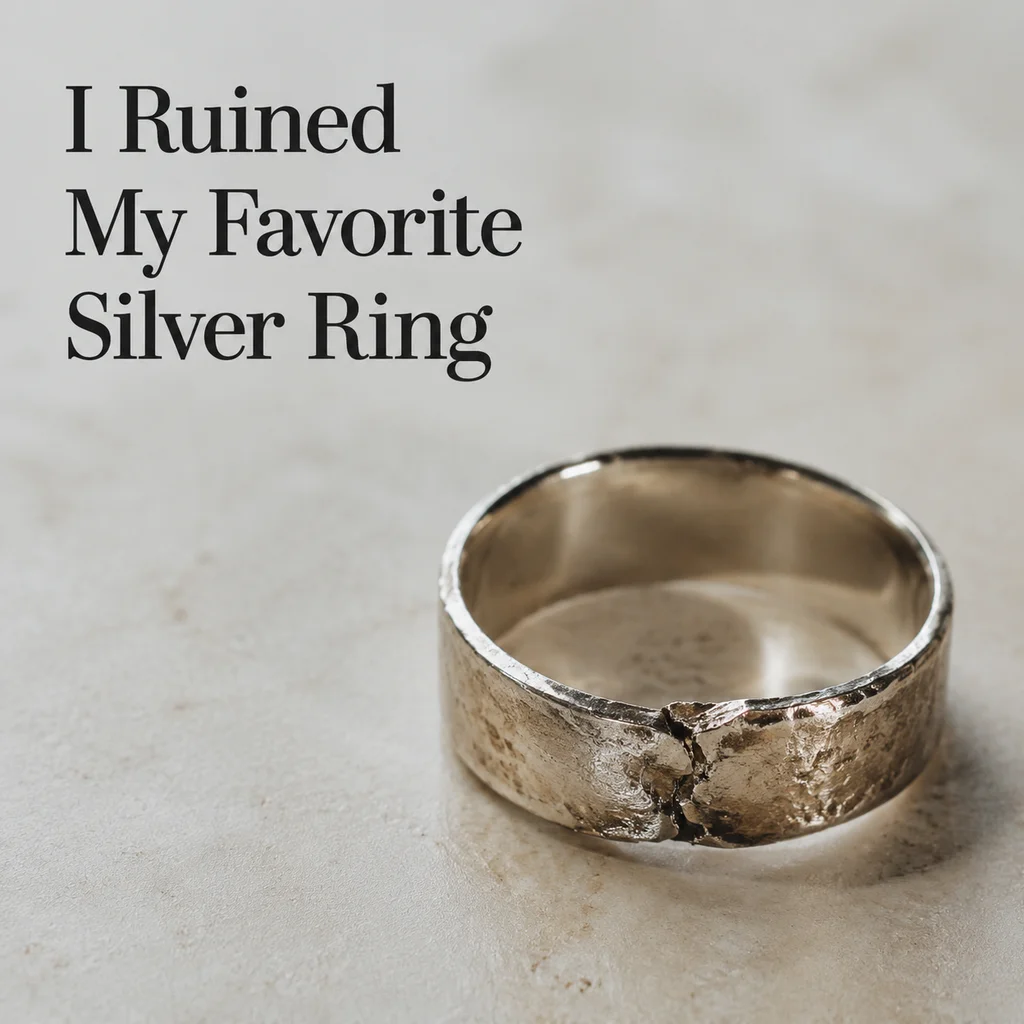
I Opened My Jewelry Box and My Silver Necklace Was Ruined
Last Tuesday I reached for my go-to sterling silver pendant — the one I wear three days a week, the one that goes with everything — and it looked like someone had dragged it through a campfire. Dull grey, patchy black spots, zero shine. I stood there holding it in my kitchen for a solid minute, genuinely annoyed, because I'd taken it off before my shower. I'd stored it in my jewelry box. I'd done everything "right."
Here's what I didn't know then: sterling silver doesn't tarnish because you did something wrong. It tarnishes because that's what silver does. The air around you is full of sulfur compounds — from pollution, from your cooking, from your own sweat — and silver reacts with sulfur the way iron reacts with water. It's chemistry, not negligence.
I spent the next three hours down a research rabbit hole, testing every "silver cleaning hack" I could find. Some of them worked. Most of them were a waste of time. One of them made things worse. I'm writing this so you don't have to repeat my mistakes, and so you can save that piece of jewelry you're about to give up on.
Because here's the good news: most tarnished silver is completely recoverable. You just need the right method and about fifteen minutes.
Why Sterling Silver Turns Black (The Actual Science)
Sterling silver is 92.5% silver and 7.5% copper. That copper is there for a reason — pure silver is too soft for jewelry. You'd bend a ring just putting it on. But the copper comes with a side effect: it makes the whole alloy more reactive.
Tarnish starts when sulfur in the air bonds with the silver on the surface of your jewelry, forming silver sulfide — a black compound that coats the metal in a dark film. This isn't dirt. It's not oxidation (silver doesn't "rust"). It's a chemical reaction between silver and sulfur, and it happens faster than you'd think.
Where does the sulfur come from? Everywhere. Eggs, onions, and garlic release sulfur compounds when you cook them. Wool and rubber contain sulfur. Air pollution in cities carries sulfur dioxide. Even some lotions, perfumes, and hair products contain sulfur-based ingredients. If you live near an industrial area or you cook a lot, your silver will tarnish faster — it's not your imagination.
Your own body chemistry plays a huge role too. Some people's skin is naturally more acidic, or their sweat contains higher levels of sulfur-containing amino acids. If you've ever noticed that silver turns dark on you faster than it does on your friend, this is why. It's not the jewelry — it's you. (I mean that in the most affectionate way possible.)
Humidity accelerates the whole process. If you live in a humid climate or store your jewelry in a bathroom, you're giving tarnish ideal conditions. That's why proper jewelry storage matters more than most people realize.
One more thing: the thin yellow-gold tint that appears before the black spots? That's early tarnish. Catch it at that stage and it comes off with a simple polish cloth. Wait until it's black, and you'll need stronger methods.
The 3 Fixes That Actually Work
Fix 1: The Aluminum Foil + Baking Soda Method (Best for Light to Medium Tarnish)
This is the method I use most often. It sounds like a science fair project, but there's real electrochemistry behind it — the aluminum attracts the sulfur away from the silver through a transfer reaction. No scrubbing, no abrasives, no risk of scratching.
What you need:
- A glass or ceramic baking dish (not metal)
- Aluminum foil, enough to line the bottom
- 1 tablespoon baking soda
- 1 tablespoon salt
- Boiling water
Step by step:
- Line the bottom of your dish with aluminum foil, shiny side up.
- Place your tarnished jewelry on the foil. Make sure each piece is touching the aluminum directly — that contact is what drives the reaction.
- Sprinkle the baking soda and salt evenly over the jewelry.
- Pour enough boiling water to submerge everything.
- Wait 3-5 minutes. You'll see tiny bubbles — that's the sulfur transferring from the silver to the aluminum.
- Remove with tongs (it's hot), rinse under cool water, and dry with a soft cloth.
When it works: Light tarnish, yellowing, early black spots. Pieces with smooth surfaces. Chains and pendants.
When it doesn't: Heavily tarnished pieces where the silver sulfide layer is thick. Jewelry with gemstones — the boiling water can damage delicate stones like opal or turquoise. Pieces with intentional patina or oxidized details you want to keep.
Cost: Practically free. You already have this stuff in your kitchen.
Fix 2: Commercial Silver Dips (Best for Stubborn Tarnish)
Silver dips are liquid cleaners that dissolve tarnish chemically. You dip your jewelry in for 10-30 seconds, rinse, and it comes out shiny. They work fast and they work on tarnish levels that the baking soda method can't touch.
The one I recommend: Weiman Silver Dip ($8.99 on Amazon, most drugstores). It's widely available, consistent, and doesn't have the harsh ammonia smell some competitors use. Another solid option is Connoisseurs Silver Jewelry Cleaner ($9.49) — slightly gentler formula, good for delicate pieces.
How to use it: Put your jewelry in the basket (most dips come with one), submerge for 10-30 seconds. Don't leave it longer than a minute — you're not making it cleaner by soaking it longer, you're potentially damaging the surface. Rinse thoroughly with warm water and dry immediately.
Pros: Fast. Effective on heavy tarnish. Easy to find. Cheap.
Cons: It's a chemical solvent. It will strip all oxidation, including intentional darkened details in decorative silverwork. Not safe for porous stones (pearl, turquoise, opal, amber). The smell is unpleasant. Some dips can leave a slightly chalky residue if you don't rinse well enough.
Important: Silver dips are not the same as silver polish. Polish is abrasive — it removes a microscopic layer of silver along with the tarnish. Dip dissolves only the tarnish layer. For most home cleaning, dip is the safer choice. For a deeper comparison of cleaning methods, this breakdown of machine vs hand cleaning covers the tradeoffs well.
Fix 3: Professional Polishing (Best for Valuable or Damaged Pieces)
Sometimes DIY isn't enough. If your silver has deep scratches, heavy tarnish that's been building for years, or you're dealing with a piece that has real sentimental or monetary value, take it to a jeweler.
A professional jeweler will use a polishing wheel with compounds graded from coarse to fine. This removes the tarnished layer and restores the original mirror finish in a way home methods can't match. They can also check for loose settings, worn clasps, and other issues you might not notice.
Cost: Typically $15-40 for a single piece. Some jewelers include cleaning with repair work. If you have multiple pieces, ask about a bulk rate — many will do 3-5 pieces for $50-60.
When to go pro: Your piece is worth more than $200. It has intricate filigree or details you don't want to risk damaging. You've tried home methods and the tarnish keeps coming back fast (this could indicate a surface issue that needs professional refinishing). The piece is antique or vintage — antique jewelry requires special care because aggressive cleaning can destroy its character and value.
What Doesn't Work (Stop Doing These Things)
Let me save you some time and possibly your jewelry.
Toothpaste: This is the most repeated "hack" on the internet, and I understand why — toothpaste is mildly abrasive, so it does remove some tarnish. But it also puts microscopic scratches in your silver. Do it once, you won't notice. Do it ten times, and your jewelry will have a permanent dull, brushed look that no amount of polishing can fix. Toothpaste is formulated for enamel, not silver. The grit size is wrong, and some whitening toothpastes contain chemicals that can discolor metal.
Lemon juice or vinegar: These are acids, and acids react with the copper in sterling silver. You might remove some surface tarnish, but you're also eating into the copper component of your alloy. Extended exposure to acid can leave pinkish spots where the copper has been selectively dissolved. It's slow damage, but it's real. I tried lemon juice on a test ring and it came out looking worse — uneven, with cloudy patches that weren't there before.
Ultrasonic cleaners on silver: Ultrasonic cleaners are great for diamonds and hard stones. They're too aggressive for silver, especially pieces with soft stone settings or glued components. The cavitation action can loosen settings, damage patina finishes, and if there's any existing crack or weak point, the vibration will find it. If you're considering machine cleaning, this home cleaning guide has better alternatives for silver specifically.
5 Habits That Actually Prevent Tarnish
Cleaning tarnish is reactive. Preventing it is proactive. Here's what actually makes a difference, ranked by impact:
1. Anti-Tarnish Strips in Your Jewelry Box
These are small paper strips treated with activated carbon that absorb sulfur and moisture from the air around your jewelry. They cost about $6 for a pack of 20 on Amazon. Put one in each compartment of your jewelry box and replace them every 6 months. This single habit cut my tarnish rate by probably 70%. I use the 3M Anti-Tarnish Silver Guard Strips — they're cheap, they work, and they're completely passive. You put them in and forget about them.
2. Individual Zip-Lock Bags for Storage
Air is the enemy. If your silver is sitting loose in a jewelry box, it's exposed to the sulfur in the air 24/7. Put each piece in its own small zip-lock bag, squeeze the air out before sealing, and you've essentially paused the tarnish reaction. This is especially important for pieces you don't wear often — the ones that sit in your box for weeks between wears are the ones that tarnish worst. For more on this, this storage guide covers specifics for different jewelry types.
3. Wear Rotation
Counterintuitively, silver that gets worn regularly tarnishes less than silver that sits unused. The gentle friction from your skin and clothing acts as a light polish, and your skin's natural oils create a thin protective barrier. I'm not saying sleep in your silver or wear it in the shower — showering with jewelry is generally a bad idea. But regular wear does help.
4. Put Your Jewelry On Last, Take It Off First
Lotion, perfume, hairspray, sunscreen — these all contain chemicals that accelerate tarnish. Get dressed, do your hair and skin routine, and put your jewelry on as the last step. When you get home, take it off first. This takes zero extra time and significantly extends the life of your pieces.
5. Rhodium Plating for High-Wear Pieces
Rhodium is a hard, tarnish-resistant metal in the platinum family. Many jewelers will plate your sterling silver pieces with a thin layer of rhodium for $20-50. It gives the silver a slightly whiter, brighter look and completely prevents tarnish for 1-3 years (depending on wear). The downside: it eventually wears off and needs to be reapplied. But for a piece you wear every day, like a wedding band or a signature necklace, it's worth it. If you're choosing between silver metals for daily wear, our sterling silver vs stainless steel comparison breaks down the durability tradeoffs.
When to Give Up (And What to Do Instead)
Sometimes a piece of silver is beyond saving at home. Here's how to tell: if the surface is pitted (tiny holes or rough texture visible under good light), if the metal has a permanent pinkish tint (copper oxidation from prolonged acid or chemical exposure), or if the piece is visibly thinning from repeated polishing, it's time to stop.
You haven't necessarily ruined it. A jeweler can sometimes restore heavily damaged pieces by polishing away the damaged surface layer and applying a fresh finish. Cost: $30-80 depending on the piece and extent of damage.
If the damage is too deep, replating is your next option. A jeweler strips the old surface, polishes the bare metal, and applies a new layer of silver or rhodium. This costs $40-120 for most pieces. For expensive or sentimental jewelry, it's absolutely worth it. For a $15 piece from a department store, it probably isn't.
Know when to cut your losses. Not every piece is worth saving, and that's okay.
My Tarnish Prevention Routine
I've been doing this long enough to have a system. It takes about two minutes a day and it works.
Daily: Jewelry goes on after my morning routine (lotion, hair, all of it). Comes off the moment I get home. Each piece goes into its own small zip-lock bag in my jewelry box. I keep anti-tarnish strips in the box and swap them every six months — I set a calendar reminder so I don't forget.
Weekly: I give whatever I wore that week a quick wipe with a silver polishing cloth. The Sunshine Polishing Cloth ($5.99 on Amazon) is my go-to — it's treated with a mild tarnish inhibitor, so a quick wipe both cleans and adds a tiny protective layer. Thirty seconds per piece.
Monthly: I do the aluminum foil + baking soda bath for anything that's starting to look dull. Takes ten minutes. I do it on a Sunday while my coffee brews.
That's it. Three levels of effort, none of them hard, and my silver stays wearable. The pieces I neglected before I started this routine are the ones I had to take to a jeweler. Lesson learned.
FAQ
Does sterling silver tarnish faster than pure silver?
Yes, significantly. The 7.5% copper in sterling silver is more reactive than pure silver. Fine silver (99.9%) tarnishes very slowly, but it's too soft for most jewelry. The copper is a necessary tradeoff for durability.
Can I prevent tarnish completely?
No. Any silver exposed to air will eventually tarnish. You can slow it down dramatically with proper storage, anti-tarnish strips, and rhodium plating, but you can't stop it entirely. Think of it like dust — you manage it, you don't eliminate it.
Is black tarnish damaging my silver?
Tarnish itself doesn't damage the silver — it's a surface-level chemical compound. But if you let it build up heavily and then scrub it off aggressively, you can scratch or wear down the metal. The safer approach is to clean light tarnish regularly rather than waiting for it to get bad.
Why does my silver tarnish faster than my friend's?
Body chemistry, environment, and habits. Your skin's pH, the sulfur content in your sweat, the humidity where you live, how often you cook, what products you use — all of it affects tarnish speed. Some people can wear silver for months without tarnish; others see it in two weeks. Neither is doing anything "wrong."
Can I use silver dip on jewelry with stones?
It depends on the stone. Hard, non-porous stones like diamond, sapphire, and cubic zirconia are usually fine. Porous or delicate stones — pearl, turquoise, opal, amber, coral — should never go in silver dip. When in doubt, use the baking soda method with warm (not boiling) water, or take it to a professional.
Related Guides
- Complete Crystal Guide: Identification and Meanings
- 15 Creative Ways to Display and Store Your Crystal Collection
- How to Clean Crystal Jewelry: A Complete Care Guide
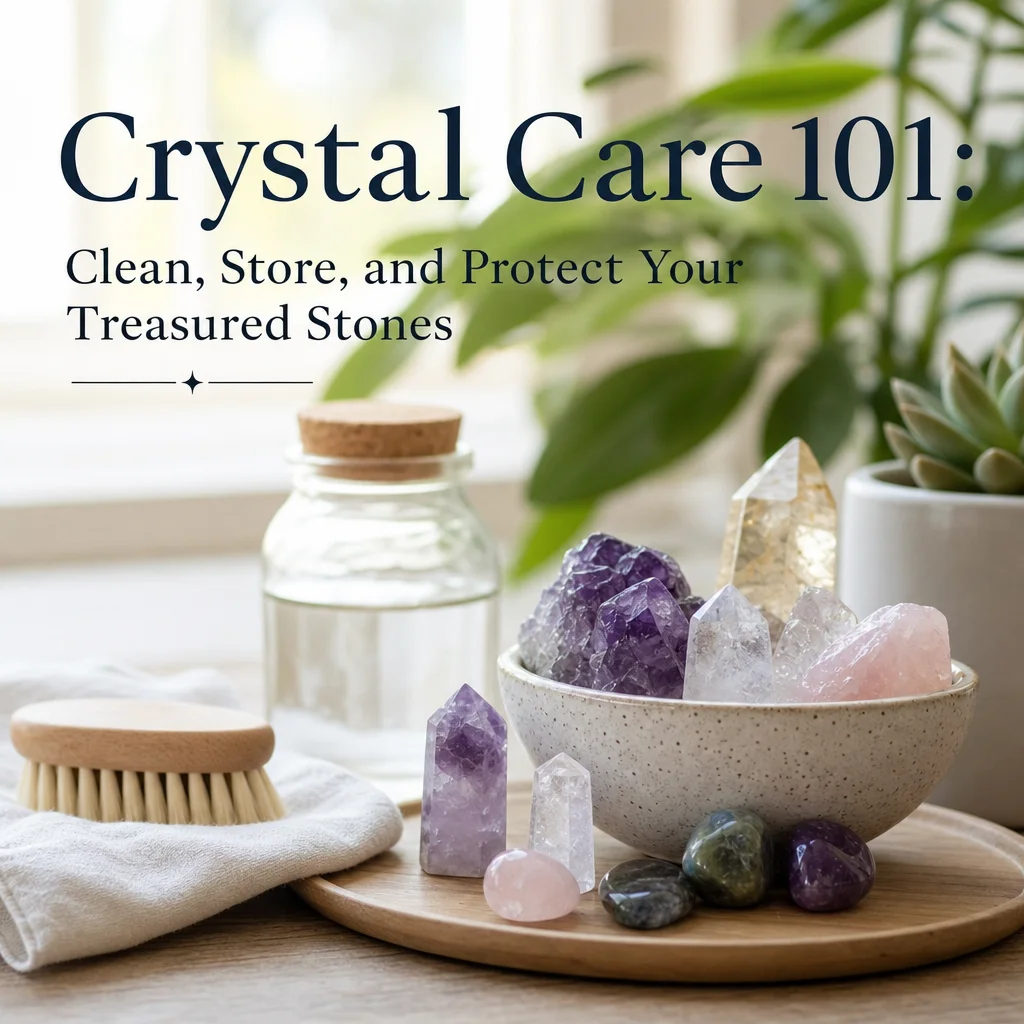
- Crystal Care 101: How to Clean, Store, and Protect Your Jewelry
- Crystal Pricing: 7 Tricks Shops Use to Make You Overpay
- Colored Gemstones Buying Guide for Beginners
- Essential Jewelry Storage Tips

Comments