The Complete Guide to Pearl Care
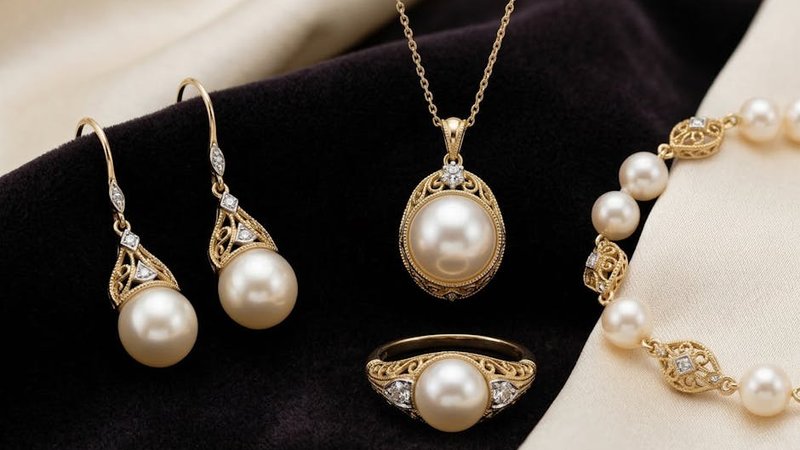
The Pearl Necklace That Started It All
A few months ago, I opened a small velvet box that had been sitting in my grandmother's closet for probably twenty years. Inside was a string of pearls — the classic strand she wore to every holiday dinner, every wedding, every Sunday church service. They were gorgeous once. But now? Yellowish, dull, and a couple of them had these weird flaky spots that looked like peeling sunburn. I had no idea what to do with them. Could I wash them? Were they ruined? Was there some kind of magic pearl soap I didn't know about?
That rabbit hole led me down weeks of research, conversations with a local jeweler, and more than a few panicked moments where I almost made things worse. If you're in the same boat — maybe you inherited pearls, bought a pair on vacation, or just want to take better care of what you've got — here's everything I wish someone had told me upfront.
Why Pearls Are Unlike Any Other Gemstone
Here's the thing that caught me off guard: pearls aren't really gemstones — at least, not in the way diamonds or rubies are. Diamonds form under insane heat and pressure deep in the earth. Pearls grow inside a living creature. An oyster or mussel gets irritated by something — a grain of sand, a parasite — and coats it in layer after layer of nacre, which is basically a mix of calcium carbonate and a protein called conchiolin.
That organic origin is exactly why pearls are so much more fragile than other jewelry. They're porous. They react to chemicals, to heat, to humidity changes. Think of pearls less like rocks and more like fine leather or silk. They need attention, and they need the right kind of care.
Daily Wear: The "Last On, First Off" Rule
After talking to my jeweler and reading what felt like every forum post on the internet, the single most repeated piece of advice was this: put your pearls on last and take them off first.
In practice? When you're getting ready in the morning, do your hair, apply your makeup, spray your perfume, get dressed — and only then put on your pearl earrings or necklace. When you come home, take the pearls off before you change clothes, wash your face, or apply lotion.
The reason is simple. Pearls are essentially sponges for chemicals. Perfume, hairspray, sunscreen, lotion, makeup remover — all of it can seep into the nacre and discolor it over time. I read about someone who sprayed perfume directly onto their pearl necklace and within a year the pearls had turned a sickly yellow-brown. That damage is mostly irreversible.
And sweat? The lactic acid and salts in perspiration slowly eat away at the nacre. If you live somewhere hot and humid, wipe your pearls down as soon as you can after wearing them.
How to Clean Pearls: The Right Way
Okay, so you've been wearing your pearls and now they need cleaning. Here's what actually works, broken down by how thorough you want to be.
The Quick After-Wear Wipe (Every Time)
This is the bare minimum, and honestly the most important habit. After every wear, take a soft, slightly damp cloth — microfiber is ideal, a clean cotton t-shirt works in a pinch — and gently wipe each pearl. You're removing body oils, sweat, perfume residue, and general grime. It takes thirty seconds. Do this consistently and your pearls will stay lustrous for years.
The cloth should be damp, not wet. You don't want water dripping into the drill holes where the silk thread runs through. Water inside the string weakens it and can cause pearls to come loose over time.
The Monthly Deep Clean
Every month or so (or whenever you notice them looking a bit dull), give your pearls a proper cleaning. Here's the process:
Fill a bowl with lukewarm water. Add a drop or two of mild soap — baby shampoo, gentle dish soap, or actual pearl cleaning solution. Don't use anything with bleach, ammonia, or harsh detergents.
Dip a soft cloth into the soapy water, wring it out so it's damp but not dripping, and gently wipe each pearl. Don't soak the strand — never submerge pearl jewelry in water. Soaking weakens the silk thread.
After cleaning, take a separate damp cloth (plain water) and wipe again to remove soap residue. Lay them flat on a soft towel and air dry completely. Don't hang them, don't use a hair dryer, don't set them in direct sunlight.
What NOT to Do
While we're here, let me save you from a few mistakes I almost made:
Ultrasonic cleaners: Absolutely not. These use high-frequency vibrations that can crack the nacre. I saw photos online of pearls that went through an ultrasonic cleaner and came out looking like they'd been sandblasted. Just don't.
Steam cleaning: Same principle. The heat can damage the nacre and weaken the string.
Toothpaste: I know, everyone says toothpaste for cleaning jewelry. That's for metal, not pearls. Toothpaste is mildly abrasive and will scratch the surface, destroying that beautiful luster.
Boiling water: This should go without saying, but I've seen it suggested. Boiling water will cook the protein in the nacre. Your pearls will turn chalky and dull. Don't cook your jewelry.
How to Store Pearls Properly
Pearl storage tripped me up at first because it's the opposite of what you'd do with most jewelry.
First rule: store pearls separately from other jewelry. Gold chains can scratch them. Diamond rings will definitely scratch them. Even other pearls can cause friction damage if they're rubbing against each other constantly. I keep mine in a soft silk pouch inside a dedicated compartment in my jewelry box. A soft cotton bag works too.
Second rule — and this one surprised me — pearls actually need some humidity. They came from the ocean (or a lake, for freshwater pearls), and their nacre contains a small amount of water. If you store them in a completely dry environment, they can become brittle and develop tiny cracks. That means airtight plastic bags are actually bad for pearls. I know, counterintuitive. You want them somewhere with moderate humidity, away from direct heat sources like radiators or sunny windowsills.
Third: lay them flat, don't hang them. A pearl necklace hung on a jewelry stand will slowly stretch the silk thread from the weight of the pearls. Over time, you'll end up with gaps between the pearls and a weakened string. Flat storage is the way to go.
And if you haven't worn your pearls in a while, take them out occasionally. Wearing them actually helps, and I'll explain why in a bit.
What to Do When Pearls Turn Yellow
So back to my grandmother's necklace. The yellowing. This is probably the most common pearl problem people face, and it's also the most discouraging because it's really hard to fix.
Yellowing happens when the proteins in the nacre break down, usually from age, exposure to chemicals, or being stored in an environment that's too dry. Once it starts, it tends to progress.
I found advice online about soaking yellowed pearls in very dilute hydrogen peroxide — like 1% in water — for a few hours. Some people claimed it lightened the yellow. Others said it did nothing. Some jewelers warned that peroxide can further damage already-degraded nacre.
Another method involves extremely dilute hydrochloric acid — the kind of concentration a professional jeweler would use, not something to attempt at home. It can theoretically strip the discolored surface layer and reveal fresher nacre underneath, but it's risky. Too strong or too long and you'll dissolve the pearl entirely.
If your pearls have turned significantly yellow, find a professional pearl restorer — not a general jeweler, someone who specializes in pearls. They can assess whether the yellowing can be treated, whether the pearls need restringing, or whether it's time to accept they've lived a good life.
Mild yellowing, caught early, can sometimes be slowed with regular gentle cleaning. But once it's advanced, you're in "do no further harm" territory.
Peeling, Flaking, and Cracking: The Point of No Return
Those flaky spots on my grandmother's pearls? A jeweler told me that's called "peeling" or "chalking," and it's what happens when the outer layers of nacre start separating from the inner layers. It can be caused by age, dehydration, chemical exposure, or physical damage.
Here's the tough truth: peeling is irreversible. Once the nacre layers start separating, there's no glue, no polish, no treatment that will fuse them back together. The best you can do is stop the damage from getting worse by following proper care practices going forward.
Cracks are similar — structural damage to the nacre from impact, rapid temperature changes, or extreme dryness. Once cracked, the pearl is compromised. Prevention is really the only cure: proper storage, gentle handling, avoiding chemicals, and maintaining reasonable humidity.
Wear Your Pearls (Yes, Really)
One of my favorite things I learned during this whole deep dive: pearls want to be worn. It sounds backwards — wouldn't wearing them cause more wear? — but pearls actually benefit from contact with your skin.
Your skin produces natural oils (sebum), and when pearls rest against your skin, those oils get absorbed into the nacre. It's like moisturizer for pearls. The oils help maintain the luster and keep the nacre supple. Pearls that sit in a jewelry box for years tend to dry out, yellow, and become brittle. Pearls that are worn regularly — even just once a week — tend to look better for longer.
So if you have a strand you've been "saving for special occasions," consider wearing it more often. Your grandmother probably didn't buy them to collect dust.
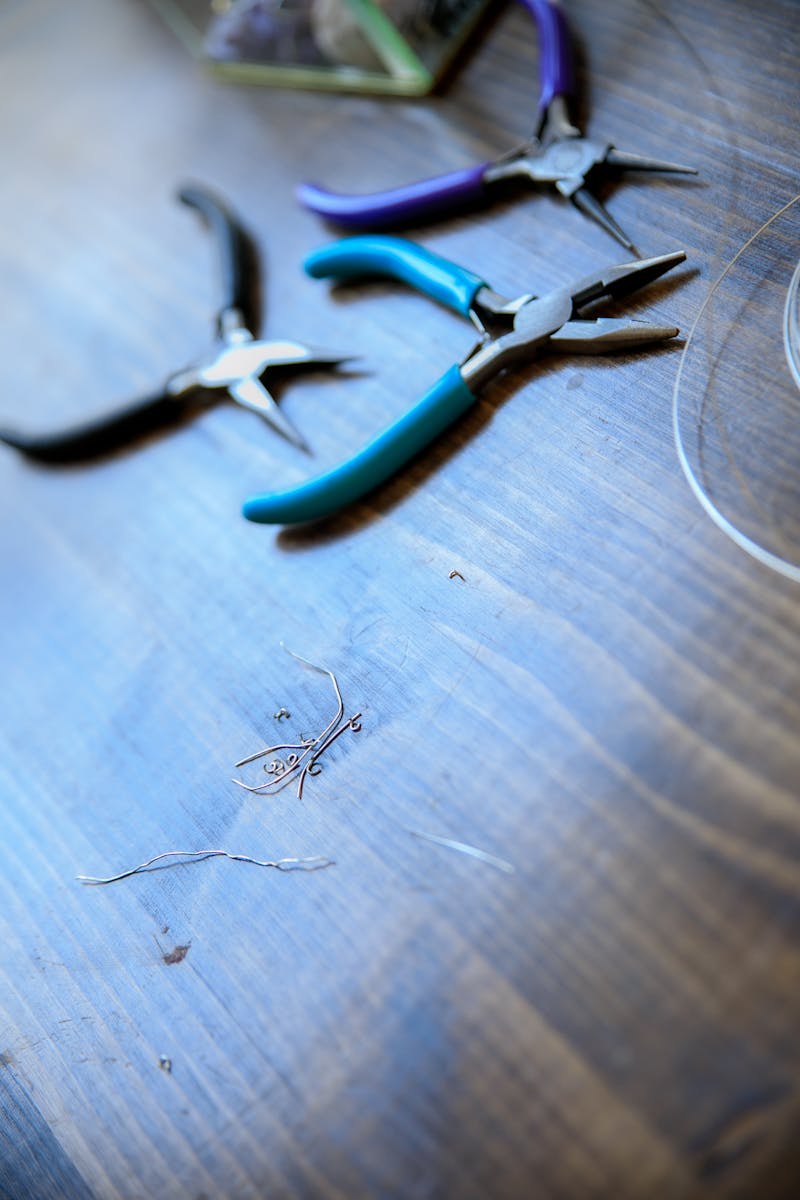
DIY Pearl Restringing: When the String Breaks
The silk thread holding your pearl strand together has a lifespan. Depending on how often you wear them, it could last anywhere from one to five years. You'll know it's time to restring when you see gaps between the pearls, the thread looks frayed or discolored, or — worst case — the strand actually breaks and pearls go rolling across the floor (ask me how I know).
Professional restringing isn't terribly expensive — usually $50 to $150 — and it's the safest option. They'll knot between each pearl (preventing scratching and stopping them all from falling off if the string breaks) and use fresh silk thread.
For DIY, you'll need silk beading thread, a beading needle, and patience. Thread the needle, tie a knot at one end with a bead as an anchor, and string each pearl one at a time, tying a small knot between each. The knotting is the tricky part — you need the knot snug against each pearl. When done, tie off the end and attach your clasp. It's fiddly and tedious. For heirloom pieces, pay a professional. For a casual strand, DIY is a fun project and a good skill to have.
The Bottom Line
Pearls are the only gemstone that comes from a living creature, and that makes them simultaneously beautiful and high-maintenance. But the care routine isn't complicated — it's just consistent. Wipe them after wearing. Keep them away from chemicals and perfumes. Store them flat in a soft pouch, not sealed in plastic. Wear them regularly. Get them restrung every few years.
That's it. My grandmother's necklace couldn't be fully saved — the yellowing and peeling had gone too far — but I had it restrung with the best pearls salvaged from the strand, and I wear what's left of it on special occasions. The rest of my pearl jewelry? Following these guidelines, and they still look as good as the day I got them.
Comments