How to Polish Scratched Crystal at Home

Can You Actually Fix Scratches on Crystal?
The honest answer is: it depends on the scratch and the stone. Surface-level scuffs and light marks on hard stones like quartz, amethyst, and citrine can be polished at home with reasonable results. Deep gouges, chips, or scratches on soft or porous stones (calcite, fluorite, selenite, opal) are much harder to address and often require professional lapidary work.
Before you start, you need to understand why some scratches are fixable and others aren't. Every mineral has a hardness rating on the Mohs scale. Quartz is a 7. That means it can be scratched by anything harder than 7 — topaz (8), corundum/sapphire (9), diamond (10), and various synthetic abrasives. But it can scratch anything softer. When you polish a quartz crystal, you're essentially using an abrasive that's harder than quartz to remove the damaged surface layer and leave a smooth one behind.
The key principle is this: to polish a scratch out of a stone, your abrasive needs to be harder than the stone. For most common crystals (quartz family, 6.5-7), cerium oxide or tin oxide polish works well. For softer stones, the approach changes — and often, the safest option is to leave well enough alone.
Assess the Damage First
Hold the crystal under good light (natural daylight or a bright LED desk lamp) and turn it slowly. Look at the scratch from multiple angles — some scratches are visible from one direction but not others. Run your fingernail across the mark. If your nail catches, it's a physical scratch with depth. If your nail glides over smoothly, it might just be a surface scuff or a mark in a coating rather than the stone itself.
Surface scuffs: These are shallow marks that haven't penetrated the crystal surface. They're common on stones that have been displayed on shelves, carried in pockets, or rattled around in a bag. Polish can usually remove these completely.
Medium scratches: You can feel these with your fingernail, but they're not deeply gouged into the stone. These take more work to polish out, and the polished area may be slightly lower than the surrounding surface, creating a subtle depression that's visible in certain light.
Deep gouges and chips: These have removed a significant amount of material. Polishing these out requires removing a lot of surrounding stone to blend the surface flat, which changes the shape and size of the piece. For valuable or sentimental crystals, this is usually a job for a professional lapidary.
What You'll Need
For home polishing of quartz-family stones, gather these supplies:
Cerium oxide powder or tin oxide powder — these are the standard polishing compounds for quartz and similar hardness stones. Available from lapidary suppliers, rock shops, or online. A small container (100g) costs around $5-10 and lasts through many projects.
A polishing surface — you need something firm but not so hard it scratches the stone itself. A piece of leather (smooth side up, glued to a flat board), a hard felt pad, or a dedicated polishing wheel on a rotary tool all work. For flat crystal faces, a glass plate with a piece of felt glued to it gives you a flat reference surface.
Water — polishing is a wet process. The water creates a slurry with the polishing powder and flushes away removed material. Dry polishing creates friction heat that can crack thermal-sensitive stones.
Masking tape — to protect areas of the crystal you don't want to polish. Polishing affects all surfaces it touches, so if you're working on one face, tape off the others.
Soft cloths for cleaning between stages.
Total investment: roughly $15-25 if you don't have any of these materials. All are reusable for future projects.
The Polishing Process
Start by cleaning the crystal thoroughly with warm water and mild soap. Dry it completely. Any dust or grit on the surface will act as an unintended abrasive during polishing and can create new scratches.
Tape off any areas you don't want to polish. This is important — polishing compound doesn't discriminate between the scratch and the surrounding surface.
Mix a small amount of cerium oxide powder with water to create a thin paste — roughly the consistency of heavy cream. Too thick and it won't spread evenly; too thin and it won't have enough cutting power.
Apply the paste to your polishing surface. Place the crystal face-down on the paste and move it in a figure-eight pattern. Apply moderate, even pressure. Don't press hard — let the abrasive do the work. Consistency matters more than force.
Check your progress every 2-3 minutes by rinsing the crystal and examining it under good light. You're looking for the scratch to become less visible as the surrounding surface is brought down to the scratch's depth level. This takes patience. A medium scratch on quartz might take 15-30 minutes of polishing.
When the scratch is no longer visible (or has been reduced to a level you're satisfied with), rinse the crystal thoroughly. Dry it and examine it again. If the polished area looks slightly hazy compared to the rest of the stone, you may need a final light pass to blend the surface. If it looks good, you're done.
Using a Rotary Tool (Dremel)
A rotary tool with a felt polishing wheel speeds up the process significantly but introduces more risk. The higher speed means you can accidentally over-polish — removing more material than intended — or create uneven surfaces. If you use a rotary tool, use the lowest speed setting, keep the stone moving constantly, and take frequent breaks to check your progress.
Apply the cerium oxide paste to the felt wheel (not the stone), then hold the crystal against the wheel with light pressure. Move the crystal continuously. Don't hold it in one spot. The friction generates heat quickly, and localized heating can cause thermal fractures in stones with internal inclusions.
What NOT to Polish at Home
Selenite: Mohs 2. It's so soft you can scratch it with your fingernail. Any attempt to polish it with abrasives will remove the characteristic silky surface and likely create deeper scratches. For selenite, wipe marks with a barely-damp microfiber cloth and accept that some wear is inevitable.
Calcite: Mohs 3. Too soft for effective home polishing with standard compounds. Professional lapidaries can work with calcite, but the results are limited by the stone's softness.
Opal: Mohs 5.5-6.5. Polishing opal is a specialized skill. The stone contains water and has a layered internal structure that responds unpredictably to abrasives. Home polishing often makes opal damage worse.
Fluorite: Mohs 4. It's soft and has perfect cleavage, meaning it can split along internal planes when pressure is applied. Polishing fluorite at home is more likely to cause new damage than fix existing scratches.
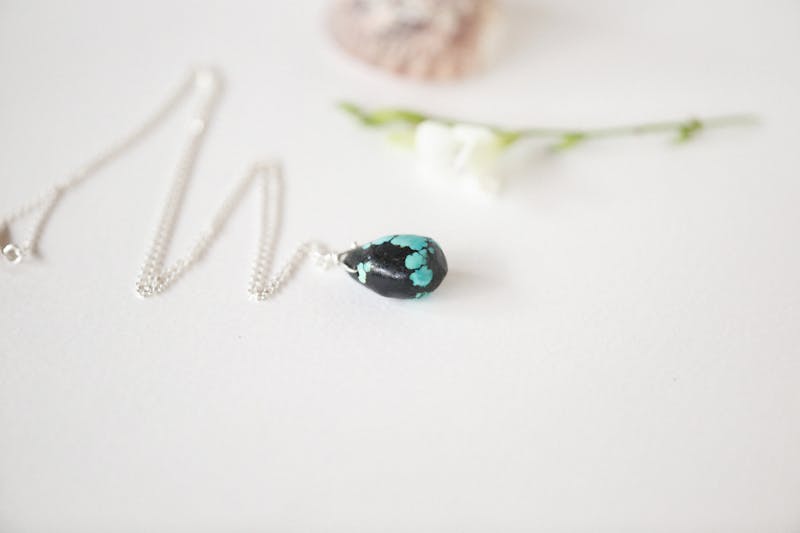
Turquoise: Mohs 5-6, porous. Polishing can remove the natural surface patina and expose the porous interior, which then absorbs oils and discolors unevenly.
If your scratched crystal is on this list, your best option is to accept the wear as part of the stone's character or consult a professional lapidary. Many rock and gem clubs offer referral services for lapidary work, and the cost for a simple polish job is usually reasonable ($20-50 for a small stone).
Preventing Future Scratches
Polishing is a reactive fix. Prevention is simpler and cheaper. Store each crystal individually in a soft pouch or padded compartment. Don't let crystals touch each other in a display — use risers, stands, or individual shelves. Keep crystals away from harder objects (keys, coins, other jewelry). Clean them regularly with a soft cloth to remove dust, which can act as a micro-abrasive when crystals are handled.
For display pieces, a coat of clear mineral oil or Renaissance Wax can provide a thin protective layer on hard stones (not on selenite, calcite, or other soft/porous minerals). This doesn't prevent all scratching, but it adds a small barrier that helps with light surface wear.
Crystal polishing is a slow, meditative process. It's not something you rush. The satisfaction of watching a scratch disappear under your own effort, with just powder and water, is genuinely rewarding. Just know your limits — some stones are better left to the professionals.
Comments