How to Safely Drill a Hole in a Crystal Without Cracking It
Drilling Through Crystal Without Destroying It
I cracked my first three crystals trying to drill holes in them. The fourth one I approached differently — slower, wetter, and with far less pressure — and it came out perfectly clean. The difference wasn't talent. It was understanding that crystals are not like wood or metal. They're brittle, they have internal stress points, and they will shatter without warning if you treat them like a standard drilling project. This guide covers everything I've learned from dozens of successful holes and more failures than I'd like to admit.
What You'll Need
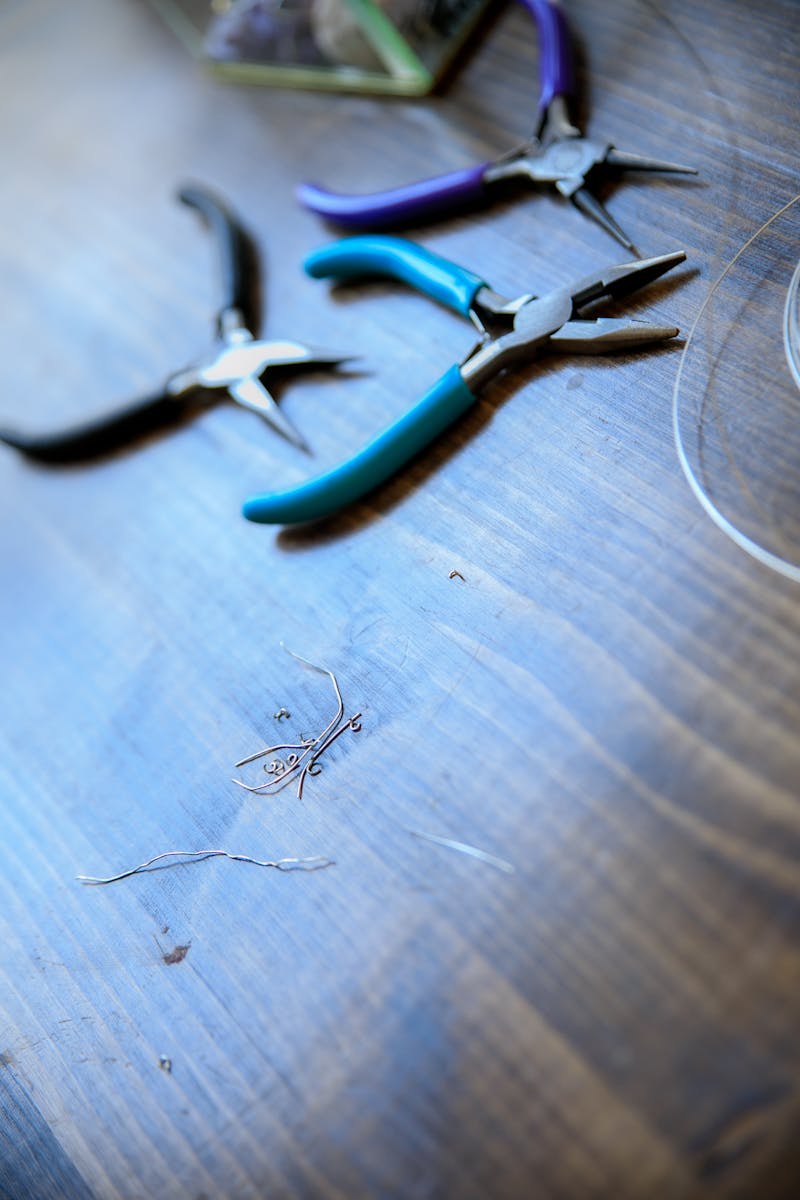
Before you touch any crystal, gather these tools. You don't need all of them for every project, but having them ready prevents the most common mistake: stopping mid-drill to find something, which lets the crystal heat up and crack.
Rotary tool: A Dremel 3000-series or equivalent works well. Flexible shaft attachments give you better control than gripping the tool directly. I use a Dremel 4000 with the flex shaft — the reduced vibration at the bit makes a real difference in delicate work.
Diamond-coated drill bits: Get a set of small-diameter bits, 1mm to 3mm. Larger holes are harder to start and dramatically increase your crack risk. Ball-tipped bits work best for initial entry, while straight bits handle the actual drilling. Expect to spend $15-30 on a decent set.
Cooling water: A small shallow dish or container filled with water. This isn't optional — drilling dry is the number one reason crystals crack. Some people use a spray bottle instead, but I find the immersion method more reliable.
Clay or a small vise: You need to hold the crystal still while both your hands are on the drill. Modeling clay works for irregular shapes. For uniform stones, a small bench vise with rubber jaw covers prevents marring.
Safety gear: Safety glasses — not sunglasses, actual safety glasses rated for impact. Crystal shards are sharp and fly unpredictably. A dust mask (N95 minimum) is also essential. Crystal dust is fine particulate matter, and inhaling it repeatedly is genuinely bad for your lungs. Silica dust from quartz-based crystals is particularly hazardous.
Step 1: Mark Your Drilling Position
Use a fine-tip permanent marker or a piece of tape to mark where you want the hole. Tape is actually my preference — it's easier to see against most crystal surfaces, and it peels off without residue. If you're drilling through a flat face, mark the center point precisely. If you're drilling through an edge or a curved surface, mark the exact spot where the drill will first contact the crystal.
Double-check your mark. Seriously. I've drilled beautiful, perfect holes that were 2mm off from where I actually wanted them because I rushed the marking step. Hold the crystal up, look at it from multiple angles, make sure the mark is where you intend.
Step 2: Secure the Crystal
Press the crystal into a ball of modeling clay placed at the bottom of your shallow water dish. The clay holds it in place and also raises the crystal slightly so you can see what you're doing. Make sure the marked drilling point is facing up and easily accessible. The crystal should not wobble when you press lightly on it.
For larger or heavier crystals, a small vise mounted over your water dish works better. Line the vise jaws with rubber or leather to avoid scratching the crystal. Tighten until the stone is immobile but not being crushed — remember, we're trying to avoid applying pressure, and that includes pressure from your holding mechanism.
Step 3: Prepare Your Cooling Setup
Fill your shallow dish with enough water to submerge at least the drilling area of the crystal. The water serves two purposes: it keeps the diamond bit cool (diamond bits generate significant friction heat) and it flushes away the crystal powder that accumulates as you drill. Without water, the bit overheats within seconds and the crystal develops micro-fractures that will eventually cause it to split.
Water temperature doesn't matter much — room temperature is fine. Some people add a drop of dish soap to reduce surface tension and help the water flow into the drill hole. I've done it both ways and noticed no practical difference, but the soap trick costs nothing, so why not.
Step 4: Start at Low Speed
Set your rotary tool to its lowest speed setting. On a Dremel 4000, that's roughly 5,000 RPM. This is the single most counterintuitive part of the process: most people instinctively want to start fast, thinking it'll cut quicker. It will cut quicker — right into a crack. Low speed gives you control and reduces heat buildup. As you gain experience, you can work up to 6,000-8,000 RPM, but never exceed that range for crystal drilling.
Hold the drill perpendicular to the crystal surface. Don't tilt it yet — that comes later. Apply only the weight of the drill itself. If you're pushing down with your hand, you're pushing too hard. The diamond coating on the bit does the cutting. Your job is to guide it, not force it.
Step 5: Start at a 45-Degree Angle
Once the bit has made a small indentation (about 30 seconds of gentle contact), tilt the drill to roughly 45 degrees. This angled approach serves a specific purpose: it creates a small beveled entry point that prevents the bit from skating across the crystal surface when you transition to perpendicular drilling. Without this bevel, the bit tends to wander, especially on harder crystals like quartz (Mohs 7).
Drill at 45 degrees for about 15-20 seconds, then gradually bring the drill back to perpendicular (90 degrees). This transition should be smooth and slow — think of it as a gradual tilt, not a sudden repositioning. The entire time, the bit should remain in contact with the crystal and submerged in water.
Step 6: Keep Everything Wet
Throughout the drilling process, maintain constant water contact with both the bit and the crystal. If you're using the immersion method (crystal sitting in a dish of water), this happens automatically as long as the water level covers the drilling area. If the water gets cloudy with crystal dust, change it — dusty water doesn't cool as effectively and you can't see what you're doing.
I typically change the water 2-3 times during a single hole on a medium-sized crystal. It takes 10 seconds and prevents the two problems that end most crystal drilling attempts: overheating and poor visibility. If you can see the drilling point clearly, you can react to what's happening. If you're drilling blind through murky water, you'll miss the moment the bit breaks through the far side, which leads to the next step being done poorly.
Step 7: Gradually Adjust Your Angle
Once you're drilling perpendicular, maintain that angle consistently. Don't wiggle the bit side to side — this widens the hole unevenly and stresses the crystal walls. Let the bit do its work at a steady pace. On average, drilling through a 10mm-thick quartz crystal takes 3-5 minutes at 5,000-6,000 RPM. Softer stones like calcite (Mohs 3) can take under a minute. Harder stones like sapphire (Mohs 9) can take 15+ minutes.
Every 30 seconds or so, lift the bit slightly to let fresh water flush into the hole and carry away debris. This also gives you a moment to check your progress visually. If you see the hole darkening (the crystal getting thinner from the far side), slow down — you're close to breaking through, and that's where most cracks happen.
Step 8: Flip and Drill from the Other Side
This is the technique that saved my drilling success rate from roughly 40% to over 90%. Do not drill all the way through from one side. When you can see or feel that you're getting close to the far surface — the crystal will start to feel thinner, and you might see the bit tip through translucent material — stop drilling and flip the crystal over.
Mark the exit point on the new face, align your drill bit with the existing hole, and drill from this side to meet it. Drilling from both sides means each hole only needs to go halfway through, which dramatically reduces the risk of blowout — that ugly, ragged exit hole that ruins the whole piece. The two holes should meet cleanly in the middle if your angles were consistent.
Step 9: Smooth the Edges
Once the hole is complete, the edges will likely be sharp and rough. Use a small diamond-encrusted needle file or a round burr bit at low speed to smooth the entry and exit points. Work gently and briefly — you're removing burrs, not reshaping the hole. 15-20 seconds per side is usually sufficient.
Some people skip this step and it shows — the sharp edges catch on cord or wire when you try to string the crystal, and they can be genuinely uncomfortable against skin. Taking an extra minute here makes a huge difference in the finished piece.
Step 10: Clean Everything Thoroughly
Wash the crystal in warm soapy water to remove any remaining dust, clay residue, and polishing compound. Use a soft brush (an old toothbrush works perfectly) to clean inside the hole itself — crystal dust packs into the hole and can be surprisingly stubborn. Dry the crystal with a soft cloth.
Inspect your work. The hole should be clean-edged, consistent in diameter, and positioned where you marked it. If the edges are still rough, repeat step 9 briefly. If the hole is slightly off-center, that's normal — perfect holes are rare in hand-drilling and slightly imperfect ones add character to handmade pieces.
Safety Warnings
Crystal drilling generates fine particulate dust that you do not want in your lungs. This isn't alarmism — crystalline silica dust, produced when drilling quartz and quartz-based stones, is classified as a known carcinogen by the International Agency for Research on Cancer. Wear a properly fitted N95 mask at minimum. A half-face respirator with P100 filters is better if you plan to drill frequently.
Safety glasses are non-negotiable. When a crystal cracks — and some will crack regardless of your technique — shards can fly at surprising velocity. I've had pieces embed themselves in the clay across my work table. Without eye protection, that trajectory could have been toward my face.
Work in a well-ventilated area. If you're drilling indoors, set up near an open window or use a small fan to push dust away from your breathing zone. Wet drilling reduces airborne dust significantly, but doesn't eliminate it entirely.
Common Mistakes That Crack Crystals
Too much pressure. This causes more cracked crystals than every other mistake combined. Let the diamond coating cut at its own pace. If the bit seems to be stalling, it might be clogged with debris — lift it out and clean it, don't push harder.
Drilling dry. I've mentioned this multiple times because it's that important. Even 5 seconds of dry drilling on quartz can generate enough heat to create invisible micro-fractures. Those fractures will expand over time or under stress, and your crystal will eventually split — sometimes days after you thought the drilling was successful.
Using high RPM. Faster rotation creates more friction heat and less control. Stay in the 5,000-8,000 RPM range. Some online guides recommend higher speeds for harder stones, but in my experience, slower always works better. The only thing high speed accomplishes is making the bit wear out faster and the crystal more likely to crack.
Drilling through in one pass. As mentioned in step 8, drilling all the way through from one side almost always causes blowout on the exit side. The bit breaks through suddenly, the crystal flexes, and it cracks along the exit hole. Flipping and meeting in the middle takes slightly longer but produces dramatically better results.
Which Crystals Are Easiest (and Hardest) to Drill
Softer stones under Mohs 5 — malachite, howlite, calcite, fluorite — drill quickly and easily. Expect clean holes in under a minute with minimal risk. Medium stones in the 5-7 range — quartz, jasper, agate, aventurine — require patience and proper technique but are very doable. Hard stones above 7 — sapphire, ruby, topaz — are challenging and require specialized equipment. I don't recommend attempting these until you're comfortable with medium-hardness stones.
Crystals with natural fractures, inclusions, or cleavage planes are riskier regardless of hardness. Inspect your stone before drilling — if you see visible cracks or internal planes where light breaks oddly, drill in a different spot or choose a different stone. Some cracks are invisible until the drill bit finds them, but most are visible if you look carefully in good light.
Comments