How to Clean Silver Jewelry: The Complete Guide
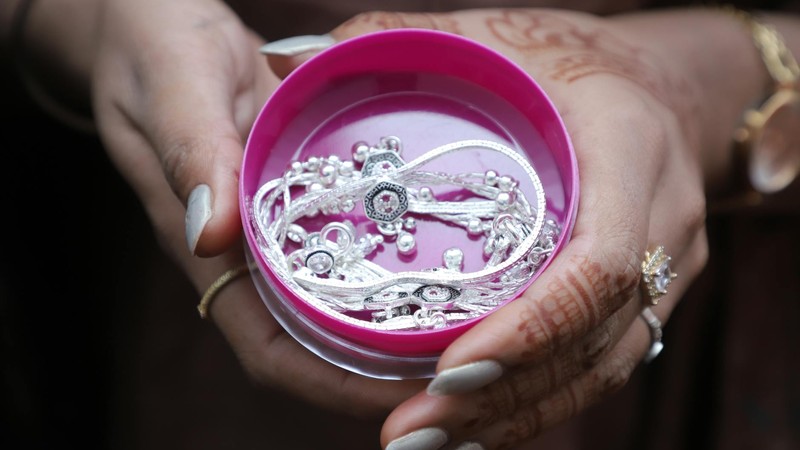
Last summer, I bought a sterling silver pendant necklace from a local artisan market. Simple design, delicate chain, just my style. I wore it every day for about a week — to work, to the grocery store, to a friend's backyard barbecue. Then one morning I caught my reflection in the bathroom mirror and my stomach dropped. The pendant had gone from bright, shiny silver to a dull, yellowish-gray mess. It looked like I'd found it buried in the yard. I panicked, googled "why did my silver necklace turn black," and immediately started scrubbing it with the first thing I could find — dish soap and a rough sponge. Bad idea. I ended up with faint scratches on top of the tarnish. It took me another week and a lot of trial and error to figure out the right way to clean it. That experience, plus a lot of research since, is what I'm sharing here. Because if you're reading this, you probably have a piece of silver jewelry that's looking a little sad right now and you want to fix it without making things worse.
Why Does Silver Turn Black? The Chemistry You Actually Need to Know
That dark stuff on your silver isn't dirt. It's called tarnish, and it's a chemical reaction between silver and sulfur compounds in the air. Silver (Ag) reacts with hydrogen sulfide (H₂S) to form silver sulfide (Ag₂S), which is black. This happens slowly but constantly — it's not a sign that your jewelry is cheap or defective. It's just chemistry doing its thing. Pure silver (.999 fine) actually tarnishes slower than sterling silver (.925), because sterling is 92.5% silver and 7.5% other metals (usually copper), and copper accelerates the tarnishing process. So your sterling silver jewelry is actually more prone to darkening than pure silver would be.
Several things speed up tarnishing. Humidity is a big one — the more moisture in the air, the faster the reaction. Airborne pollutants like sulfur dioxide from car exhaust or industrial emissions contribute too. Your own body chemistry matters as well. Sweat, lotions, perfume, sunscreen, and even some medications can accelerate tarnish on silver you wear regularly. I learned this the hard way with that necklace — I was wearing it through workouts and applying sunscreen right over it.
The good news? Tarnish is a surface reaction. It doesn't eat into the silver structurally. Your jewelry isn't being destroyed — it's just wearing a thin, unwanted coat. And that coat can be removed safely with the right methods.
Daily Care: The Stuff That Prevents Tarnish Before It Starts
Cleaning tarnished silver is satisfying, but preventing it in the first first place is way easier. Here's what actually works based on my experience and what jewelers have told me.
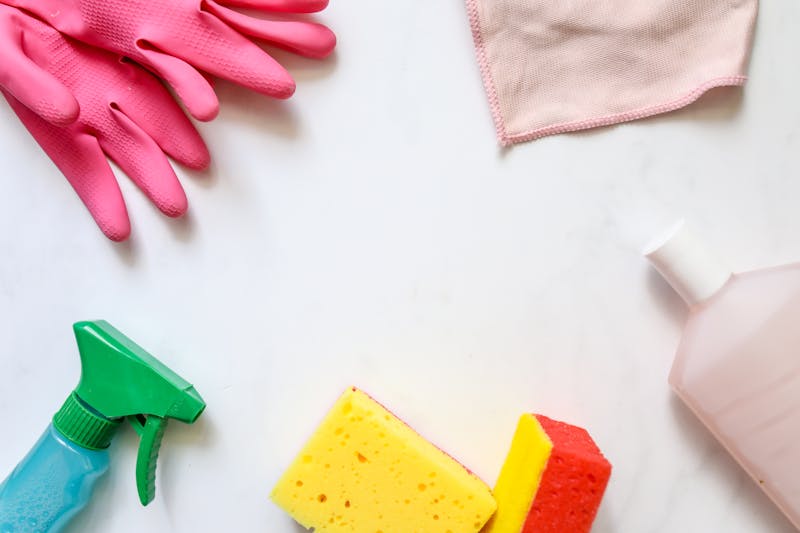
Put your silver on last and take it off first. This is the single most effective habit. Apply perfume, lotion, sunscreen, and hair products before putting on your jewelry, and remove your pieces before swimming, showering, exercising, or doing dishes. Chlorine in pools and hot tubs is particularly brutal on silver — it can cause pitting that no amount of polishing will fix.
Wipe your jewelry after wearing it. I keep a soft microfiber cloth in my jewelry box and give each piece a quick wipe before I put it away. This removes oils, sweat, and residue that would otherwise sit on the surface and speed up tarnishing overnight. It takes five seconds and makes a noticeable difference over time.
Store it properly. This matters more than most people realize. Silver should be stored in a cool, dry place away from direct sunlight. Individual pieces should be kept separate so they don't scratch each other — small ziplock bags work great for this, and they have the added benefit of limiting air exposure. For extra protection, toss a small anti-tarnish strip or a silica gel packet into your jewelry box. These absorb moisture and sulfur compounds from the air, significantly slowing the tarnishing process.
Basic Cleaning Methods You Can Do at Home Right Now
The Baking Soda and Aluminum Foil Method
This is the one that feels like a magic trick. Line a shallow bowl with aluminum foil, shiny side up. Place your tarnished silver jewelry on the foil. Pour in enough boiling water to cover the pieces, then add a tablespoon of baking soda. The reaction is immediate — you'll see bubbling and the water might turn slightly yellowish as the tarnish transfers from the silver to the foil. Let it sit for two to three minutes, then remove the jewelry with tongs (the water is hot), rinse under cool running water, and dry thoroughly with a soft cloth.
How it works: the baking soda creates an electrolyte solution, and the aluminum foil acts as a sacrificial metal. The silver sulfide (tarnish) transfers from your jewelry to the aluminum through ion exchange. It's gentle, non-abrasive, and works well on light to moderate tarnish. Don't leave pieces in too long though — more than five minutes won't help and might damage delicate pieces.
Mild Dish Soap and Warm Water
For regular cleaning of jewelry that isn't heavily tarnished, just use a few drops of mild dish soap (Dawn works well — no citrus or antibacterial additives) in a bowl of warm water. Soak for a few minutes, then gently scrub with a very soft toothbrush. Pay attention to crevices, chain links, and settings where dirt and oils accumulate. Rinse and dry. This is the safest method and the one I use most often for routine maintenance.
The Toothpaste Debate
A lot of people recommend toothpaste for cleaning silver, and it does work — but with a major caveat. Toothpaste is mildly abrasive, and over time, repeated use will create micro-scratches on your silver that actually make it tarnish faster and look dull even when clean. If you're going to use toothpaste, use a plain white paste (not gel, not whitening, not baking soda varieties) and apply it with your fingers or a very soft cloth, not a brush. Rub gently in one direction, rinse, and dry. Use this method sparingly — maybe once or twice a year on heavily tarnished pieces — not as your go-to cleaning routine.
Commercial Silver Cleaning Cloths
A good silver polishing cloth is worth having. These are treated with anti-tarnish compounds and mild abrasives that remove tarnish without scratching. The brand most jewelers recommend is Sunshine Polishing Cloth, though any quality silver cloth from a jewelry supply store will work. Just rub the cloth over the tarnished areas and the dark stuff comes off. These cloths last a long time and are perfect for quick touch-ups between deeper cleanings. Keep one in your bag, one in your jewelry box.
Deep Cleaning: When Basic Methods Aren't Enough
Ultrasonic Cleaners
Ultrasonic cleaners use high-frequency sound waves to create microscopic bubbles in a cleaning solution. When these bubbles collapse, they produce tiny shock waves that dislodge dirt, grime, and light tarnish from even the hardest-to-reach areas. They're excellent for cleaning intricate silver pieces with lots of small details — chains, filigree work, textured surfaces. Most small consumer ultrasonic cleaners run $30–$60 and work with plain water or a mild detergent solution.
Important caveats: ultrasonic cleaners can loosen stones that are already set insecurely, and they can damage certain gemstones. Opals, pearls, emeralds, turquoise, and any stone with internal inclusions or fractures should NOT go in an ultrasonic cleaner. If your silver jewelry has any of these stones set in it, stick to manual cleaning methods. Also, ultrasonic cleaning removes surface dirt but doesn't do much for heavy tarnish — you'll still need to polish by hand afterward.
Electrochemical Cleaning
This is essentially a commercial version of the baking soda and foil method, using a dedicated silver cleaning plate or machine. Products like the Speedy Plate use a similar ion-exchange principle but are more controlled and effective for heavily tarnished pieces. You place the silver on the plate, add the cleaning solution, and wait. The tarnish transfers to the plate. It's gentle on the silver itself but very effective on tarnish.
Professional Cleaning Services
Sometimes you need to call in the pros. If you have a valuable antique silver piece, something with delicate enamel work, or a piece with gemstones you're not sure how to clean safely, take it to a jeweler. Professional jewelers have access to specialized equipment, cleaning solutions, and polishing techniques that aren't available to consumers. They can also check for loose stones, worn clasps, and other issues that might need repair. A basic professional cleaning usually costs $20–$50 depending on the piece and the jeweler. It's worth it for anything you care about.
Cleaning Different Types of Silver Jewelry
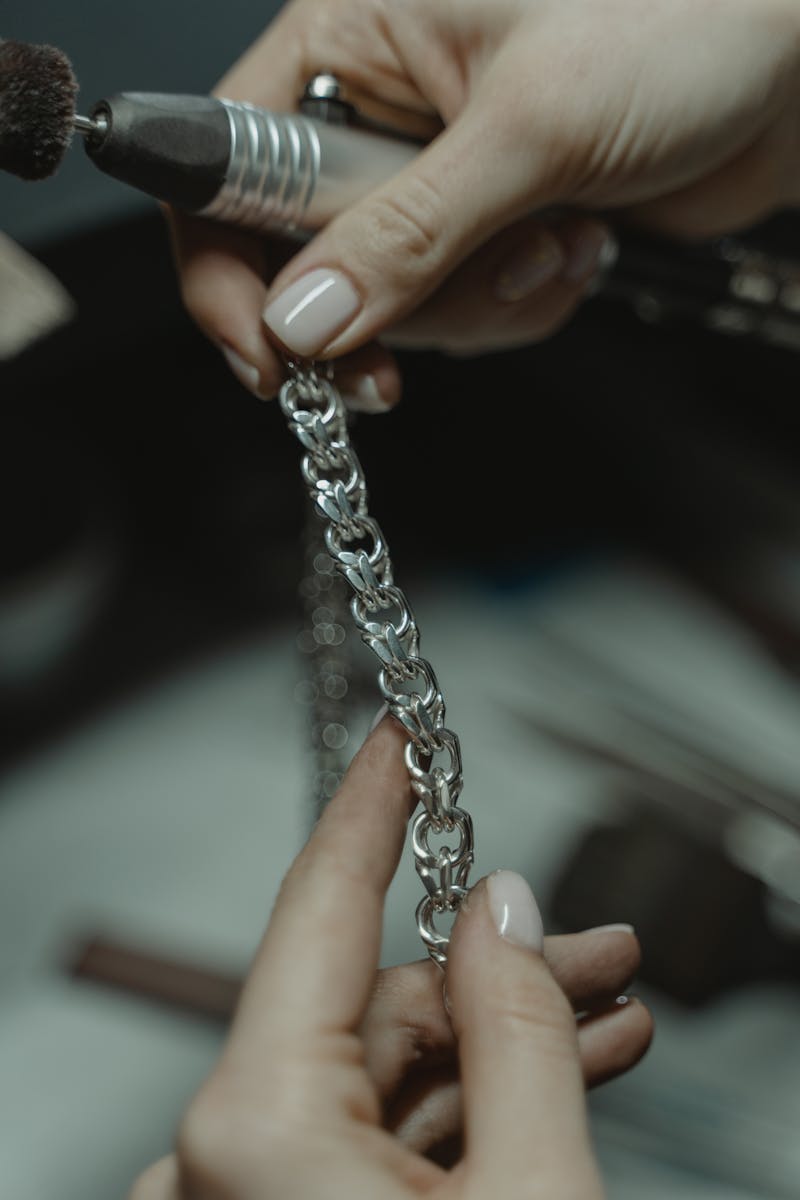
Silver Necklaces and Chains
Chains are the trickiest to clean because tarnish hides inside every link. The baking soda and foil method works well for chains because the reaction reaches into the links. After the chemical bath, give the chain a gentle scrub with a soft toothbrush and soapy water to remove any loosened tarnish particles. Lay the chain flat to dry on a soft cloth — don't hang it while wet, because the water adds weight and can stretch the links over time. For really stubborn tarnish in chain links, an ultrasonic cleaner is your best friend.
Silver Earrings
Earrings get dirty faster than most jewelry because they're close to your skin, hair products, and perfume. The posts especially can accumulate a surprising amount of grime. Clean the posts with a cotton swab dipped in rubbing alcohol — this disinfects too. For the decorative parts, the same basic methods apply. If your silver earrings have gemstones, check whether those stones are safe for the cleaning method you're using before you start.
Silver Rings
Rings take a beating. They're on your hands all day, exposed to everything you touch. Clean rings regularly with soap and water, and give them a deeper clean weekly if you wear them daily. Pay attention to the inside of the band — that's where soap residue and skin oils build up and can cause skin irritation over time. A soft toothbrush works great for getting into crevices around settings and engravings.
Silver Bracelets
Bracelets, especially bangles, have a lot of surface area and tend to show tarnish prominently. For solid silver bangles, the baking soda method works beautifully. For charm bracelets or pieces with moving parts, be gentle around the connections. Don't use any method that could weaken jump rings or clasps.
Silverware and Flatware
The same tarnish that affects your jewelry affects silverware too. For flatware, hand washing with mild soap and drying immediately is the best prevention. For heavily tarnished silverware, the baking soda and foil method works on a larger scale — use a baking dish lined with foil and scale up the baking soda. Commercial silver dips also exist for flatware, but use them sparingly. They work fast but can leave a residue and, over time, can remove the factory patina from patterned pieces.
How Often Should You Clean Your Silver?
There's no universal schedule, because it depends on how often you wear each piece and your local environment. But here's a reasonable framework. Wipe your daily-wear pieces with a soft cloth every time you take them off — takes five seconds, prevents a lot of buildup. Do a basic soap-and-water clean weekly for pieces you wear regularly. Use the baking soda method or a silver cloth monthly, or whenever you notice visible tarnish starting to develop. Deep cleaning with an ultrasonic cleaner or a professional service is needed maybe once or twice a year for frequently worn pieces, or whenever you pull something out of storage and find it's darkened.
Pieces you don't wear often actually need more attention before storage. Clean them thoroughly, dry them completely, and seal them in individual bags with anti-tarnish strips before putting them away. Check on stored pieces every few months and give them a quick wipe even if they look fine — catching tarnish early makes it much easier to remove.
Preventing Tarnish: Long-Term Protection Strategies
Rhodium Plating
Some silver jewelry comes rhodium-plated — coated in a thin layer of rhodium, a precious metal in the platinum family. Rhodium is extremely resistant to tarnish and gives silver a brighter, slightly cooler color. It's not permanent — plating wears off over time, especially on rings and bracelets that get a lot of friction — but it typically lasts one to three years before needing reapplication. Re-plating costs $20–$40 at most jewelers. If you're buying new silver jewelry and want low maintenance, look for rhodium-plated pieces.
Clear Lacquer and Anti-Tarnish Coatings
There are commercial anti-tarnish sprays and dips (like ProtectaClear or Renaissance Wax) that create a thin, invisible barrier on silver. These work well for decorative pieces and silverware that you display but don't handle frequently. They're less ideal for jewelry you wear daily, because the coating can wear off unevenly and look patchy. If you go this route, reapply the coating periodically according to the product instructions.
Activated Carbon and Silica Gel in Storage
I mentioned anti-tarnish strips earlier, but activated carbon packets and silica gel are worth calling out specifically. Activated carbon absorbs sulfur compounds from the air, directly targeting the cause of tarnish. Silica gel absorbs moisture, which accelerates the tarnishing reaction. Together, they create a much better storage environment for silver. Both are cheap and available online in bulk. Replace them every three to six months.
Chalk and Cedar
Some people swear by placing a piece of chalk or a cedar block in their jewelry box. Chalk is slightly basic and may help neutralize acidic compounds in the air. Cedar has natural oils that some believe help prevent tarnish, though the evidence is mostly anecdotal. I keep both in my jewelry box because they can't hurt and might help. The cedar also smells nice, which is a bonus.
Professional Care vs. DIY: When to Go Pro
I'm a big fan of DIY cleaning — it's cheaper, faster, and usually sufficient for everyday silver jewelry. But there are situations where a professional jeweler is the right call. Take your silver to a pro if it's an antique or heirloom piece with significant value, if it has delicate enamel, niello, or other surface treatments that could be damaged by home cleaning, if stones are loose or the setting looks compromised, if you've tried DIY methods and the tarnish won't budge (it might not be tarnish — could be fire scale, a different type of discoloration that requires professional treatment), or if the piece has deep scratches or structural damage that needs repair beyond cleaning.
A good jeweler won't just clean your silver — they'll inspect it, tighten any loose stones, check clasps and solder joints, and let you know if anything needs attention. Think of it like taking your car in for service. The cleaning is the obvious part, but the inspection is what really matters.
For everyday pieces — the pendant you wear to work, the stacking rings, the hoop earrings — DIY is absolutely fine. Just be gentle, be patient, and don't use anything abrasive as your first resort. That lesson from my scratched-up necklace took a while to learn, but I'm passing it on so you don't have to make the same mistake.
Comments