Essential Jewelry Making Tools for Beginners: A Complete Guide
When I first walked into a jewelry supply store three years ago, I walked out $300 poorer with a shopping bag full of stuff I didn't need. A flex shaft I had no idea how to use. A tumbler that sat collecting dust for months. Three different types of pliers that all basically did the same thing. I was so excited to start making jewelry that I bought everything the salesperson recommended — and most of it gathered dust while I struggled with the basics.
Looking back, I probably needed about $60 worth of tools to get started. The rest was impulse buying dressed up as "investment." That's the trap a lot of beginners fall into. You see experienced jewelers with their sprawling workbenches and assume you need all of it on day one. You don't.
After years of making jewelry — and helping friends set up their own workspaces — I've learned which tools actually matter from the start and which ones can wait. This guide covers the essential jewelry making tools for beginners without the fluff or the stuff that looks cool but never gets used. Think of it as your essential jewelry tools checklist.
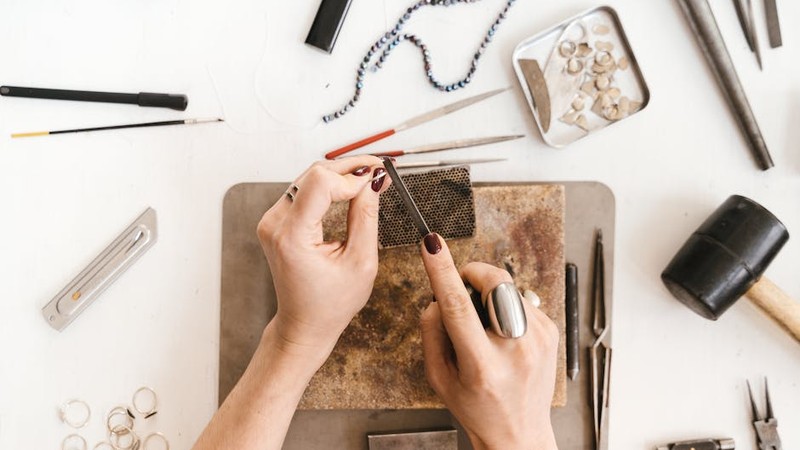
Basic Hand Tools (Start Here)
These are the tools you'll reach for every single time you sit down to work. Skip them and you'll be frustrated immediately. Get decent ones and they'll last for years.
Chain-Nose Pliers
This is probably the single most-used tool in any jeweler's kit. Chain-nose pliers have flat inner jaws that taper to a point, and you'll use them for opening jump rings, gripping wire, flattening crimps, and about a hundred other things. You want two pairs — one for each hand when you're opening and closing jump rings.
What to buy: Lindstrom RX series ($35–45 each) are the gold standard. Wubbers Classic chain-nose pliers ($22–28) are a solid mid-range option. For budget starters, Beadalon chain-nose pliers ($8–12) work fine until you know you're committed.
Round-Nose Pliers
Round-nose pliers have cone-shaped jaws, and they're essential for making loops in wire — eye pins, wrapped loops, simple loops, you name it. The size of the loop depends on where on the cone you place the wire, so you'll develop a feel for different positions pretty quickly.
What to buy: Same brands as chain-nose — Lindstrom RX ($35–45) or Wubbers ($22–28). One pair is enough to start.
Wire Cutters (Flush Cutters)
Regular wire cutters leave a pointed, sharp edge. Flush cutters cut one side flat, which matters more than you'd think. That flat cut means your jump rings close cleanly, your wrapped loops look professional, and you don't stab yourself on wire ends.
What to buy: Xuron 410 flush cutters ($12–16) are hard to beat for the price. Tronex 5229 ($40–50) are professional-grade if you want to invest. Avoid the ultra-cheap ones — dull cutters crush wire instead of cutting it, and that ruins your work.
Crimping Pliers
If you're making beaded jewelry with stringing wire (which most beginners do), crimping pliers are non-negotiable. They fold a crimp tube into a neat little cylinder that secures your wire to a clasp. Without them, your jewelry will fall apart — it's really that simple.
What to buy: Beadalon Ergonomic crimping pliers ($10–14). The Beadalon Hex Crimper ($18–22) is even better because it creates a hexagonal fold that's stronger and cleaner.
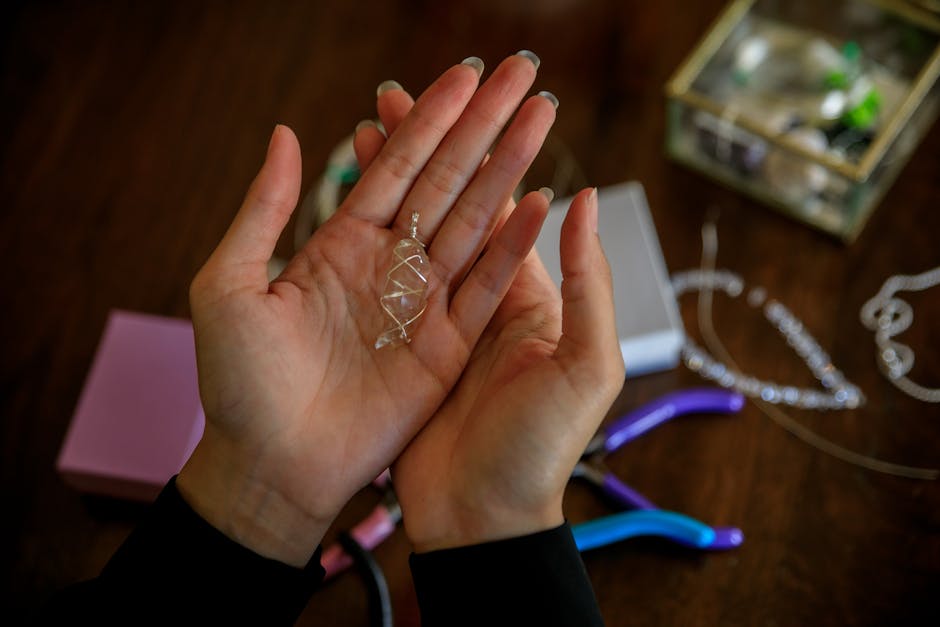
Wire Working Tools
Once you've got the basics handled, wire working opens up a huge range of designs — from simple wrapped loops to complex wire-wrapped pendants.
Nylon-Jaw Pliers
These are the unsung heroes of wire working. The nylon jaws grip wire without marring it, so you can straighten bent wire, flatten curves, and fix mistakes without leaving tool marks. I use mine constantly — way more than I expected when I first bought them.
What to buy: Wubbers Nylon Jaw pliers ($18–24). The nylon jaws are replaceable, which is nice because they do wear down over time.
Wire Gauge and Mandrel Set
A wire gauge tells you the thickness of your wire (measured in gauge or mm), and a mandrel is basically a tapered rod you wrap wire around to make consistent loops, coils, and jump rings. A basic ring mandrel works great for both rings and general wrapping.
What to buy: A combination wire gauge and mandrel tool ($8–15) covers both needs. For ring making specifically, a steel ring mandrel with groove ($15–25) is worth getting later.
Bent-Nose Pliers (Optional but Handy)
Bent-nose pliers reach into tight spots that straight pliers can't — like the inside of a wrapped loop or a deep bezel. I don't think they're strictly essential for day one, but once you start doing more intricate work, you'll wonder how you managed without them.
What to buy: Wubbers bent chain-nose ($22–26). Wait until you actually need them.
Metal Working Tools
If you're planning to work with sheet metal, stamp, or do any fabrication, you'll need a few more specialized tools. Don't buy these until you've decided metalwork is your direction — they're not needed for beading or basic wire wrapping.
Jeweler's Saw and Blades
A jeweler's saw cuts sheet metal into shapes. It takes practice to use well (the blades are fragile), but it's the only way to cut intricate shapes by hand. Start with size 2/0 blades — they're a good balance of durability and fine cutting.
What to buy: A German-style saw frame ($15–25) with a selection of blades. Rio Grande sells a good starter pack ($12–18 for 12 dozen blades in assorted sizes). The Grobet saw frame is reliable and affordable.
Metal Files
After cutting metal, you need files to smooth the edges. A basic set of needle files handles most jobs. You want at least a flat, half-round, and round file to cover different shapes and contours.
What to buy: Grobet Swiss-style needle file set, 6-piece ($15–22). They cut smoothly and last a long time. Cheap hardware store files work in a pinch but don't cut as cleanly on soft metals.
Metal Stamping Set
Stamping letters and numbers into metal is one of the most satisfying beginner metal techniques. It's also deceptively simple — you need a heavy hammer, a steel block, and good stamps. The trick is a single, firm strike. Most beginners tap too lightly and get uneven impressions.
What to buy: ImpressArt starter stamp set ($25–35) with a 1lb brass hammer ($10–15). Don't buy the cheapest stamps — the cheap ones have inconsistent depth and your letters will look wobbly.
Finishing and Polishing Tools
Good finishing separates amateur-looking jewelry from professional work. These tools help you smooth, polish, and refine your pieces.
Polishing Cloths
Sunshine polishing cloths are treated with micro-abrasives and rouge that remove tarnish and polish metal simultaneously. They're cheap, effective, and every jeweler should have a few on hand. I keep one at my desk, one in my travel kit, and one in my bag.
What to buy: Sunshine polishing cloths ($3–5 each). Buy a 3-pack. They last a long time — you know it's done when it's completely blackened and stops working.
Nail Buffing Sticks
Yeah, the ones from the drugstore. They're actually fantastic for smoothing rough edges on metal, polishing wire ends, and giving a quick shine to small pieces. Professional jewelers use them all the time. Don't tell anyone I told you this — they'll think I'm giving away trade secrets.
What to buy: Literally any nail buffer from a pharmacy ($2–4). The finer grits (400–4000) are the ones you want.
Rotary Tool or Flex Shaft (Wait on This)
A Dremel or flex shaft is incredibly useful for polishing, drilling, sanding, and carving. But it's also one of those tools that beginners buy too early and use wrong, damaging their work. Learn to finish by hand first, then upgrade to power tools when you understand what you're doing.
What to buy when ready: Foredom SR series flex shaft ($180–250) is the professional standard. A Dremel 3000 ($60–80) works fine for hobbyists. But seriously — wait a few months on this one.
Tools You Don't Need Yet (Save Your Money)
Every jewelry supply store and Amazon list will try to sell you these. They're not bad tools — they're just not essential for beginners, and buying them early usually means wasted money.
- Ultrasonic cleaner: Great for cleaning finished pieces, but warm soapy water and a soft toothbrush work 90% as well. Come back for this after you're selling regularly.
- Jeweler's lathe: Unless you're planning to turn your own bezels and settings from raw stock, you don't need one. This is a serious investment for advanced metalworkers.
- Tumbler: Nice for mass-finishing and work-hardening wire-wrapped pieces, but unnecessary for your first dozen projects. A basic rotary tumbler runs $60–120 — spend that on better pliers instead.
- Soldering setup: Soldering is a fantastic skill, but it's a whole discipline on its own. Don't buy a torch, flux, pickle, and soldering block until you've exhausted what you can do with cold connections (wrapping, crimping, riveting). If you do want to start soldering eventually, check out a dedicated guide — the setup is specific and deserves its own research.
- Loupe or magnification: Useful for detail work, but your phone's camera zoomed in works well enough to inspect joints and finishes when you're starting out.
- Bench pin and anvil: You need these eventually for sawing and forming metal, but not until you're actually cutting sheet metal. If you're beading or wire-wrapping, they'll just take up space.
The pattern here is simple: don't buy tools for techniques you haven't learned yet. Learn the technique, struggle with what you have, and then buy the tool that solves your actual problem. That's how you build a useful collection instead of a expensive paperweight collection.
Starter Kit Recommendations by Budget
Here's what I'd actually buy if I were starting over today — my ideal jewelry making starter kit, broken down by budget.
Budget Kit: $50–80
This covers the absolute minimum for making simple beaded jewelry and basic wire loops. You won't be able to do everything, but you'll be able to make real, wearable pieces.
- 2× chain-nose pliers (Beadalon, $8–12 each)
- 1× round-nose pliers (Beadalon, $8–12)
- 1× flush cutters (Xuron 410, $12–16)
- 1× crimping pliers (Beadalon, $10–14)
- 2× Sunshine polishing cloths ($6–10)
- Basic bead mat and bead board ($8–12)
Mid-Range Kit: $120–180
This adds wire working capability and better tool quality. If you're fairly sure you'll stick with it, start here — the tools are better and you'll enjoy the process more.
- Everything in the budget kit
- Upgrade pliers to Wubbers ($22–28 each × 3 = $66–84)
- Add nylon-jaw pliers (Wubbers, $18–24)
- Add wire gauge/mandrel tool ($8–15)
- Add basic needle file set (Grobet, $15–22)
Serious Starter Kit: $250–350
This is for someone who's already made a few pieces, knows they love it, and wants professional-grade tools that will last decades. These tools hold their value too — if you quit (you won't), you can resell them.
- Everything in the mid-range kit
- Upgrade chain-nose and round-nose to Lindstrom RX ($35–45 × 3 = $105–135)
- Add bent-nose pliers (Wubbers, $22–26)
- Add jeweler's saw frame with blades (Grobet + assorted, $27–43)
- Add metal stamping set (ImpressArt, $25–35)
- Add steel bench block ($8–15)
A Few Tips That Would Have Saved Me Money
Before you start shopping, a few things I learned the hard way:
Buy tools one at a time as you need them. Every new project will reveal what you're missing. This builds your collection organically around the type of jewelry you actually make, not the type you imagine making.
Test cheap tools before upgrading. Use $10 pliers until you feel them holding you back. When you upgrade to $40 pliers, the difference will be obvious and satisfying.
Take care of your tools. Wipe them after use, keep them dry, and don't use your jewelry pliers for household tasks. A well-maintained $15 pair outperforms a neglected $50 pair.
Join a community. Facebook groups and Reddit's r/jewelrymaking are full of people who share honest tool opinions. The best recommendations I've gotten came from other makers.
Getting Started
You don't need permission or a perfect setup to start making jewelry. A few basic tools, some wire or beads, and a willingness to make ugly pieces while you learn is genuinely all it takes. Start with the budget kit, make a dozen simple pieces, and pay attention to which tools you reach for most. That'll tell you exactly what to buy next.
Jewelry making is one of those crafts where tools matter, but they matter less than most people think. Skill and practice will always outperform expensive equipment. So grab your pliers, make something imperfect, and enjoy the process. The collection grows on its own.
Comments